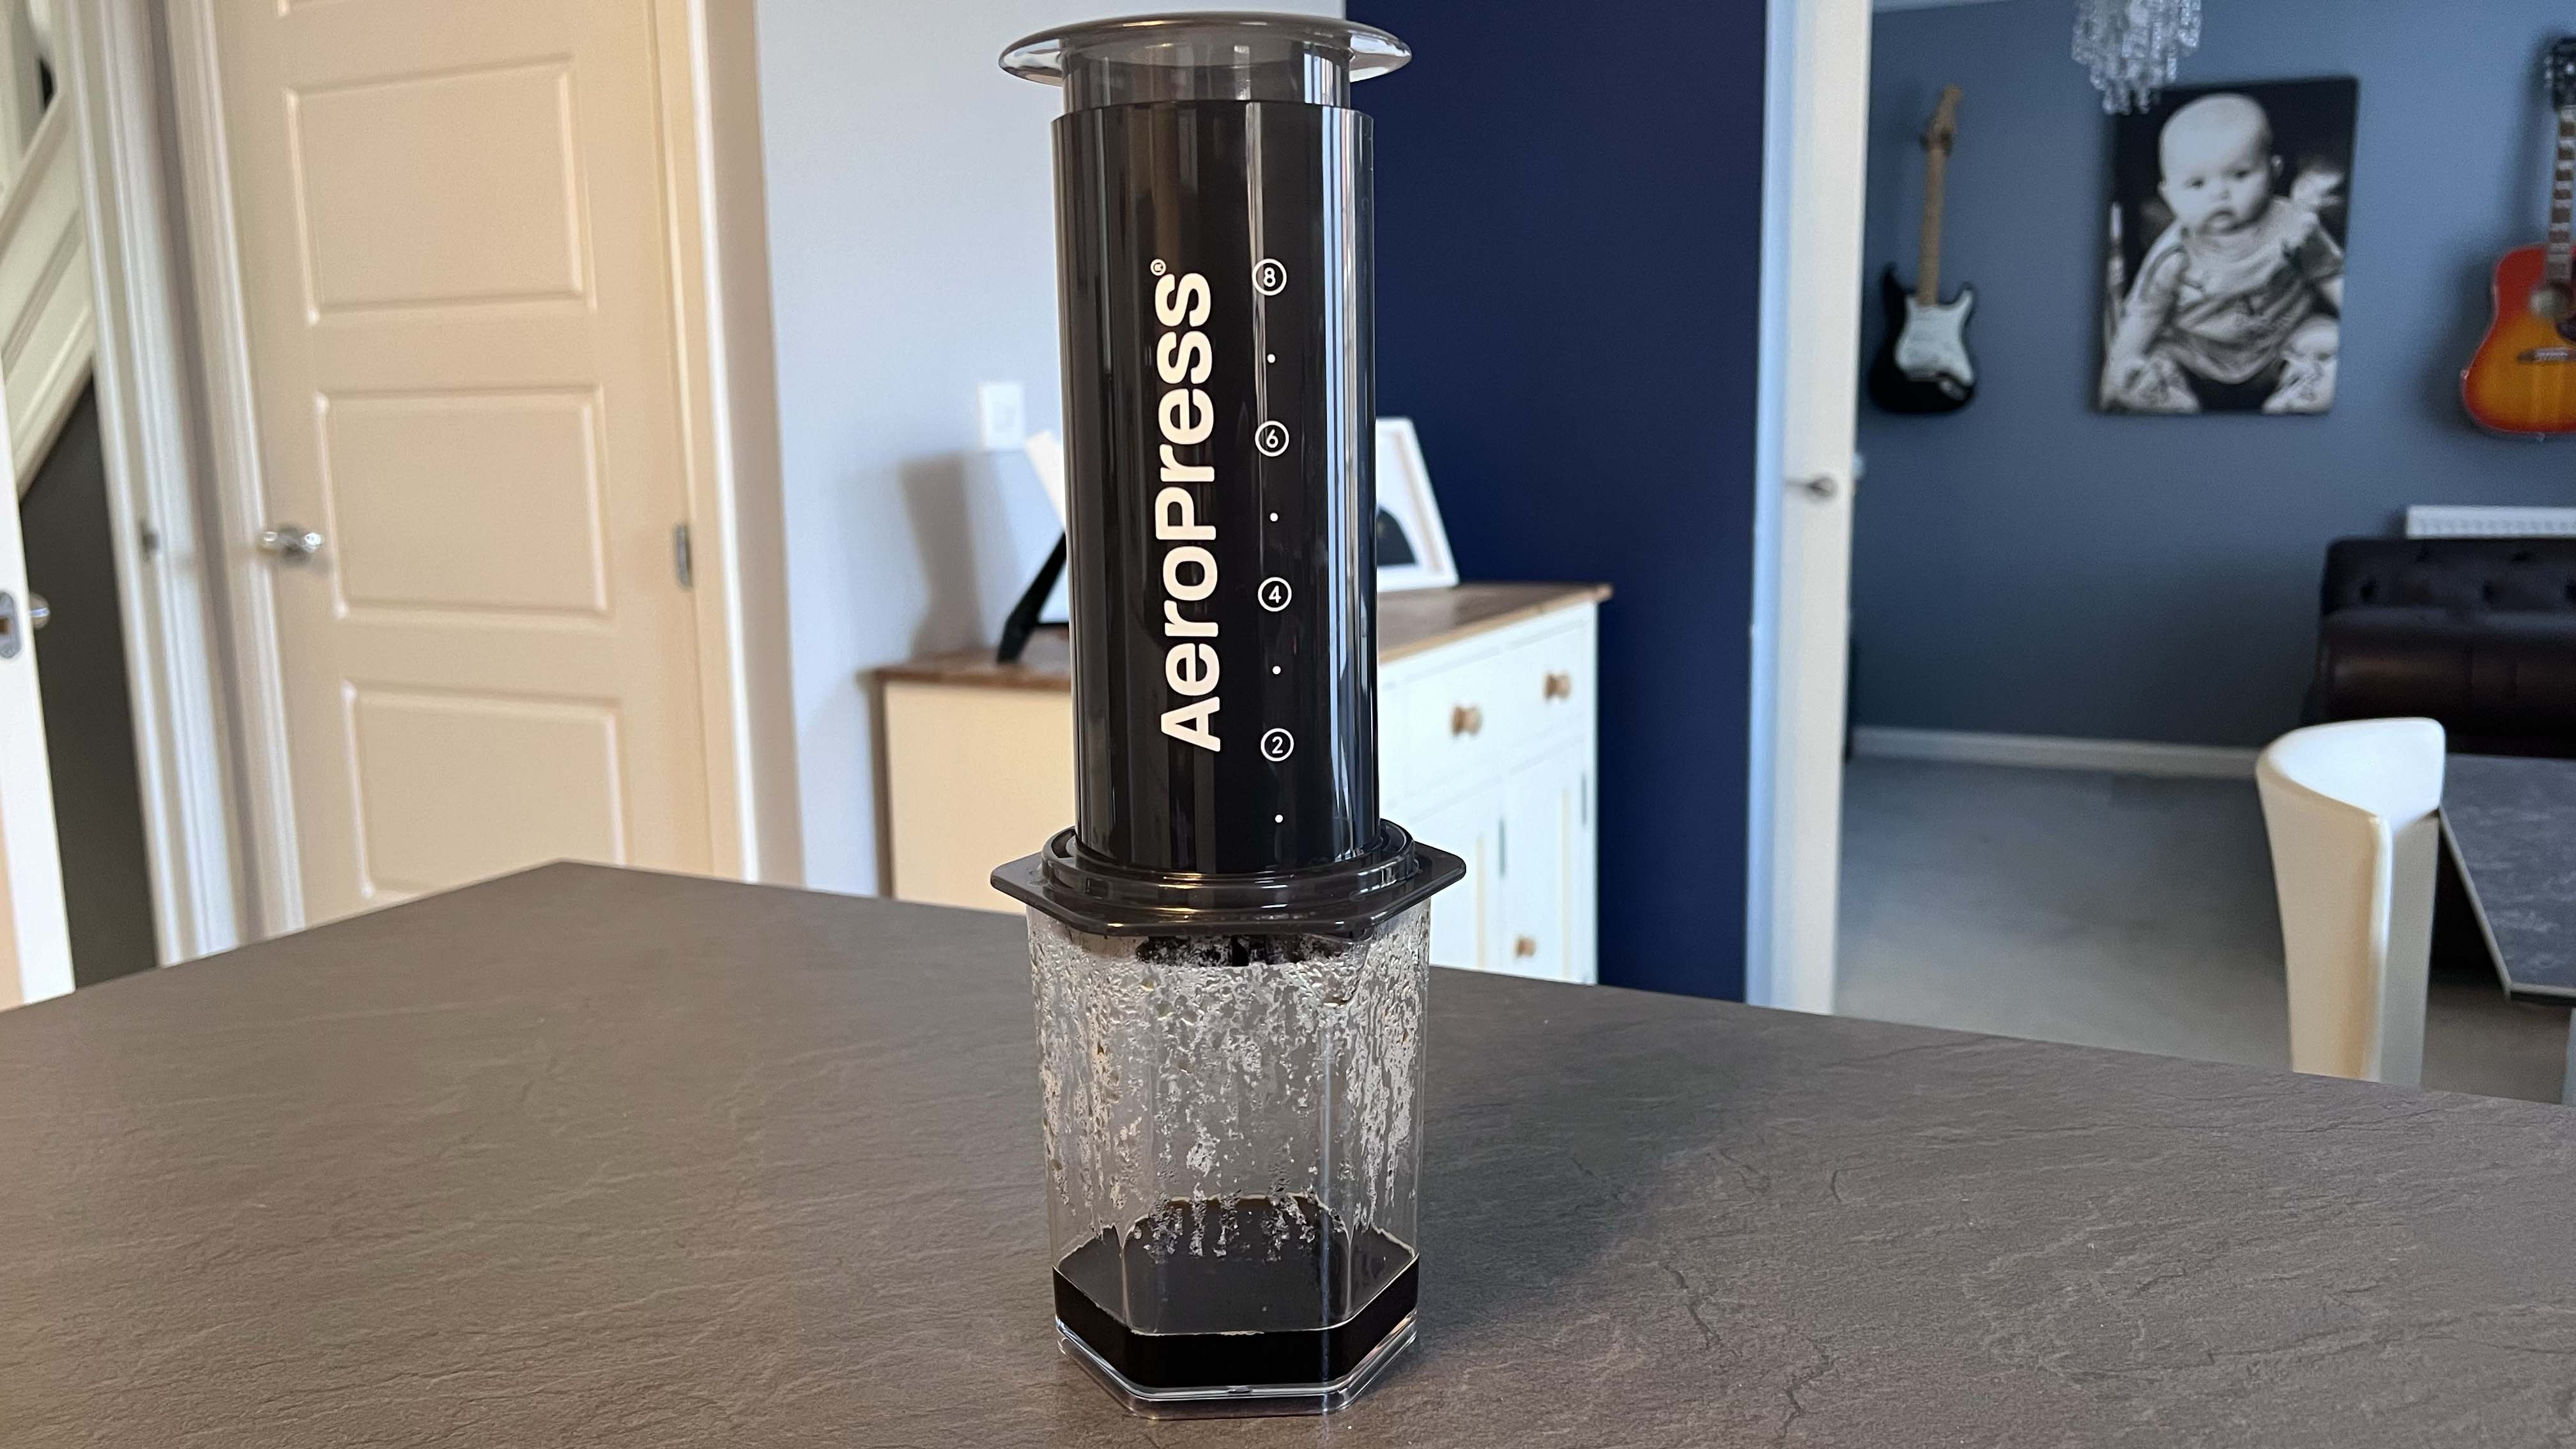
For almost 20 years, the AeroPress has been a favorite of coffee novices and aficionados alike. It's simple enough, and affordable enough for people just dipping their toe into home brews, while offering surprising versatility for people who enjoy the process of making coffee as much as they enjoy drinking it.
Yet despite it's huge popularity, many of its fans all have the same complaint – the original models only make one coffee at a time. This is a major sticking point for keen coffee drinkers or people from coffee-drinking families. That was until the brand launched the AeroPress XL.
Offering the same design, simplicity and versatility as the original but with twice the brewing capacity, the XL was seemingly the answer to their prayers. But is it really the perfect coffee maker, or all hype?
I've spent two weeks putting the AeroPress XL to the test, considering its design, features, performance, how easy it is to clean and if it's worth paying extra for to help you decide if it's the best coffee maker for you.
AeroPress XL: First impressions
The AeroPress XL arrives in a branded cardboard box with plastic used to wrap around the coffee press and accessories to protect it while in transit. It measures 11.75 x 4.75 x 4.75 inches (h x w x d) so it was a compact size to get through the door, and one that was easy to carry too.
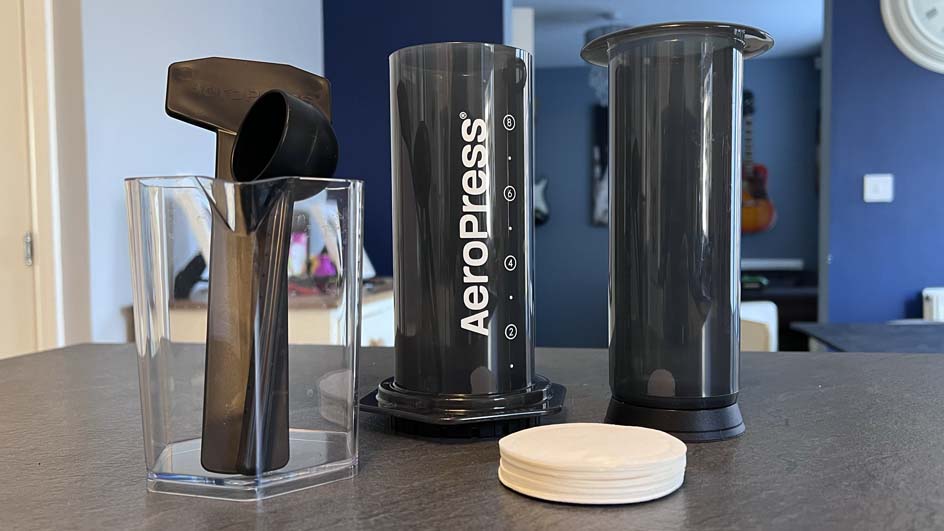
Design-wise, the AeroPress XL looks like a syringe. There's a plunger, chamber, and cap that can be stored together. AeroPress paper filters sit inside the cap. You also get a long plastic stirrer to help you reach the bottom of the chamber when mixing and steeping the coffee, and a coffee scoop. A level scoop holds 0.4 oz / 11.5g while a heaped scoop holds 0.5 oz / 14-15g.
For such a simple-looking piece of kit, and easy-to-use design, the AeroPress XL seems like a surprisingly versatile coffee press which offers espresso, Americano, and cold brew brewing styles. This is great if you're a coffee purist and understand the nuances of the different styles, yet for everyday coffee drinkers, the different drinks will likely look and taste the same. This isn't a criticism because the coffee tastes great regardless. It's to highlight that there's more to the AeroPress than meets the eye.
AeroPress XL: Price & availability
The AeroPress XL retails for $69.99. This is almost twice the price of the original $39.95 AeroPress, and a jump on the $49.95 AeroPress Clear, but produces twice the amount of coffee of both.
This price puts the XL in the same ballpark as high-end French press machines, such as the $72 Zassenhaus Double Wall press or the $70 Bodum Chambord. You can read more about the similarities and differences in our French press vs AeroPress guide.
The price of the original AeroPress is a huge part of its appeal, especially given that it promises to make espresso-style coffees more accessible to people who don't want to pay for a high-end machine. Even at $70, though, the AeroPress XL is still cheaper than the best espresso machines, and comes with a much lower learning curve.
For $70, you get the AeroPress chamber and plunger, a coffee scoop, a stirrer, a pack of paper filters, and a 20 oz / 590ml plastic carafe. A pack of 200 XL paper filter refills costs ~$12 or you can buy a stainless steel, reusable XL version for ~$20.
Note that you have to buy the AeroPress XL filters, not the original AeroPress ones. The original AeroPress filters are too small to fit inside the XL's larger chamber and this will reduce the quality of your brews.
Elsewhere, if you want even more control over the brew, you can buy accessories such as the AeroPress Flow Control Filter Cap. This prevents any unwanted drip through and allows you to steep the grounds for longer, while creating greater pressue.
You can buy the AeroPress XL directly from the AeroPress website, but it’s also available from major retailers like Amazon, Walmart, and Target.
Score: 4 out of 5
AeroPress XL: Design
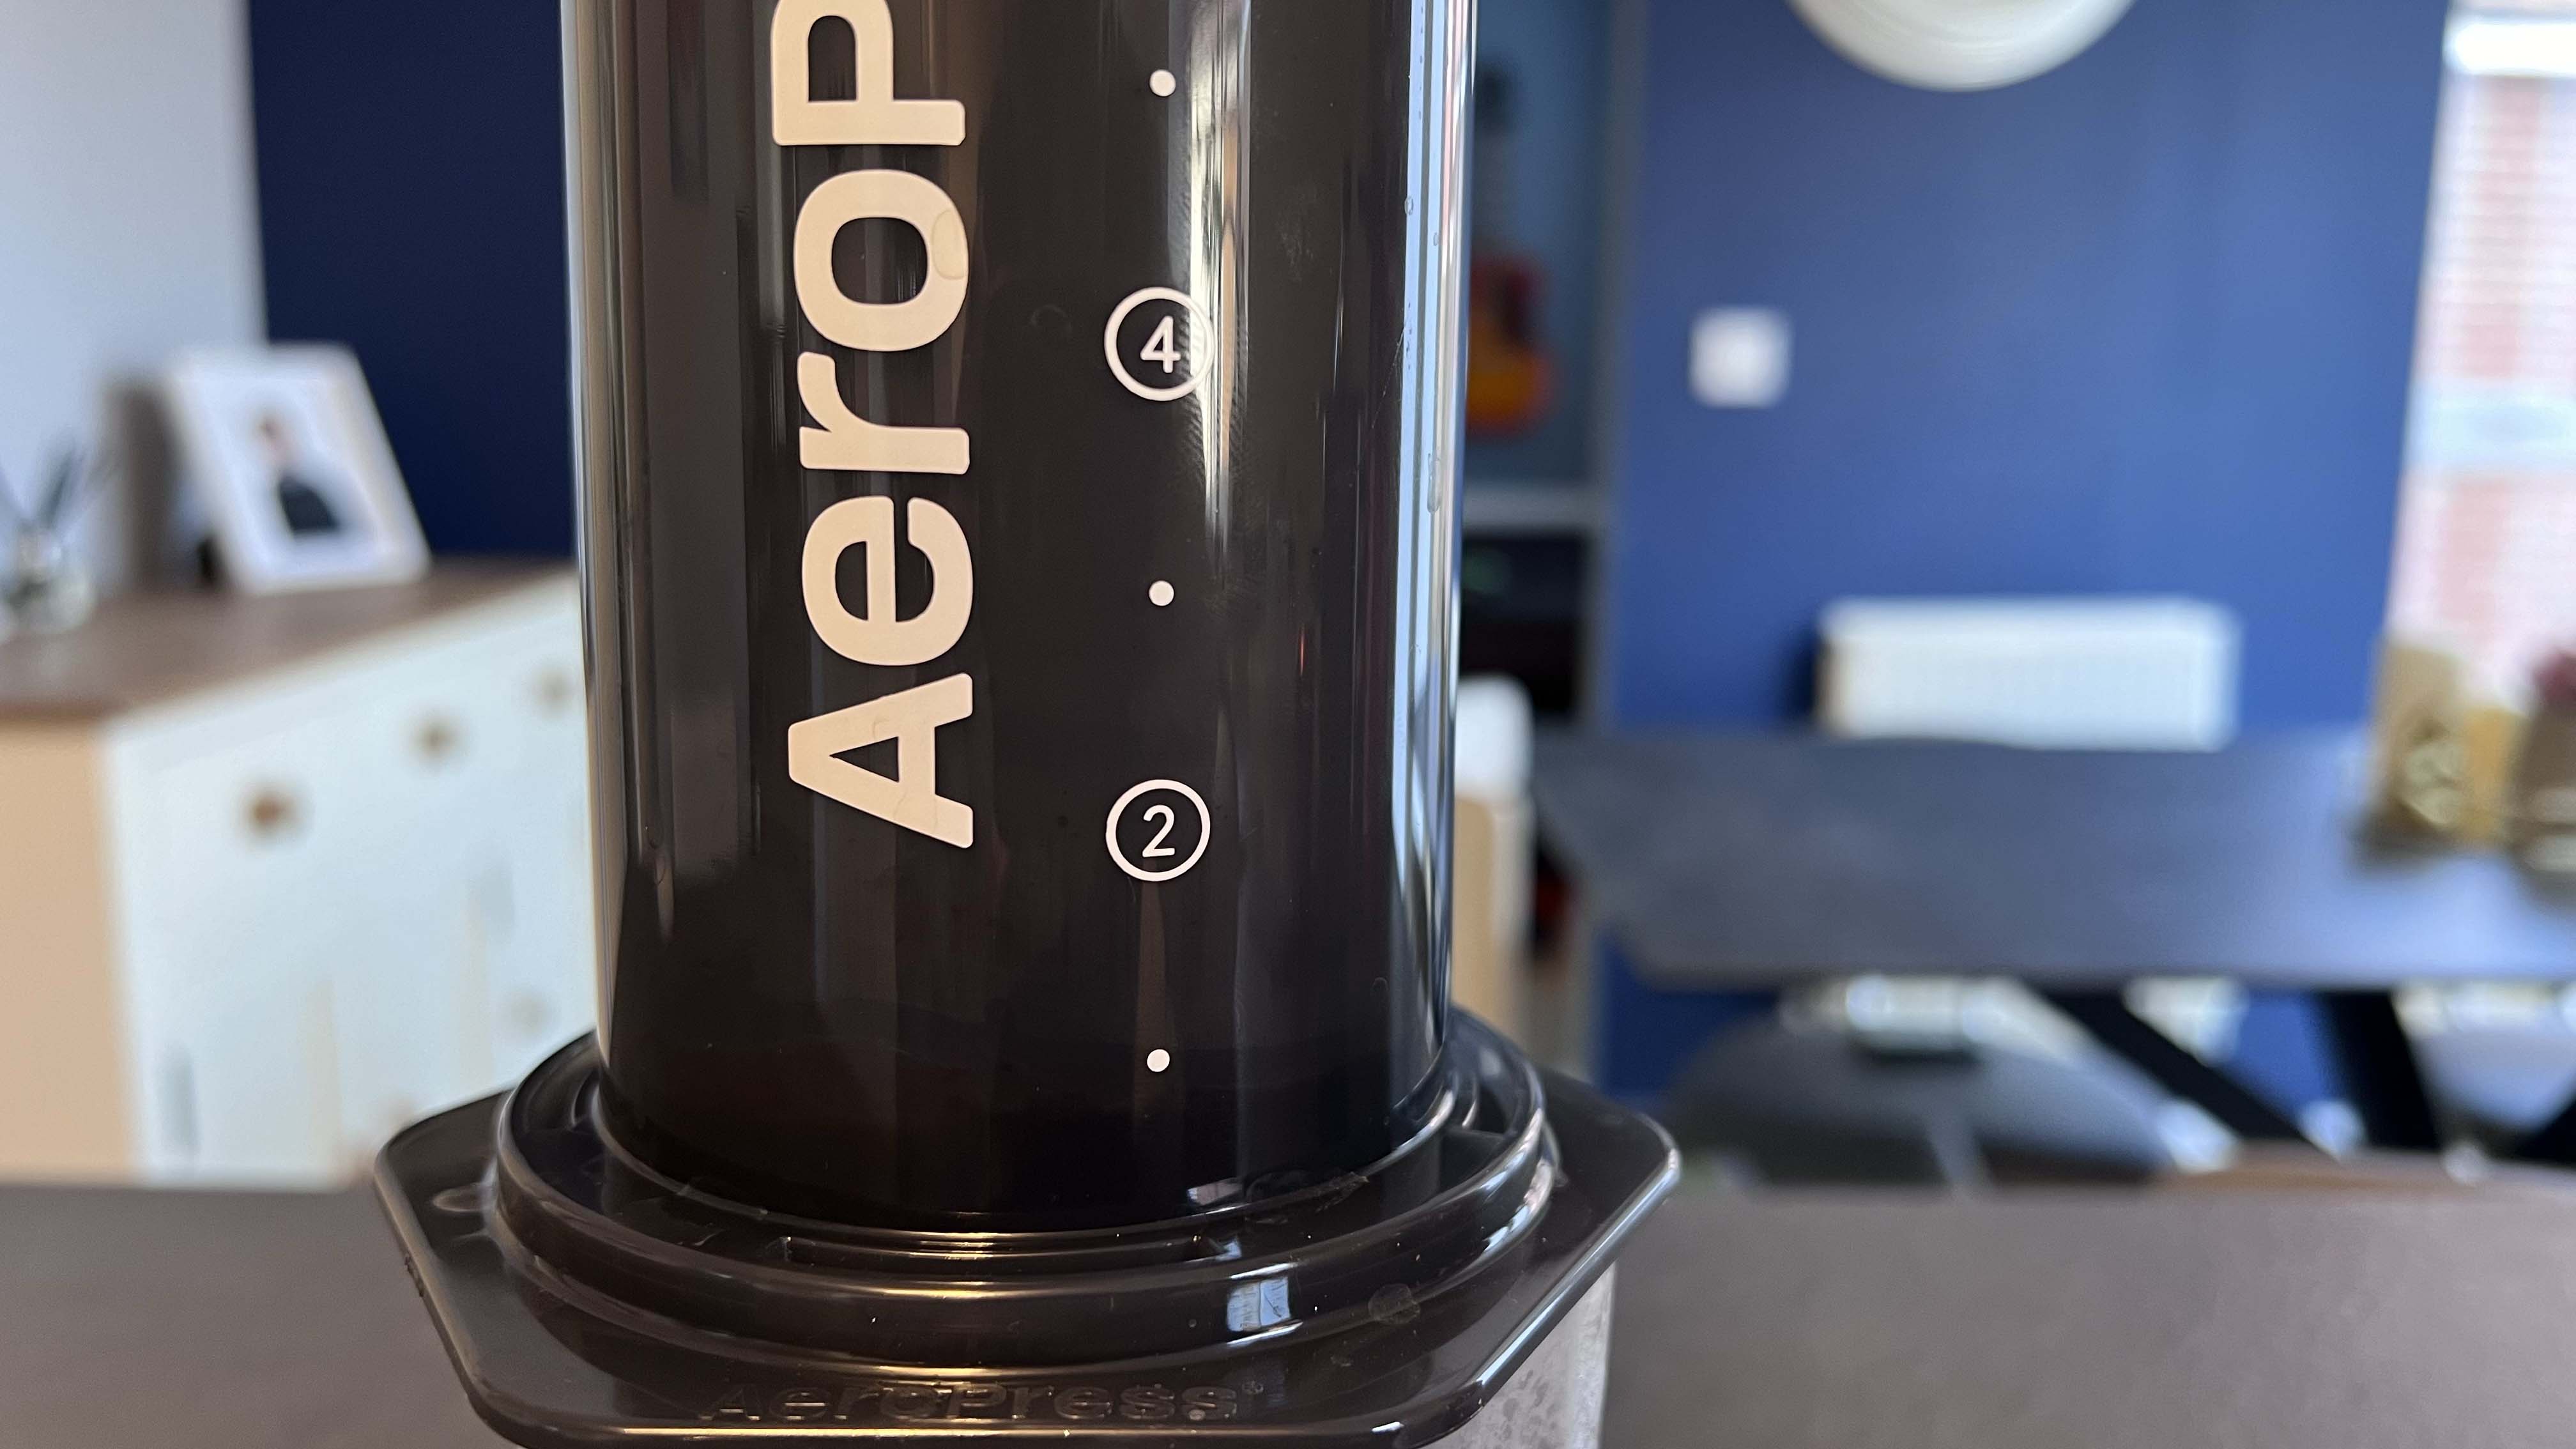
The AeroPress XL retains the fundamental design of the AeroPress Clear but is noticeably larger due to its higher brew volume. The chamber is made of semi-transparent black plastic with numbers and white dots on the side, used for measuring the water volume.
The plunger consists of a black cylinder made of plastic, with a silicone seal. The coffee scoop and stirrer are also made of black plastic, as is the cap that you screw into the bottom of the chamber. And the carafe is made of Tritan shatterproof plastic that's designed to look and feel like glass.
To set up the Aeropress XL, put your filter of choice inside the plastic cap and screw the cap onto the bottom of the chamber. Add the coffee grounds and water to the chamber and leave to steep for up to three minutes. Then push the plunger into the top of the chamber. This creates the pressure needed to force the coffee through the filter and into the carafe.
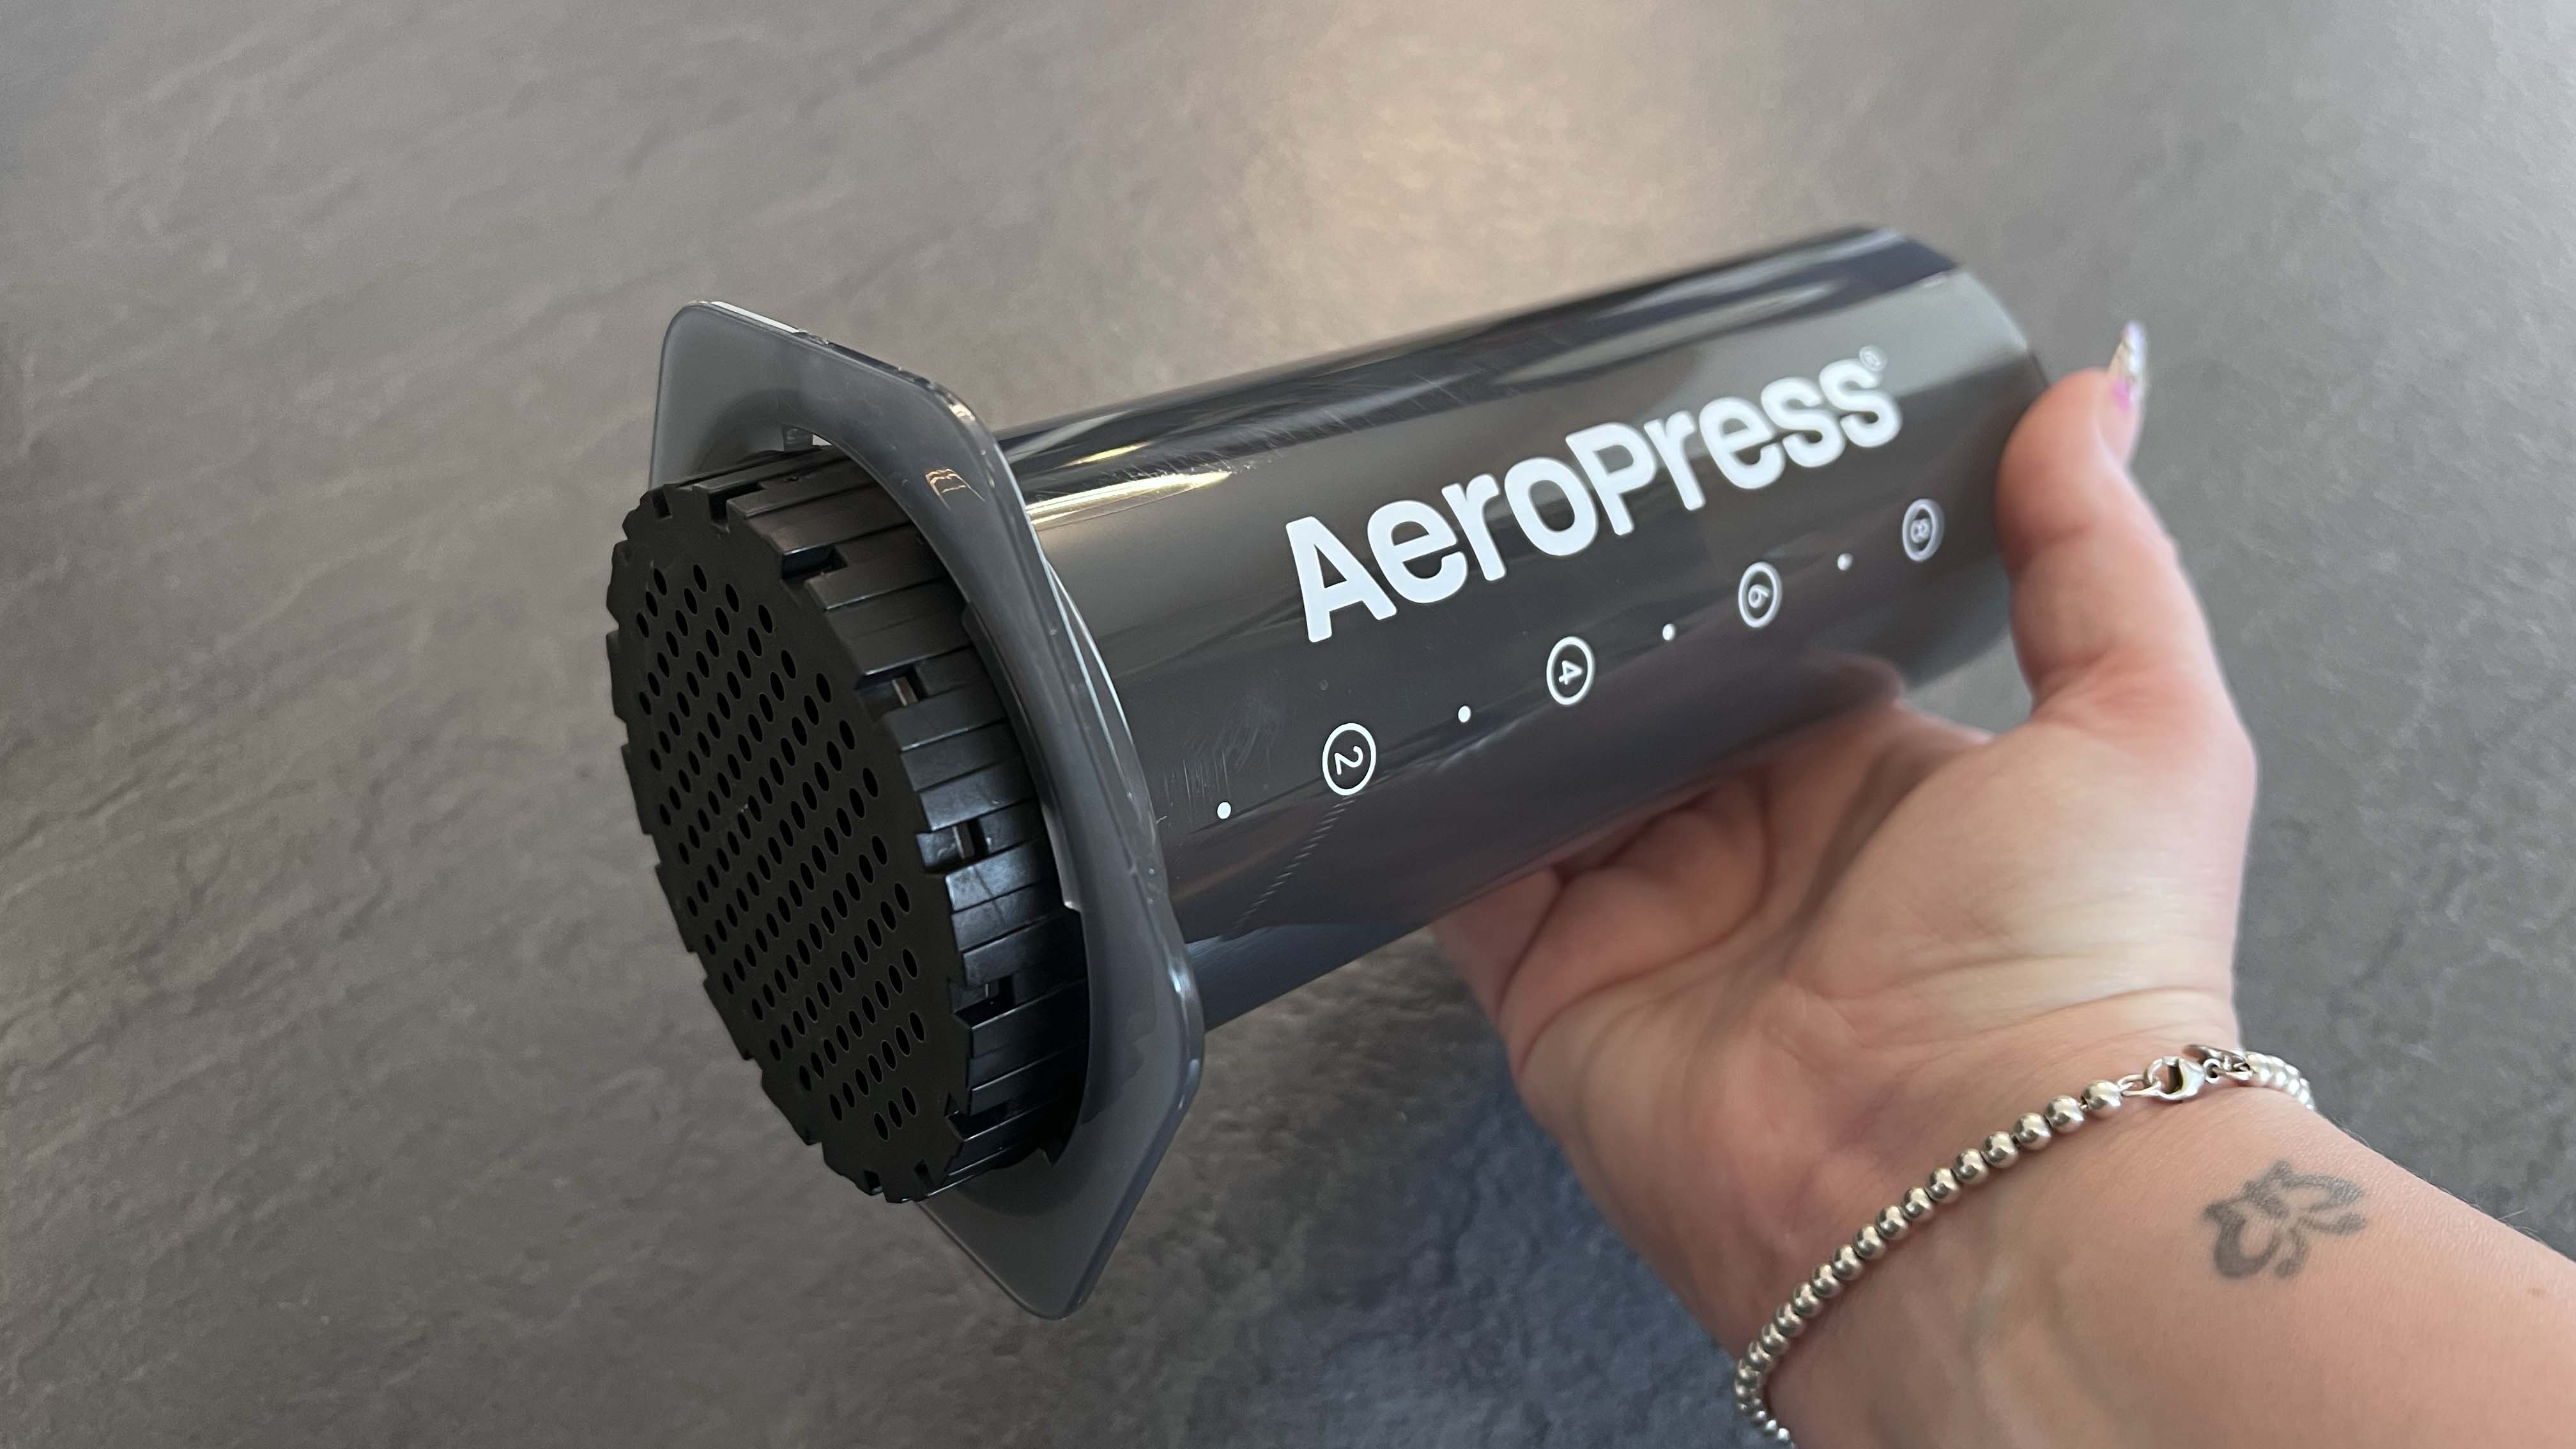
The carafe, and AeroPress XL chamber can hold up to 20 oz / 590 ml of coffee, which is twice the capacity of the AeroPress and AeroPress Clear. As a result, almost every element of the XL is larger, except the coffee scoop. When assembled, the XL measures 18in / 45cm at its tallest, before the plunger is pushed down, or 11.75in / 30cm at its shortest. The chamber alone measures 7in / 17.8cm.
Despite this larger size, the AeroPress XL can still be held in your hand, although balancing a chamber full of hot water on top of the carafe and attempting to depress the plunger at the same time can feel like a hazardous balancing act.
Overall the AeroPress lacks the elegance of a French press, or the industrial charm of a drip-coffee machine. Instead it looks more like a handheld blender. This doesn't make it most pleasing appliance to look at, and it's certainly not an appliance you'd show off with pride in the heart of your kitchen. Yet what it lacks in style it more than makes up for in substance and simplicity. It's small enough to store in away in a cupboard and it doesn't take up too much space on a countertop so this is a minor complaint.
Score: 4 out of 5
AeroPress XL: Key specs
AeroPress XL: Performance
The AeroPress makes some bold claims when it comes to performance, promising all the taste of an espresso machine with the precision of a pour-over and the ease of a French press. And in many ways it lives up to these claims.
I found that when figuring out how to use an AeroPress, the AeroPress XL when on test, it was almost identical, and as straightforward as the original to set up and use. The filter sits inside the plastic cap, which is then locked into place on the bottom of the chamber. The coffee grounds and water are added to the chamber and left to steep for up to three minutes, before the plunger is pushed into the top of the chamber. This creates the pressure needed to force the coffee through the filter.
The main difference is that rather than placing the chamber directly on top of a cup, like with the original AeroPress and AeroPress Clear, you drip the coffee into the carafe that's sold with the XL. This can be hazardous when managing the larger quantity of hot water afforded by the increased size. You don't have to use the carafe, of course. Any jug will do. Yet it's unlikely you'll find a cup or mug that's wide enough for you to balance the XL chamber on top of safely.
During my tests, AeroPress coffee consistently came out cleaner in both taste and appearance than the same coffee grounds used on my French press. This made it easier to taste some of the subtle nuances of the beans which tend to get lost when brewed on my Smeg espresso machine.
The paper filters are fantastic at getting rid of grit and for helping you control the flow of coffee into the carafe and I can see why you have to be so precise with the size of filters you buy and use.
The AeroPress has a so-called 3-in-1 brewing process – immersion, aeration, and pressure. The immersion step allows you to infuse, or steep, the water with the coffee grounds in the chamber for as long as you like, before attaching the plunger. Once the plunger is pushed into the chamber, it creates an air-tight seal. As you apply gentle pressure, the water is pushed through the grounds, aerating and extracting the coffee flavour into the carafe below.
This combination is why the AeroPress has achieved such a cult following, because it helps you achieve a distinct flavor profile that strikes a balance between the robustness of French press coffee and the smoothness of pour-over. Even my weakest brews were full of richness and body.
The instructions come with four AeroPress coffees to try to get you started: Americano, latte, cold brew, and espresso.
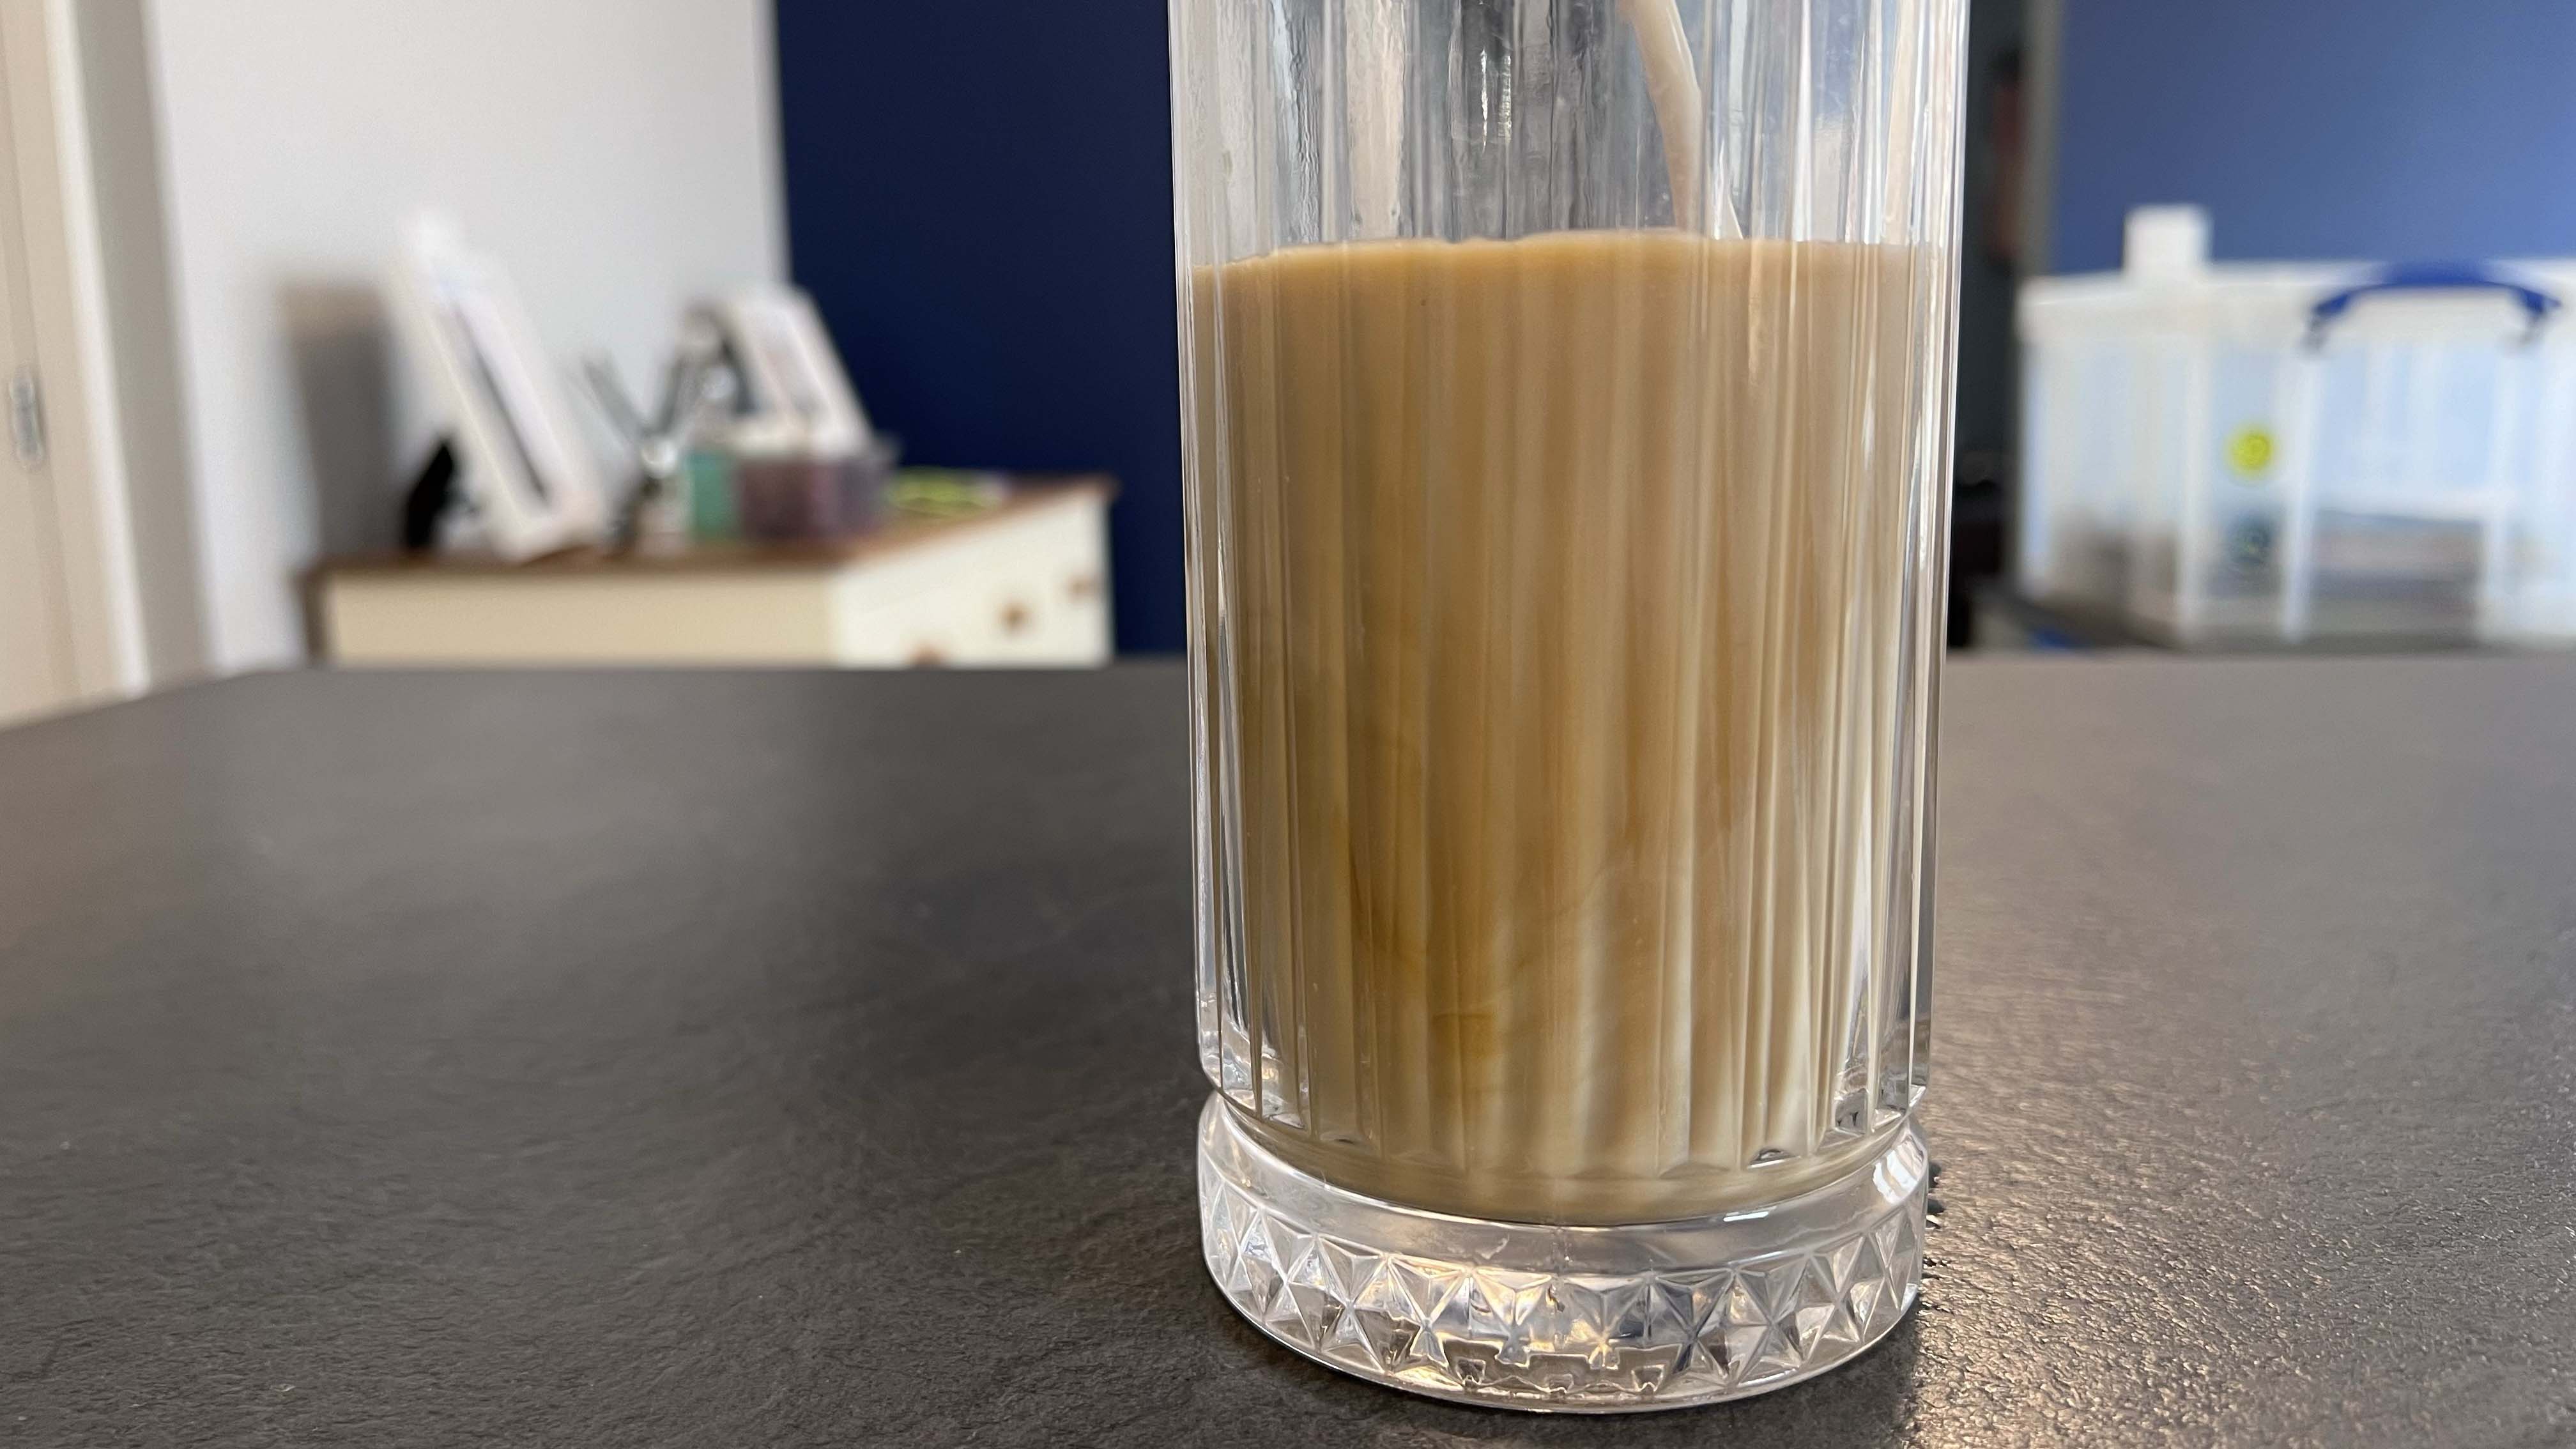
The easiest of the four to master is the Americano. It's the most suited to the larger size of the XL and you can make a large jug of great tasting coffee with ease. The most surprising of the four was the cold brew. A cold brew uses cold water to brew the coffee and, as a result, usually takes hours to infuse with flavor. While the cold brew produced in the AeroPress didn't have the same depth as day-long brews, it was surprisingly full bodied while being mellow. This is the first time I've felt inspired to regularly make cold brews at home.

Elsewhere, the latte claims are a little misleading. You can't make a latte with the AeroPress alone – you still need to froth the milk separately and if you just use warmed milk, the flavor falls a little flat.
I also take issue with claims that the AeroPress produces espresso-style shots. One of the things I love most about an espresso from my Smeg machine is that it's highly concentrated, oily and has a layer of thick crema on top. No matter how fast or slow I pushed the plunger, or how much I tinkered with the water-to-coffee ratio, the AeroPress coffee never came close to the same feel and texture. It makes a strong, great-tasting coffee that works well as part of long drinks, yes, but it's far from what I would consider an espresso for my favorite drink, ristretto.
This tinkering is part of the fun, though. Over the course of two weeks, I experimented with all kinds of recipes and methods. Making what feel like minor changes to the temperature of the water, or the grind of the beans, or even the speed of the plunger, can create major changes to the taste and texture. The up side to this is that it makes the AeroPress surprisingly versatile. The downside is that achieving any form of consistency can be tricky. Unless you're weighing the grinds to the gram or carefully monitoring plunger pressure, it can prove difficult to repeat a successful brew (or know exactly what made a brew a failure.)
It's easy to clean and there are no mechanical parts to potentially break, which makes maintenance easy and affordable. My biggest complaint is that the unique nature and size of the AeroPress XL means you have to use proprietary XL paper filters, which cost $11.95 for 200. Regular AeroPress filters won't fit, and you can't easily buy cheap alternatives.
Score: 3.5 out of 5
Should you buy the AeroPress XL coffee maker?
Buy it if…
Don’t buy it if…
AeroPress XL Coffee Maker: also consider..
AeroPress' patented technology means there are few alternatives that can truly rival the brand for design, performance, and ease of use. The obvious alternative may seem like a French press, but in my experience the AeroPress produces a much cleaner, smoother cup of coffee so it's not quite like-for-like.
Instead, the most like-for-like option comes from the brand itself, in the form of the AeroPress Clear. It looks almost identical and works the same but is nearly half the size and produces half the coffee per brew. You may find that the times you make a single cup of coffee outweigh the need for multiple cups, meaning the AeroPress Clear is the better, more affordable choice to the XL.
If you're on a budget, the AeroPress Original will save you $10 on the price of the Clear, and $30 on the price of the XL, without sacrificing features. The main difference is that it doesn't have the clear chamber.
Alternatively, if portability is your main reason for buying however, the $39.85 AeroPress Go is specifically designed with camping in mind. This makes it a great alternative to the Clear or XL and all folds up neatly in a cup.
If you're less married to the idea of the AeroPress' 3-in-1 system and are, instead, simply in the market for a manual coffee maker, the $129 WACACO Picopresso Portable Espresso Maker is a great alternative. It's a handheld coffee maker that mimics the mechanism found in a full size espresso machine to create espresso shots. The pressure is created by squeezing the side of the Picopresso and the coffee flows from the bottom. It is more expensive, but gets you closer to the taste and texture of an espresso than the AeroPress range.
The AeroPress Clear is relatively pricey, given it doesn't include many additional features compared to the Original.
The AeroPress XL is the most expensive offering but may be a better investment if you plan to make coffee for more than one. It sports a larger capacity - 20 oz compared to 10 oz with the Clear and the Original. That's the equivalent of 6 espresso-sized drinks.
How I tested the AeroPress XL Coffee Maker
- Tested for two weeks, making multiple drinks per day
- Tested a variety of drinks, including espresso, latte, american, cold brew, and more
I tested the AeroPress XL over a period of two weeks, forgoing my usual espresso machine throughout the review period. My partner and I used the AeroPress XL to make hot and iced drinks, as well as cold brews, and we experimented with different coffee types including latte, americano, and espresso.
Read more about how we test.


