RECORDING WEEK 2024: If you’ve followed our recent guides to getting started with MIDI, and establishing your studio space, then you might have started comfortably working with your DAW, virtual instruments and tightly-linked external devices and instruments. Right now, you’re essentially working a perfect controllable bubble where - software crashes permitting - nothing can ever go wrong.
Every input appears on its own discrete channel and can be brought forward in the mix with the level control or sent spinning into the background with delay or reverb. Whatever you can imagine you can probably achieve using the features already built into your DAW.
So working with microphones, where suddenly the real world comes crashing in and causing chaos, can be something of a wake up call…
While there’s no such thing as ‘the right way to do it’ and musicians are constantly encouraged to ‘experiment’ or ‘find your own way’ there’s no denying that when something is badly recorded you can hear it, and if that one thing is the lead vocal then all your work perfecting the rest of the track will be for naught.
The good news is we’re here to help. Here’s how to get a perfect vocal safely into your DAW.
The goal is capture a vocal performance in as clear and unmolested a form as one of your plugins or a direct injected guitar or synth. Vocals are then just another instrument and ingredient in your mix and as tweakable and perfectable as any synth track or drum machine.
While famous studios have famous sounds - Ocean Way Studios live room is legendary, for example - when you’re recording at home the last thing you want is for your vocals to sound like they were recorded in the spare bedroom… Fortunately there are countless ways to ‘remove the room’ from your vocals and most won’t cost a penny.
Why learning basic mic technique is important
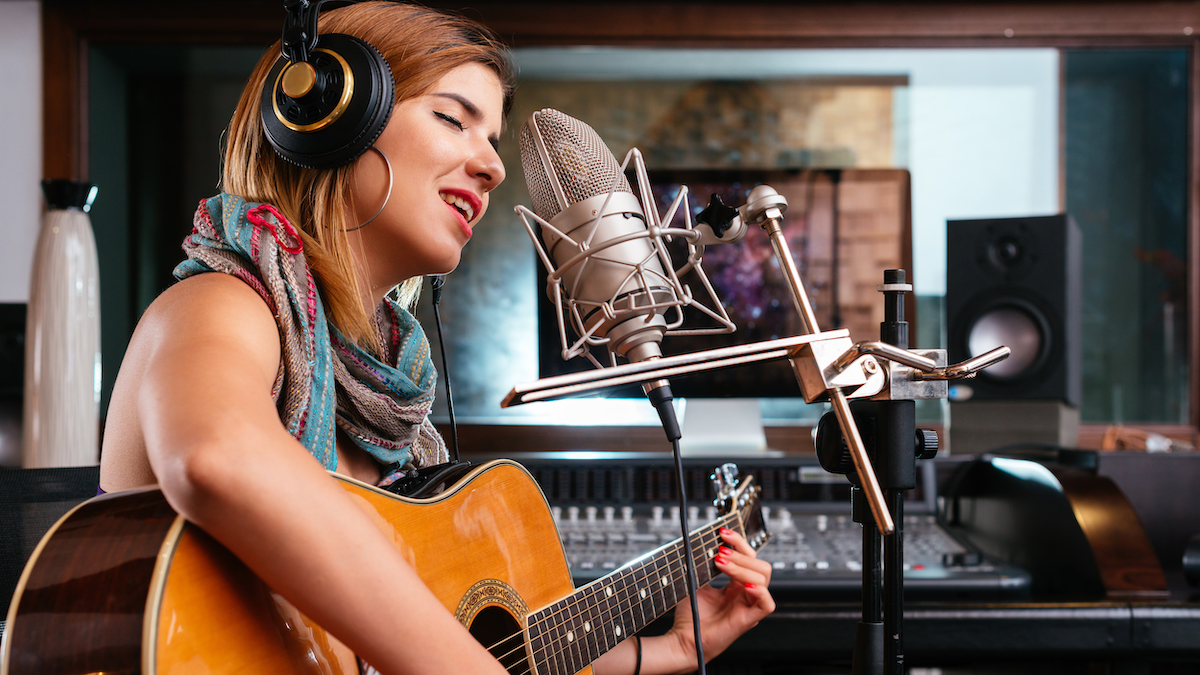
First and foremost you need a little microphone technique. It’s surprising how quickly even amateur vocalists can learn the art of ‘charming’ a mic - moving in close for a more intimate sound and then backing off for the peaks and soul-searing highs.
Think you’re listening to a plugin and clever production trickery when you hear your favourite vocalist hit the spot? More likely they’ve simply got their mic technique right, leaving the producer to sit back and take the credit.
The basics are simple:
• Firstly, your vocalist needs to warm up their vocal chords with plenty of practice before even attempting a take. While it’s tempting to capture that first take for a stab at spontaneity, it’s more likely that the pressure of making a recording too soon will just upset and offset the vibe and your vocalist’s performance.
Instead let your vocalist flex their muscles and get used to the sound, space and the moment around them. Try and get them comfortable, relaxed and hearing that they sound great in their headphones before thinking about engaging record.
• Your vocalist needs to lean into the mic for those softer intimate verses… And - of course - lean back for the loud bits. Marking when to ‘dig in’ and out again on a lyric sheet is therefore a necessity. Identify the ‘tender moments’ where you want more emotion and the times when they need to back off.
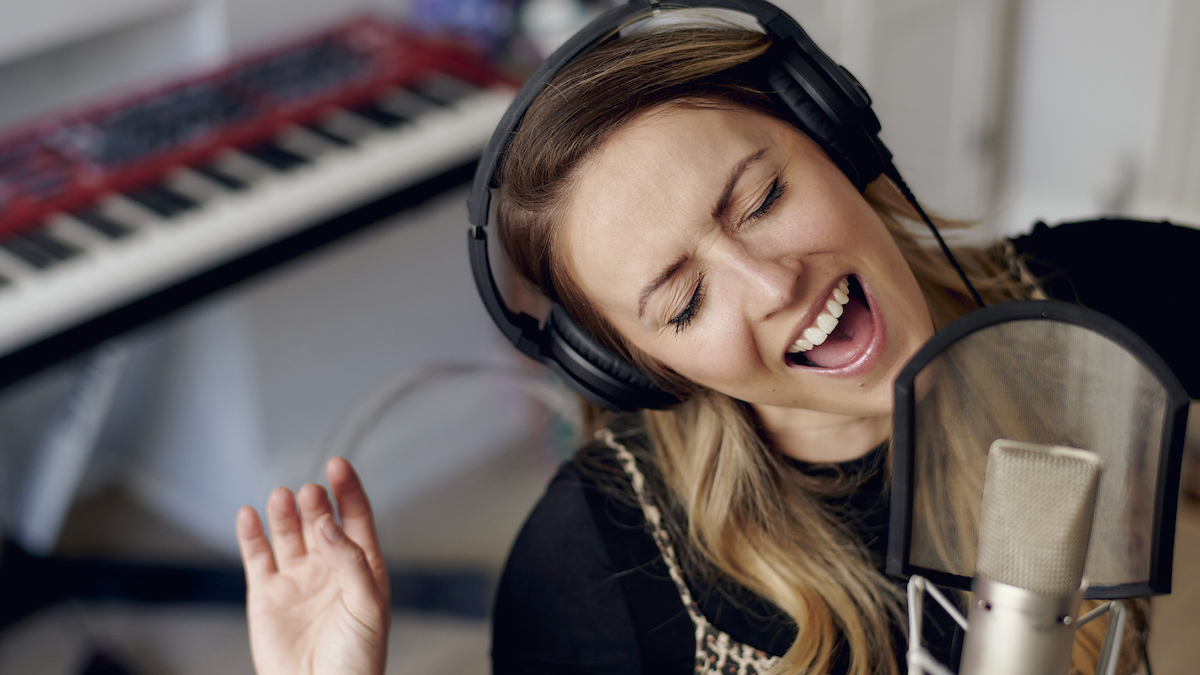
But do be aware that the further you get from the mic the more you’ll hear the room (and the more there’ll be a clash between your vocal sound and the rest of the controlled elements of your track). And if you’re using a compressor on the vocal (and you should) with too high a setting this will only ‘helpfully’ bring up the level and the sound of your spare room to make up for it…
Learning how far to move and what works best is a process of experimentation as every track, vocalist and studio will be different.
• Want some more tricks? Try encouraging your vocalist to turn their head ‘off axis’ - turning away from the mic for a moment - to take the edge off loud popping plosive ‘p’s or hissing ‘s’s. The more you can get your vocalist to take on the ‘heavy lifting’ of level management the more your compressor can be used to even out and polish your vocal rather than crashing around on damage limitation.
• Recording backing vocals? Remember that your backing vocals should complement not compete. As such they should be sung in as controlled and measured a way as possible. Try to make your voice ‘thin’. Imagine backing vocals as another instrument in the track rather than a rival to your lead. Keep levels consistent, concentrate on the timing of syllables to match the main vocal and while singing a backing vocal may involve making a curious or contrived sound, when mixed in with your emotion-drenched lead it’ll lock in as the perfect accompaniment.
Take the time to make a great monitor mix
While the finished track that you're working towards might sound great in your head, letting your vocalist in on your plans can only help get the vocal that you’re looking for.
So make a finished track mix that sounds as good as you can. Play it good and loud through your vocalist’s headphones and (if you can) add effects such as delay and reverb to their monitor mix so they ‘sound like a record’ while they’re singing.
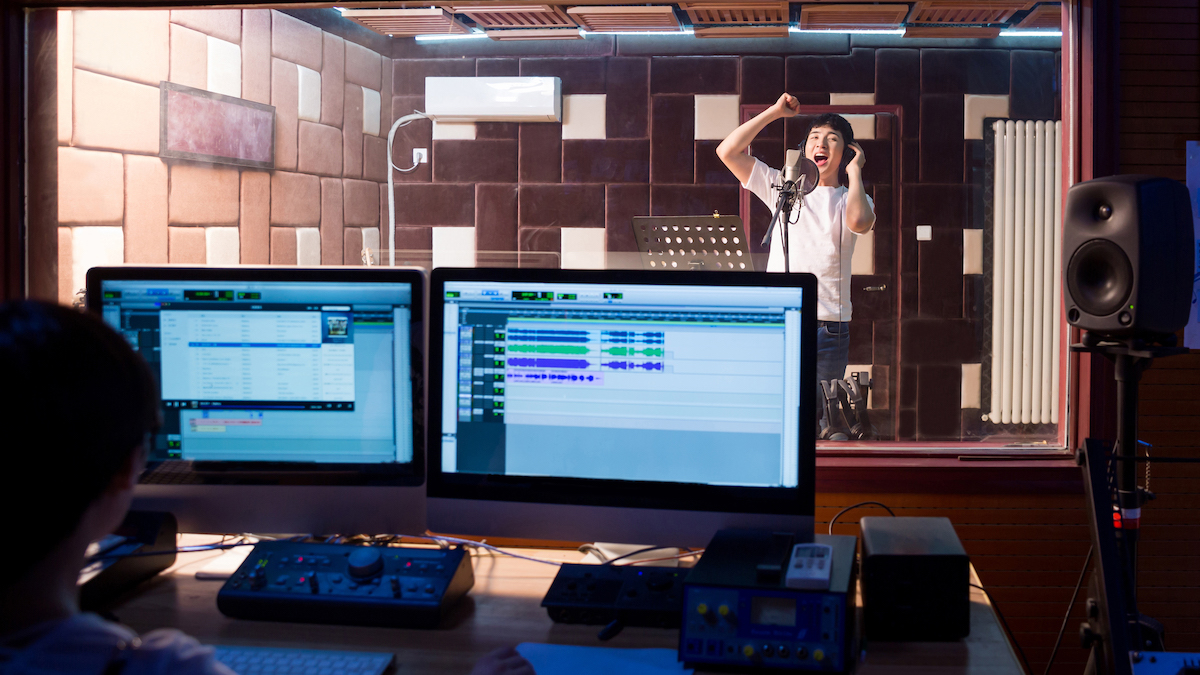
Hearing their vocal loud against the mix will help them immensely for tuning and the better they sound the more confident they’ll be to sing out and deliver the goods.
You may want to swap out your usual headphones for a pair with better sound insulation at this point so ask around, have a few pairs to hand and use whichever keeps the sound in best. You may find that your cheapest/worst headphones do the job best: anything to stop leakage being picked up on the mic. But don’t worry too much if there’s a little bleed coming through.
Set the right pattern and put your vocalist in the right place
In the pursuit of the perfect vocal capture your mic choices can help greatly too. Most professional mics will have a switch to adjust their ‘pattern’ - that is the field of sound that they’ll capture in front of them. It’s therefore possible to choose as narrow a pattern as possible and have your vocalist deliver from that direction. Any sounds ‘off axis’ (such as the rest of your room) simply won’t be picked up by the mic.
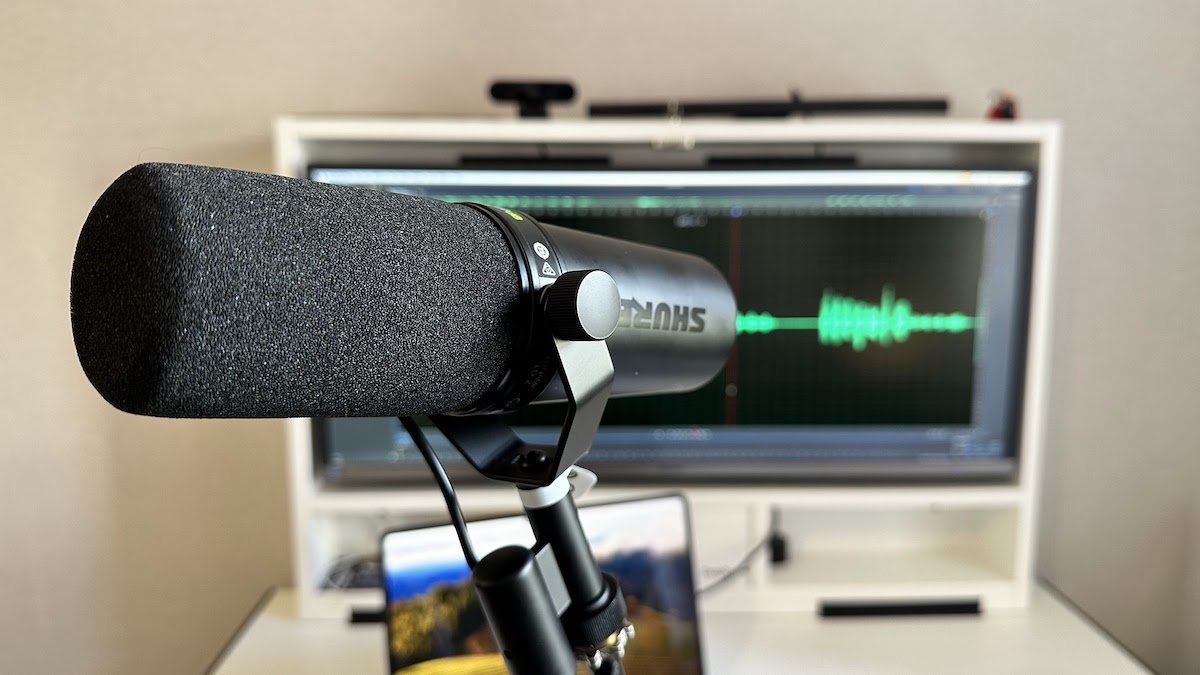
Legendary (though affordable) microphones such as Shure’s SM7 and variants are famous for their tight recording axis, making them ideal for recording in noisy or unfriendly spaces as they only pick up what’s directly ahead. No wonder they’re the podcaster’s mic of choice right now.
In short, read your mics manual and take the time to set the switch and experiment with a few trial runs before your vocalist turns up. You may also have a ‘pad’ switch on your mic allowing you to tailor its tone. Work out what you like and have everything set up as much as you can before the vocalist arrives to save stress and time wasting later.
Should you remove the room entirely?
A good vocal recording is one that doesn’t sound like it has been recorded in the garage (even if it was)… And while it’s possible to spend a fortune on studio baffles it’s not hard to devise your own with a mattress propped up against a wall and it's not that hard to construct your own ‘vocal booth’ for an instant pro sound.
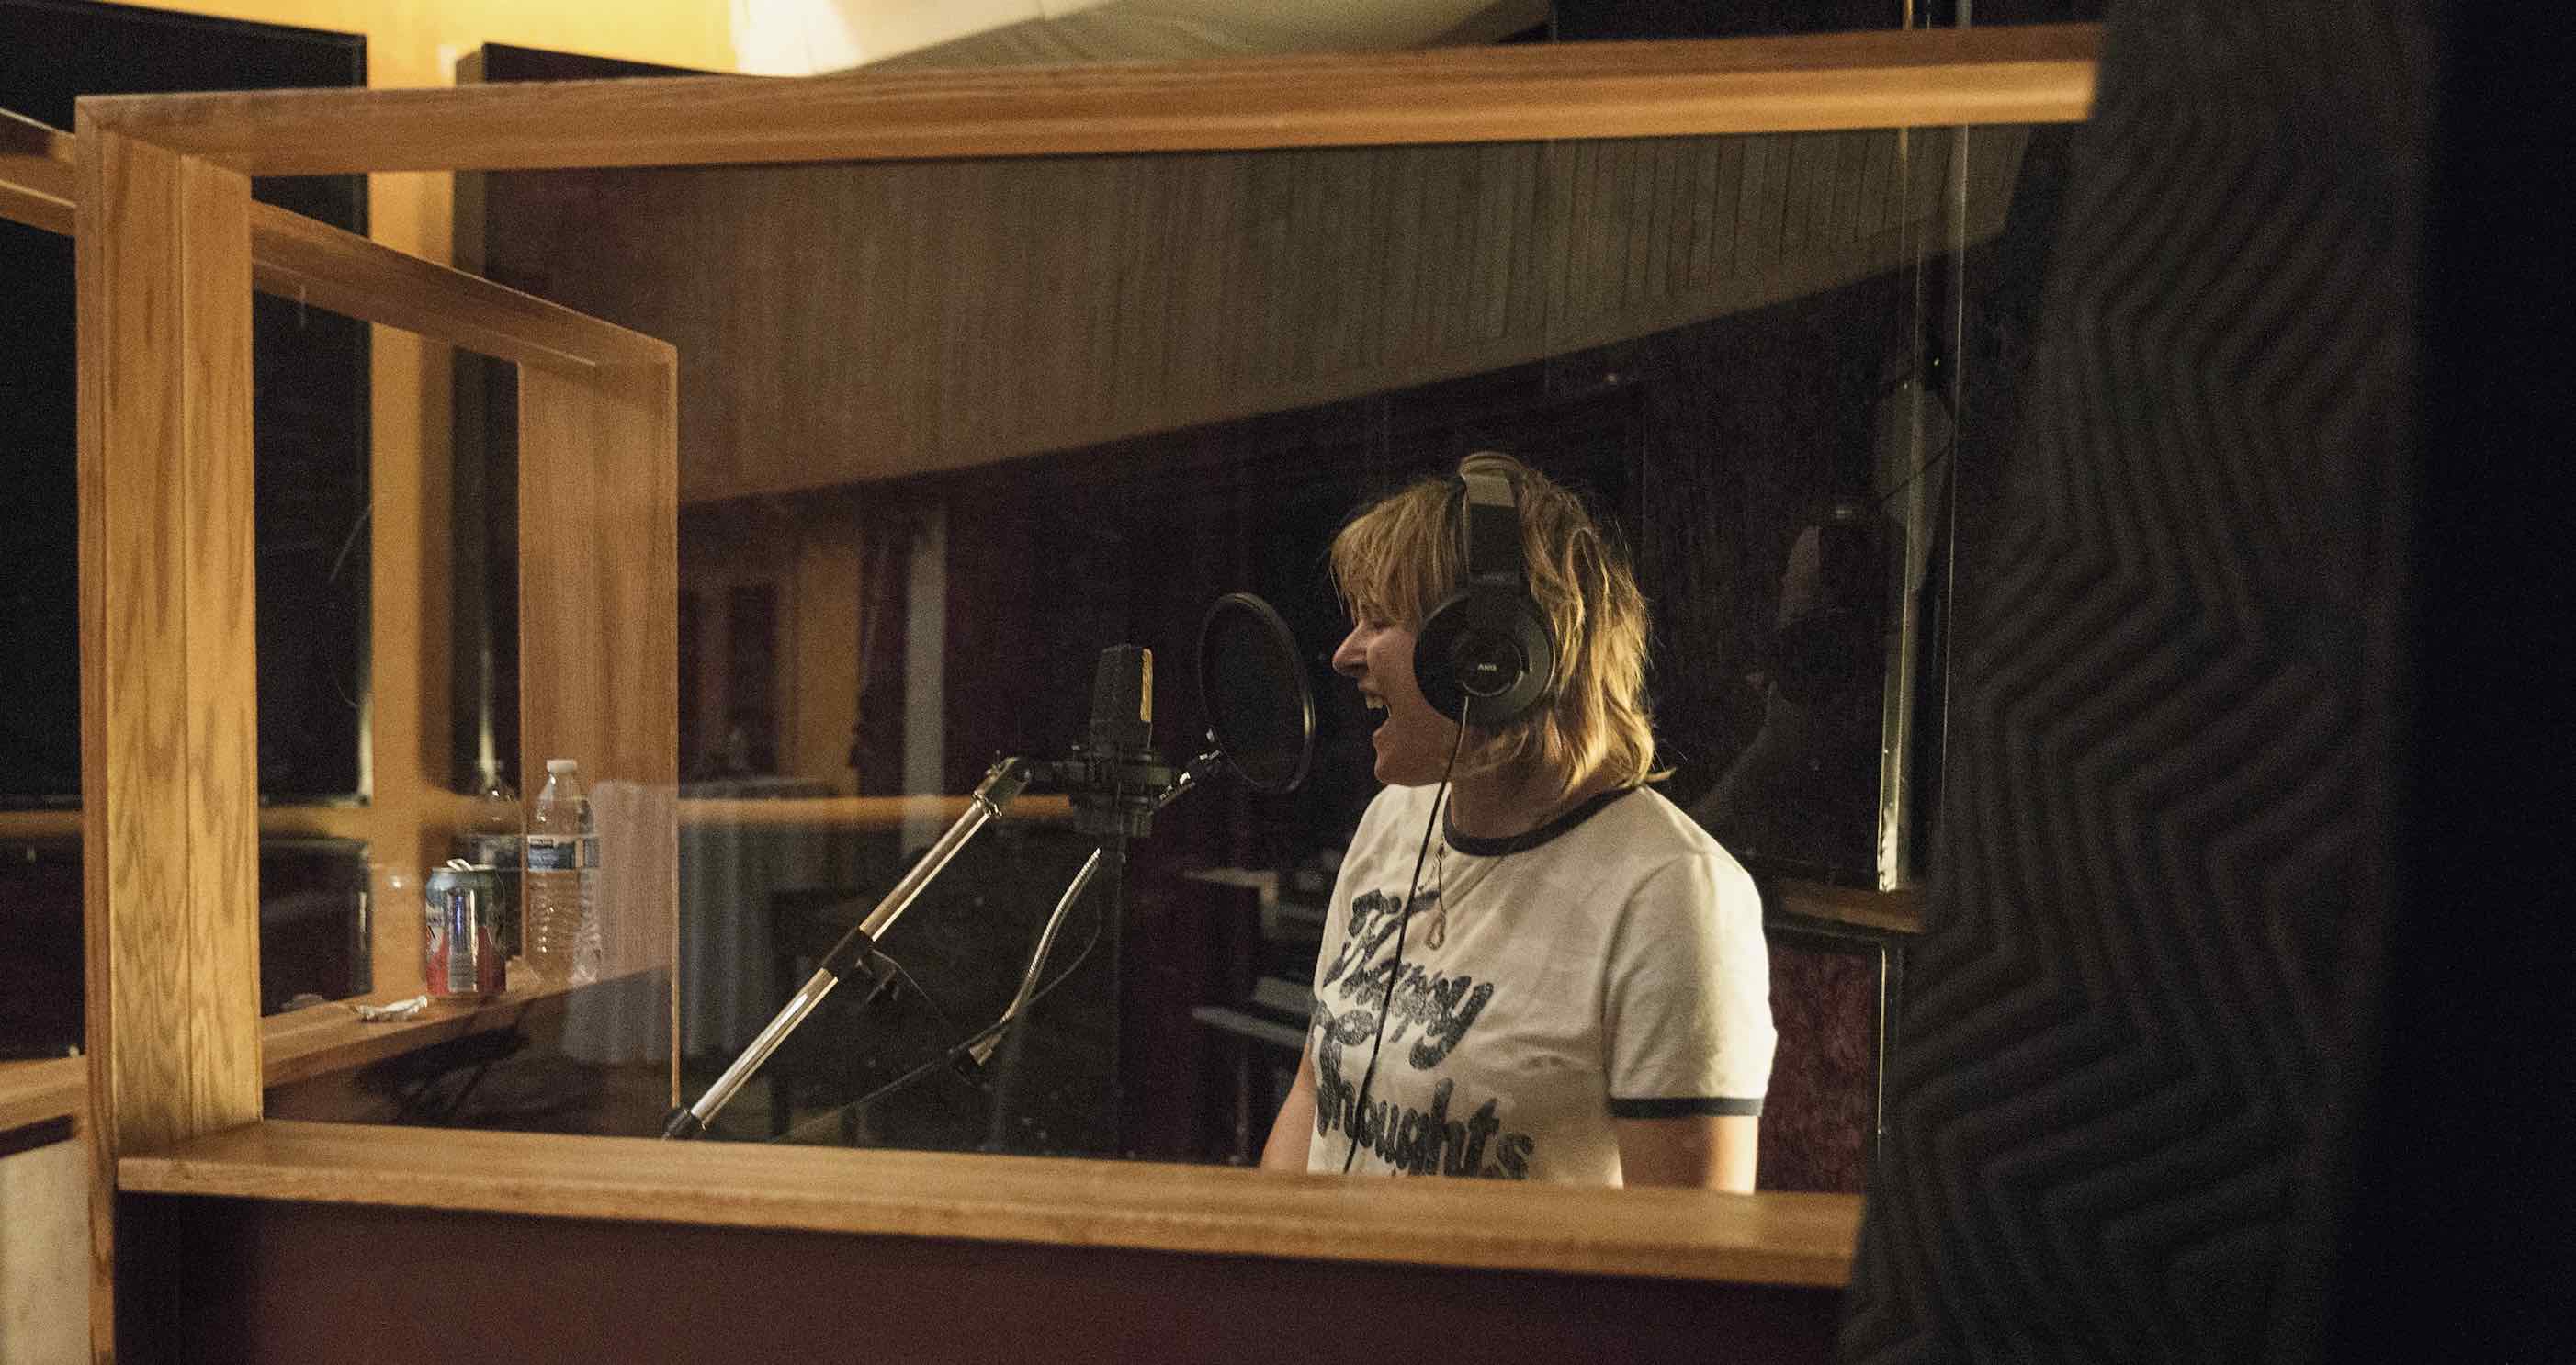
In fact, simply hanging sheets from string and mic stands around your vocalist will remove unwanted sound reflections and ‘warm up’ a cold, flat vocal in an instant. Or - as crazy as it sounds - why not have your vocalist record inside your wardrobe? A wardrobe full of clothes will soak up any reflections and deliver a perfect ‘dead’ sound. Or place a duvet over your vocalist’s head and mic (we’re not joking) for an instant, dead, up front sound that’s perfect for reverb treatment later.
Most of all, realise when you’re hearing ‘too much room’ and actively do something about it before recording hours of vocals that you’re going to find impossible to polish up and fit with your track later.
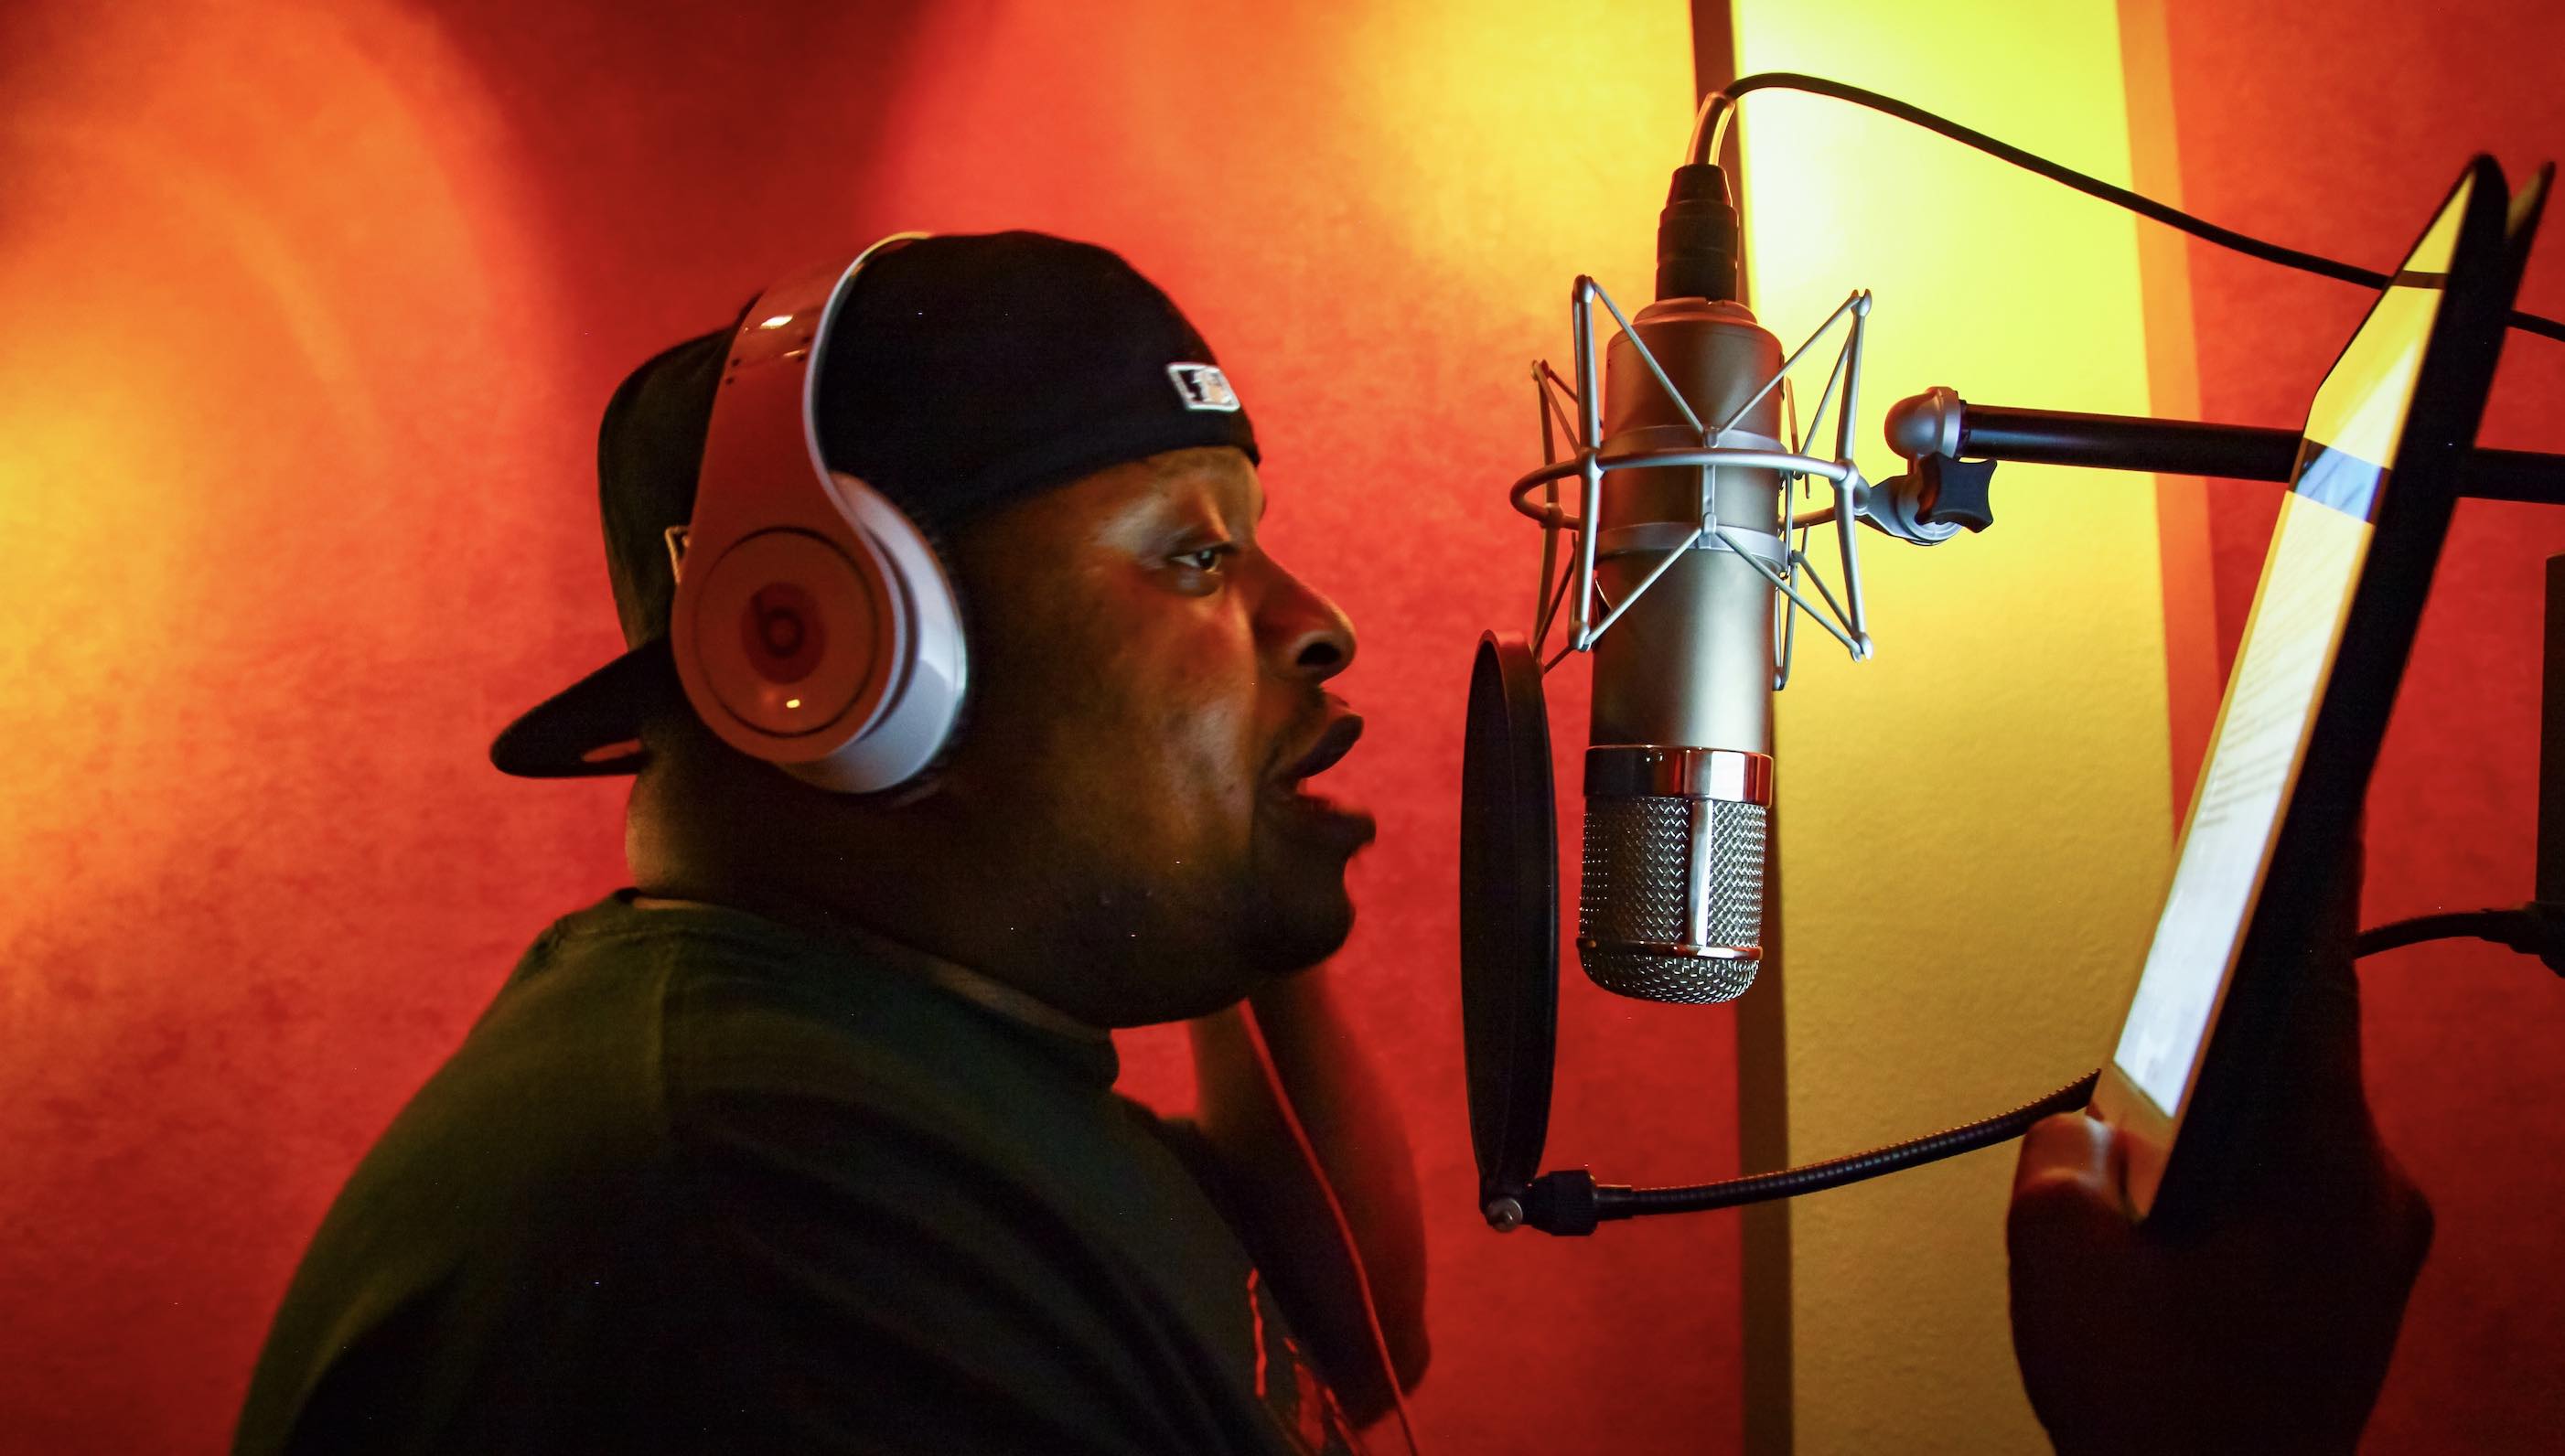
No matter how much you try to train your vocalist to avoid blowing out the mic with popping ‘p’s and ‘b’s, a pop shield - a screen between your mic and your vocalist - is something of an essential. They’re not too expensive and while it’s possible to spend more, even the cheapest model will save you trashing perfectly good takes purely because of a single plosive ‘p’.
Why you should watch your levels
Back in the days of tape, it was important to get a good level onto the tape as turning up a quiet recording only introduced more tape hiss. These days with digital however you’ll find levels far more forgiving with the far greater sin being in turning up your interface’s mic gain far too high, introducing noise at the input stage and opening the door to delivering redline digital distortion in your DAW.
Far better therefore to try and keep your gain at around 50% maximum and those DAW levels only tickling the yellow bars in your virtual VU (sound level) meters. Quiet recordings can be turned up but distorted recordings can never be fixed. So if you’re seeing any red you’re way too high.
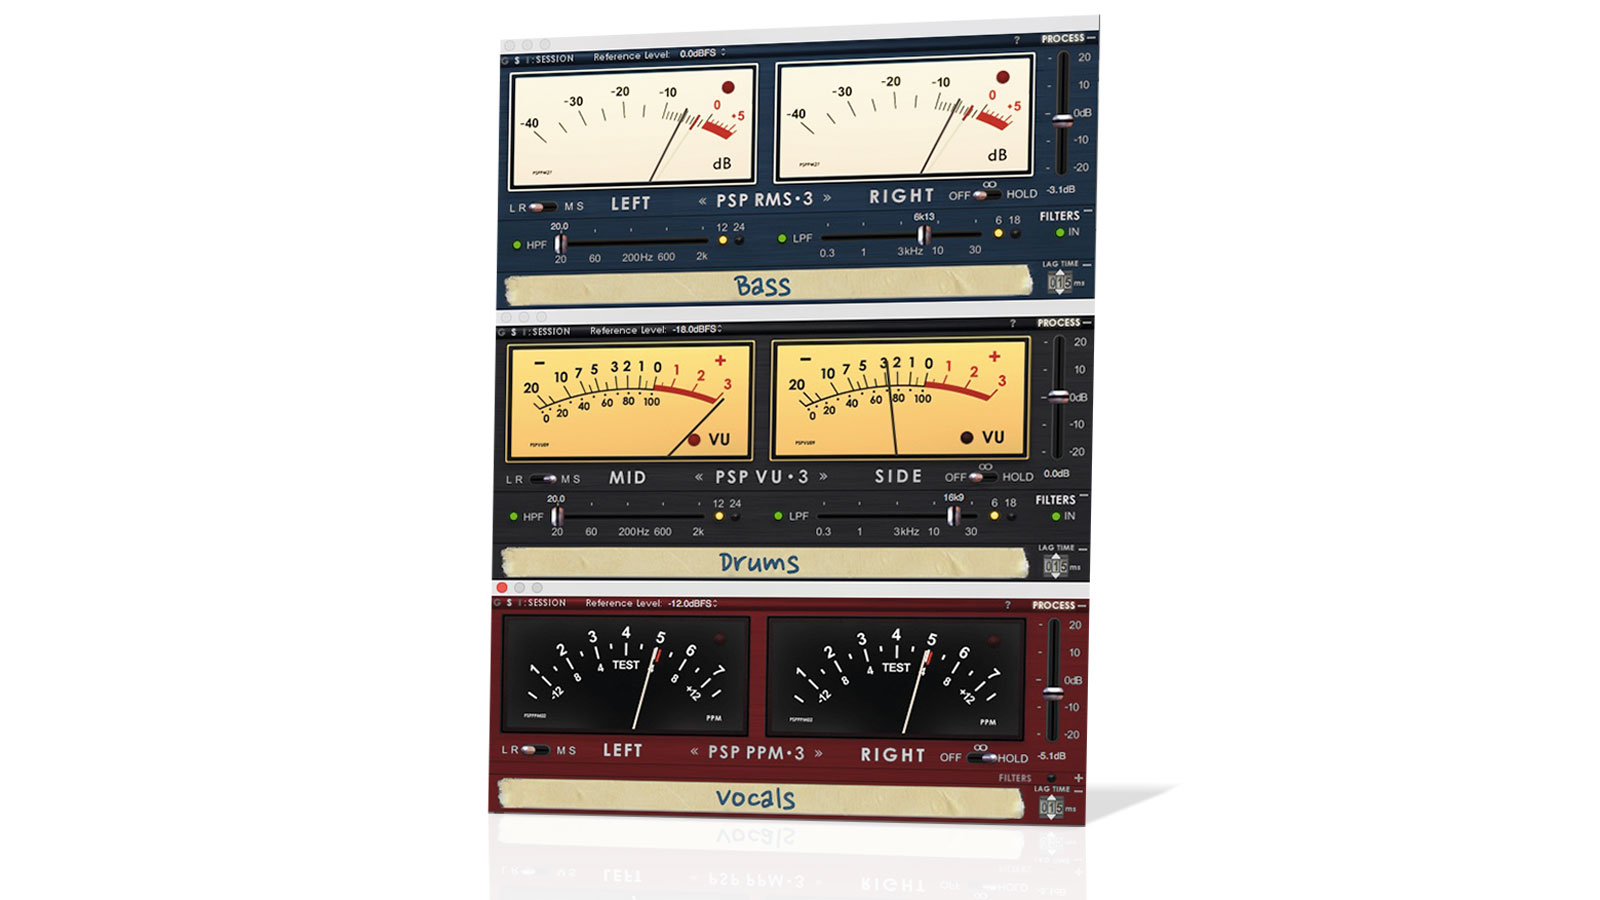
During that warm up have your vocalist go for the loudest part of the song's peak and set your levels for that. Then sit back and let the rest of your vocal fall into line behind it.
Don’t be afraid to tackle a song in short controlled bursts rather than expecting your vocalist to deliver a perfect take in one.
Work out where it’s safe to stop and pause and focus on nailing each section in turn. Choruses can be recorded separately from versus. Likewise any bridge. And if there’s a specific line or phrase that you love, take the time to record it many times and pick your favourite take later.
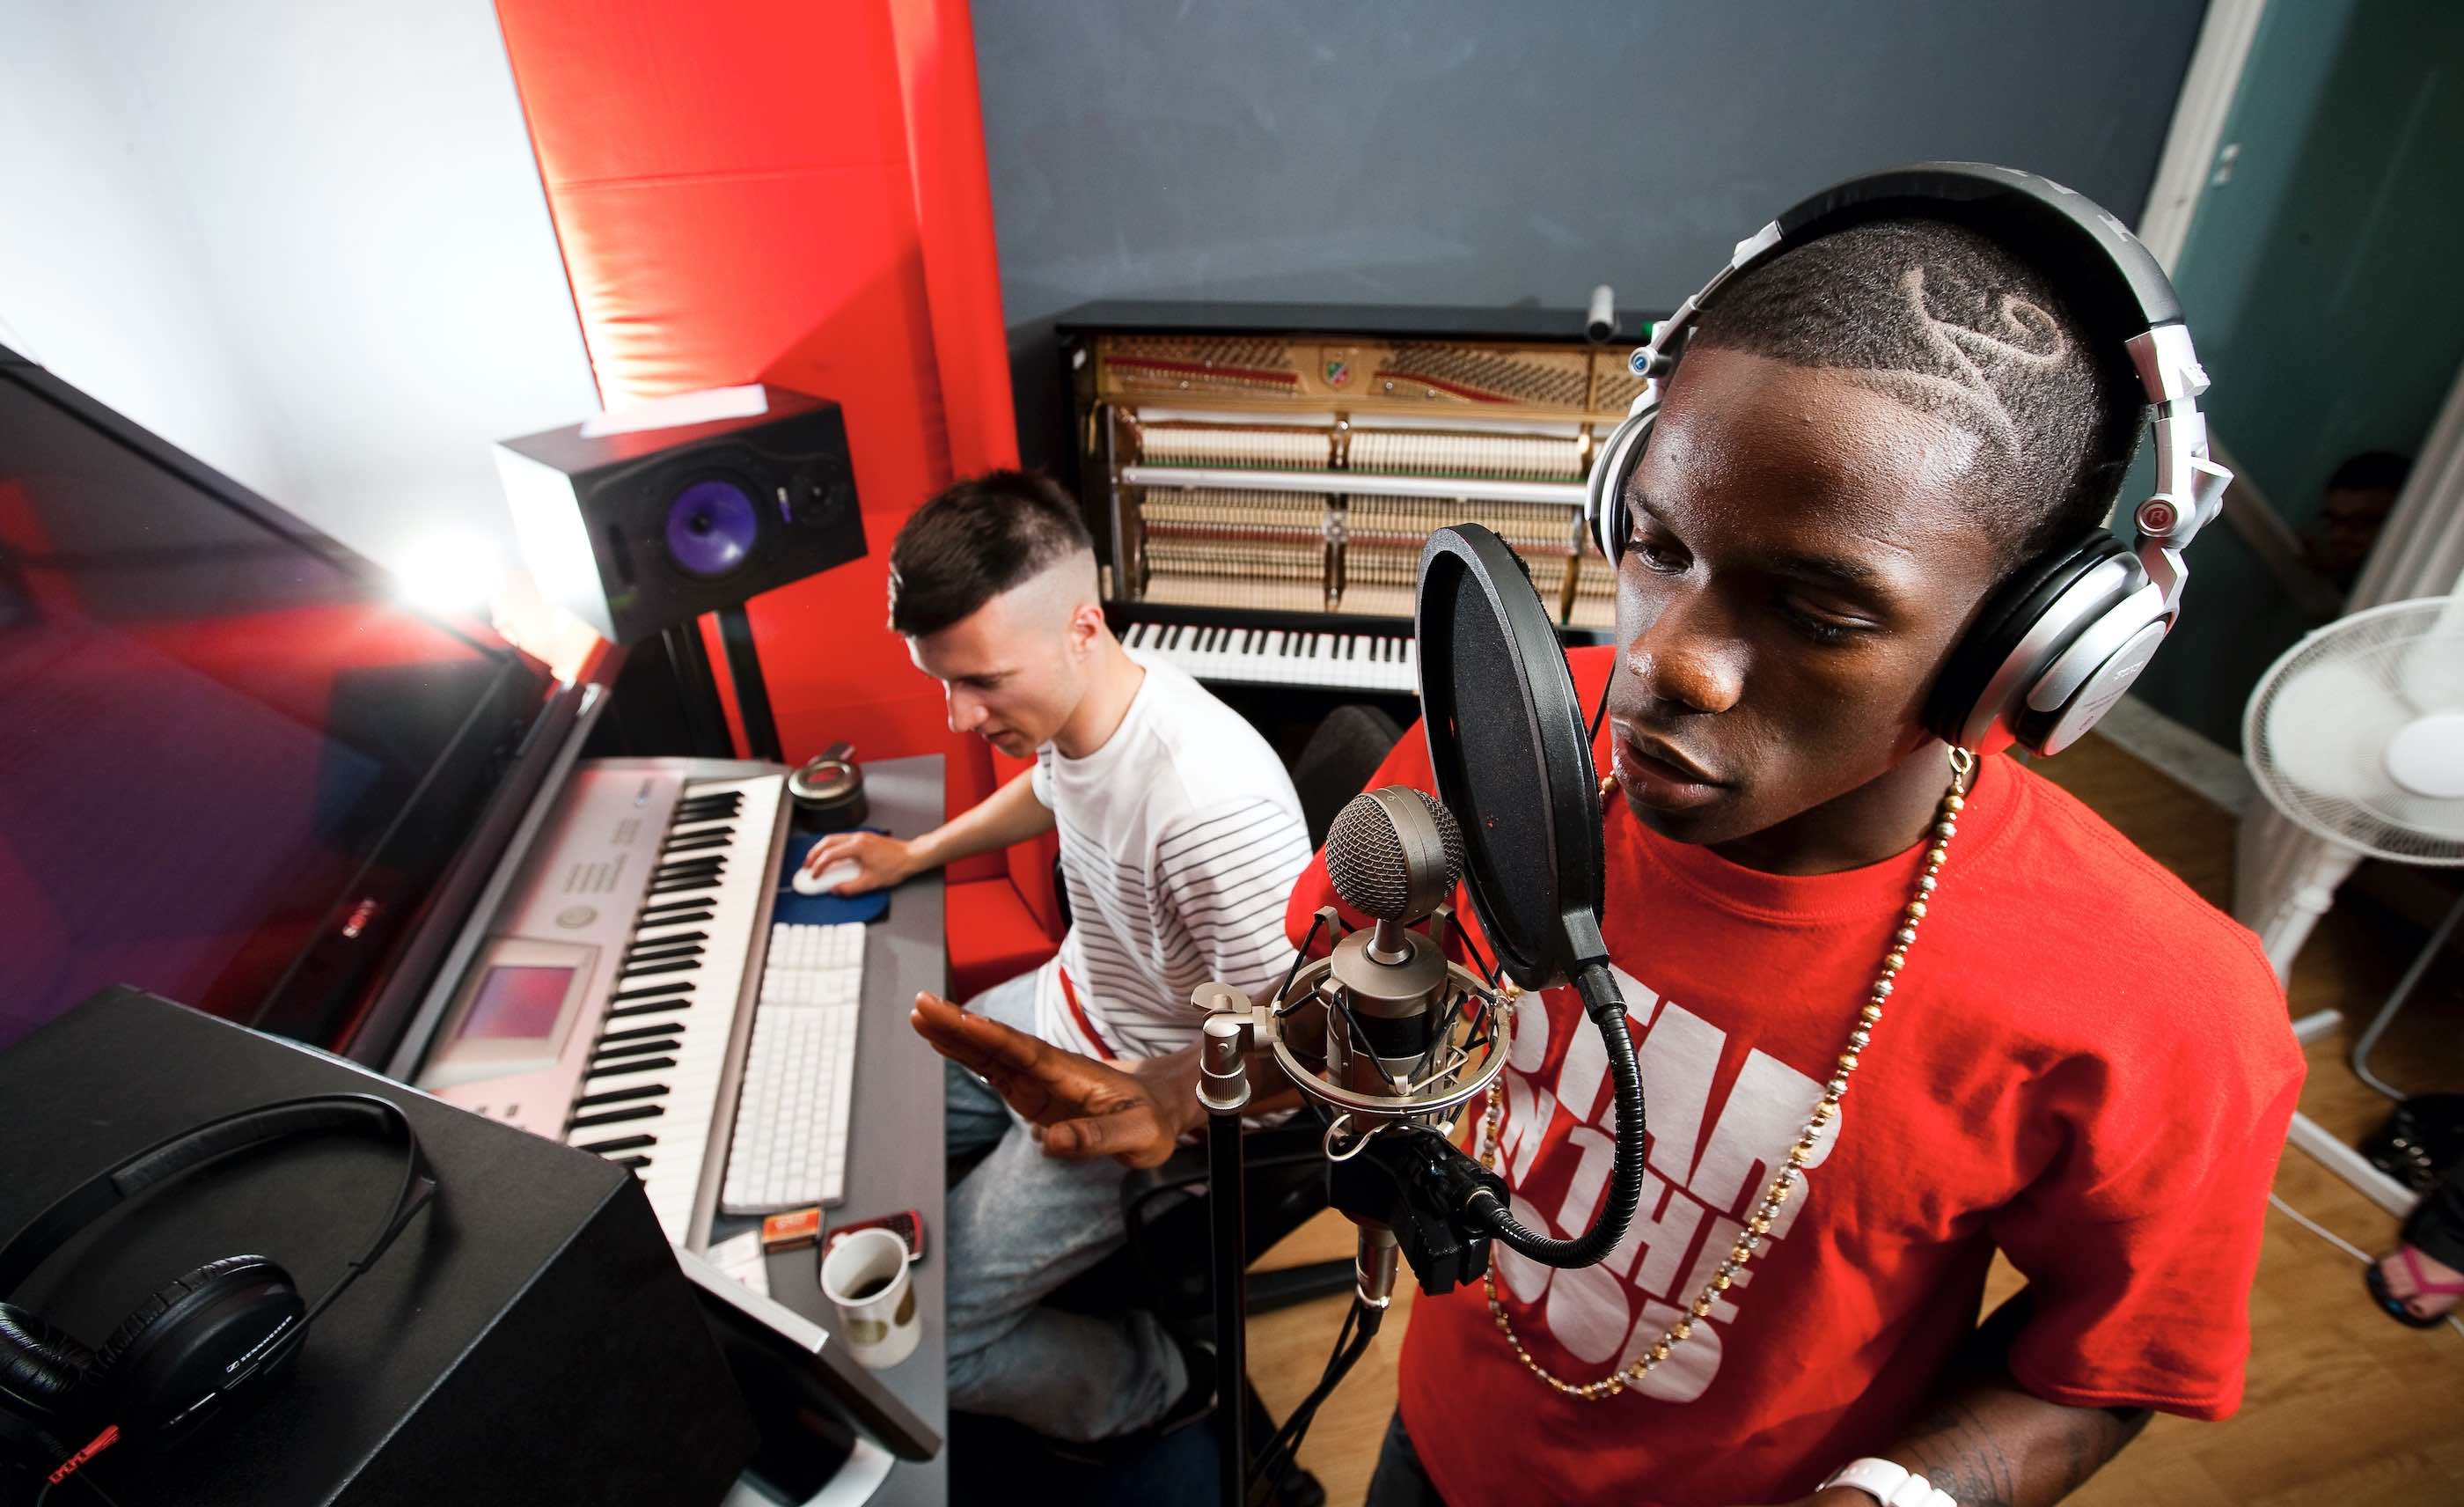
And if something isn’t working? Move on and try that bit again later when they’re feeling more confident.
It’s no crime to build (aka ‘comp’) a perfect vocal from multiple passes and attempts and your vocalist will appreciate the freedom and lack of pressure. Make ‘let’s have one more try’ a fun challenge rather than a do or die dealbreaker.
That’s it. So do your prep. Warm up. Have fun. And nail it!
Further reading
Start here: New to audio interfaces?
A basic guide to getting sound in and out of your computer.
Start here: Build an affordable home studio
Your one-stop essential guide for creating your own studio. It’s faster, easier and cheaper than you think.
Start here: How to record synths
How to bring your hardware synths inside your DAW to blend the two worlds.
More pro tips on recording vocals
Want to know how close to get to the mic and more? Here’s a fresh bunch of top tips.
"How the pros mix vocals" and get that ‘glued-in’ sound
Got your raw vocal ammo in your DAW safely? Time to take the next steps and get them working with your track.
20 practical recording tips to super-charge your takes
Make the most of your live performances, vocals and sampled sounds with these easy to use recording hints
• Get more recording stories and features at Recording Week 2024 here!


