A carrot top hits the trash. A scallion root dries out on the counter. A pineapple crown gets sliced off and forgotten. That routine throws away more than scraps. It tosses out potential. With a little light, water, and patience, those leftovers can push out new growth and turn into fresh plants that keep giving.
Growing food from grocery store scraps does not require a greenhouse or a backyard. A sunny windowsill, a jar of water, and a pot of soil handle most of the work. Some plants regrow leafy tops in days. Others take months and reward that patience with a full harvest. Every one of them proves that gardening can start in the kitchen instead of the seed aisle.
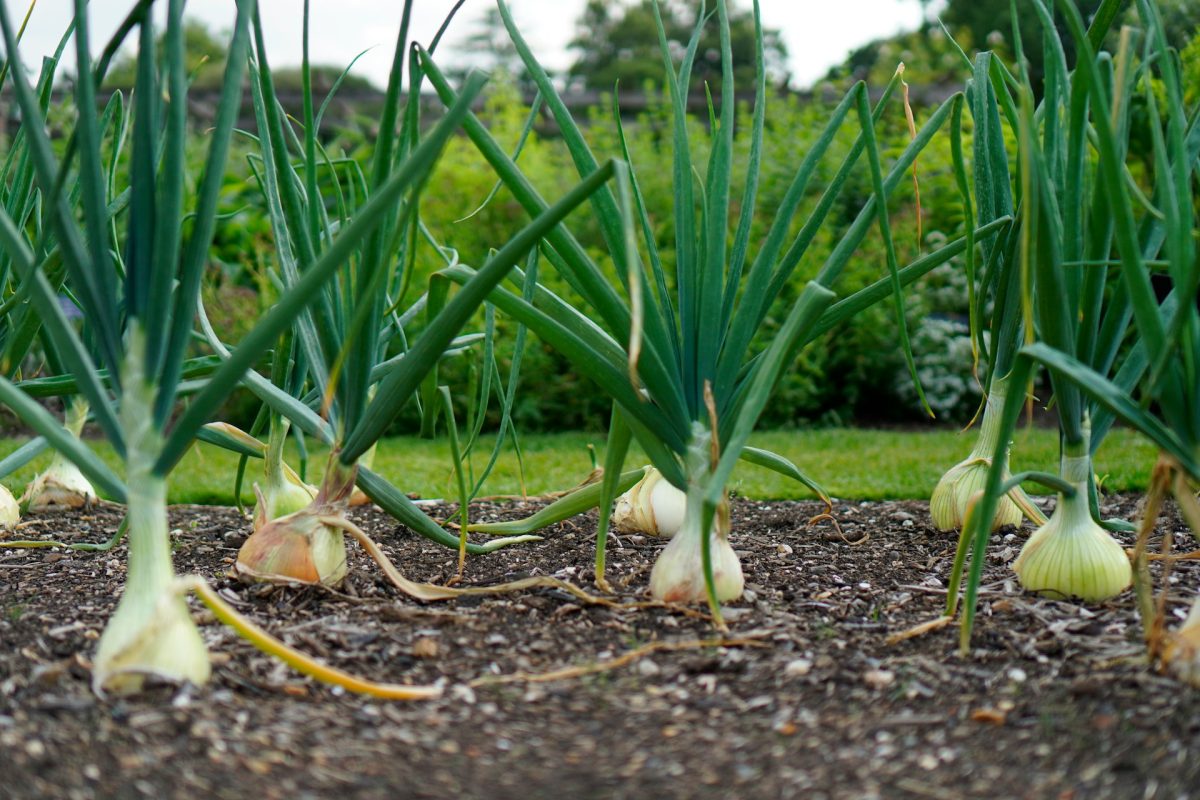
1. Green Onions That Refuse to Quit
Green onions, also called scallions, rank as one of the easiest foods to regrow. The white base with the roots attached holds everything needed to push out fresh green shoots. Place those root ends upright in a small glass with enough water to cover the roots but not the entire stem. Set the glass in bright light, and within days, new green growth shoots up from the center.
Change the water every day or two to keep it fresh and prevent odor. Once the shoots reach several inches tall, move the scallions into a pot with soil if longer-term growth sounds appealing. Soil-grown plants produce stronger flavor and thicker greens over time. Snip what you need, leave at least an inch above the white base, and the plant keeps producing.
2. Romaine Lettuce That Comes Back for More
Romaine lettuce regrows from its base with surprising speed. After slicing off the leafy tops, keep the bottom two inches of the head intact. Place that base cut-side up in a shallow dish with about half an inch of water. Within a few days, small leaves begin to sprout from the center.
Refresh the water daily and keep the dish in bright, indirect light. After about a week, the center growth thickens and gains height. At that point, transfer the lettuce to a container with potting soil to encourage stronger leaves. Soil helps the plant develop better texture and flavor than water alone. This method does not recreate a full grocery-store-sized head, but it provides tender leaves perfect for sandwiches and wraps. It also offers a quick win for anyone who wants visible results fast.
3. Celery That Rebuilds Itself
Celery regrows from the base in much the same way as lettuce, but it often produces a more dramatic transformation. Slice off the stalks and save the bottom two inches. Place that base in a shallow bowl with water, cut-side up. In about a week, tiny yellow-green leaves form in the center.
As the new growth strengthens, roots develop at the bottom. Transfer the celery to a pot filled with rich, well-draining soil once those roots appear. Bury the base so only the new leaves peek above the soil line. Water regularly and provide full sun. Eventually, fresh stalks grow outward from the center. They may appear thinner than store-bought celery at first, but consistent light and nutrients help them thicken. Gardeners who stay patient gain a steady supply of crisp stalks and a satisfying reminder that plants fight to grow.
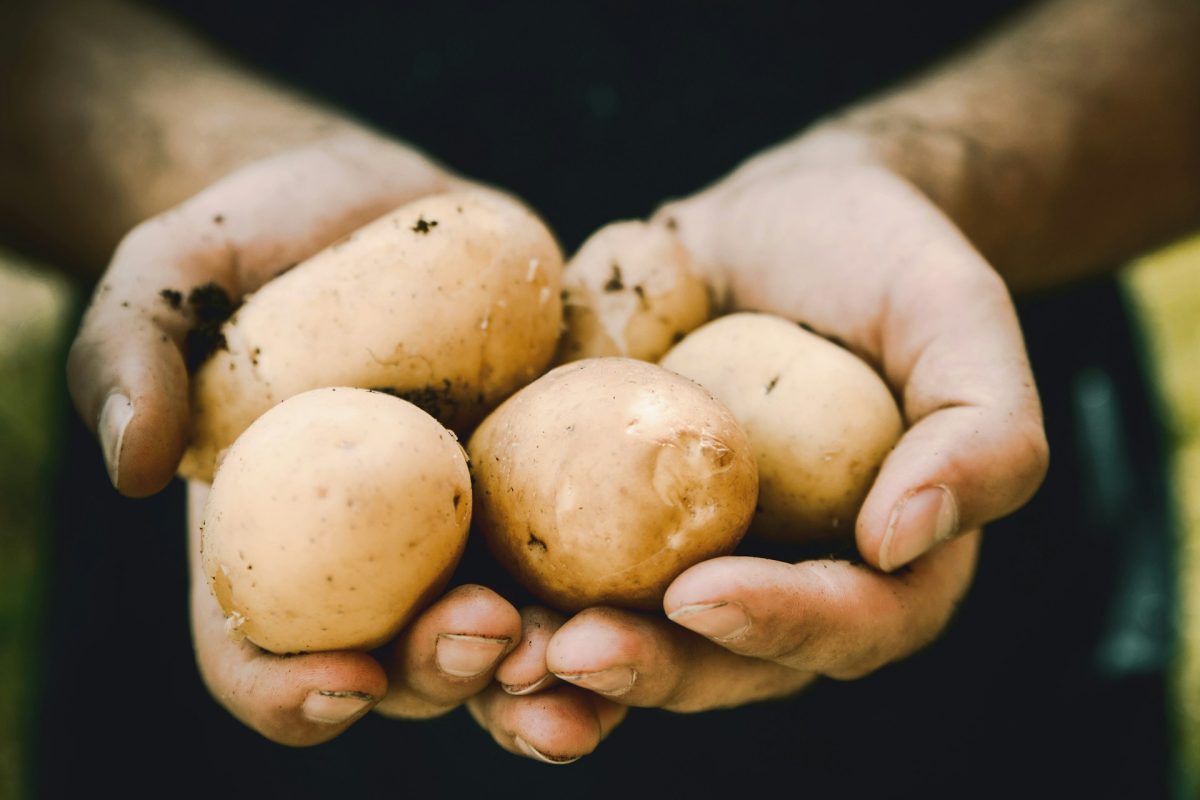
4. Potatoes That Multiply Before Your Eyes
Potatoes love to sprout. Those little “eyes” that pop up on older tubers signal new life ready to expand. Cut a potato into chunks, making sure each piece contains at least one eye. Let the pieces sit out for a day so the cut sides dry and form a protective layer.
Plant each piece a few inches deep in loose, well-draining soil with the eyes facing up. Give them full sun and steady moisture. As green shoots rise above the soil, mound more soil around the stems to encourage more tuber production underground. Within a few months, the plants flower and begin to die back, signaling harvest time. Dig carefully and uncover a cluster of new potatoes where one scrap once sat. This process requires space and patience, but the payoff feels substantial and tangible.
5. Sweet Potatoes That Love to Climb
Sweet potatoes grow differently from regular potatoes. Instead of planting chunks directly, start by suspending a whole sweet potato halfway in water using toothpicks. Place it in a warm, sunny spot. In a few weeks, slips, which look like leafy vines, sprout from the top.
Once those slips reach about six inches long, twist them off gently and place them in water to develop roots. After roots form, plant each slip in soil with plenty of space. Sweet potato vines spread enthusiastically, so a large container or garden bed works best.
These plants thrive in warm weather and full sun. After several months, dig up the soil to reveal new sweet potatoes beneath the surface. Even if space limits the harvest size, the vines add bold greenery and a sense of abundance to any growing area.
6. Pineapple Tops With Tropical Ambition
A pineapple top looks decorative, but it also carries serious growing potential. After slicing off the leafy crown, trim away excess fruit flesh to prevent rot. Remove a few of the lower leaves to expose small root bumps at the base. Let the crown dry for a day or two.
Plant the dried crown in a pot filled with well-draining soil. Water lightly and place the pot in bright light. Pineapples prefer warmth and humidity, so indoor growers may need patience. Roots develop over several weeks, and new leaves begin to emerge from the center.
A pineapple plant takes two to three years to produce fruit under good conditions. That timeline demands commitment, but the striking spiky leaves and the chance to grow a tropical fruit at home make the effort worthwhile.
7. Garlic Cloves That Won’t Stay Dormant
Garlic cloves sprout quickly when exposed to moisture and light. Separate a bulb into individual cloves without peeling them. Plant each clove pointy side up about two inches deep in a pot with loose soil. Place the pot in full sun and water when the top inch of soil dries out. Green shoots rise within weeks and resemble slender blades of grass. Those shoots, often called garlic greens, taste milder than mature bulbs and work beautifully in stir-fries and soups.
For full garlic bulbs, allow the plant to grow for several months until the lower leaves turn brown. Then dig up the bulb and let it cure in a dry place. This process rewards patience with a fresh supply of homegrown garlic that started as a single clove from the kitchen.
8. Ginger That Grows Sideways and Strong
Fresh ginger root from the store often contains visible growth buds. Cut the root into pieces, making sure each section holds at least one bud. Let the pieces dry for a day to reduce the risk of rot. Plant the ginger pieces just below the surface of rich, well-draining soil with the buds facing up. Ginger prefers warm temperatures and indirect light. Keep the soil consistently moist but not soggy.
Green shoots rise after a few weeks, and the plant develops narrow leaves along upright stems. Underground, the rhizome expands horizontally. Harvest small pieces as needed by gently digging along the edge of the pot, or wait several months for a larger yield. Ginger’s bold flavor and lush foliage make it a satisfying addition to any indoor garden.
Small Scraps, Big Momentum
Kitchen scraps hold more power than most people realize. A handful of roots and tops can turn into a living collection of edible plants that grow right by the sink or on a sunny balcony. Each success builds confidence and reduces waste at the same time.
Start with one or two options, such as green onions or lettuce, and expand from there. Pay attention to light, water, and soil quality. Rotate containers so plants grow evenly, and do not crowd them. Consistency matters more than fancy tools.
Which of these plants will claim the first spot on your windowsill and prove that the trash bin no longer calls the shots? Give us your insight in the comments below.
You May Also Like…
12 Zero‑Waste Gardening Ideas That Turn Scraps Into Something Useful
13 Composting Ideas to Use Holiday Kitchen Waste in Your Garden
6 Kitchen Scraps That Enrich Soil Best in Autumn
7 Natural Fertilizers Found in Your Fall Kitchen
The $20 Soil Fix That Can Rescue a Struggling Spring Garden
The post 8 Plants That Grow Well From Grocery Store Scraps appeared first on Frugal Gardening.