
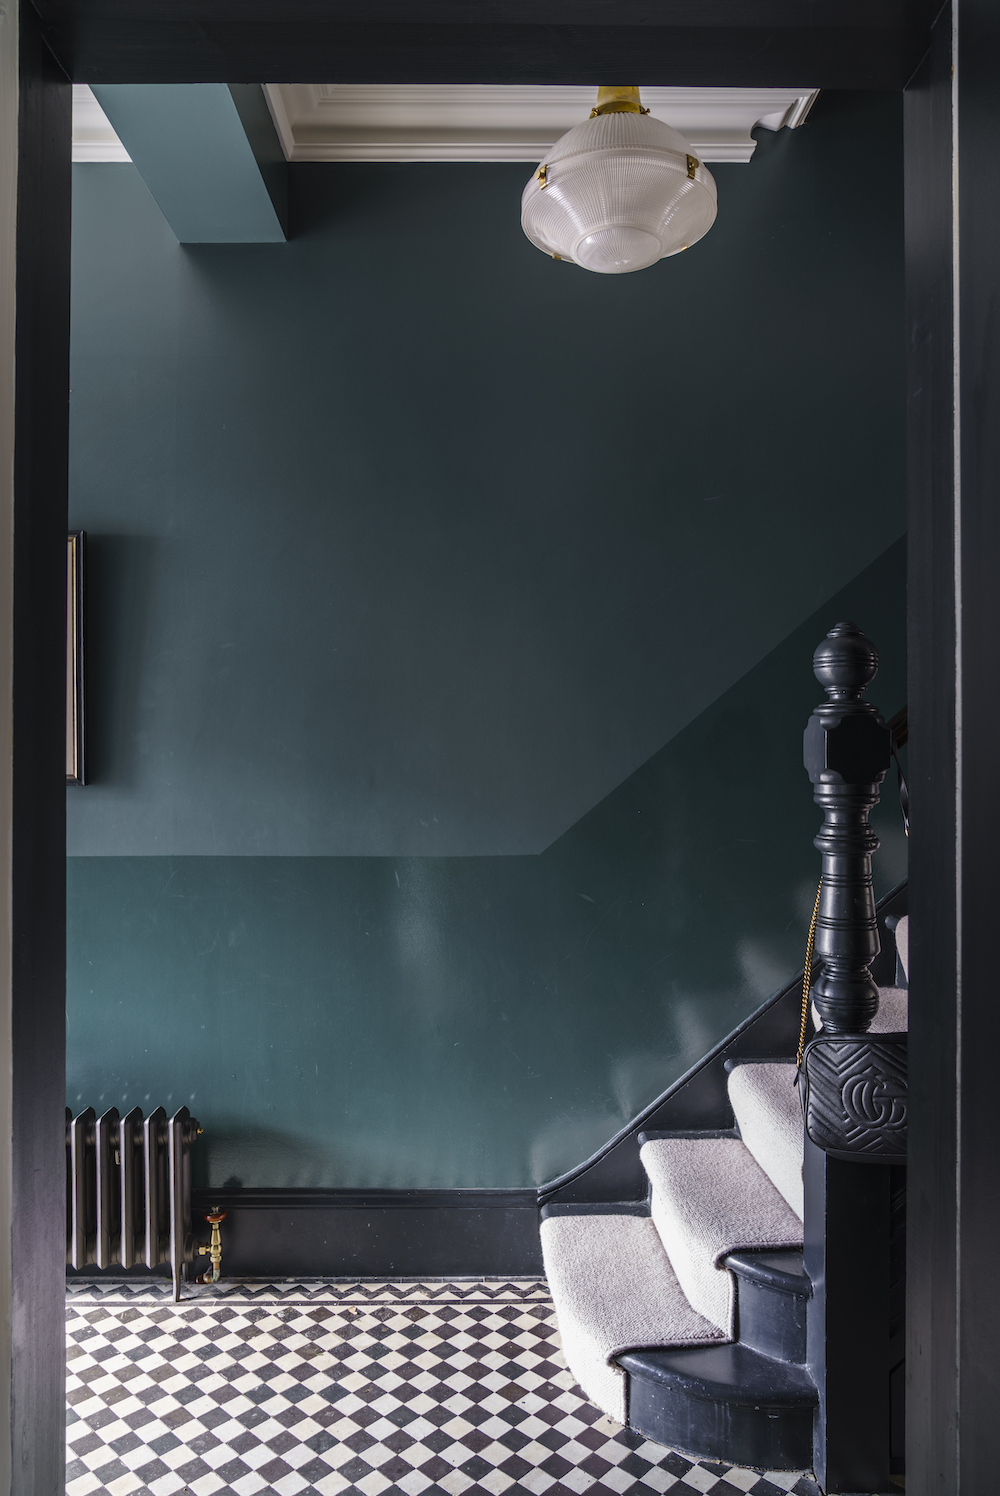
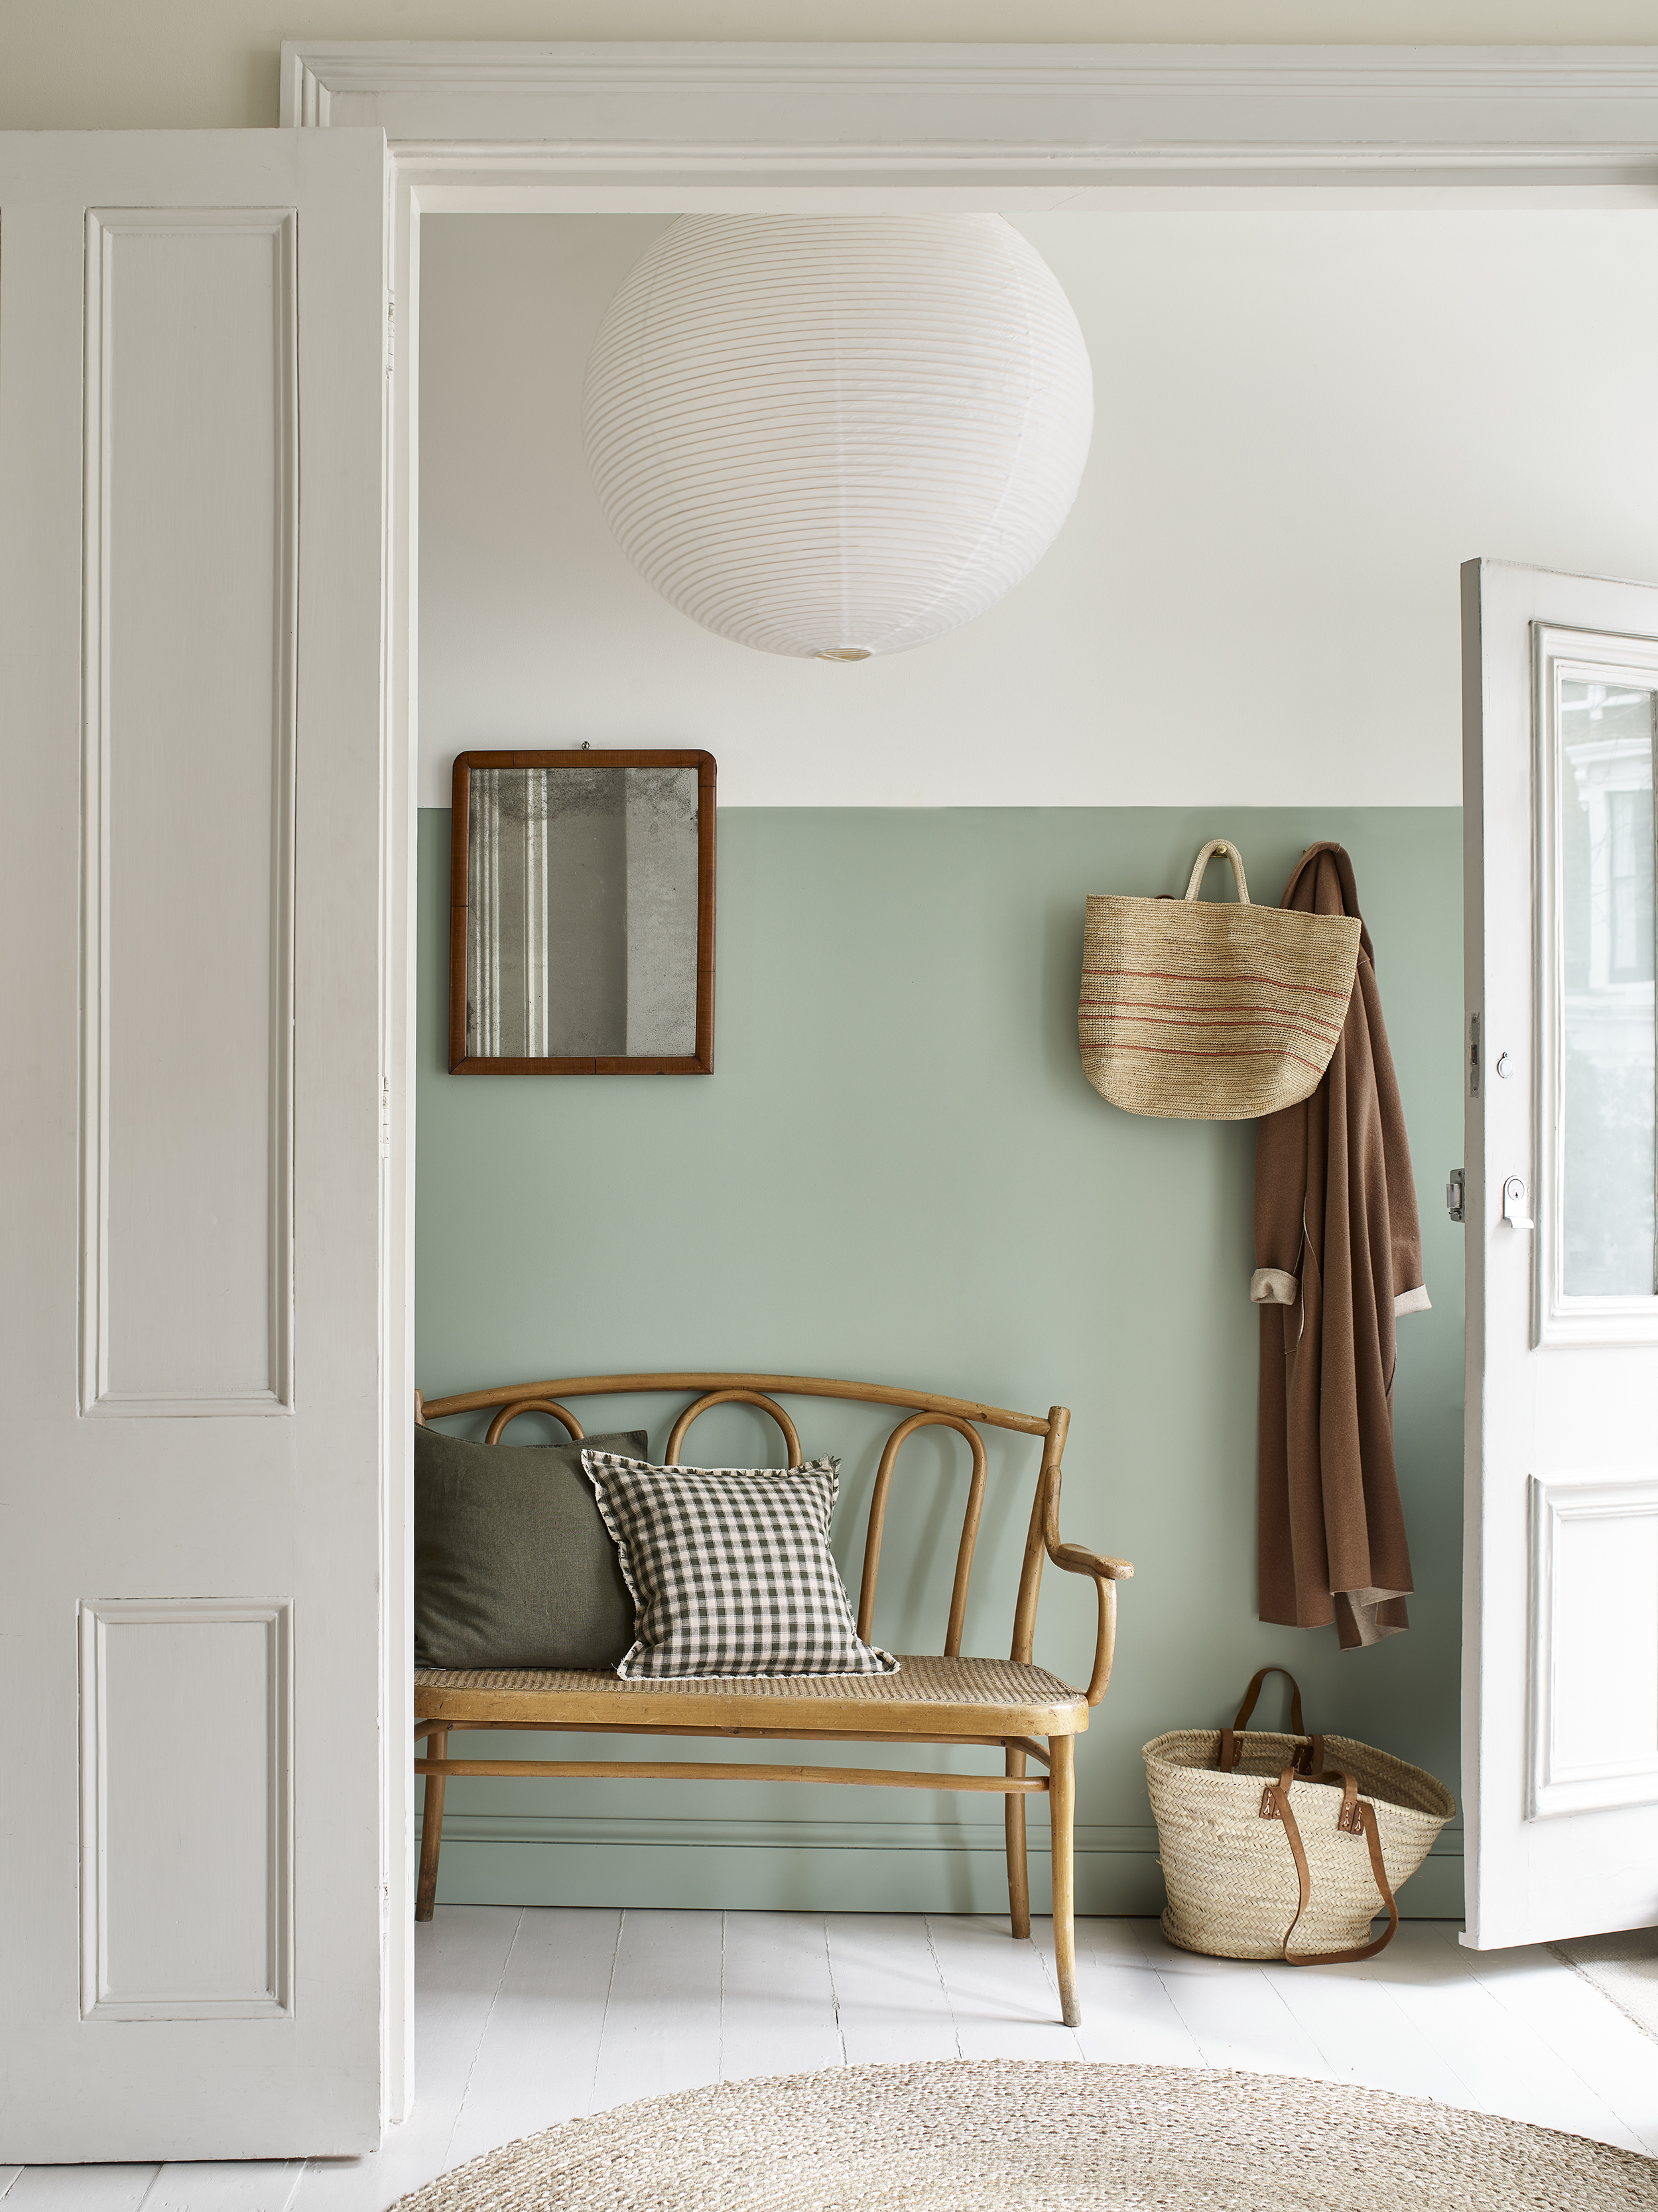
Ask any professional painter and they'll tell you the same thing - decorating a room takes time. From preparation to painting to patiently waiting for your walls to dry, there's many a step involved in giving your walls a refresh, and while it might be tempting to cut a few corners to speed things up, we're here to tell you why it's never worth taking that risk.
When it comes to the time-consuming task of painting a wall it's easy to think that skipping a few steps could make the process quicker. Thanks to social media, none of us can escape these so-called tricks, hacks, and shortcuts, either. The thing is, although jobs like cleaning, sanding, and priming might not seem essential, especially if you're painting a darker shade over a lighter one, skipping them could actually cost you both more time and money in the long term.
To clear things up, we've spoken to a few painting and decorating experts who talk through the seven painting 'shortcuts' they urge you to skip if you want a professional-worthy paint idea. After all, if a job's worth doing, it's worth doing properly.
1. Not washing surfaces before painting
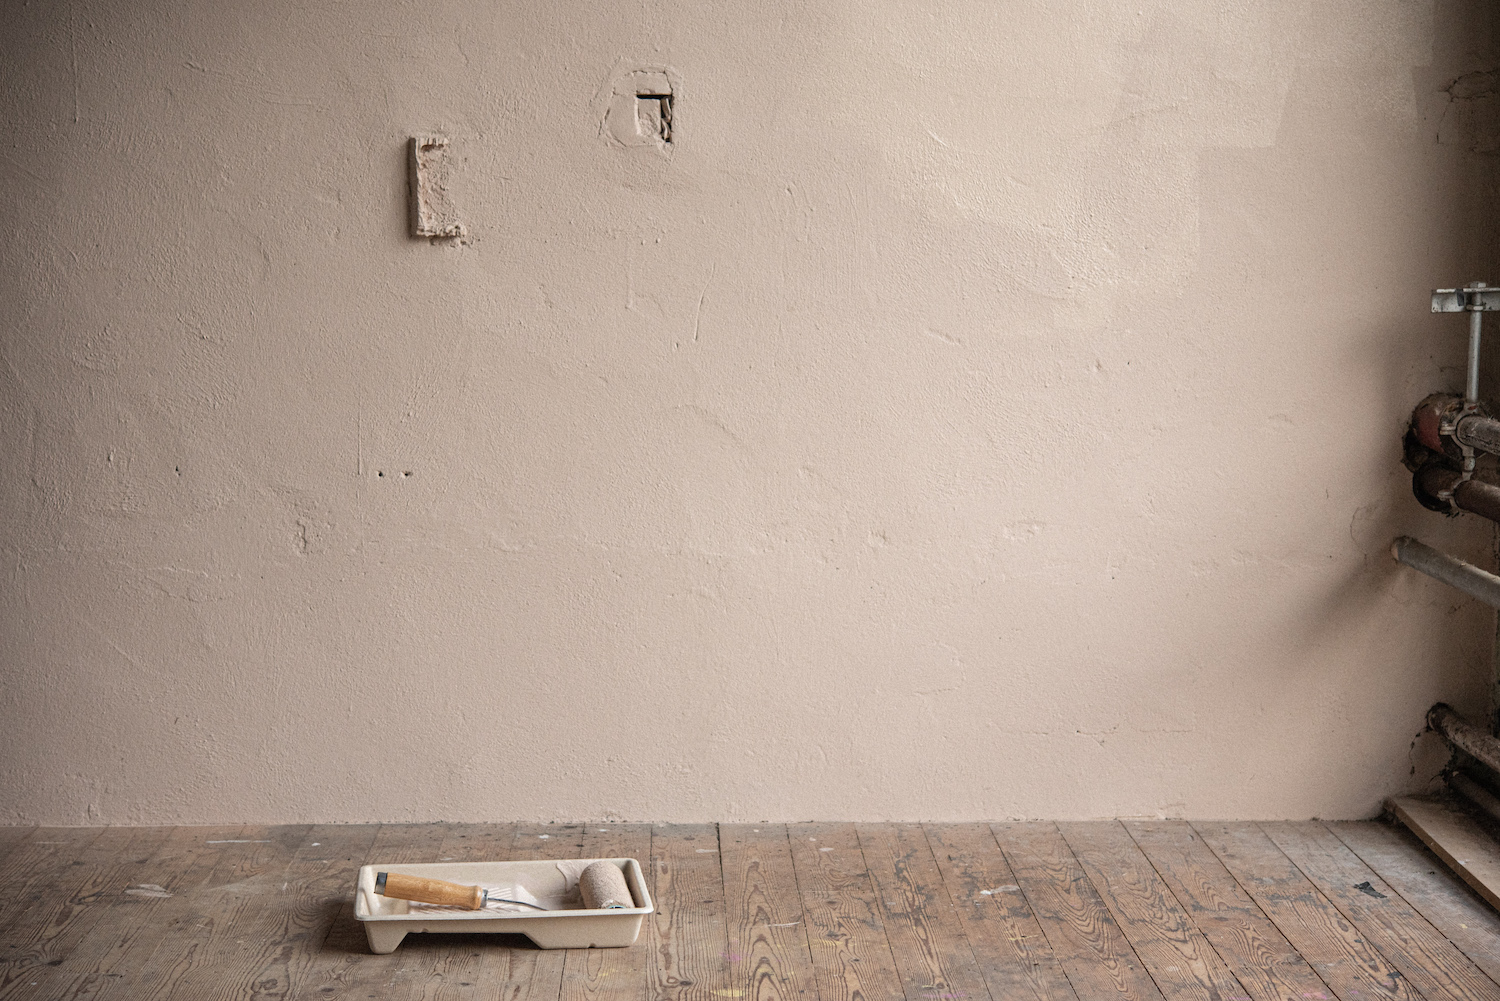
When it comes to how to paint a room, cleaning the surface of your walls is the sort of job many of us skip. Unless visibly dirty or scuffed, it's hard to imagine that wiping a damp cloth over them before painting is really worth the time, but it could be a crucial error.
That's because dust can easily collect on your walls, and it will certainly have made its mark if you've been sanding, so it's important to remove any residue that could impact a smooth finish.
'It's easy to look at a room you need to paint and think the walls look clean and smooth enough not to require patching or cleaning, however, if you skip this part of the process, you're liable to end up with a patchy and inconsistent paint job that fails to properly adhere,' explains Andre Kazimierski, painting expert and CEO of Improovy Painters Denver. 'In fact, any lack of preparation to speed up the painting process will be a shortcut you want to avoid.'
2. Not protecting your flooring
Whether you have hard floors or carpets, taking the time to protect your flooring is well worth the extra five minutes of set-up time to avoid costly clean-ups or repairs in the future. The best way to do this is with a canvas drop cloth. However, as Tila Lee of Pretty in Paint School explains: 'It's important to still be mindful of them as if you step on the drip while it’s wet, it can still seep through and onto your floor.'
If you know you're likely to be a messy painter, it might be worth investing in some plastic sheeting to protect your floors instead. 'If you are doing the whole room, including spraying or ceilings, you can get a large film, a bit like Saran wrap, to cover the flooring and any furniture,' adds Tila. We like these options from The Home Depot.
3. Skipping sanding
Sanding should certainly be incorporated when it comes to painting a wall. Although some will tell you it's a waste of time, experts claim it's always best to take the hour or so of extra time and play things safe by smoothing your walls before painting, even if they look fine to begin with.
'Sanding promotes adhesion of the next coat, makes the walls feel slightly smoother, and can remove any foreign objects that may be there from the previous painter,' explains Anthony Kulikowski, owner of Five Star Painting of South Bend.
This step in the surface preparation can also make your paint job last longer by preventing peeling and cracking further down the line. According to Goodell David, DIY expert at Woodworking Clarity, 'properly preparing a surface can increase the lifespan of the paint job by up to 50%, so don't be tempted to skip this step, as it will only cost you more time and money in the long run.'
4. Overloading the brush or roller

You'd be forgiven for thinking that more paint on your brush or roller equates to a quicker painting time, but the bottom line is, it doesn't. Not only with a thick coverage delay drying times, but it can also lead to drips and an uneven finish, both of which are difficult to fix in the long term without starting again from scratch.
For a smooth finish, one of the best painting tools to use is a paint pad instead of a roller as they promise a more even pick-up and distribution of paint. They can also help with precision when it comes to cutting in, too.
5. Painting directly from the can

If you're painting trim, it might seem most time effective to dip your brush directly into a tin of paint, scraping off any excess on the sides before taking your brush to the surface. There's also the bright idea that going straight from the gallon can means one less thing to clean up at the end of the day.
You won't be doing yourself any favors by doing so, however. As before, a heavily loaded brush will likely lead to a thick and uneven finish. There's also an increased risk of drips or worse - spills - when dealing with such large volumes of paint. Instead, be sure to use a small tray, topping it up as needed.
6. Not allowing for sufficient drying time between coats
There's nothing worse than watching paint dry and if you're in a rush, it can seem to take forever. If you're working to a tight timeframe, it can be tempting to go in with your second coat before waiting until the drying time is up - what're three hours compared to four anyway, right? The issue is, doing so can not only cause adhesion problems but can actually slow down the overall drying time even further.
For a professional paint finish, it's vital that your stick to a paint manufacturer's drying times to ensure proper curing in the days afterward. Otherwise, it can result in peeling or cracking paint, or finger marks or scuffs due to prolonged drying times. This part of the process requires patience, and there's little you can do to control it. The best thing to do is make sure you're aware of how long it takes for your paint to dry and paint on a day with favorable weather conditions.
7. Not taping your ceiling or baseboards
Although some experts will claim the best method for cutting in is a steady and experienced hand, the likelihood is, this doesn't apply to you. To protect your ceiling, baseboards, or trim from smears, painter's tape is your best friend. The task of applying it takes all of five minutes, but it could save some seriously unsightly smudges or brushstrokes in the long run.