When you’re limited to drying your washing inside, the humble heated airer can, in theory, dry your clothes in mere hours. But if you’re finding that this process is taking much longer than you anticipated, you may be making one (or more) of these common heated airer mistakes.
The best heated airers and drying racks are some of the Ideal Home team’s must-have home appliances, leaving our clothes smelling fresh and drying faster than an ordinary clothes airer. However, a common misconception about this nifty piece of kit is that it’s simple and easy to use.
Although a heated airer doesn’t require a hefty instruction manual, you could be at risk of doubling your drying time and how much it costs to run a heated dryer if you don’t give it the proper care and attention. That’s why we’ve asked the experts to help right your wrongs and get the most out of your heated airer.
7 heated airer mistakes - and how to avoid them
Heated airers offer one of the best ways to dry clothes without a tumble dryer. But so many people are continuing to use these appliances in the wrong way. If you’re one of them, you may be disheartened and considering a refund. But we’re here to tell you that, with a few changes, you can reap the rewards you were promised.
1. Not thinking about placement
A heated airer is basically the same as a normal airer, right? Wrong! If you’ve purchased a heated airer in an effort to cut your drying time, you really need to think about how you’re placing your clothes on the airer.
After all, the aim is to get each item of clothing exposed to as much heat as you can - which isn’t always possible if you lay them as you would on a normal clothes rack.
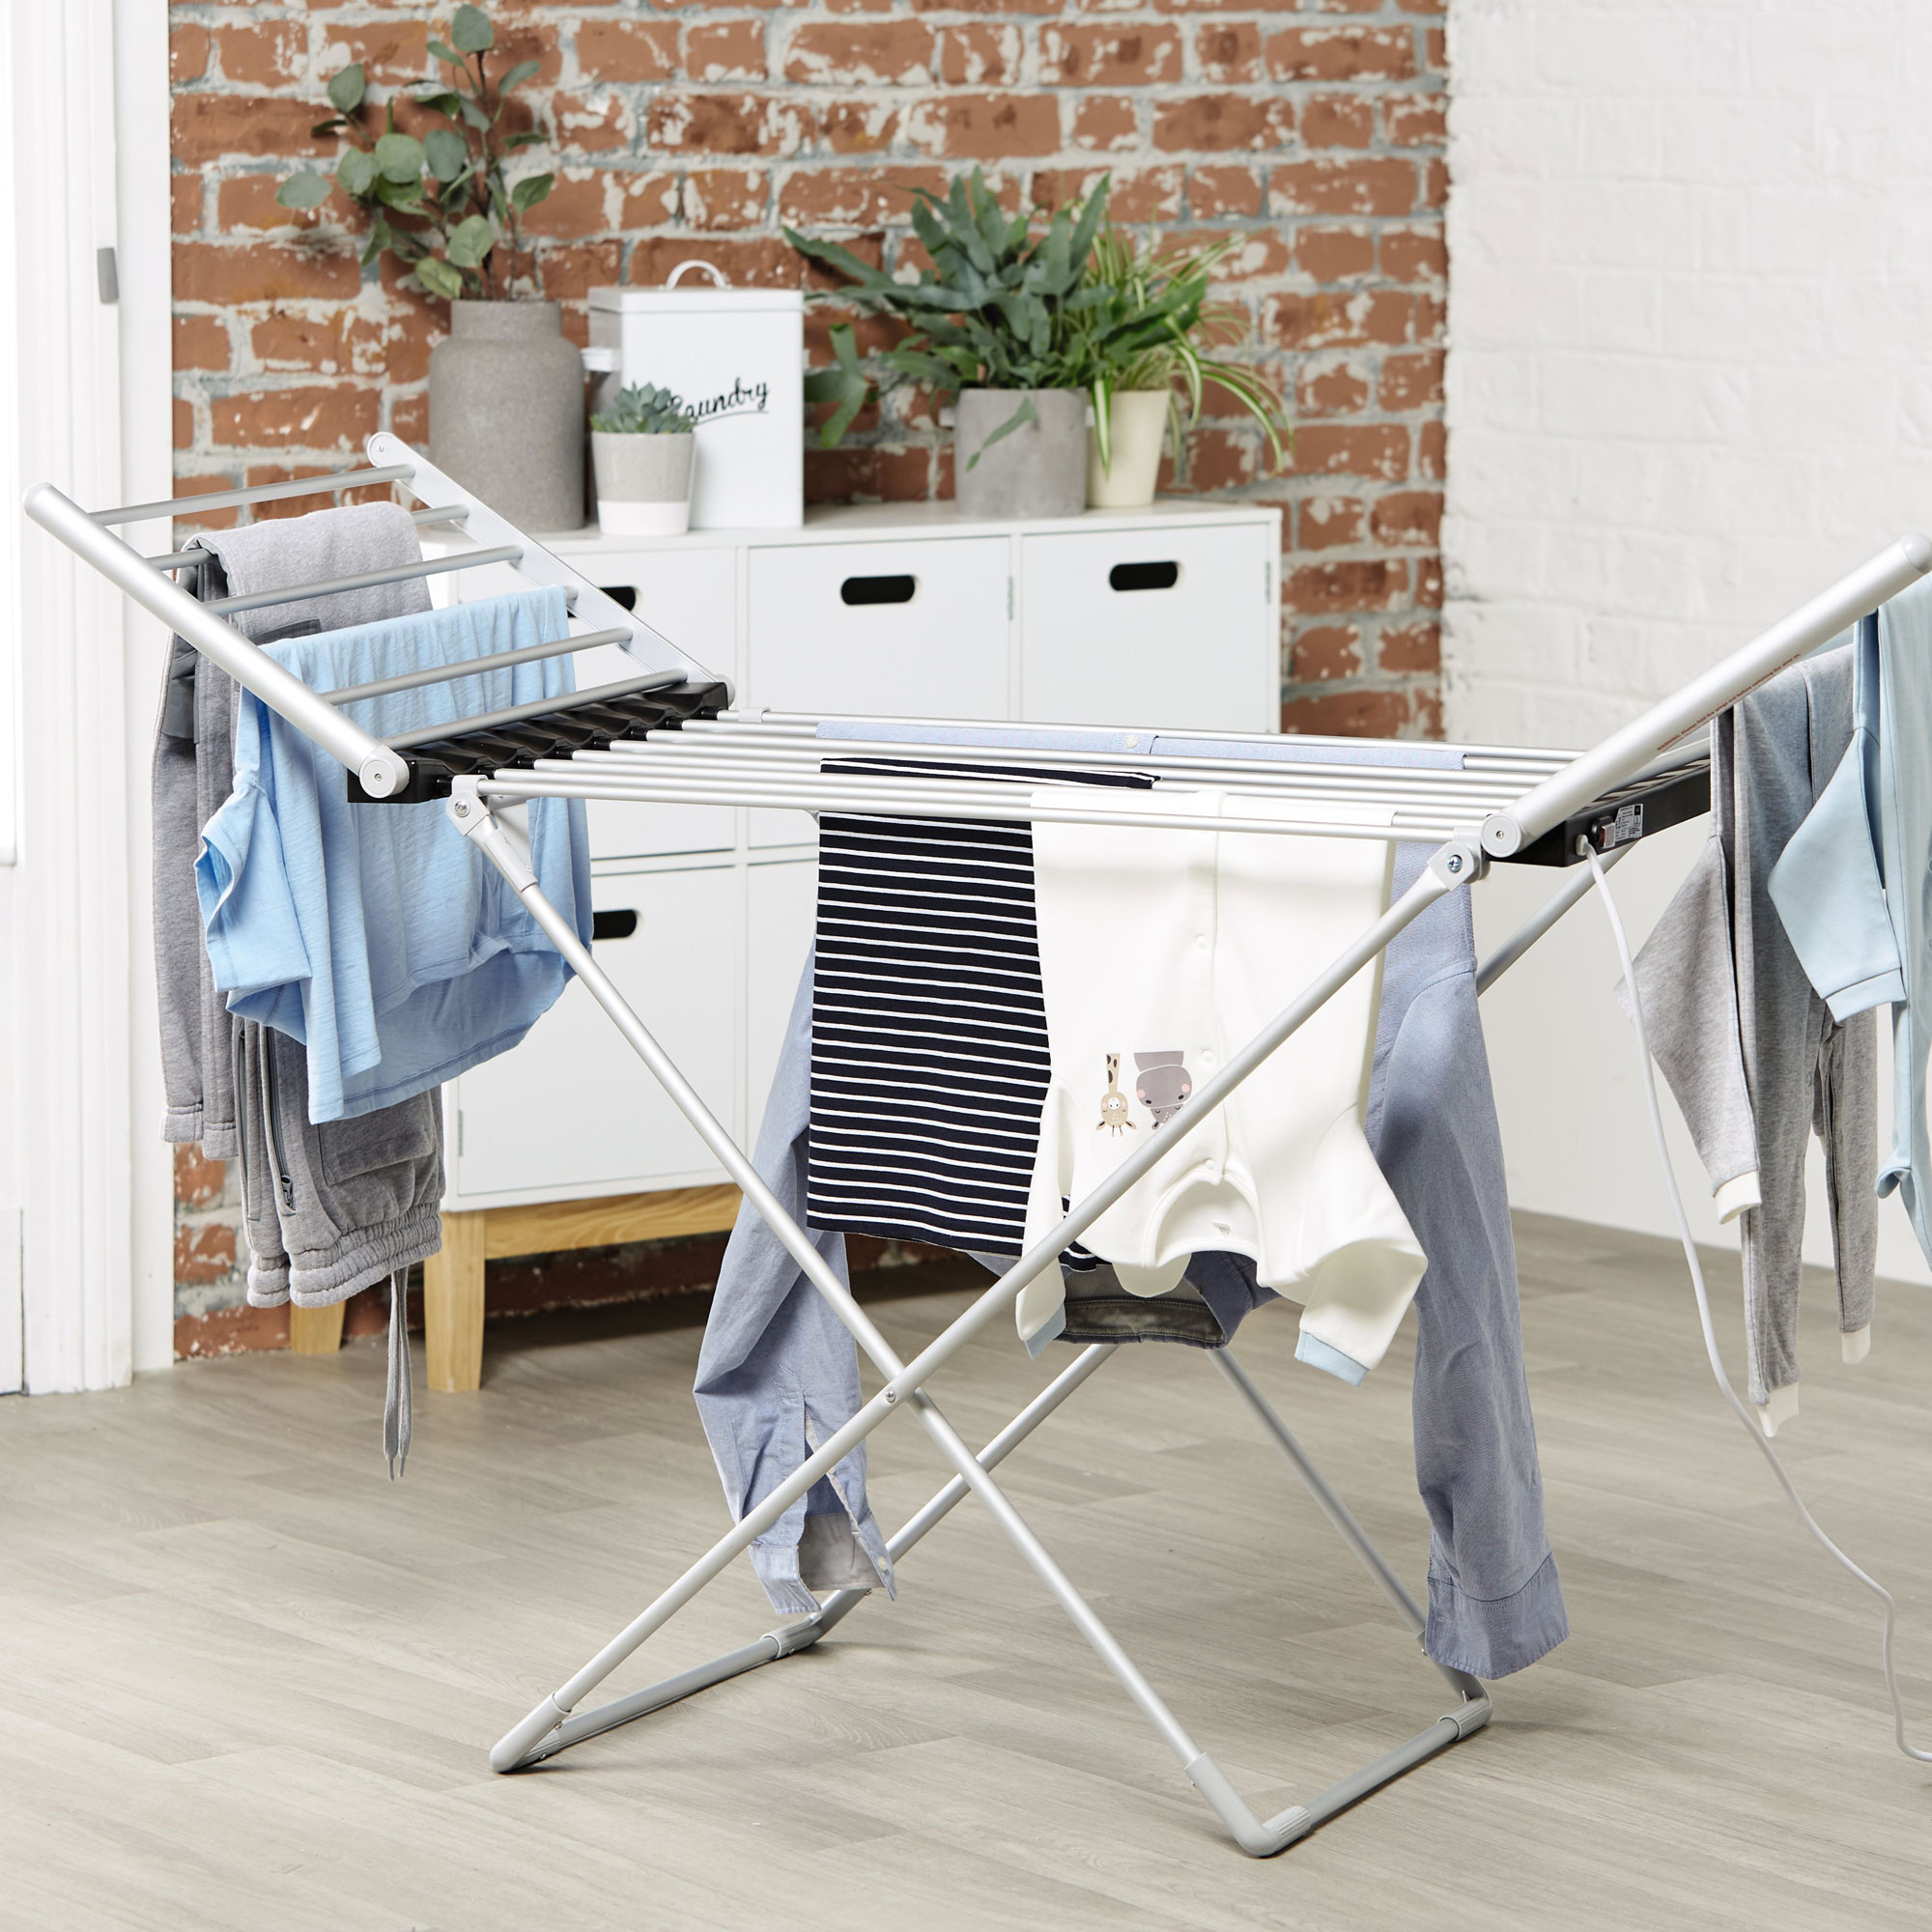
A representative from Lakeland (who stocks our favourite drying rack, the Dry:Soon), explains, ‘ A T-shirt can happily hang over one rail, but for something like jeans, you’ll find it best to hang this across 3 or 4 rails.’
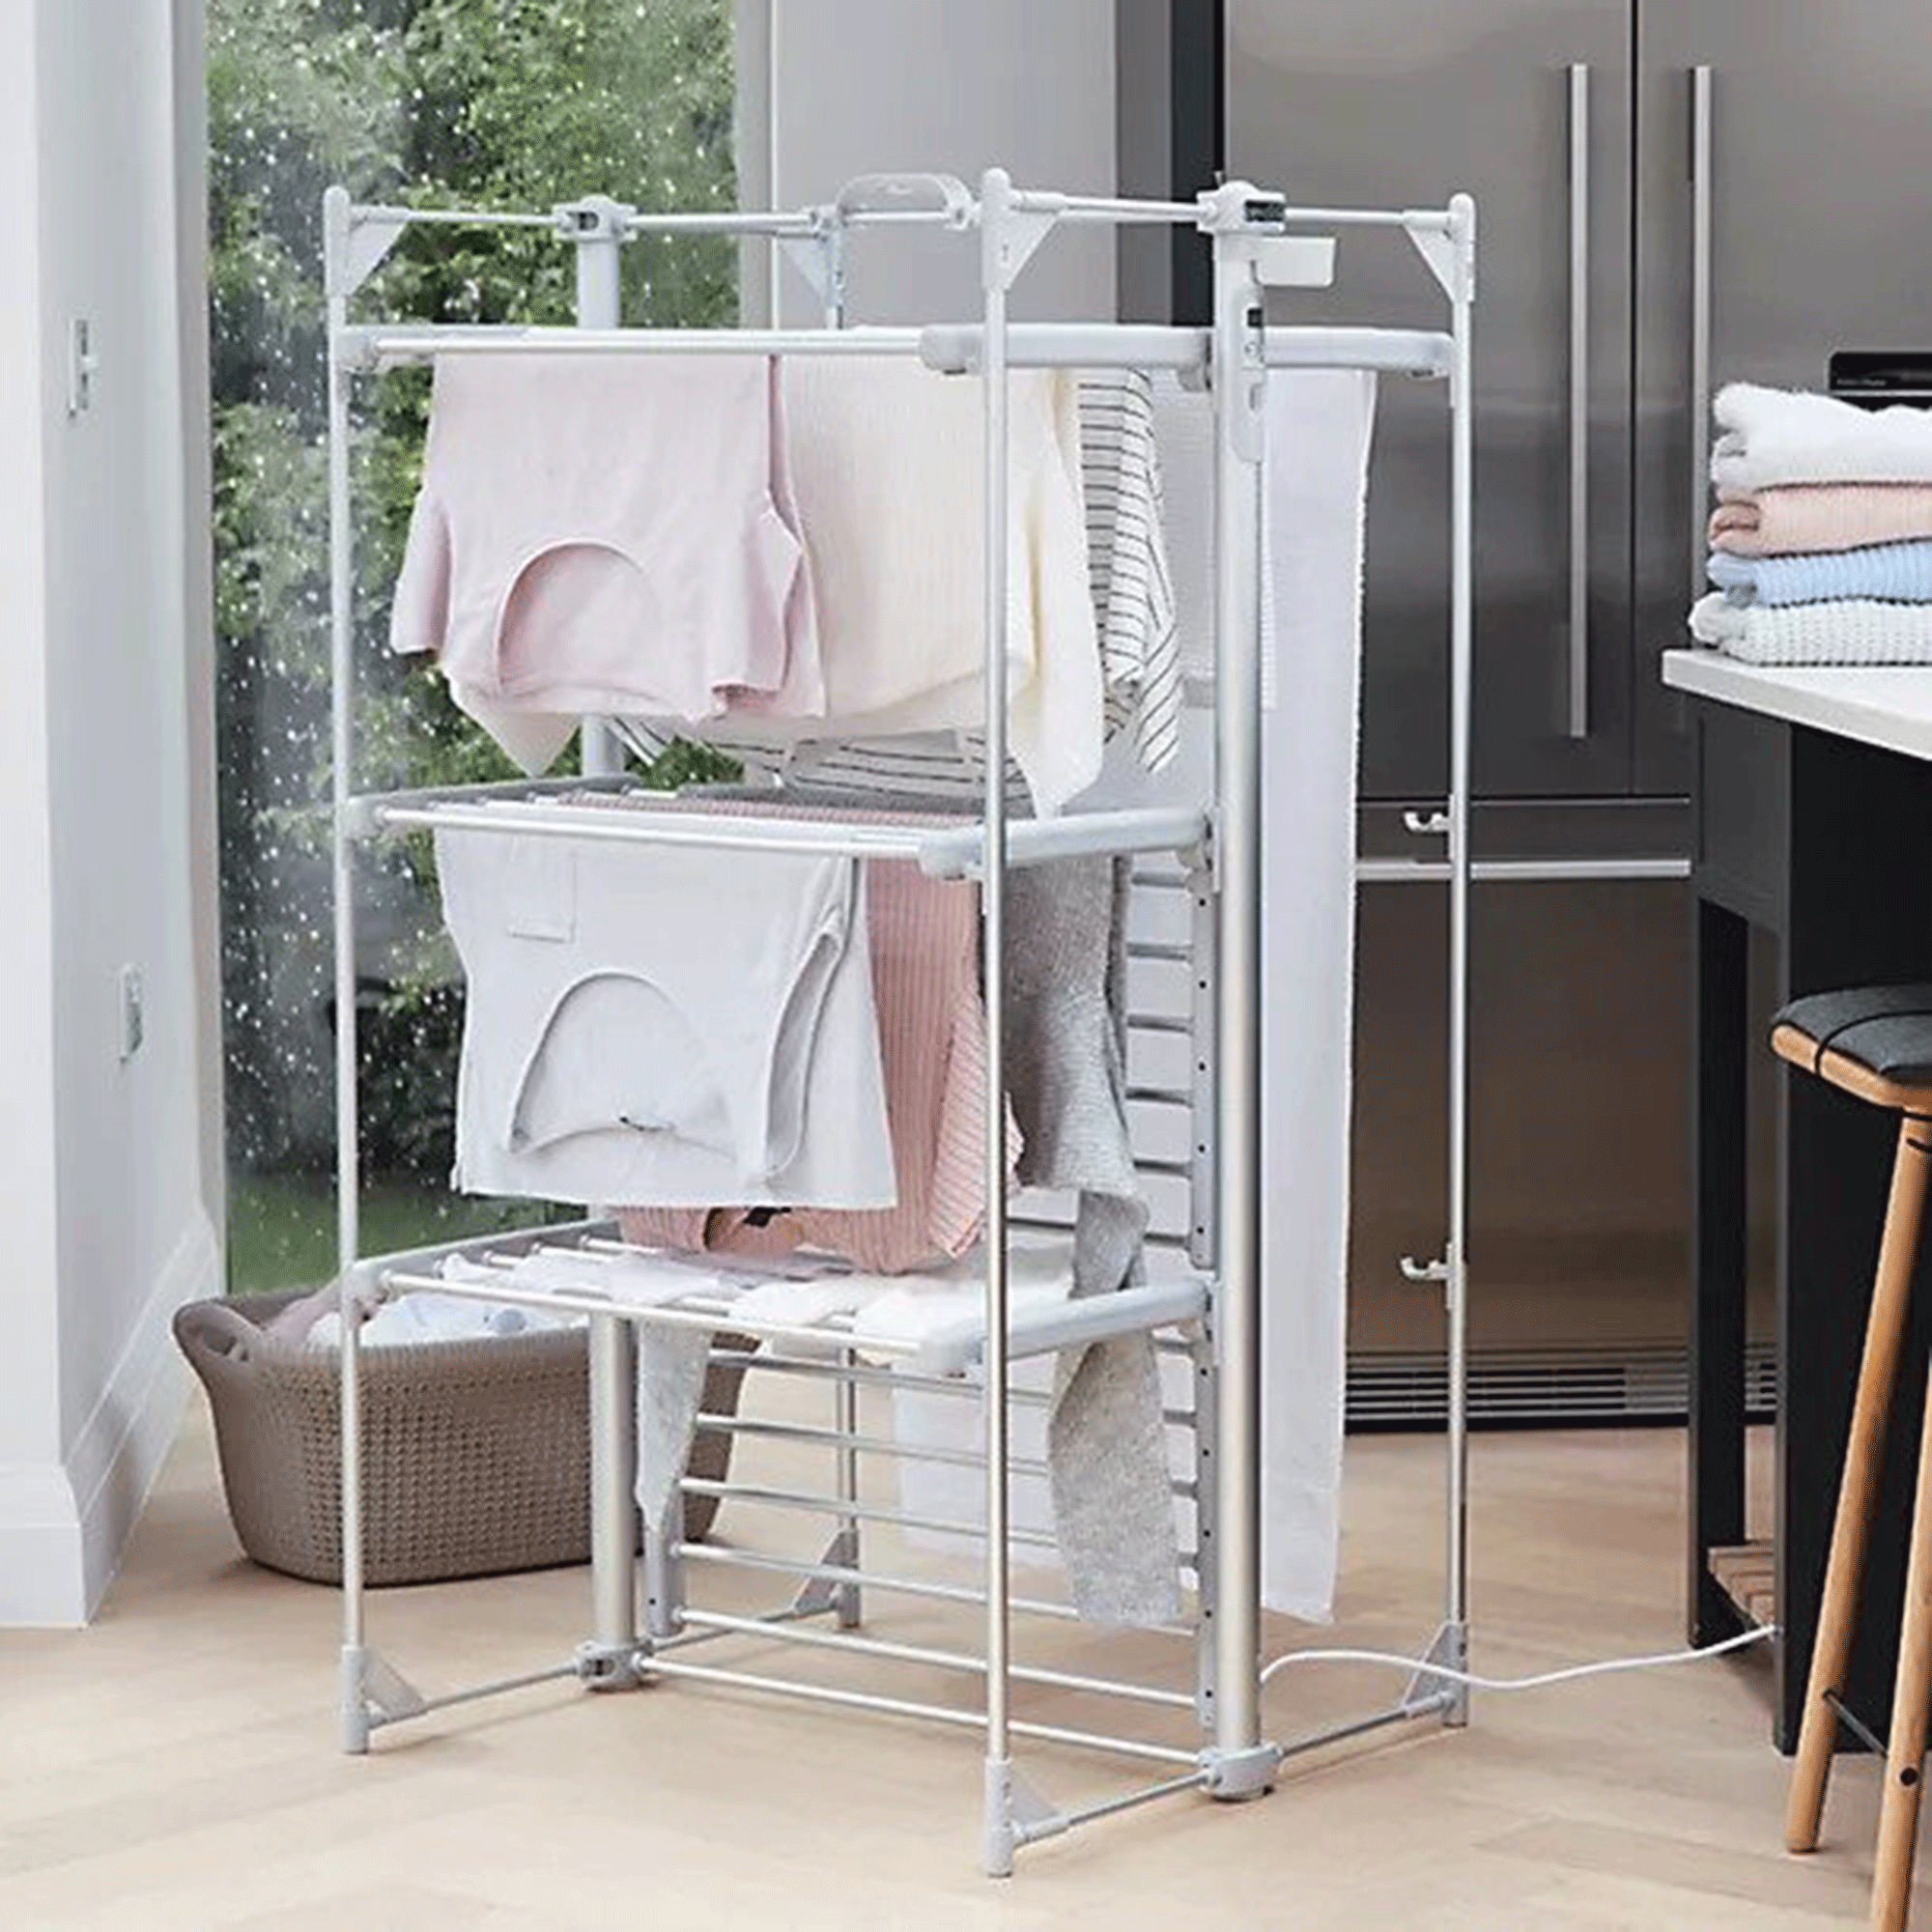
But that’s not all. ‘As the rails can be put up and down, a good way to dry larger items like dresses, towels, or jumpsuits is to have the top rail propped up and the bottom two folded flat so you can place your item on the top rail. This will mean the item is touching all three sets of rails and will therefore dry quicker and more evenly.’
Nowadays, there are also so many accessories that can help with the placement of your clothes. For example, Lakeland offers accessories like mesh shelves and peg hangers. ‘The mesh shelves help for smaller items, e.g. socks and underwear. This helps you pop them all on rather than hanging up each one individually,’ says the rep.

2. Putting it in the wrong room
There’s a high chance that you put your heated clothes airer wherever you have space in your house, whether that be in your utility room or your guest bedroom. But how big are these rooms? And how cold are they? These are questions you need to ask if you want to dry your clothes quicker on a heated clothes airer.
Heating and energy expert, Peter Clayton, from Trade Plumbing explains, ‘Placing your heated drying rack in a large open-plan space can actually be counterproductive. Hot air rises which means the heat from the drying rack will rise towards ceilings, taking heat away from the laundry and extending drying times.’
If you use a heated drying rack in a large room, the appliance will work even harder to heat up the air and dry your clothes and ultimately cost you more time and money in the long run. So, it’s always best to place your heated airer in the smallest room you can.
However, it’s important to ensure that this room is also well insulated. If you use a heated airer in a room that’s already very cold and poorly insulated (for example, a conservatory), it’ll also take much longer.

3. Opening your windows
Having your windows open while you’re drying your clothes seems to make sense. After all, this ventilation will help you get rid of damp and remove the excess moisture from the air.
But opening your windows while you’re drying clothes on a heated drying rack could actually increase your drying time. That’s because the open windows will make the room colder, therefore making your heated airer work harder to warm up the air and your clothes.
That doesn’t mean that you have to keep your windows shut completely, though. Experts suggest having your window on the latch or keeping it open just a crack. This will ensure that any excess condensation will leave the room without negatively affecting the overall temperature of the room.

4. Ignoring your clothes
Many people buy a heated airer because they think they can turn it on and forget about it for a few hours. And while you could do that, you might be waiting a bit longer for your clothes to fully dry.
A common heated airer mistake is ignoring your clothes and not giving them the TLC they need throughout the drying process. So, it’s a good idea to check on your clothes every now and then, moving them around as necessary.
The representative from Lakeland explains, ‘As warm air rises, the clothes on the top shelf will dry first. When dry, take them off and move everything else up a shelf to speed up drying time.’
Peter agrees, adding, ‘It may take more effort but rotating your clothing is key to drying your clothes quicker. The bars of the drying rack are heated which means any sections of clothing placed directly on these bars will naturally dry much quicker. Rotating clothing is therefore beneficial as it allows areas that are not as dry to benefit from the direct heat.’
5. Not using a cover
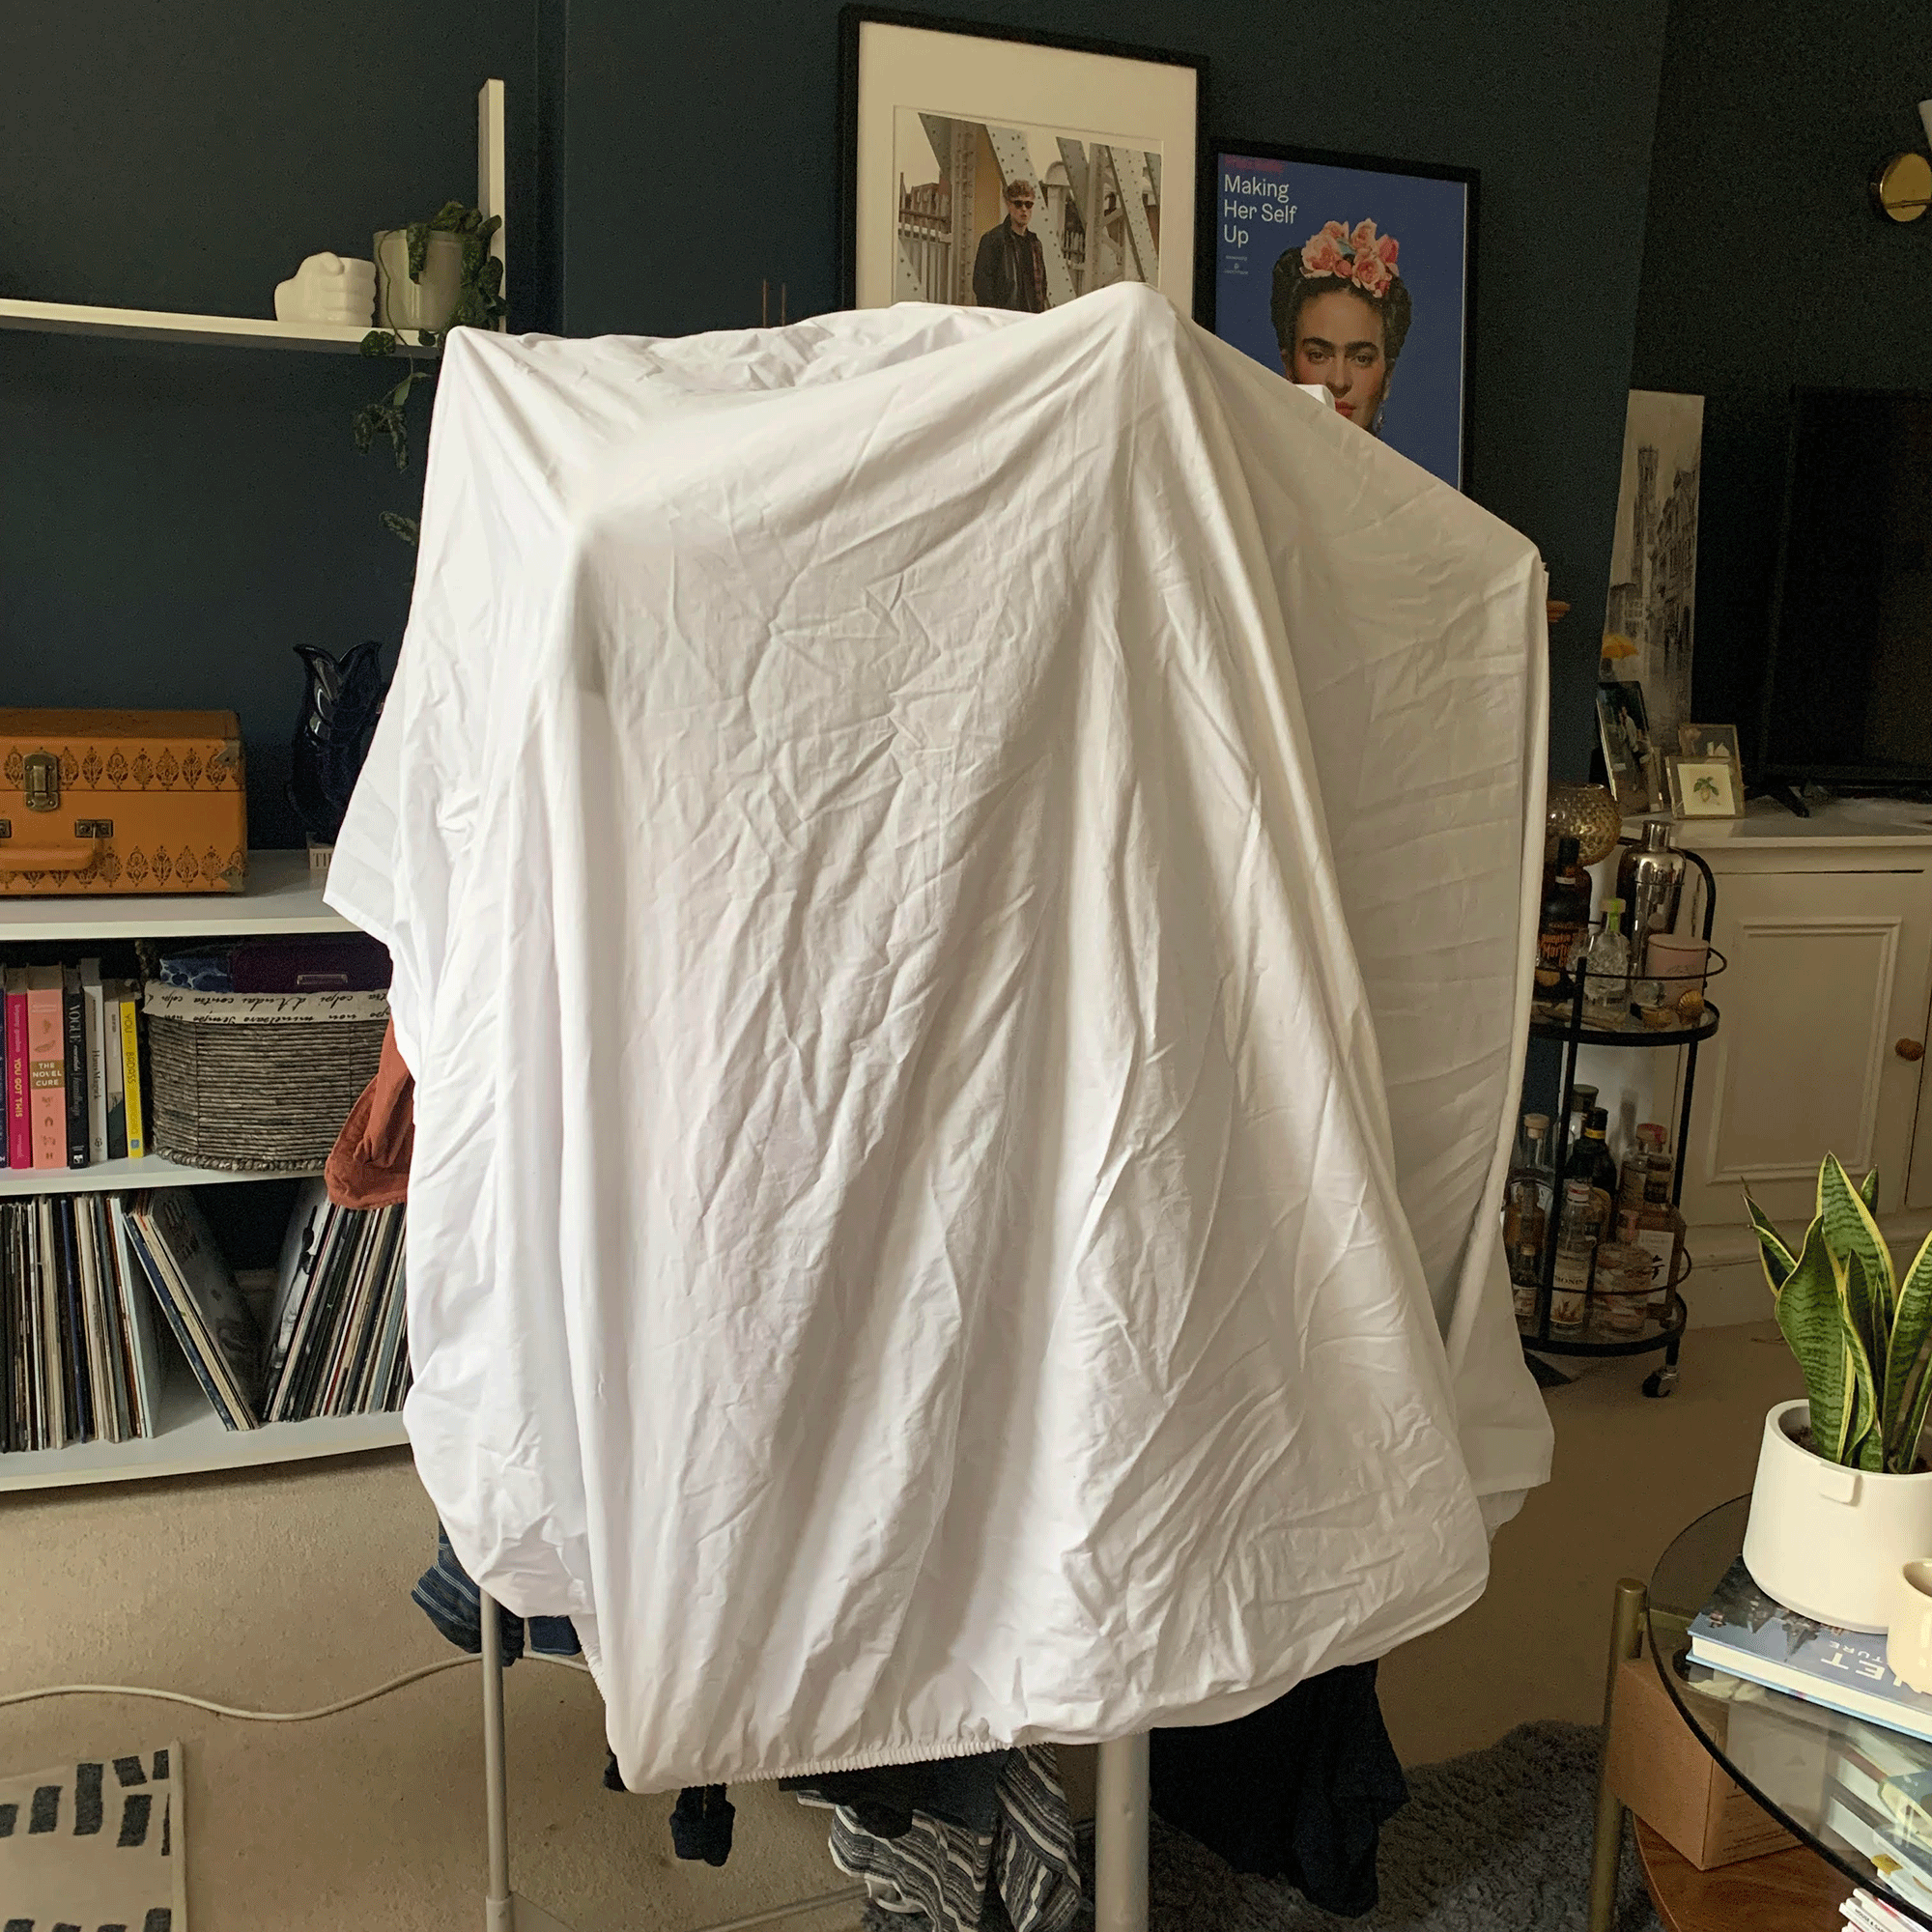
If you want to avoid a heated airer mistake, you need to focus on trapping the warm air around the clothes. One of the best ways to do this is to use a cover. Sometimes, you may find that a heated airer comes with a cover as standard, but you may also have to pay extra to take advantage of this hack.
‘It goes without saying having a cover really does help,’ says the Lakeland rep. ‘The material is made with small perforated holes, so it is still breathable.’
Ideal Home's Digital Deputy Editor, Rebecca Knight, recently purchased a cover for her heated airer herself. She said, ‘Adding the cover to my heated clothes airer did cut down on drying time slightly. I found with the cover added, I was able to dry a t-shirt in just two hours and a heavier sweatshirt in around seven hours.
‘This is a slight reduction on the time it would normally take without, and an added bonus is that it covers up your drying if you don't want clothes on display when guests come over!'
Don’t worry if you don’t want to spend money on a legitimate heated airer cover, though. If you have a spare bedsheet lying around, you could also use this TikTok hack that halves drying time.

6. Skipping that extra spin
The wetter your clothes, the longer they’ll take to dry - even on a heated airer. That’s why adding an extra spin cycle to your washing process will speed up your drying process exponentially. Of course, you may be worried about how much it costs to run a washing machine and how an extra spin cycle will affect your energy bills.
However, you’ll find that most spin cycles will add just 10 more minutes to your washing machine usage. And you may even find that spending a little more money on that extra 10 minutes will cut down how much you’ll spend on using your heated airer. So, it’ll be worth it in the end.

7. Overloading the rack
Spreading out the clothes on a normal clothes airer is one of the best ways to stop your clothes from smelling damp when you’re drying them indoors. But this practice is something you can use with your clothes airer, too.
‘When it comes to placing your clothes on the drying rack it is important that you don’t overcrowd it,’ states Peter. ‘Placing too many items on at once leads to overlapping which will actually prolong drying times. It is much more beneficial to place your garments evenly to allow more heat to get to each item.’
Yes, if you overload your heated airer with too many wet clothes at one time, you’ll limit the air flow and essentially smother your garments. This will increase the moisture in the air, create condensation, and ultimately make you wait longer for dry clothes.
It’s always best to read the specifications of your clothes airer, as this will tell you how big of a load your airer can take. Then, try to spread out the garments so they’re not touching each other or overlapping.
FAQs
How do you get the best out of a heated airer?
To dry your clothes quicker with a heated airer, focus on trapping as much warm air around your clothes as you can. The best way to do this is with a cover or a sheet.
However, it’s also important to open the window a crack when you do this, as this will allow the excess moisture from the clothes to escape the room.
If you can, try to spread out your clothes as much as possible so the warm air can circulate. Focus on how you lay your clothes on the airer, too. Larger items may need to be “threaded” through the bars so they get as much heat as possible, while thinner items can be hung as normal.
Should you put a sheet over heated airer?
Yes! Doing this will significantly reduce the drying time and ultimately cost you less on your energy bills. There are specific covers that you can buy to do this, but it’s also possible to do this with a bed sheet if you have a spare one lying around.
Do you need a window open when using a heated airer?
Technically, yes. However, it’s important to note that you should only keep the window open a crack so that there’s a small gap for the excess moisture to escape the room.
Don’t open the window too far, as this will cool down the room and ultimately make it harder for your heated airer to dry your clothes. This means that it’ll take longer and cost you more money. Another way to reduce the moisture in the room when drying clothes is to invest in the best dehumidifier. Dehumidifiers can also dry clothes, making it the heated airer's perfect partner in crime for laundry day.
Avoid these common heated airer mistakes and you’ll have dry clothes in no time.


