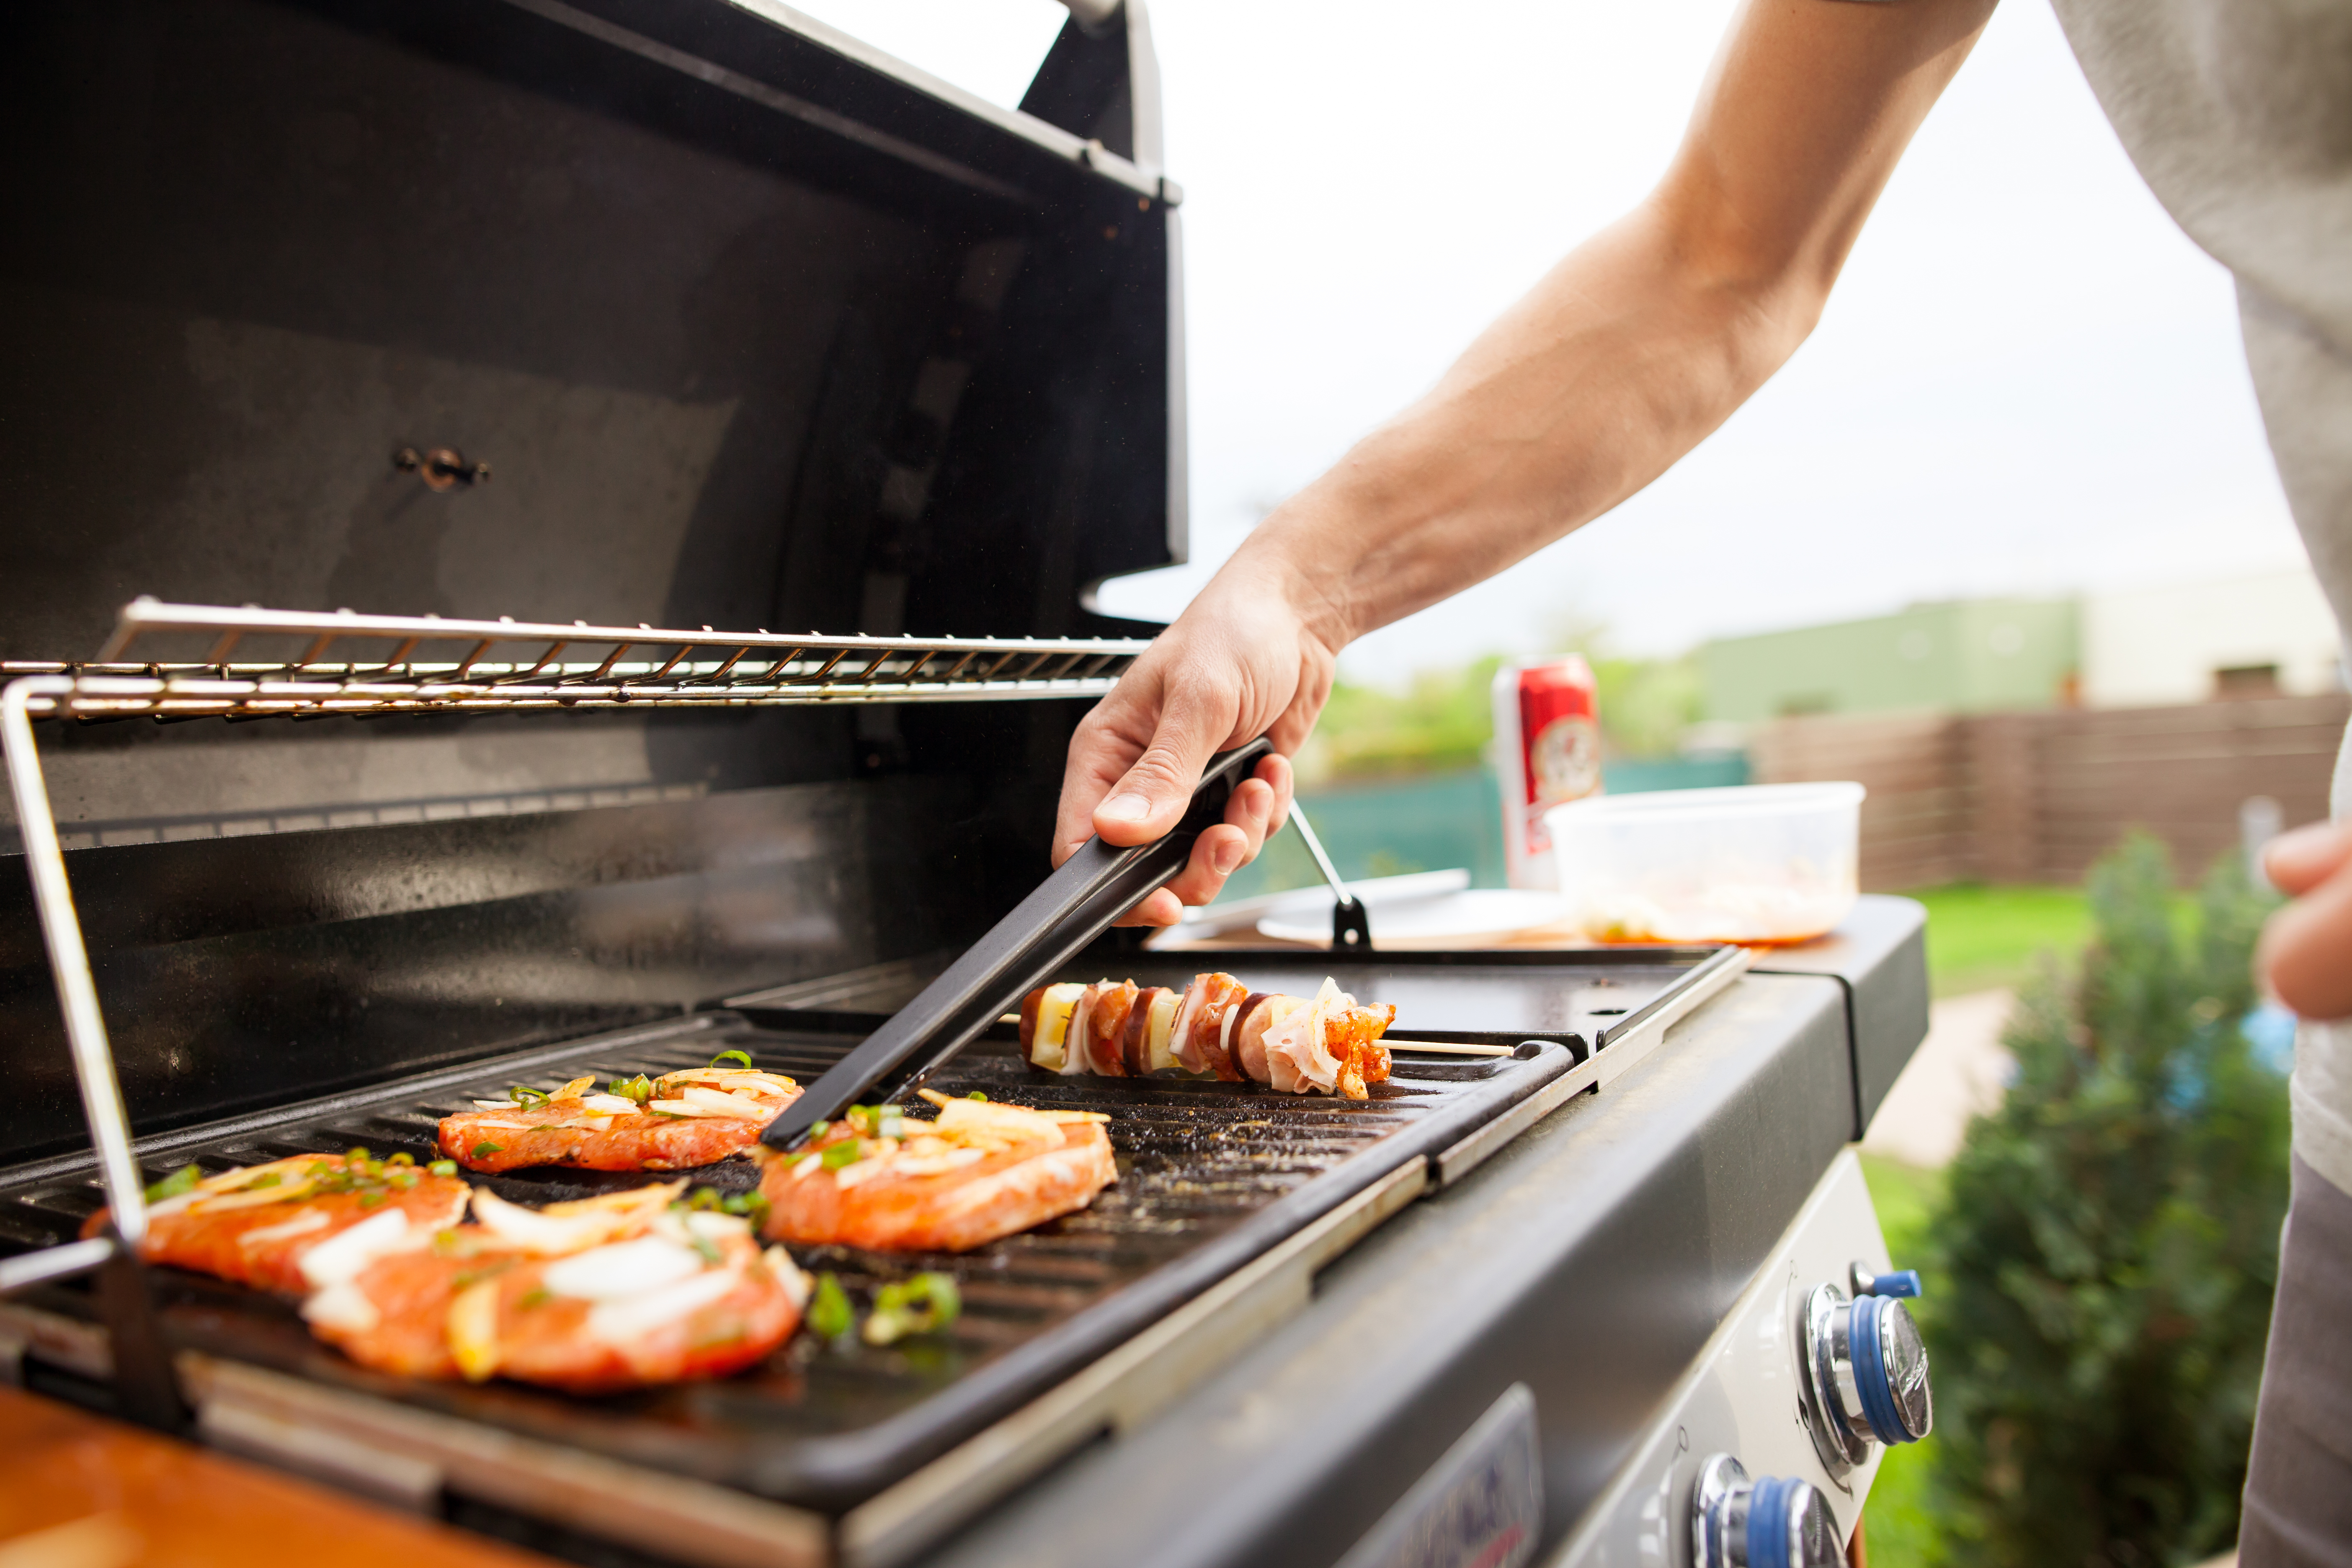
Summertime and the livin’ is easy — and you probably have plans to use that backyard grill every chance you get. And why not? From steaks to hot dogs and burgers to veggies, everything tastes better when it’s been charred on one of the best grills — as long as you follow the grilling tips and tricks used by the pros.
However, before you get started, it’s important to prep your grill for the summer, even if you used it sporadically during the winter. We reached out to two experts to find out what you need to do to get your grill in tip top shape for mouthwatering food all summer long.
According to Courtney Walsh, resident cleaning expert at Homeaglow, the secret is to remember to clean it properly at the end of the previous summer. “It’s pretty common to forget, though, so you’re not alone if you dust off your grill to find last year's coal ash and meat fat still in place,” she says.
Basically, there are three components involved in prepping your grill: clean, oil, and heat. We’ll explain each one in detail below, along with some other helpful tips for the perfect cook-out.
1. Deep clean
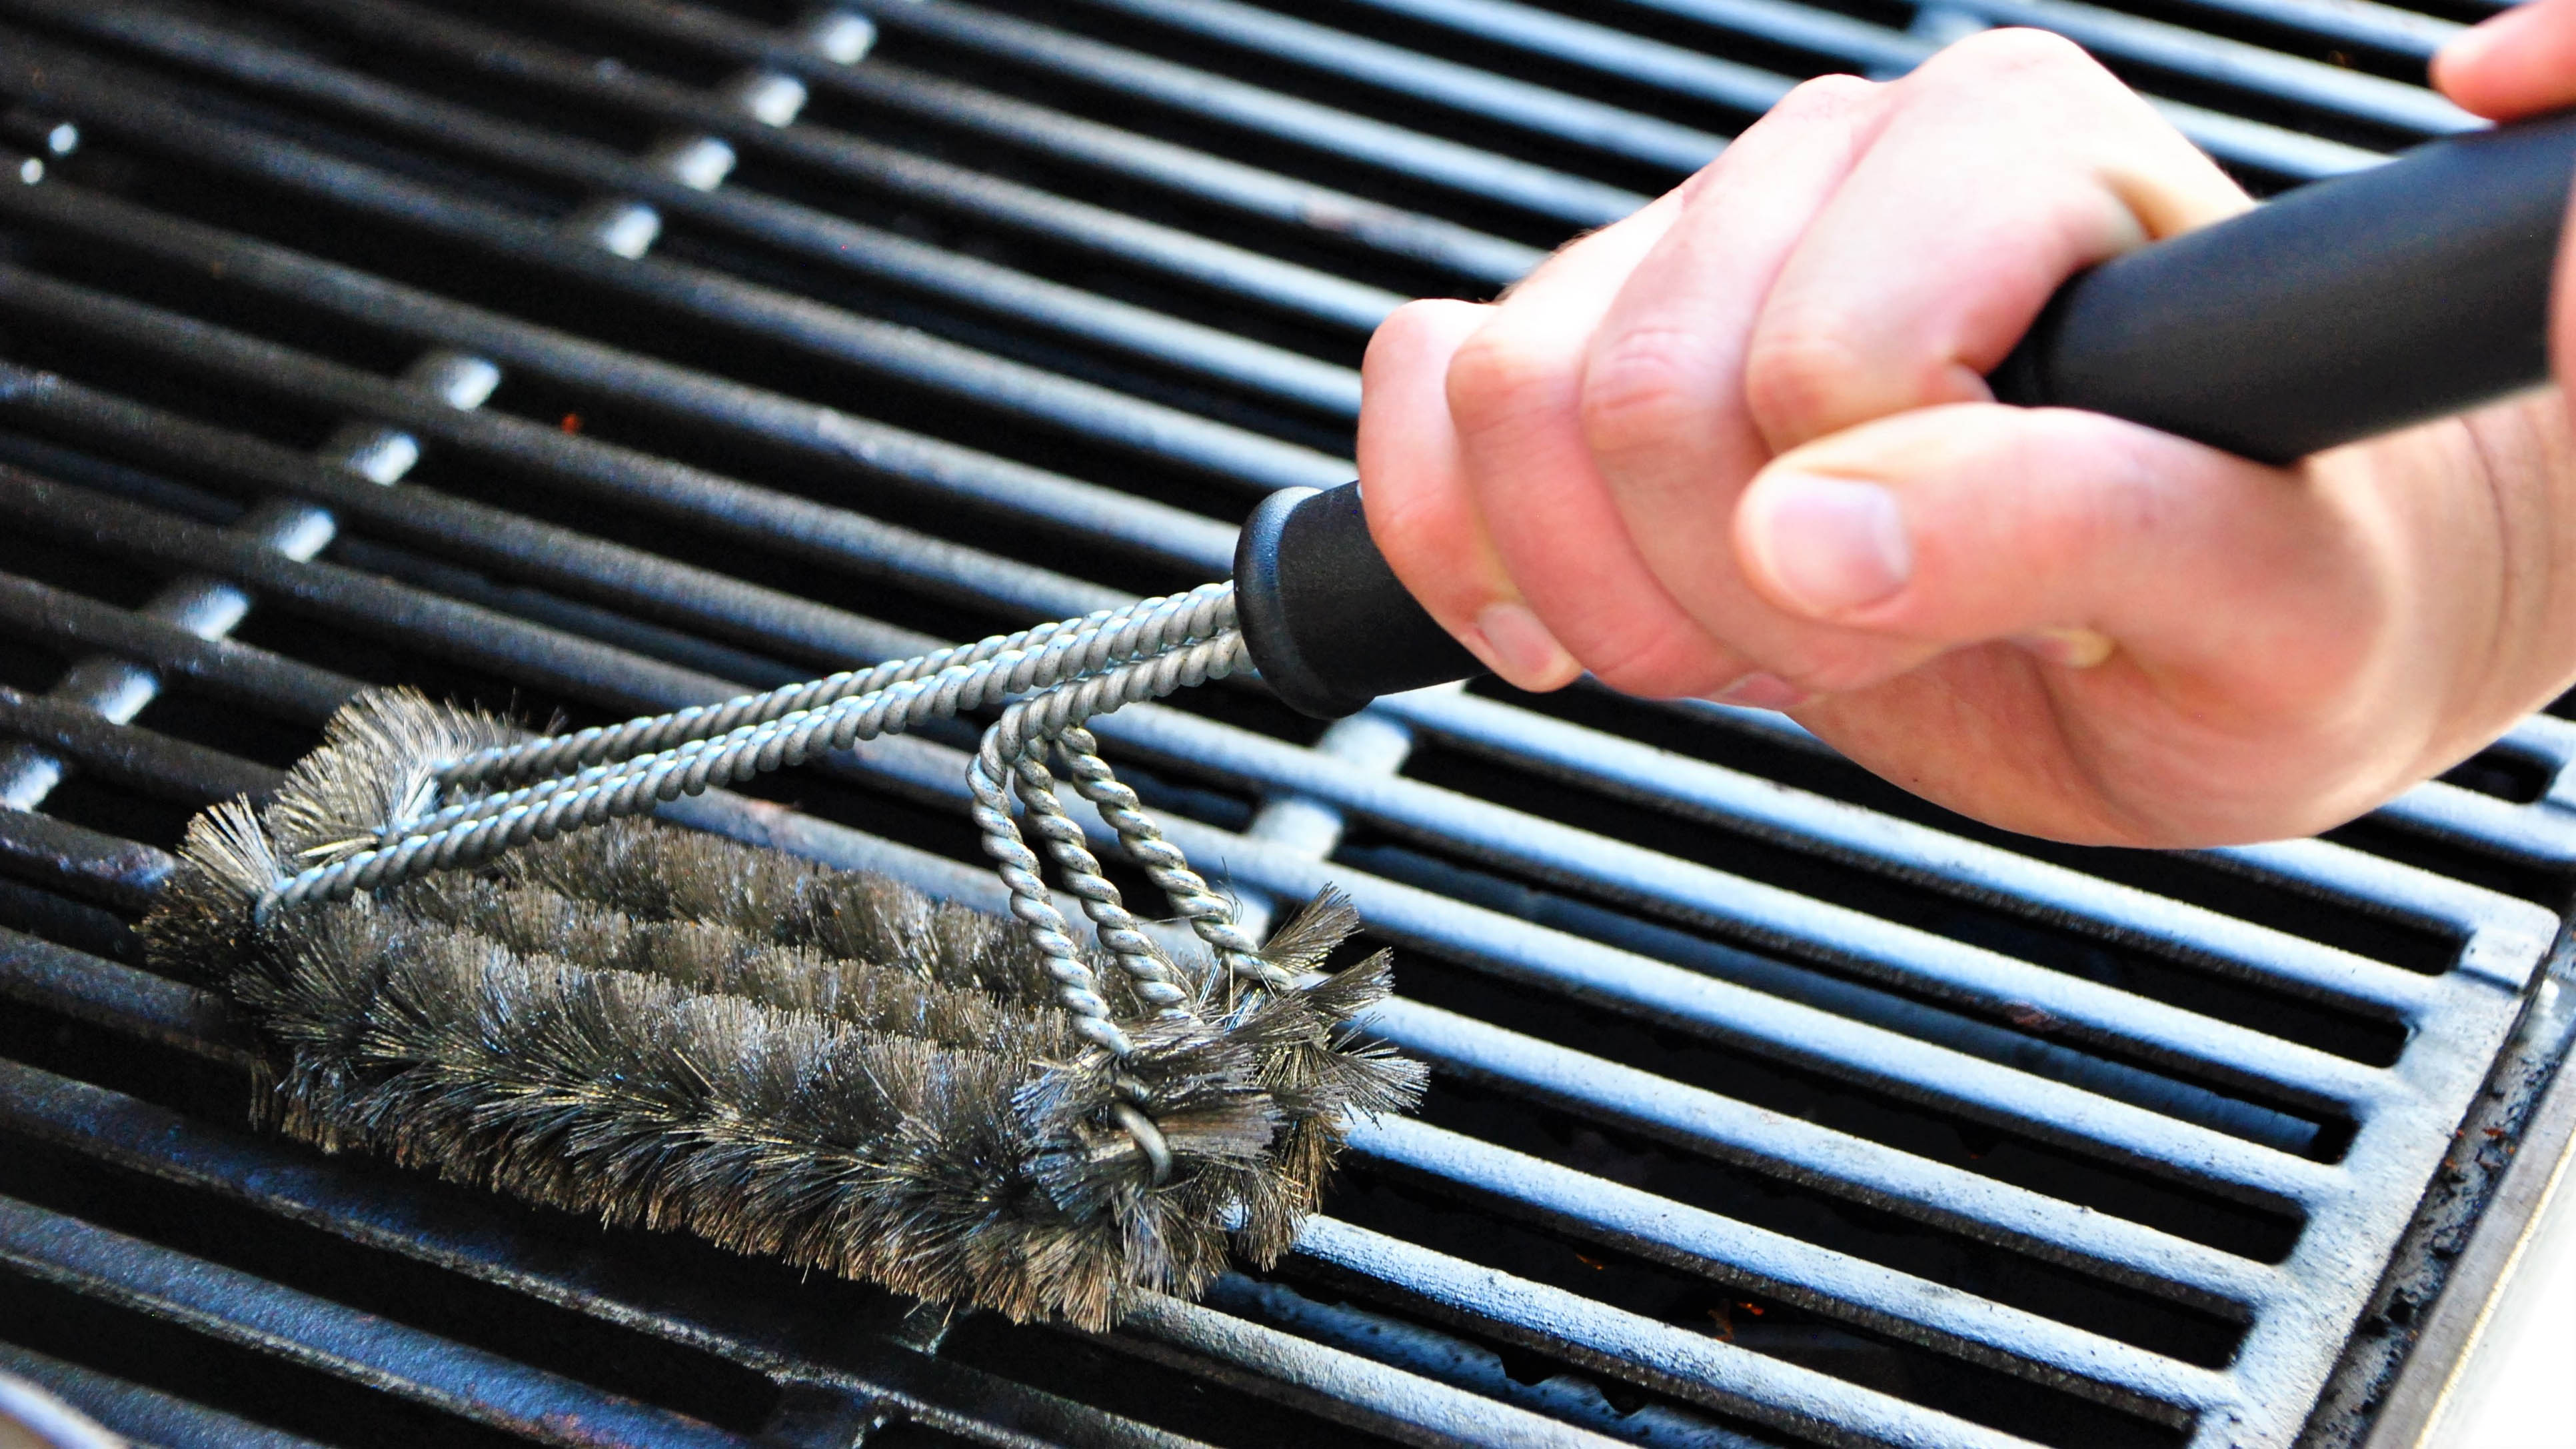
Grilling is fun, but cleaning the grill: not so much. However, there are actually several benefits to performing this chore. “Cleaning your grill ensures a hygienic cooking surface, prevents flavor contamination, and enhances heat distribution,” explains Leah Belzer-Adams, COO, Union Square Group, manufacturers of the Charcoal Companion Brand.
In fact, she recommends thoroughly cleaning your grill before each use to eliminate any remnants from previous cooking sessions. But if you’re still taking baby steps, at least clean it thoroughly before the summer.
So, what do you need to clean the grill? Belzer-Adams recommends a wire brush, heat-resistant gloves, and some elbow grease. Also, the type of grill you have will determine how extensive your cleaning session will be. Walsh notes that charcoal grills tend to be easier to prep than gas grills because they don’t have as many parts that you’ll need to fiddle with.
For a charcoal grill, start by emptying out old ash, scrub down your racks, and finish by cleaning the outside of the grill. “To clean your racks, take them out of your grill, scrape off old chunks with a wire brush, then hose down with water.” Next, she recommends applying a generous amount of dishwashing liquid on the scrubbing brush before scrubbing. This is undoubtedly the least fun part, but it’s necessary.
If you encounter stubborn parts that don’t seem to be affected by your efforts, Walsh advises to sprinkle baking soda on those areas, and continue to scrub them. If you don’t want to apply much elbow grease, you can also let the grates soak in warm, soapy water, before you rinse, let dry, and reassemble.
As a general rule, preparing a gas grill follows the same process as a charcoal grill, but you have more items to clean. “Start by removing your racks or hotplates and clean them with water, dishwashing liquid, and a sprinkle of baking soda,” Walsh says. “Now scrape around the flame tamers over the burners to remove any debris.” The next step is to remove the grease tray and clean it the same way you clean the racks or hotplates.
2. Use heat
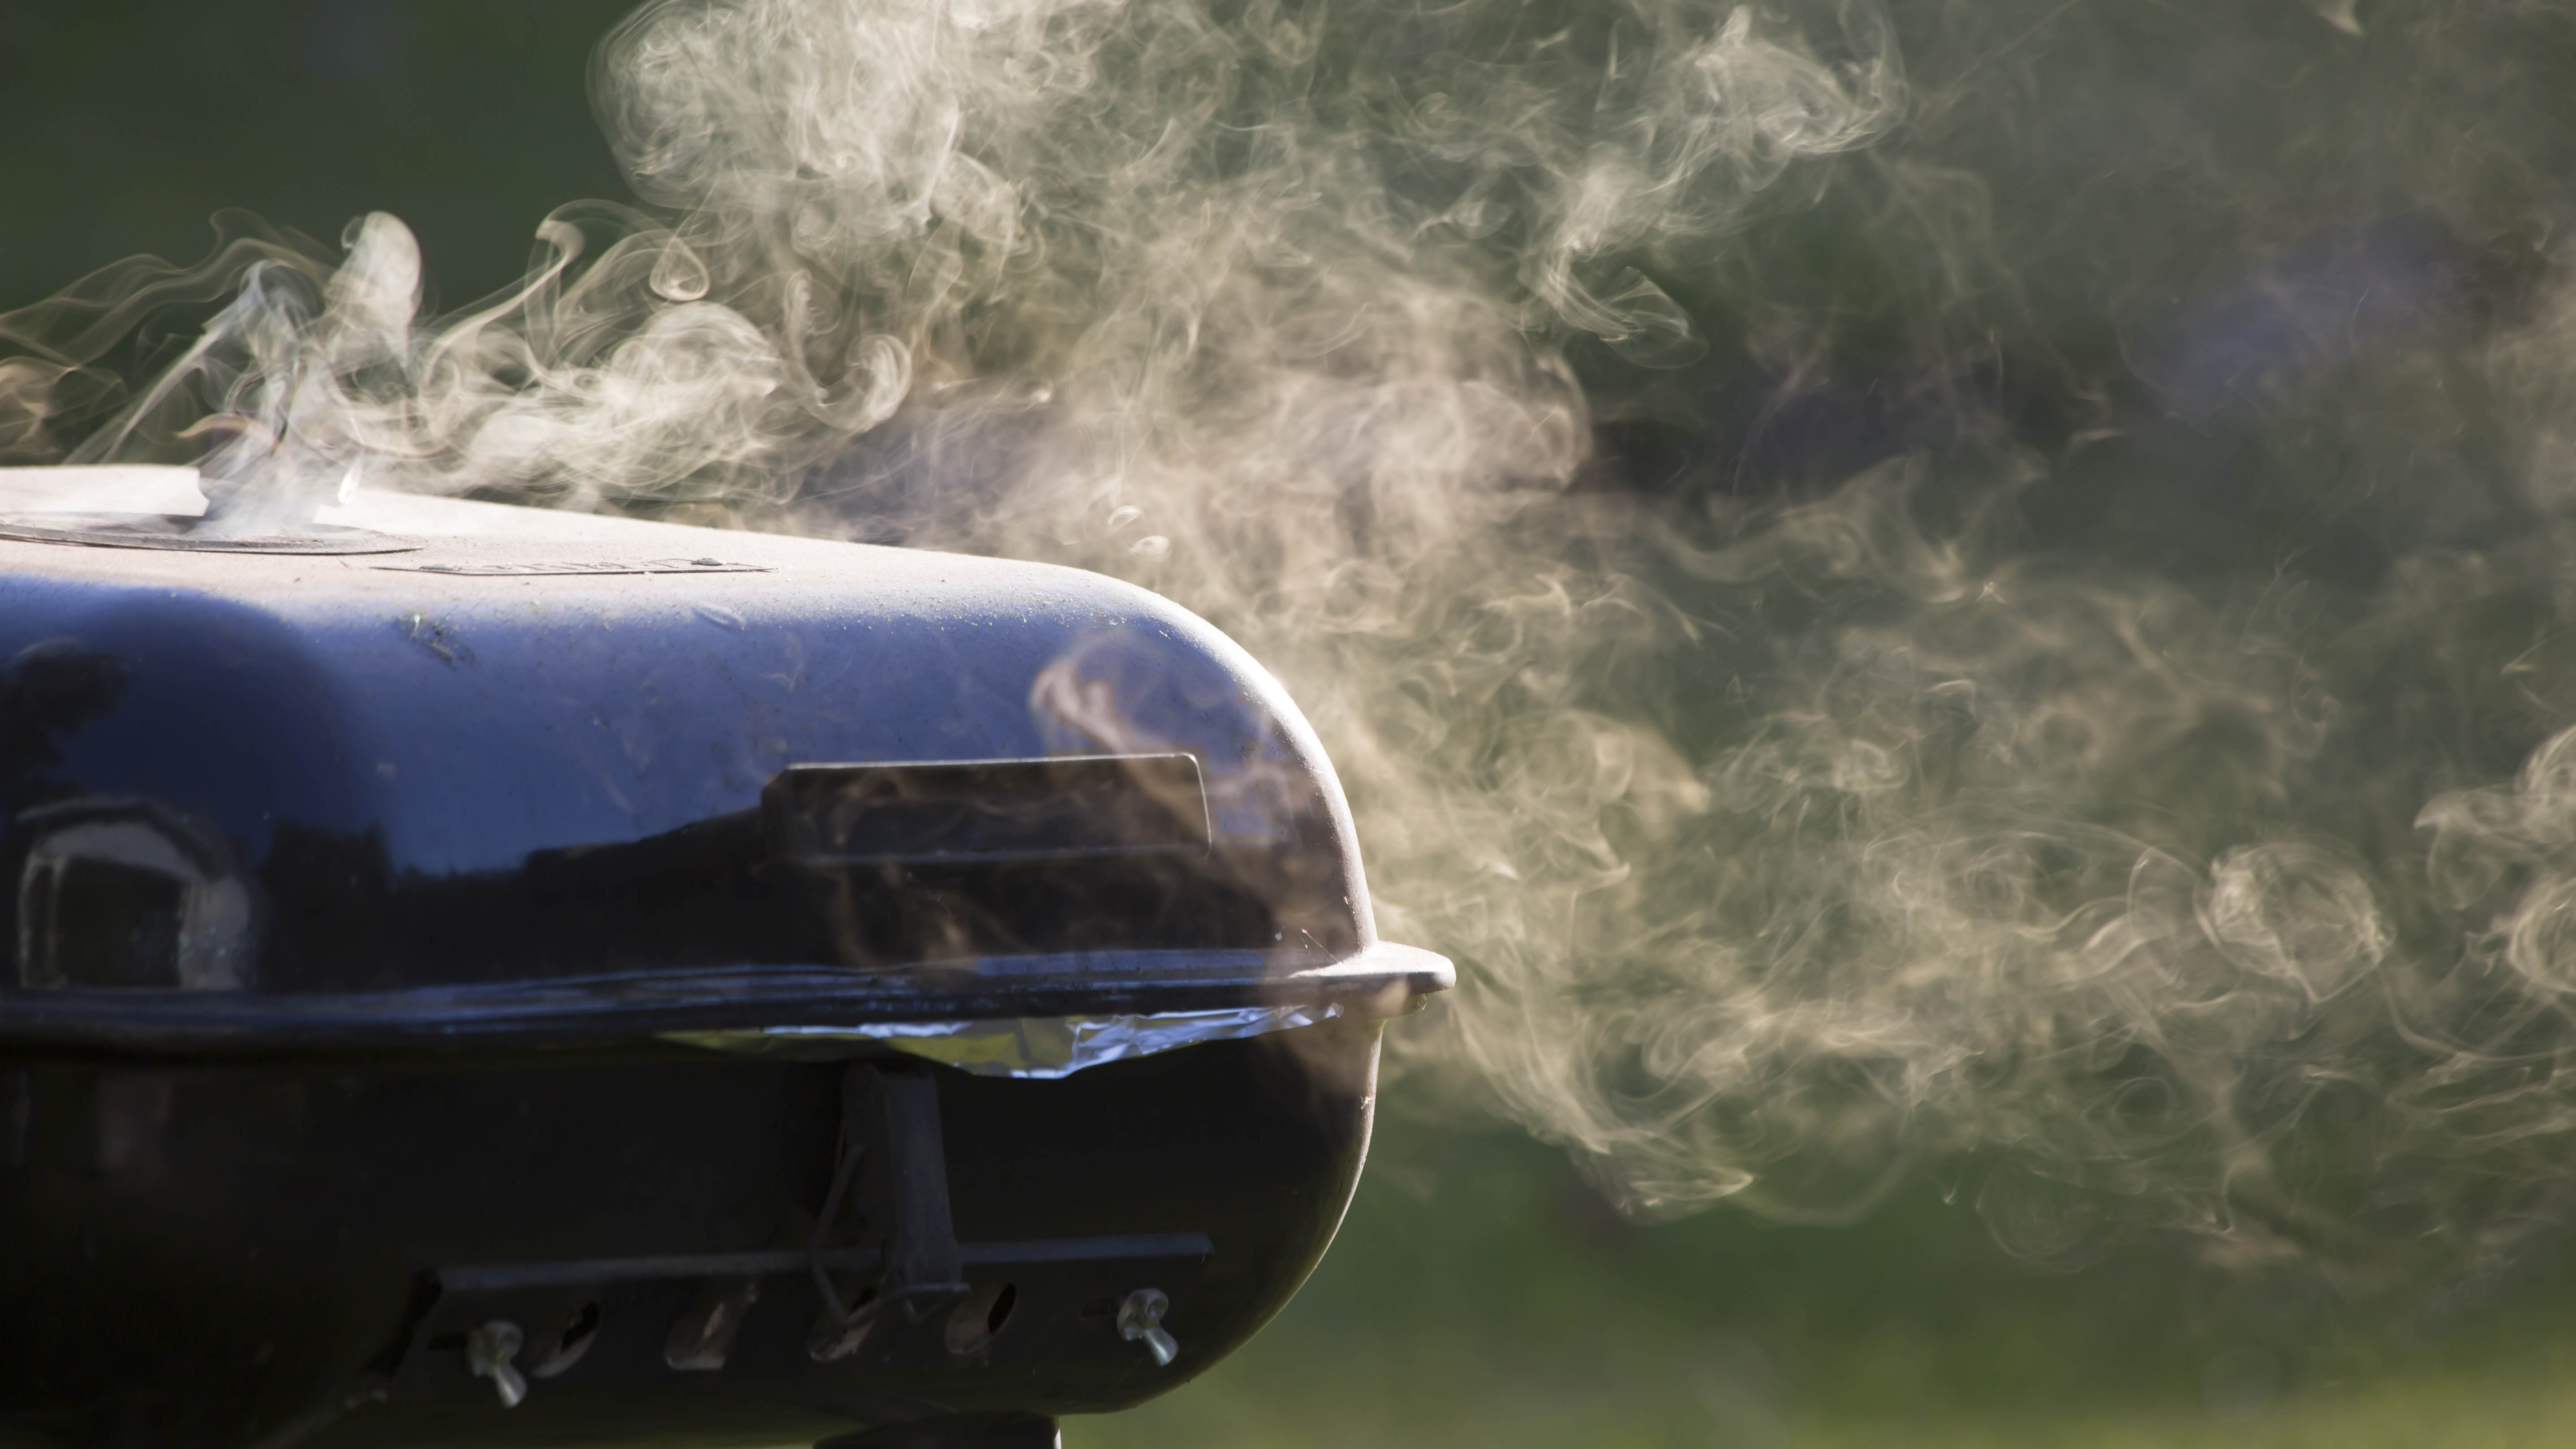
In addition, Walsh admits that not everyone has the time, nor the desire to deep clean their grill. In which case, you can also cheat if you’re in a hurry, or simply don’t want to expend that much energy.
“This involves heating up your grill and letting it run for 15 minutes so that the bulk of last year’s debris burns off.” Walsh says, "And then, you can scrub any remaining debris with a metal brush, and then rub a little oil on the grill."
3. Apply oil
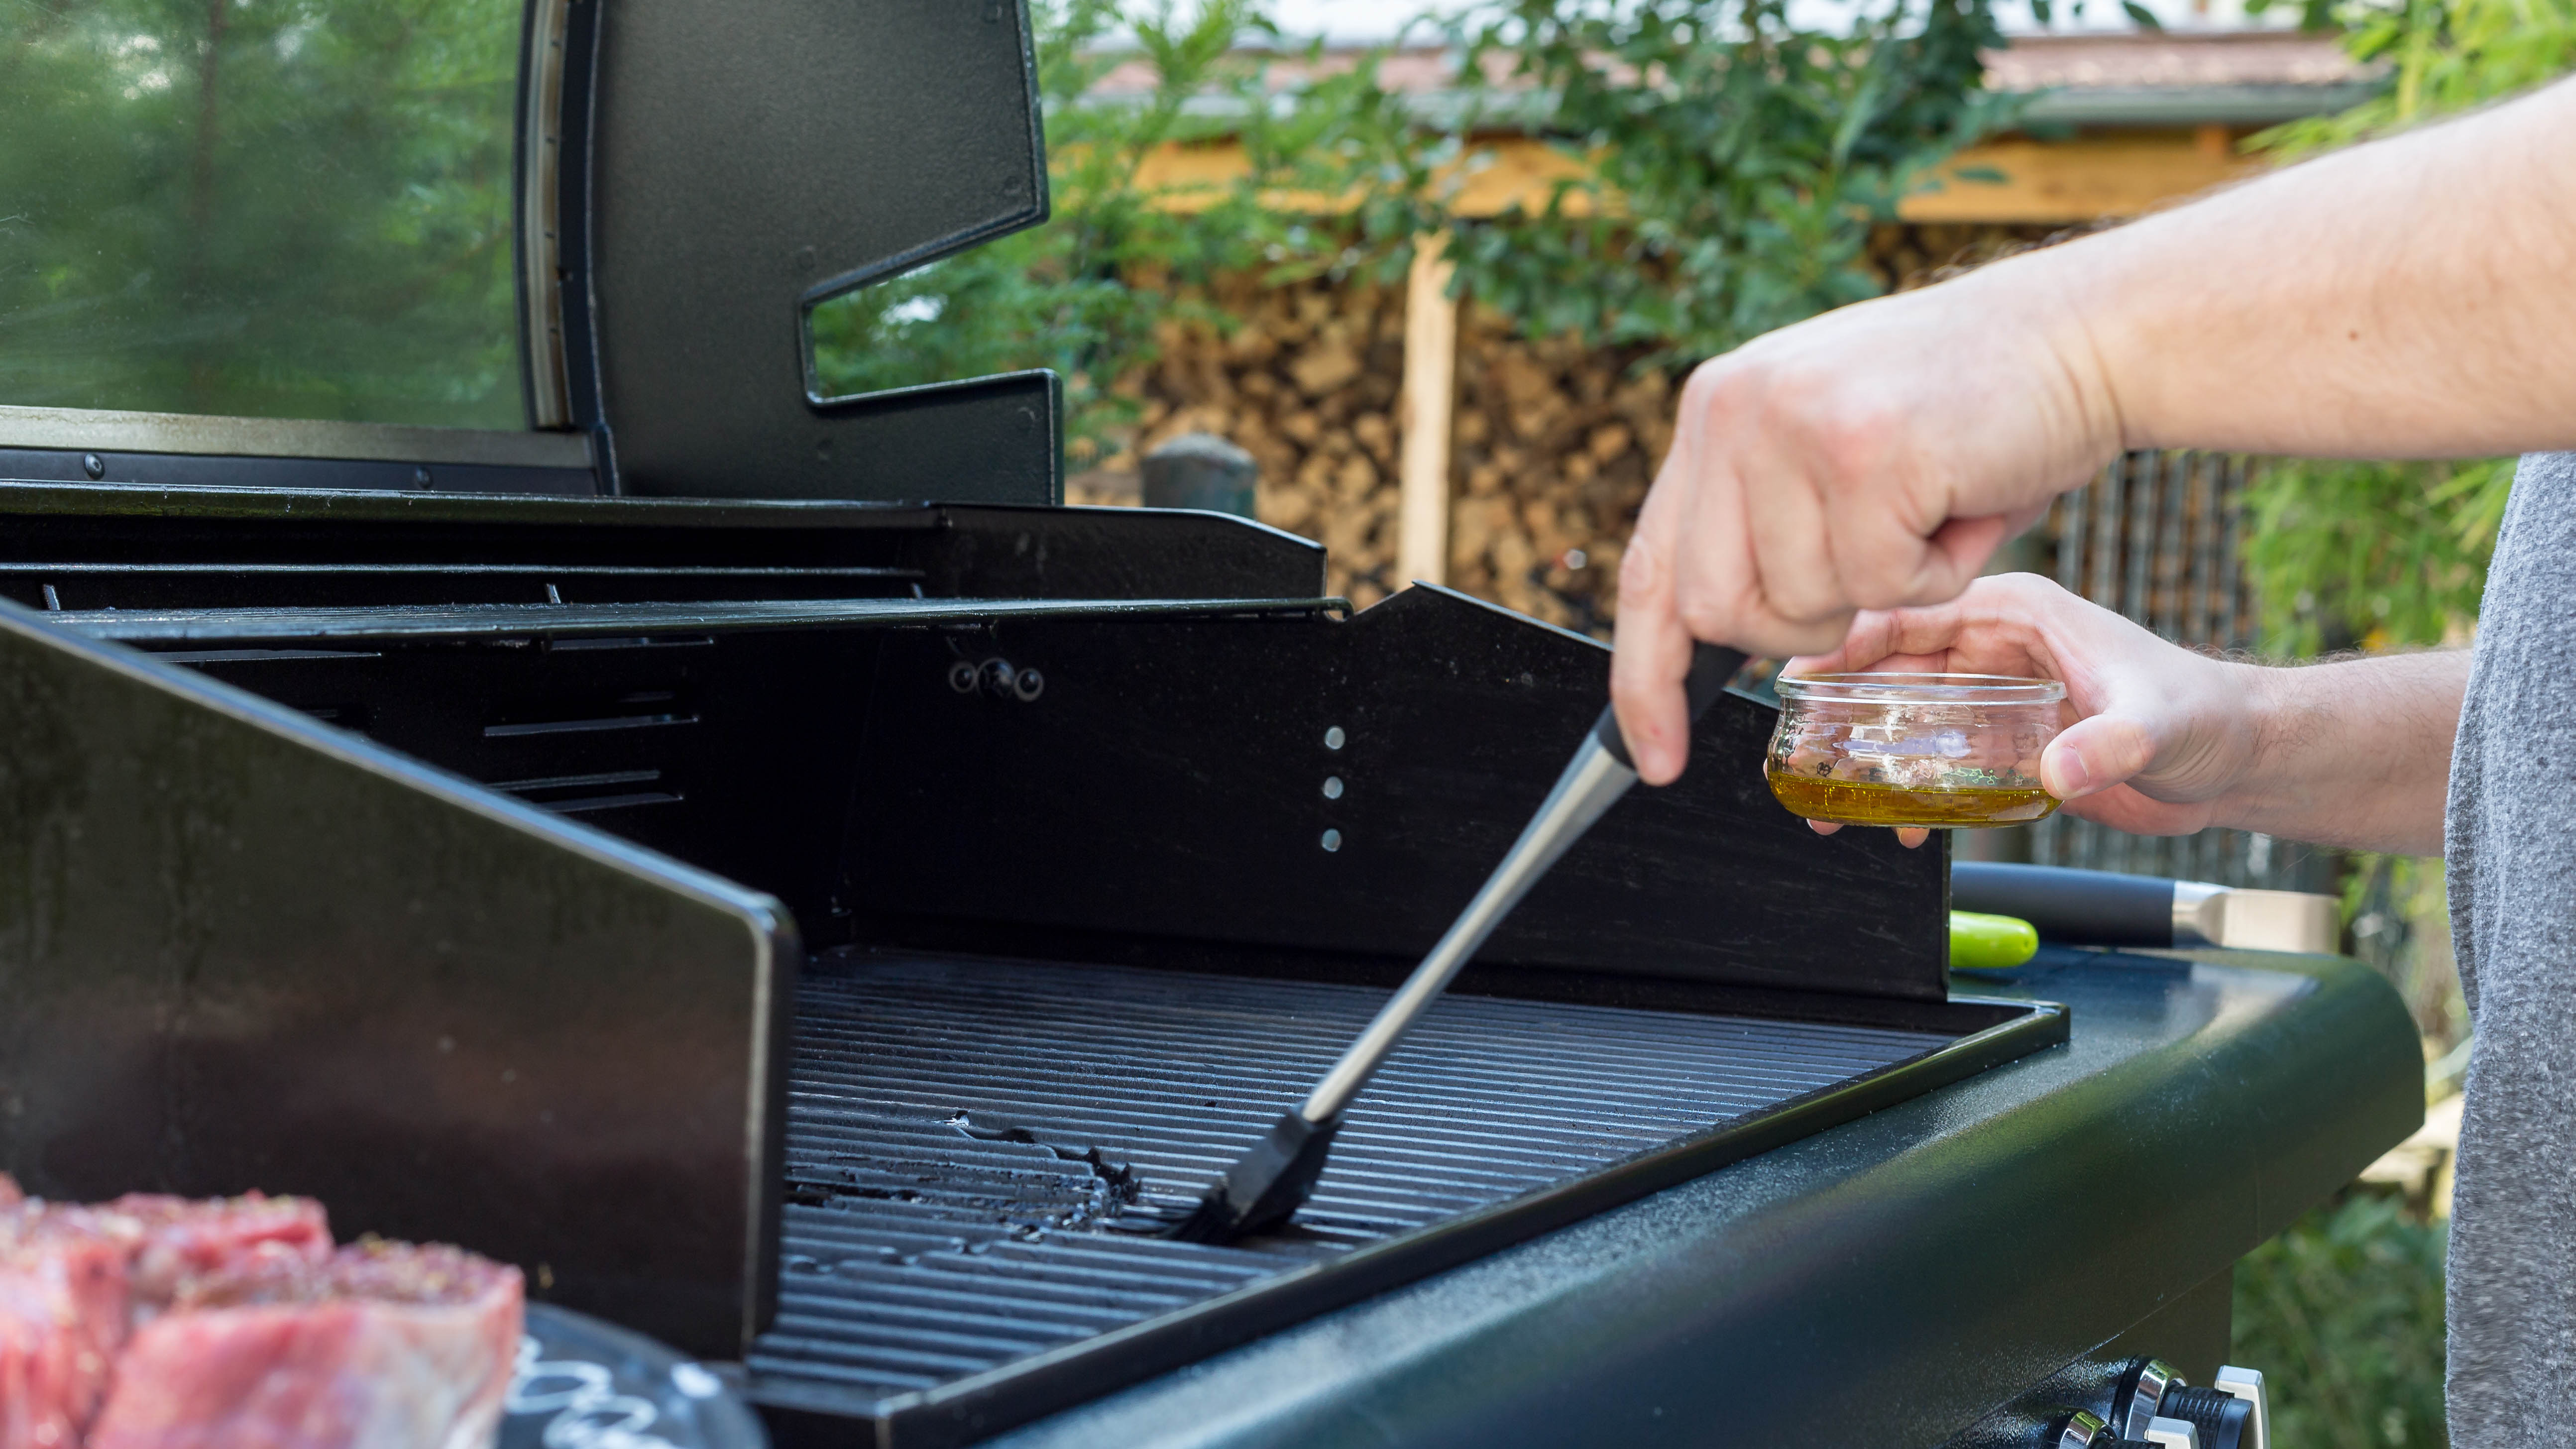
After cleaning your grill, the next step is to oil it. According to Belzer-Adams, oil is actually your secret weapon. “Oiling the grates promotes easy food release, reduces the risk of tearing delicate items, and helps create beautiful grill marks, so apply a light coating of cooking oil to the grates before cooking to prevent food from sticking."
Once the grill is preheated, she recommends dipping a folded paper towel in a neutral oil - like vegetable or canola oil - and using long-handled tongs to rub it onto the grates. “Be cautious to avoid flare-ups by keeping your hands and face away from the heat,” Belzer-Adams advises.
In addition to making the food more attractive during the grilling process, and easier to cook, Walsh says oiling your racks or hotplates provide another important function as well: it prevents rust. If you have some on hand, she recommends safflower or peanut oil because they burn at high temperatures. “But, if not, use whatever oil you’ve got,” Walsh says.
4. Safety checks
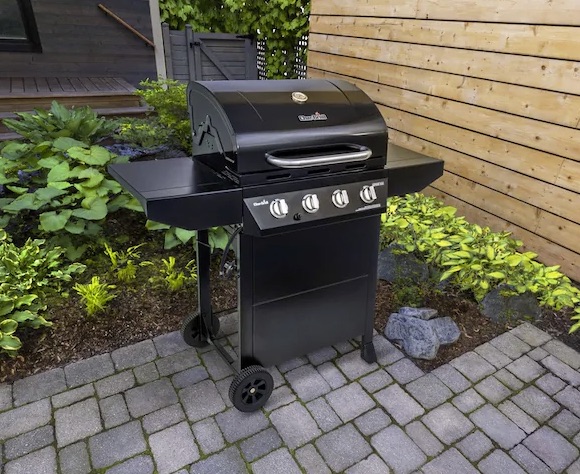
Whether you plan to clean the grill extensively, or a quick job, there are certain things that are a must when prepping your grill. “For a coal grill, you have to remove the ash,” warns Walsh. If you don’t, she says your grill won’t be able to breathe and the coal won’t burn properly.
And if you grill with gas, you must perform a safety check at the start of the season. “This is best done by rubbing some soapy water on your pipes, turning on the gas, and looking for bubbles.”
In addition, check your grill to see if it’s still in good working order. “It’s worth keeping an eye out for loose nuts and bolts and rusted-out parts, so your grill doesn’t collapse on you halfway through the summer,” Walsh explains.
What's more, be on guard for a build-up of insects. “Be cautious when you first open your grill as it may now be home to wasps, spiders and ants,” Walsh warns. You don't want any horrid surprises the next time you open your grill!
5. Right temperature control
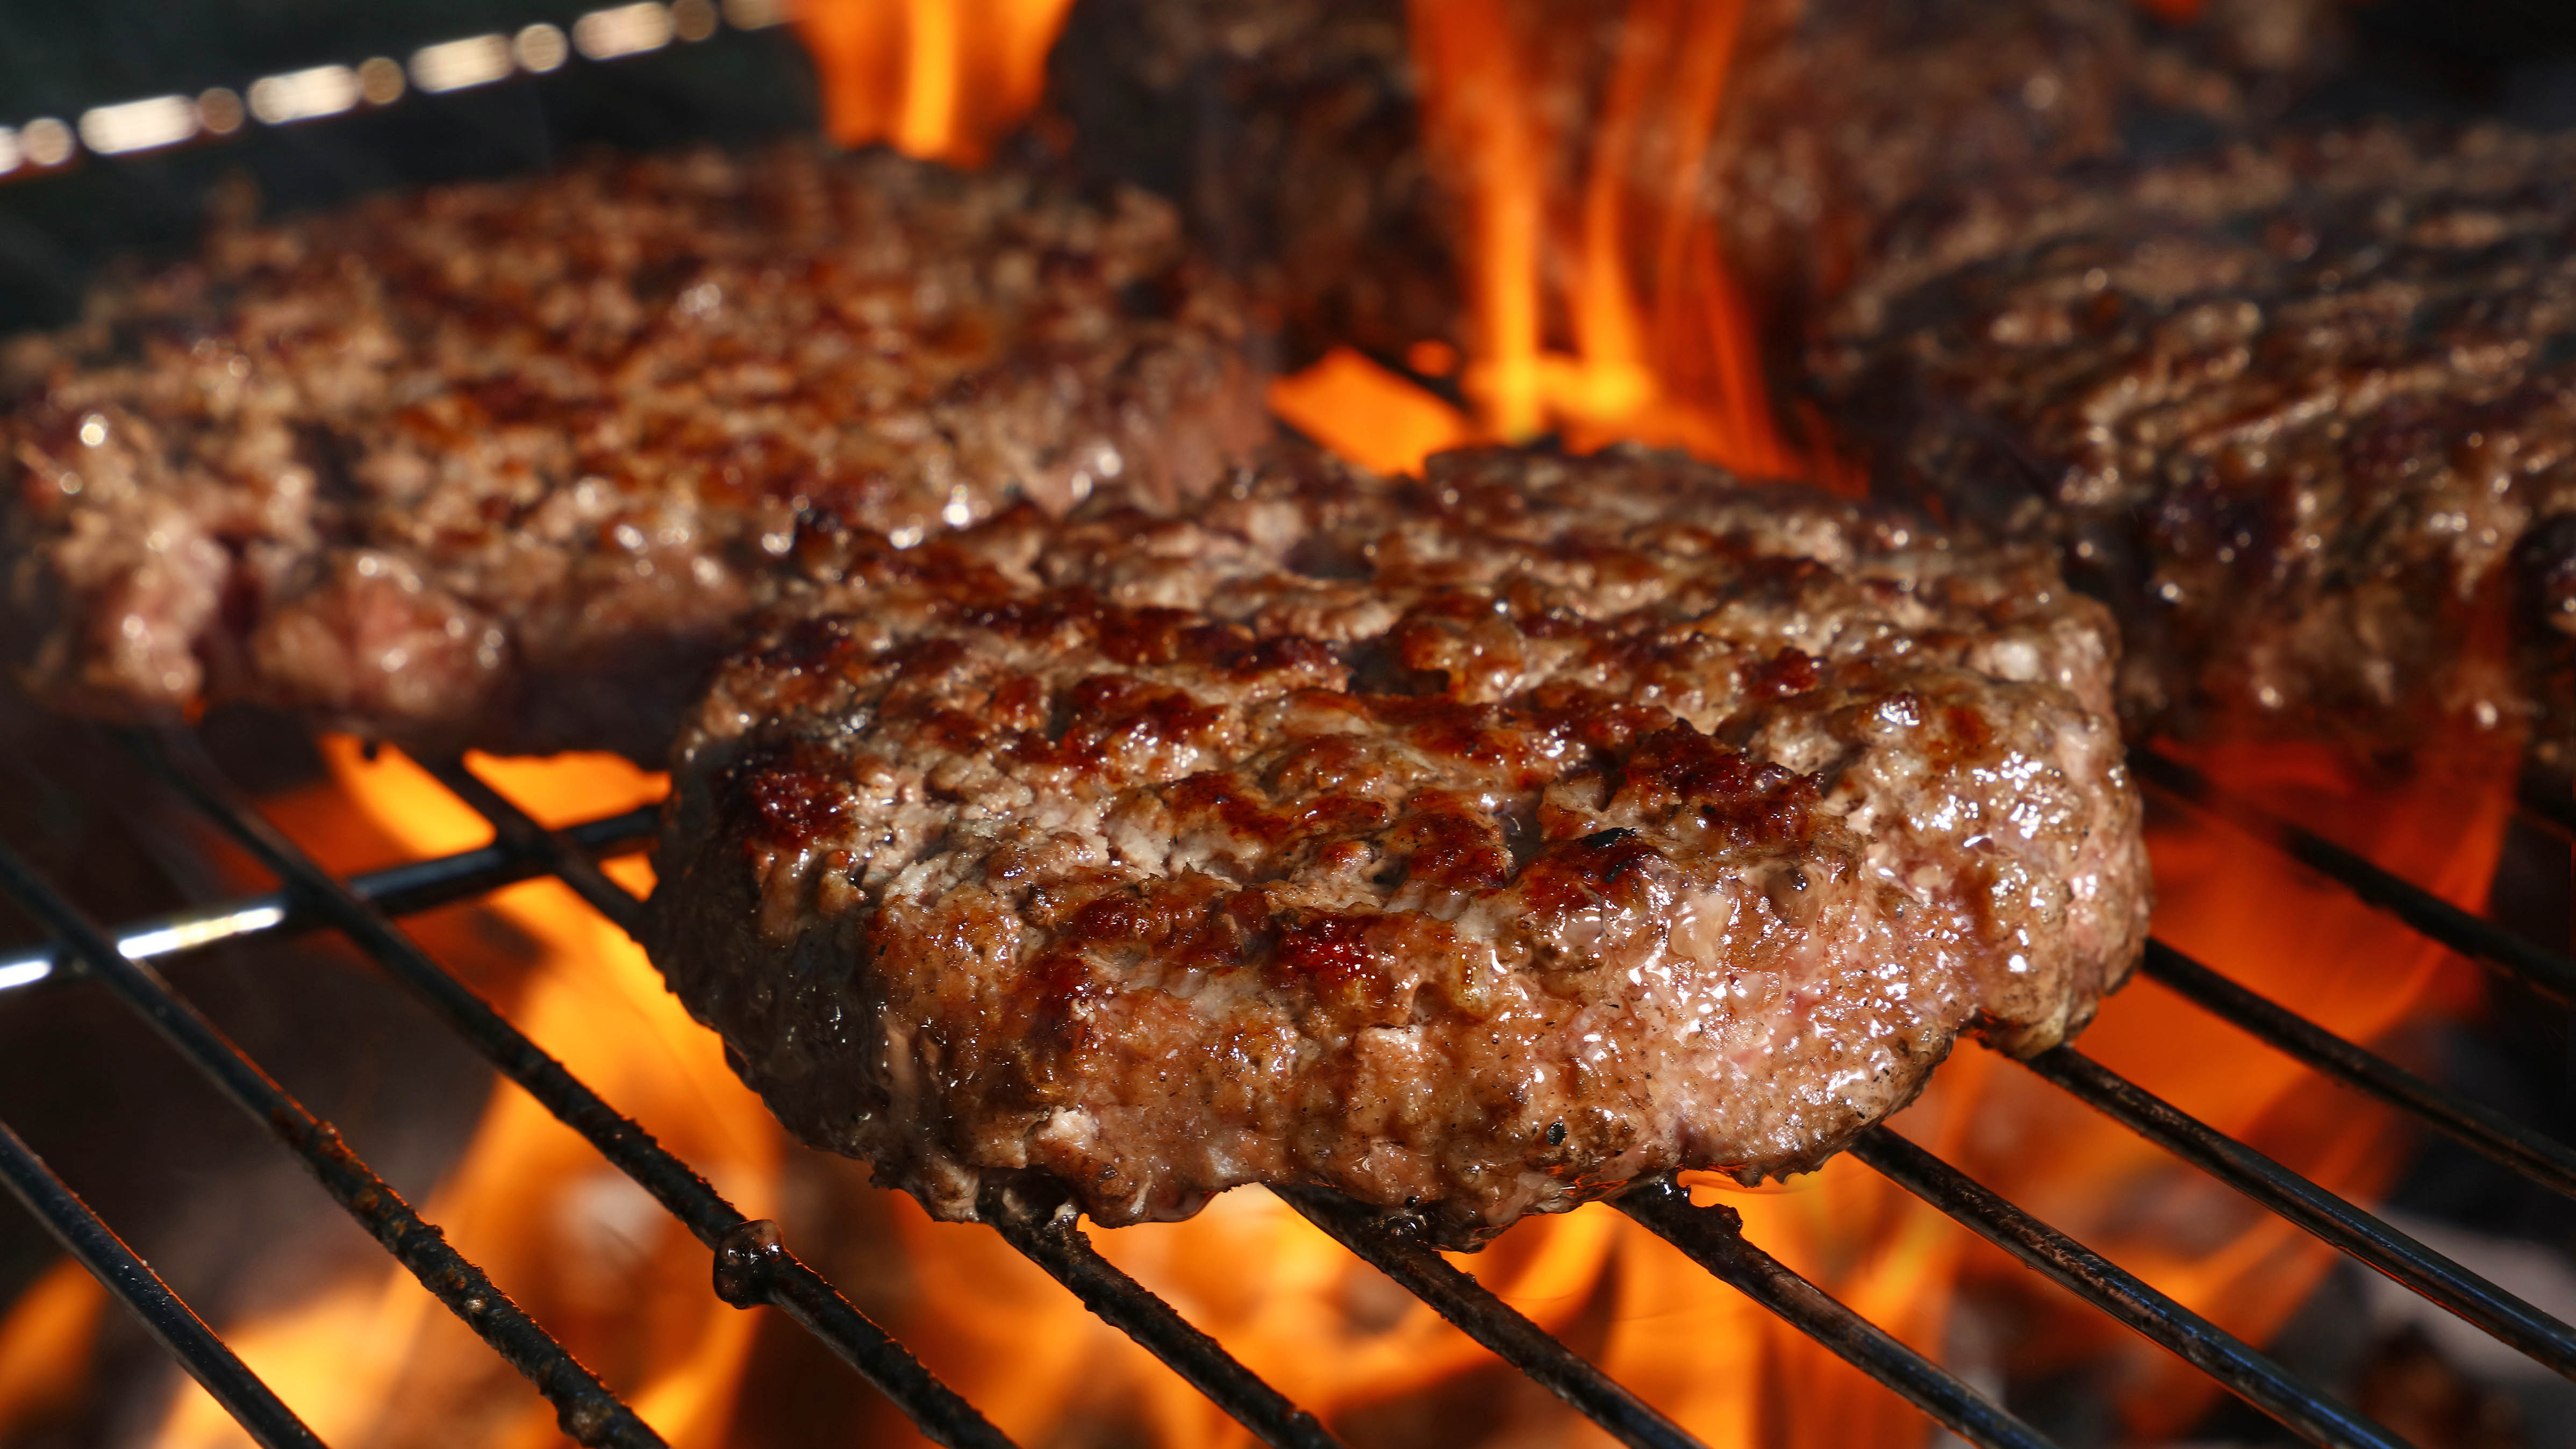
Similar to cooking in one of the best cast iron skillets, or using a kitchen appliance, it’s important to select the right temperature. That extends to your grill as well, and the final step to prepping your grill is knowing how to best use it. “Understand the art of temperature control to achieve the perfect doneness for your grilled delicacies," explains Belzer-Adams, "proper temperature management ensures even cooking, prevents over- or undercooking, and allows you to achieve that coveted balance of caramelization and juiciness".
She recommends investing in a good-quality, instant-read thermometer to accurately measure the internal temperature of your food. Plus, become familiar with the ideal cooking temperatures for various types of meats and vegetables. “In addition, learn how to manipulate heat zones on your grill by adjusting the burner knobs or arranging the charcoal to create direct and indirect heat areas.”


