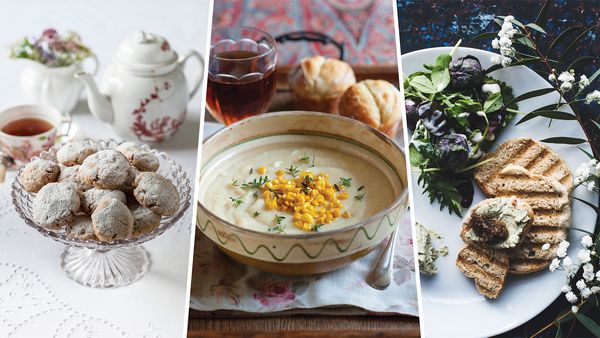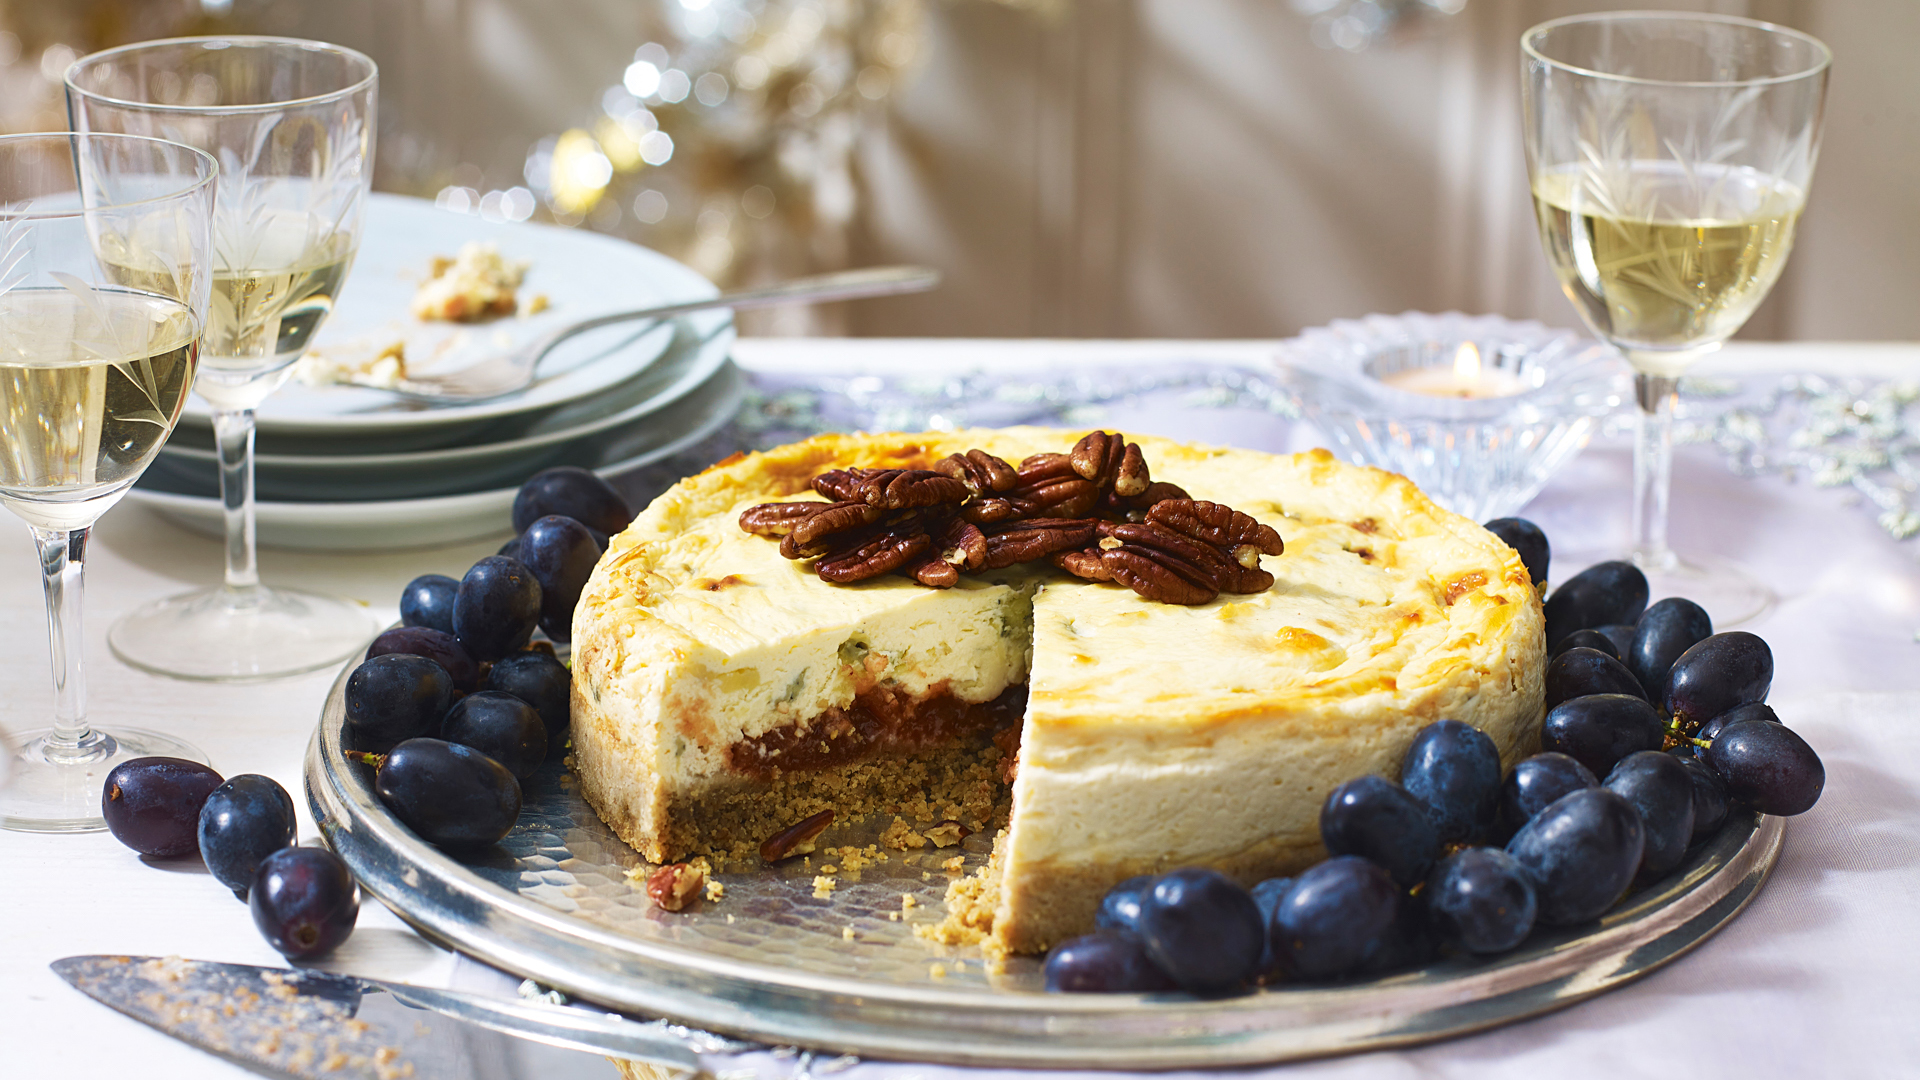
World Food Day is on October 16, so what better time to celebrate the connection between food and photography? Leading camera equipment insurer photoGuard shares five effective tips for better food photography. As food photography can be a messy business, it makes sense to ensure your pricey equipment has the right level of cover…
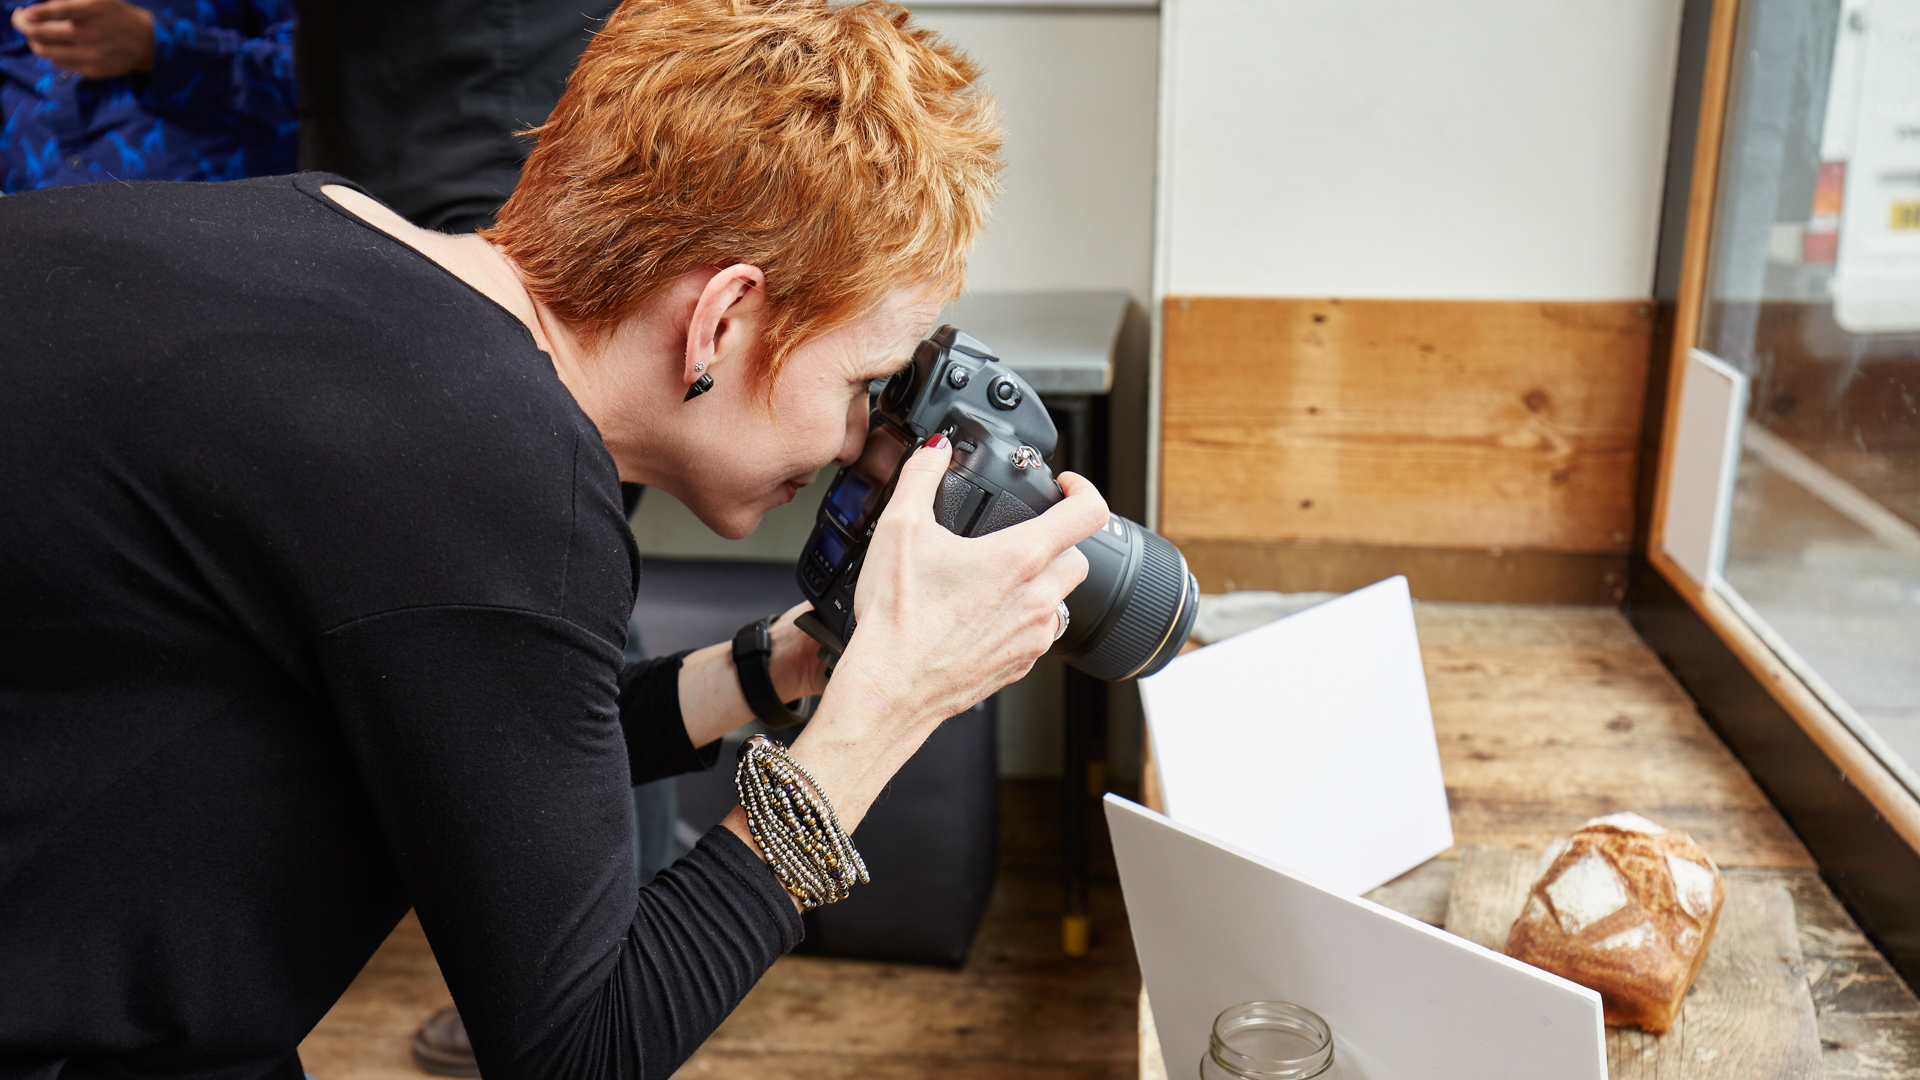
1. The right light
The most important factor when setting up a food photo shoot is the light intensity and how it impacts the dishes you are photographing. It's generally best to take photos using natural ambient light – such as from a large window not struck by direct sunlight (a north-facing window in the Northern Hemisphere, a south-facing one in the Southern Hemisphere). Avoid flash or overhead lighting, but use a reflector to bounce the natural light back onto the face of the food.
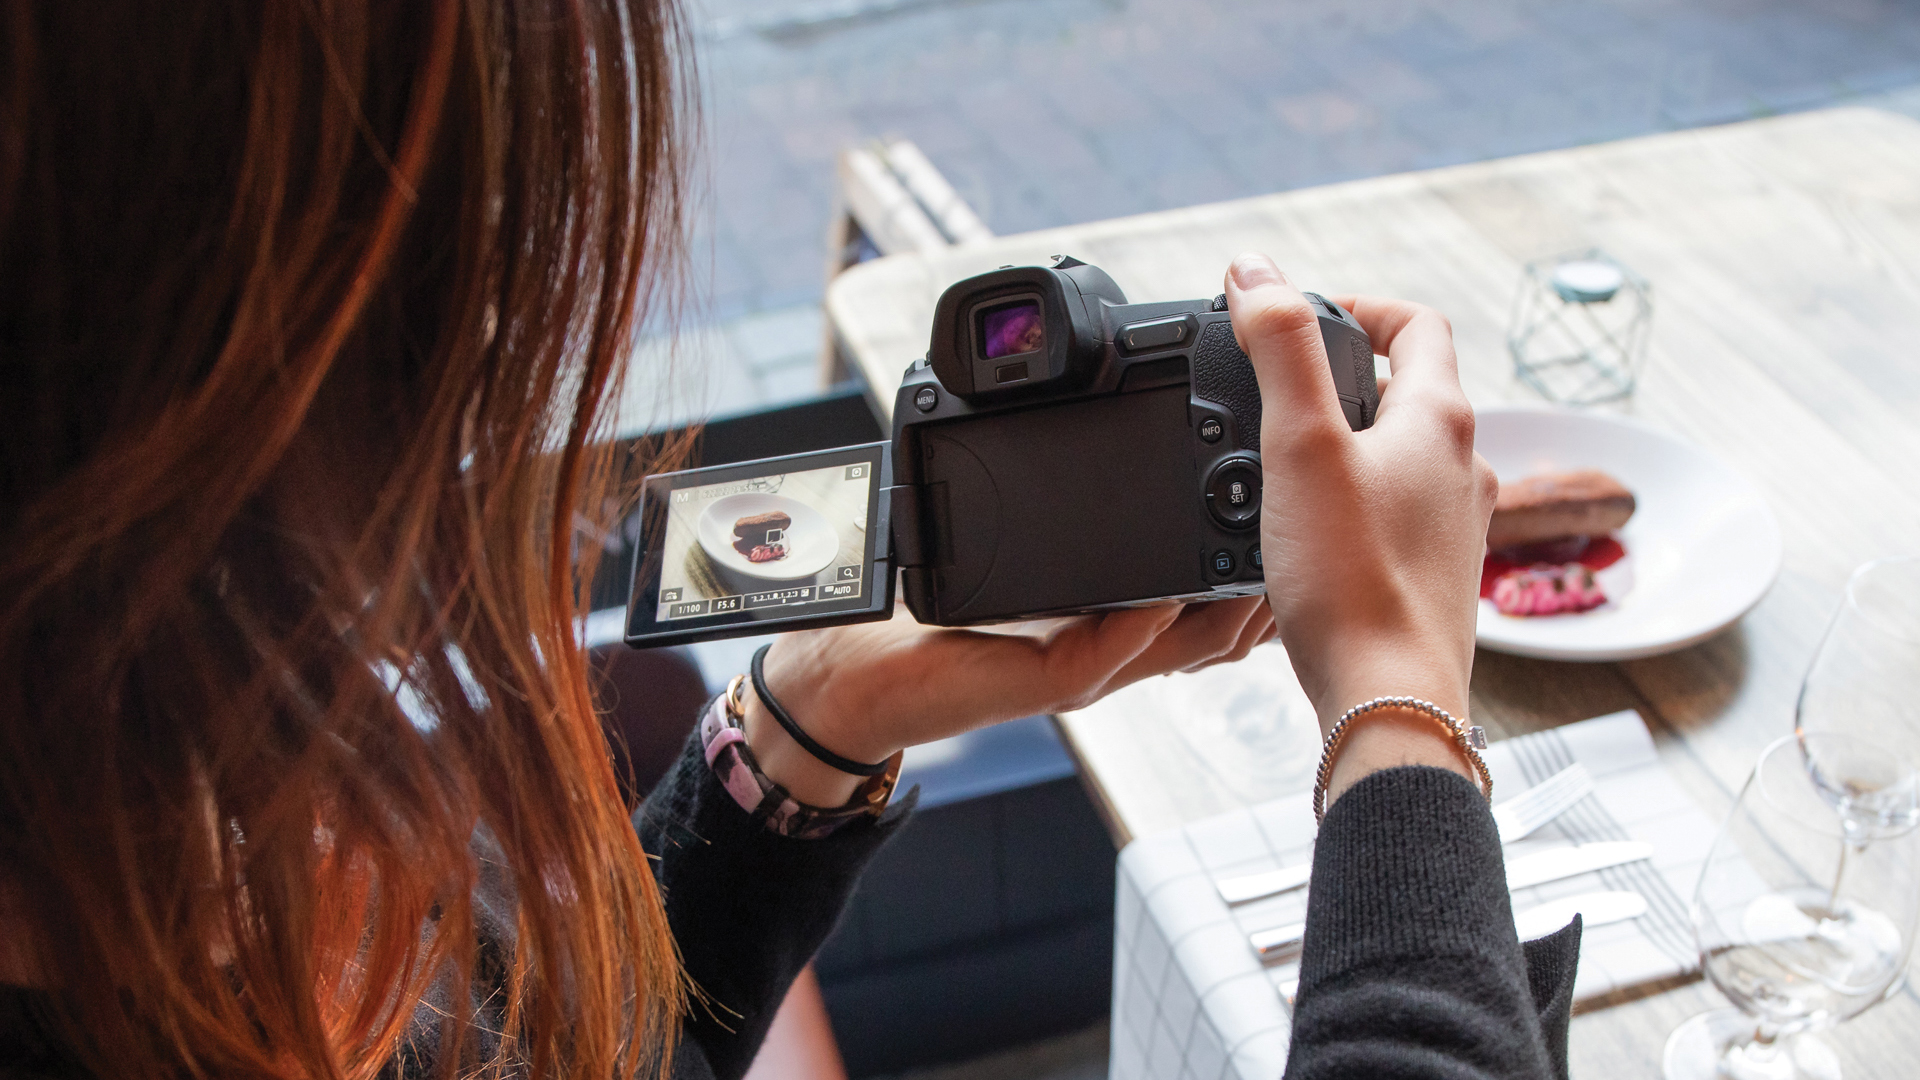
2. Choose your angles
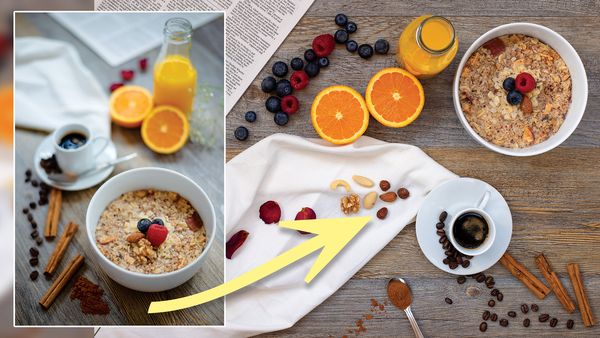
Try taking images from a variety of angles, but more often than not, the go-to shots for food photography are from a 45-degree angle or directly overhead. The 45-degree angle offers a similar perspective to one that a diner would have sitting down at the table ready to tuck in, while the overhead shot, commonly known as a 'flat lay' is a great way to show off the dish alongside its ingredients.
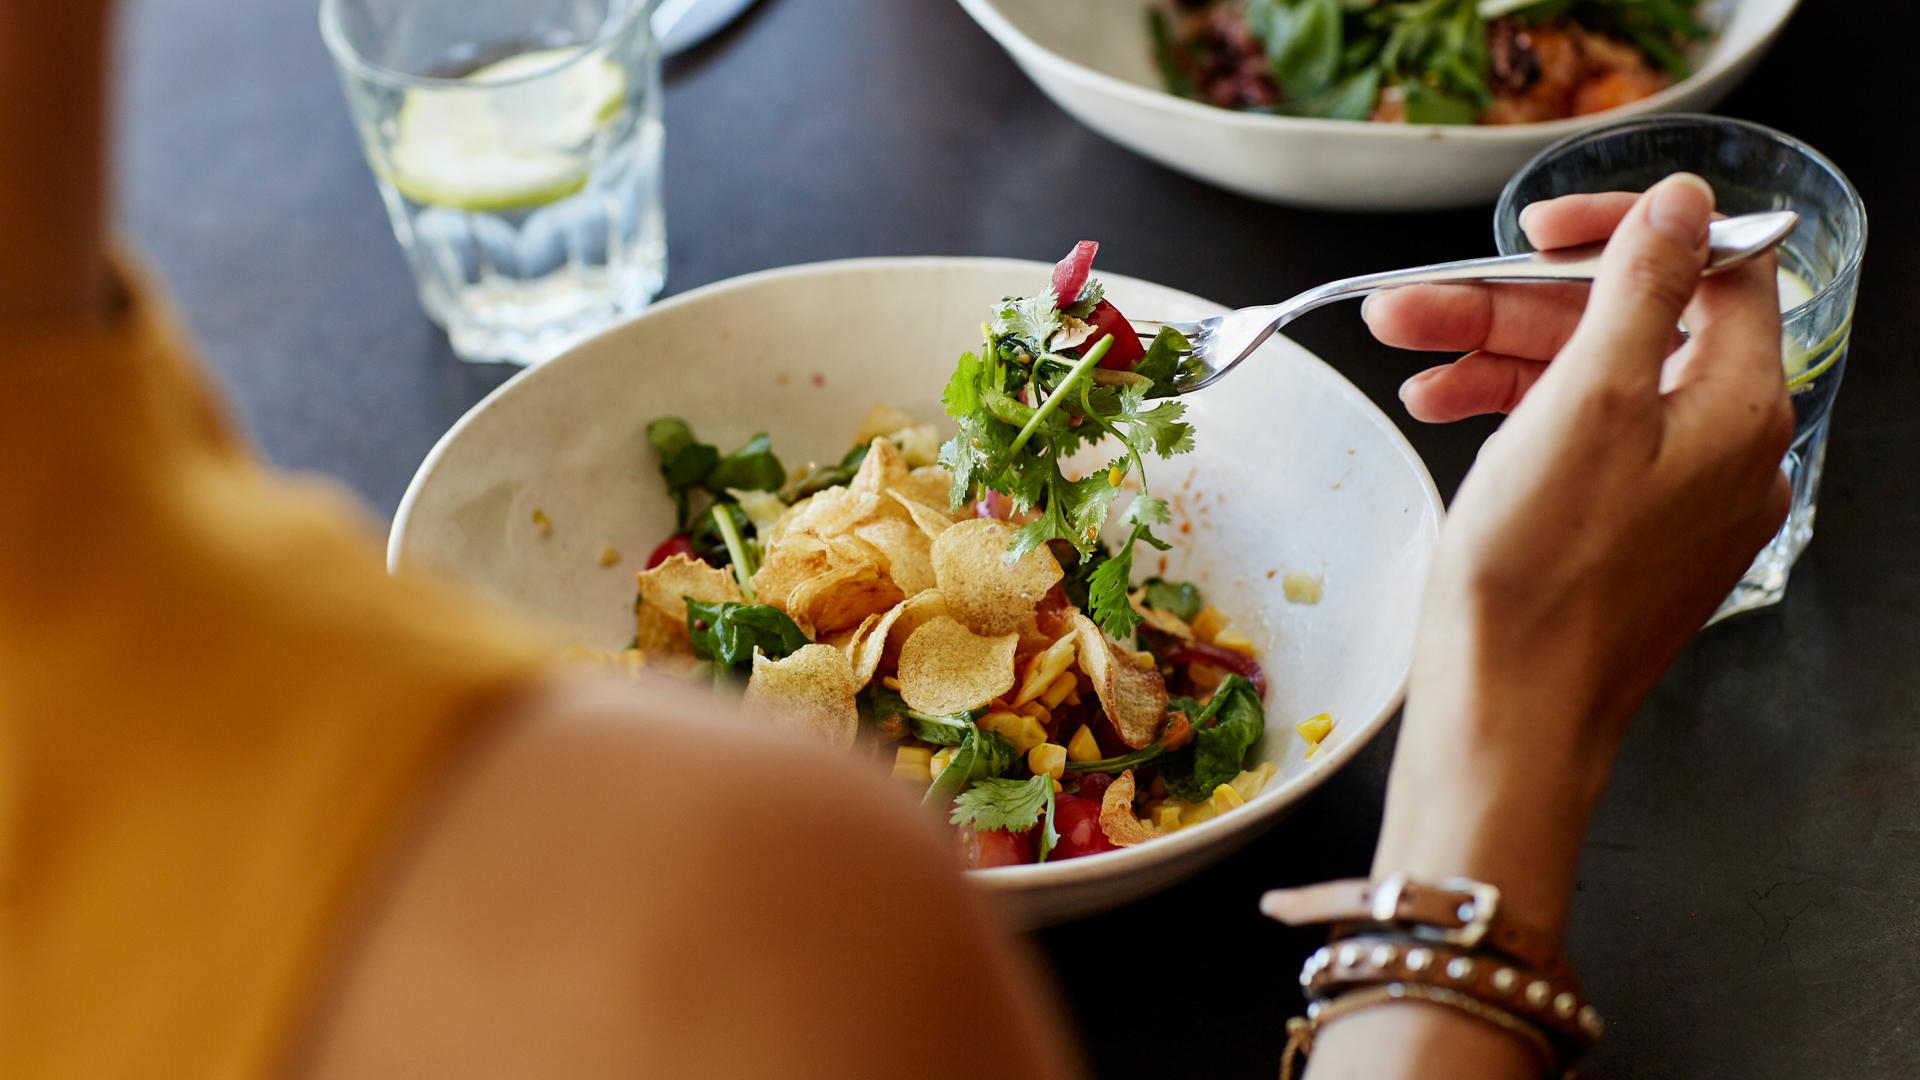
3. Think minimalist
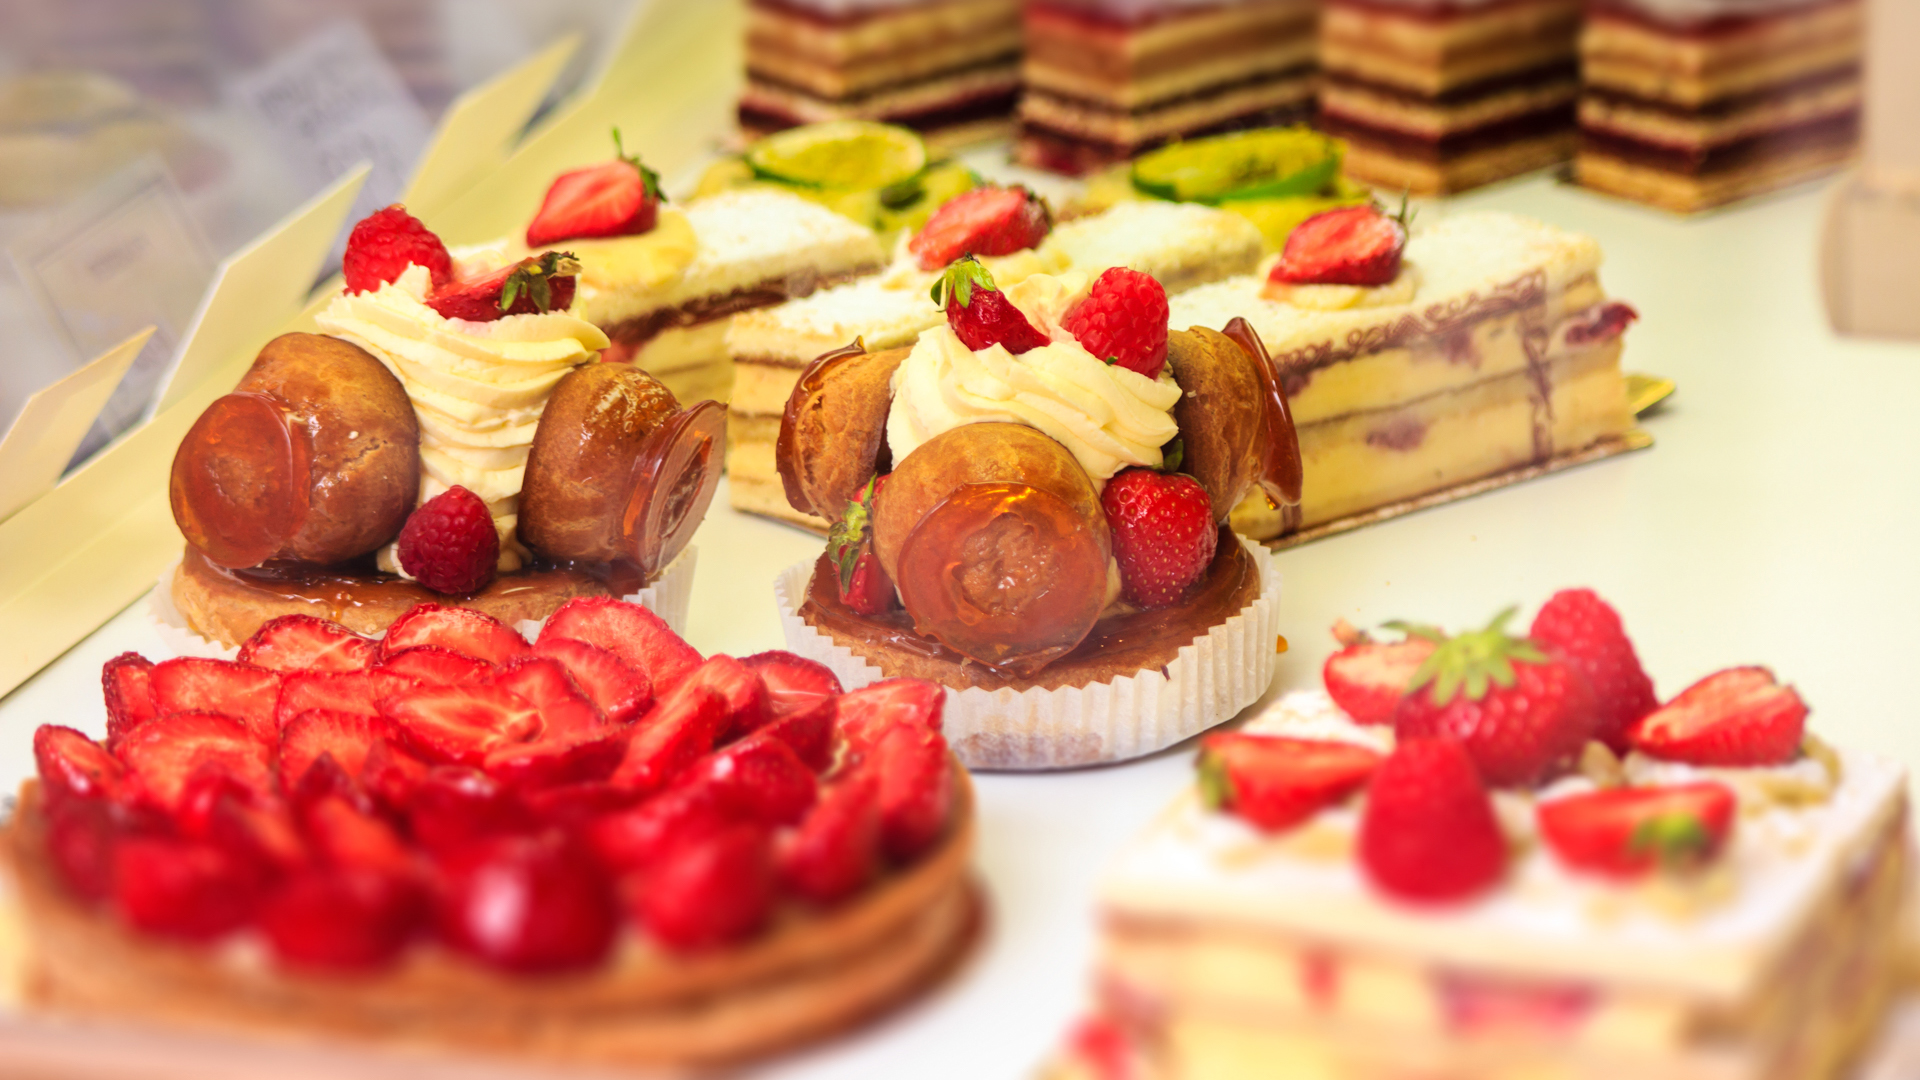
Keep in mind that the food should always be center-stage of the shot, and minimize any background clutter that is likely to distract the viewer's attention. But that's not to say that there shouldn't be anything else in the scene, just make sure it's relevant. Cooking implements and ingredients used in the dish itself can work well, but use a shallow depth of field to blow these out of focus.
4. Avoid the shakes
Working only with window light indoors may mean that you need to work with a slow shutter speed, which can lead to blurry images caused by 'camera shake'. You could increase the ISO setting to compensate, but this will have an adverse impact on the quality of the image. The best way to avoid camera shake is to opt for a tripod and use a remote shutter release, to ensure the camera remains completely still during shooting. A tripod has another important benefit, as it enables you to compose the shot with pin-point precision, carefully setting up your scene to avoid unwanted distractions.
5. Pick the right lens
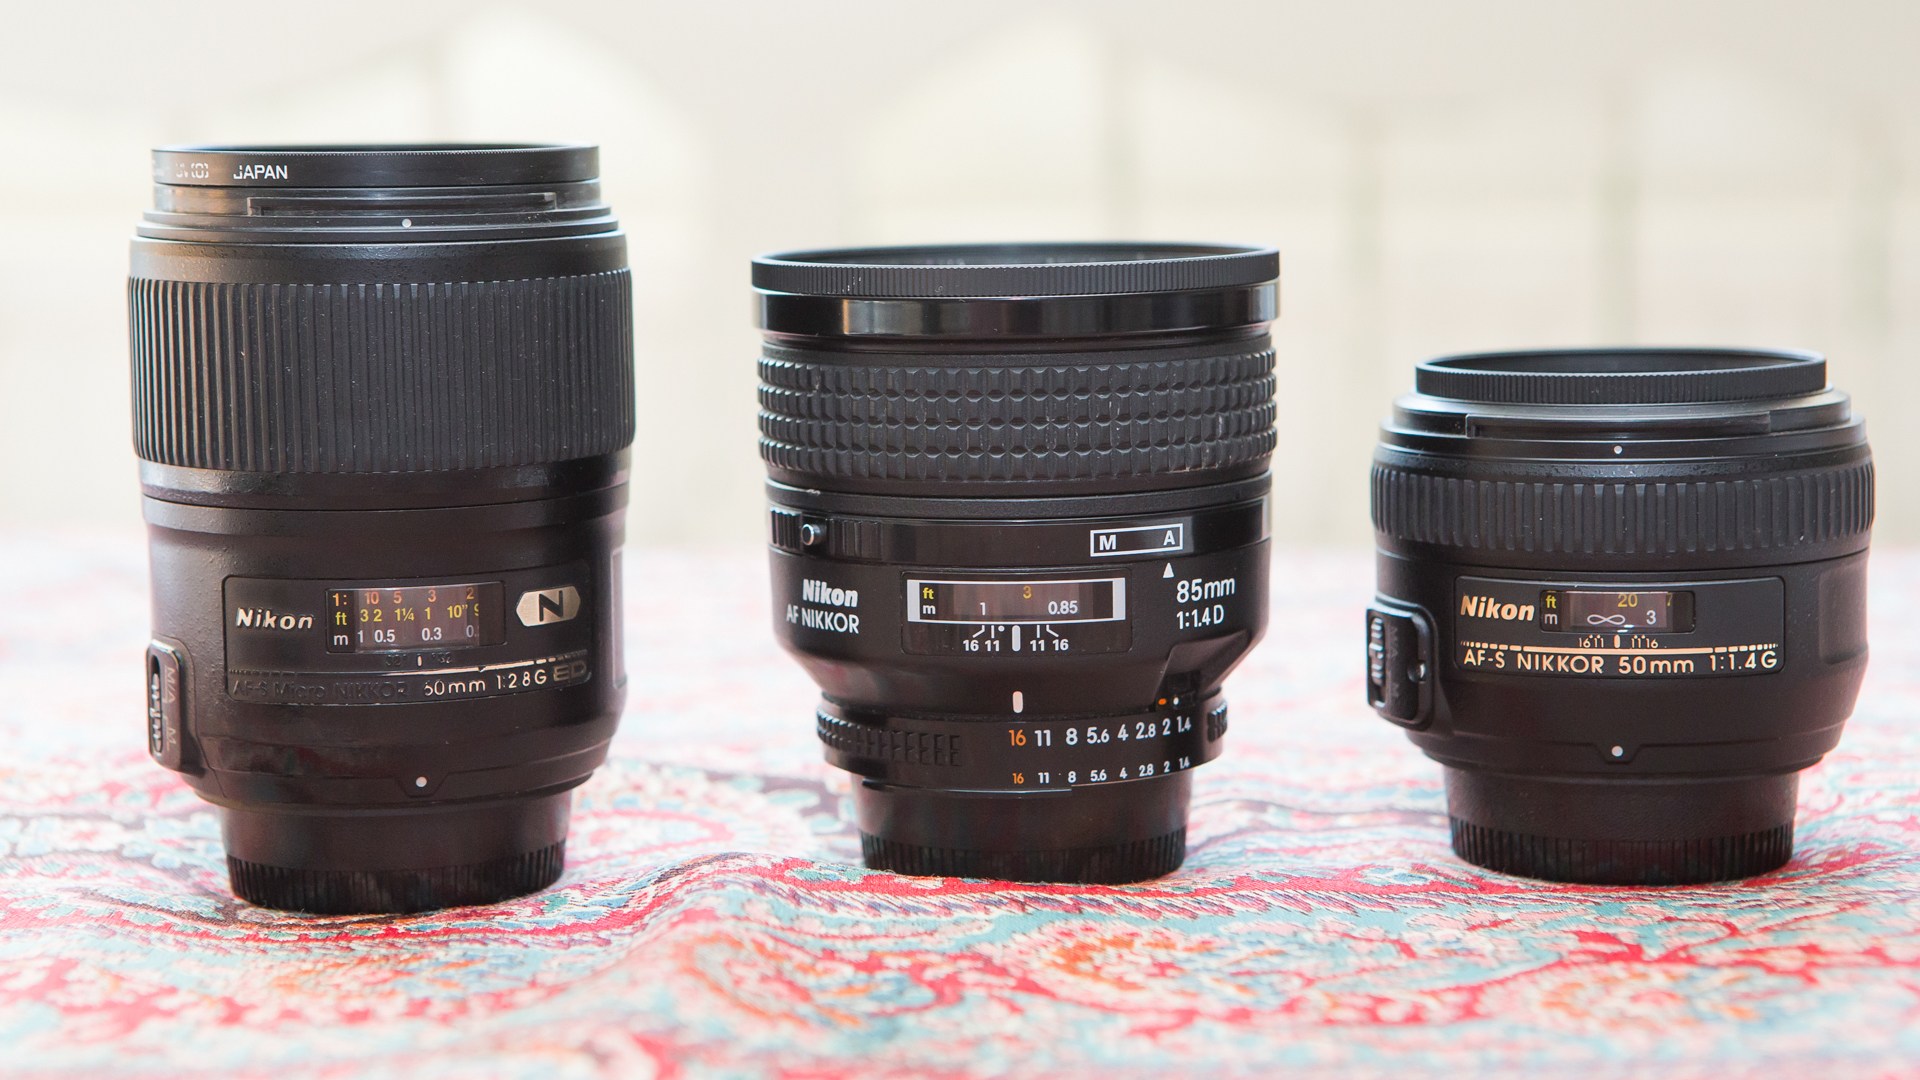
There are several factors to consider when selecting the best lens for food photography. While a fast standard zoom undeniably offers a huge amount of flexibility when it comes to accurately framing your shots, prime lenses have 'faster' maximum apertures, which enables you to use a shallow depth of field so that the focus is firmly on the food itself and everything else is creatively blurred.
Check out the best books on food photography


