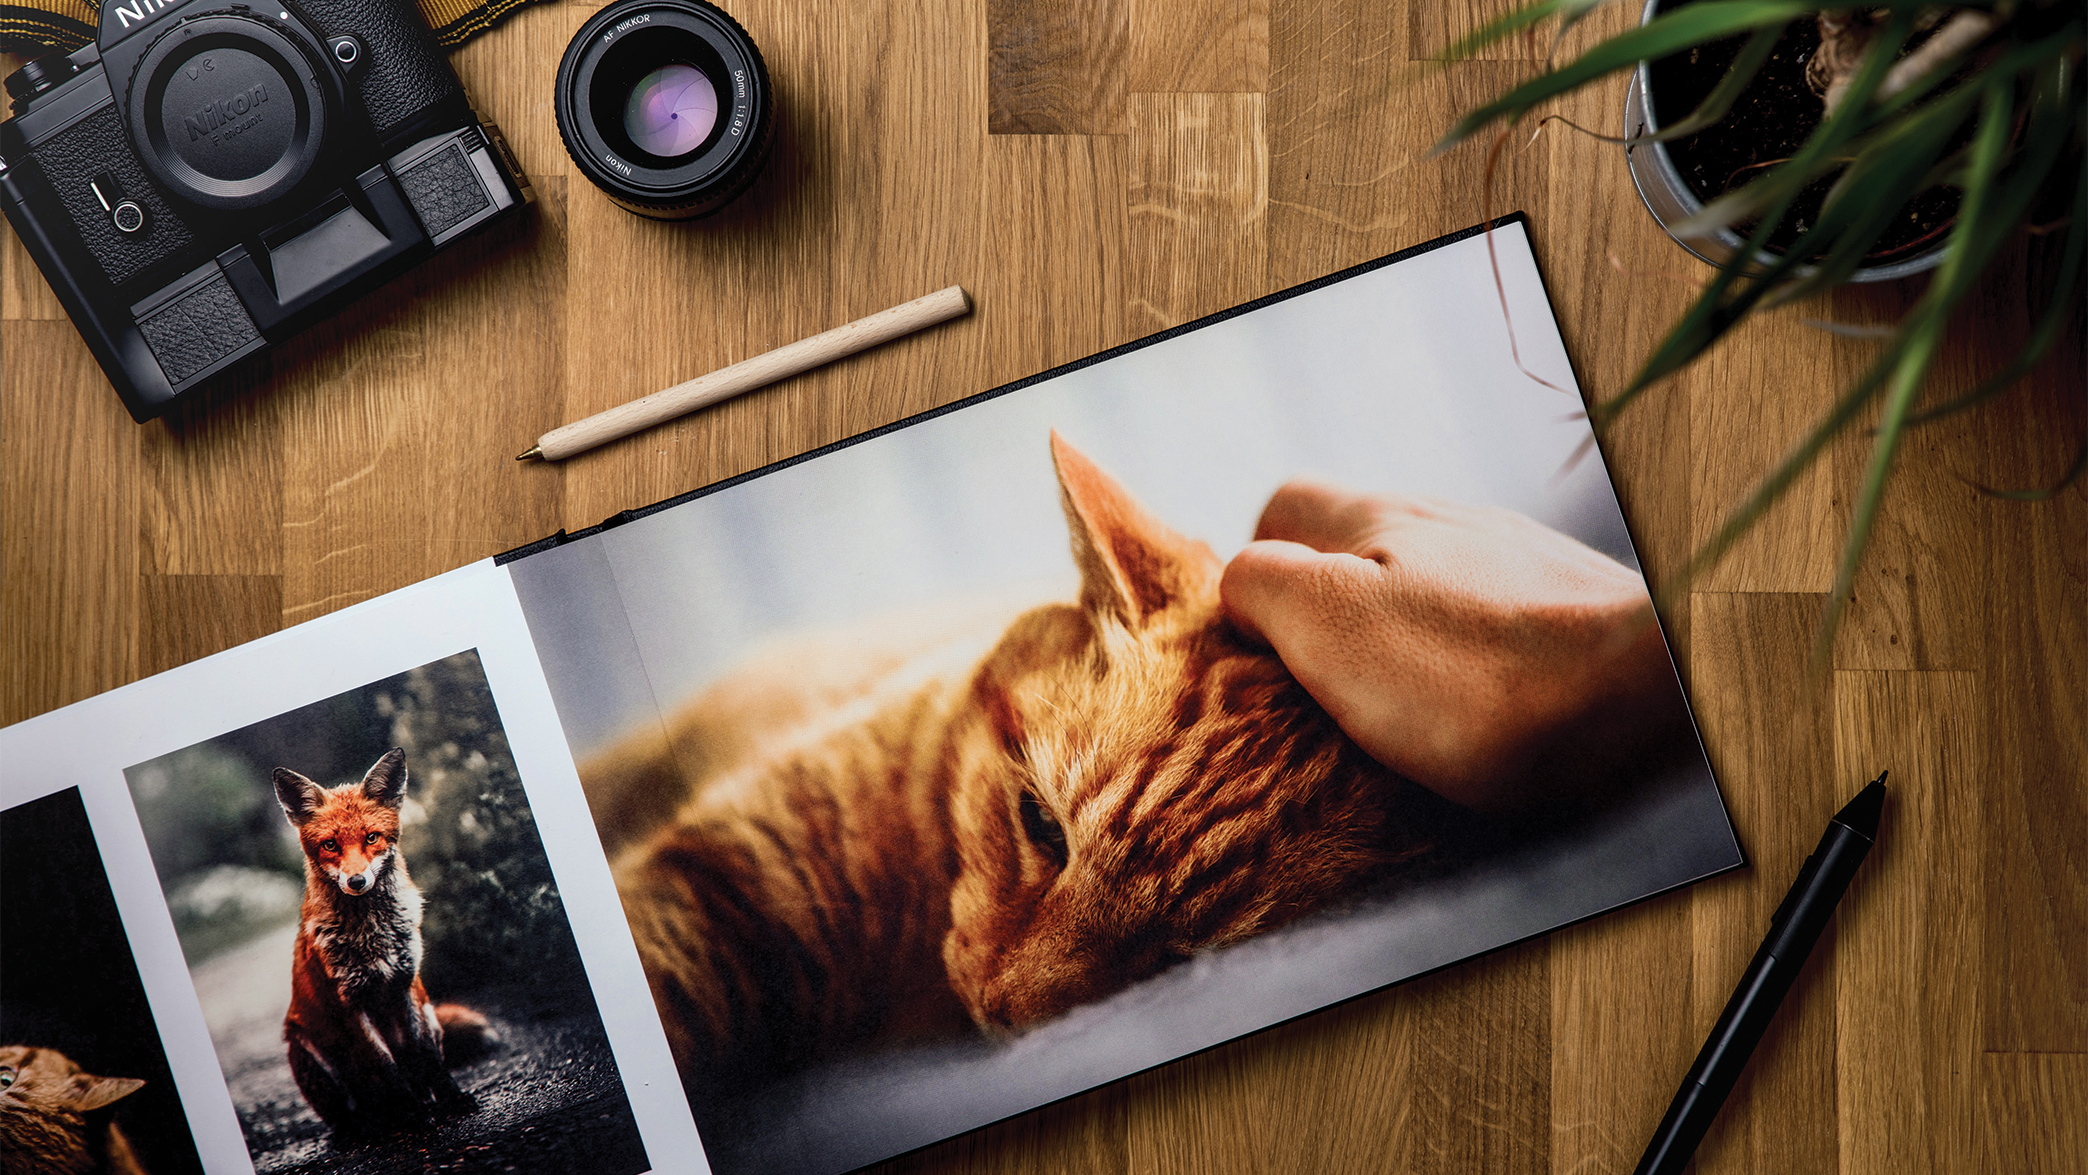
In a world of digital media, images can lie forgotten on hard drives or in the cloud. However, a photo book not only gives your images the appreciation they deserve but it can also make your work stand out, especially with clients.
When creating a photo book, it is important to prepare carefully. The wrong paper, layout or poor-quality images can all have a huge impact on the overall effect of your work. With the right plan and provider, these challenges can be overcome and you can create individual photo books with character that showcase your photographic achievements.
To create a professional overall impression, avoid attempting to include too much content. The resulting mass of images will push the best ones into the background and overwhelm the viewer/client.
A photo book serves several purposes that will advance your photographic work. Firstly, it is great to be able to offer one to your clients, who will have a physical product in their hands. On top of that, it is an ideal tool to show potential clients your various photographic skills and technical qualities in a way they can easily visualise.
1. Create a plan
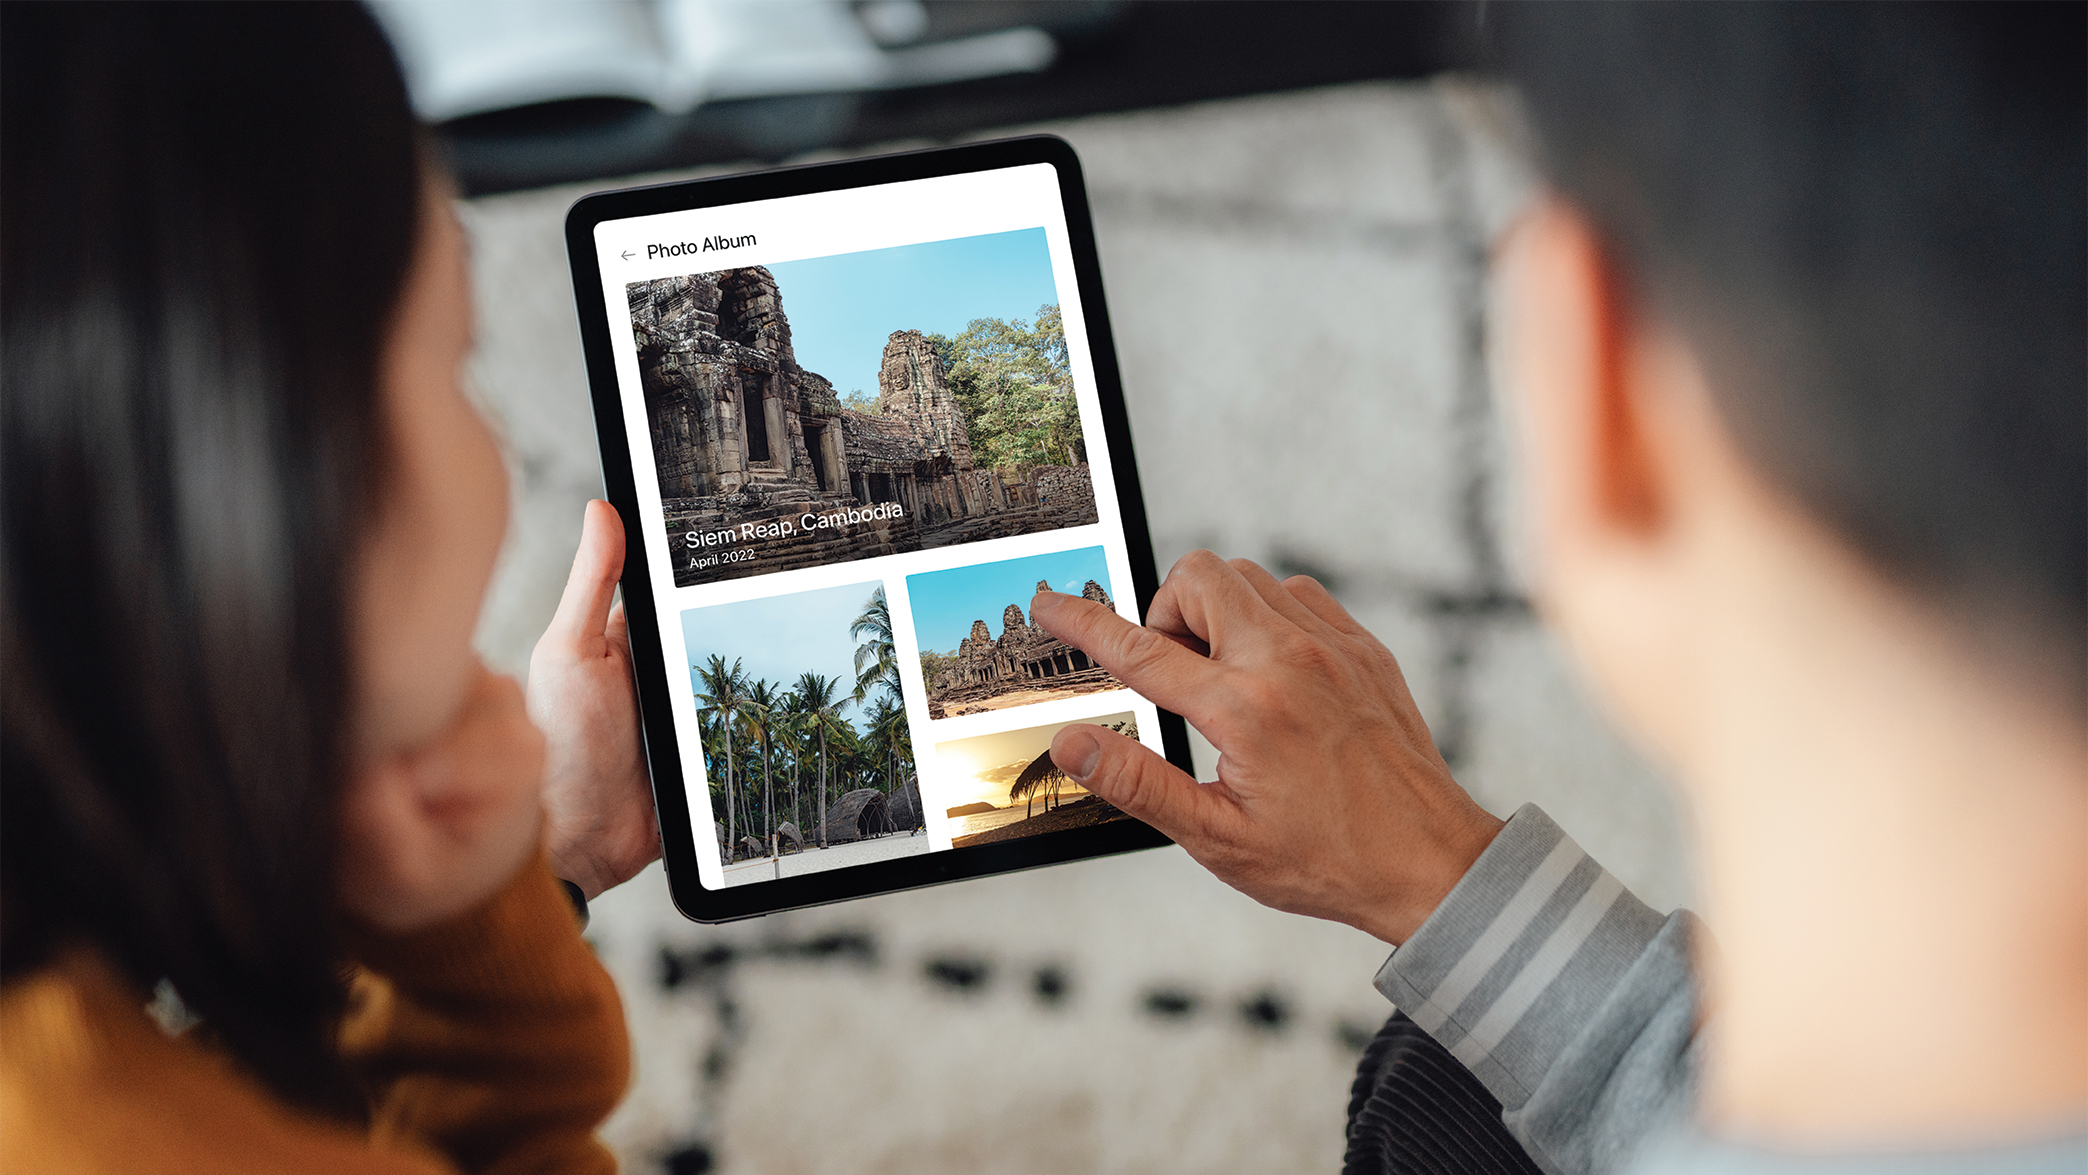
Choose a project that you want to bring to life and select images that illustrate the concept. When showcasing an event, it is best to tell the story chronologically. To create the sense of a flowing story, choose a combination of key images showing both the action and detail shots. This will provide the viewer with an overview and also evoke feelings. When making a photo book of an event or celebration, concentrate on photos showing key people or close family and friends to keep your clients happy.
2. Choose a provider
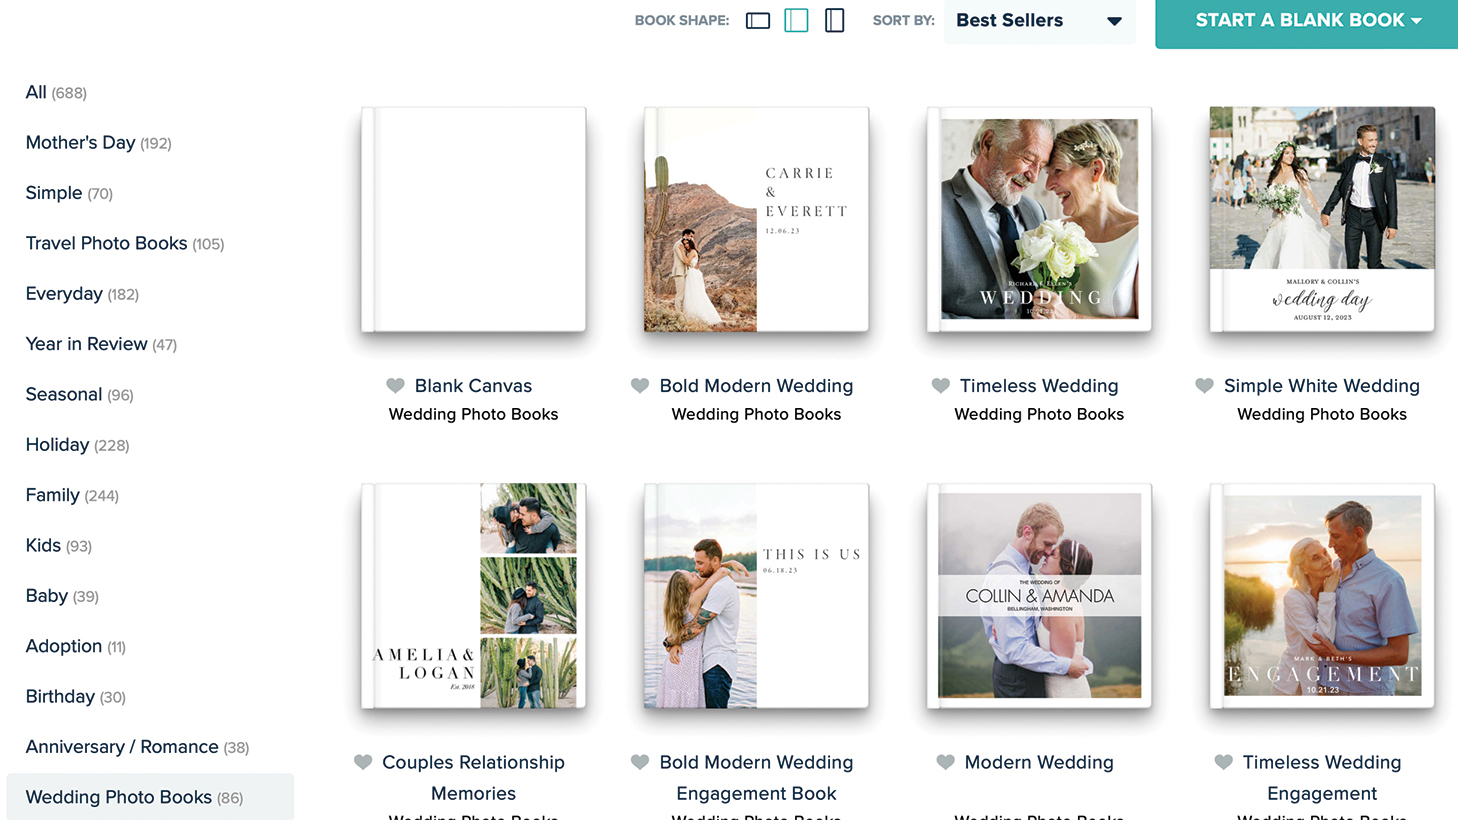
Pay attention to the materials you use. Select the cover and the type and thickness of the paper to maximize the overall look and feel of the book and give it a pro finish. To create a photo book with character, it is important to check how customisable the settings of the layout are, as this is where your work will stand out from the crowd. Providers such as Mixbook or CEWE are ideal, as they offer a selection of basic layouts that can be easily customized to your particular taste. See other options in our guide to the best photo books.
3. Design the layout
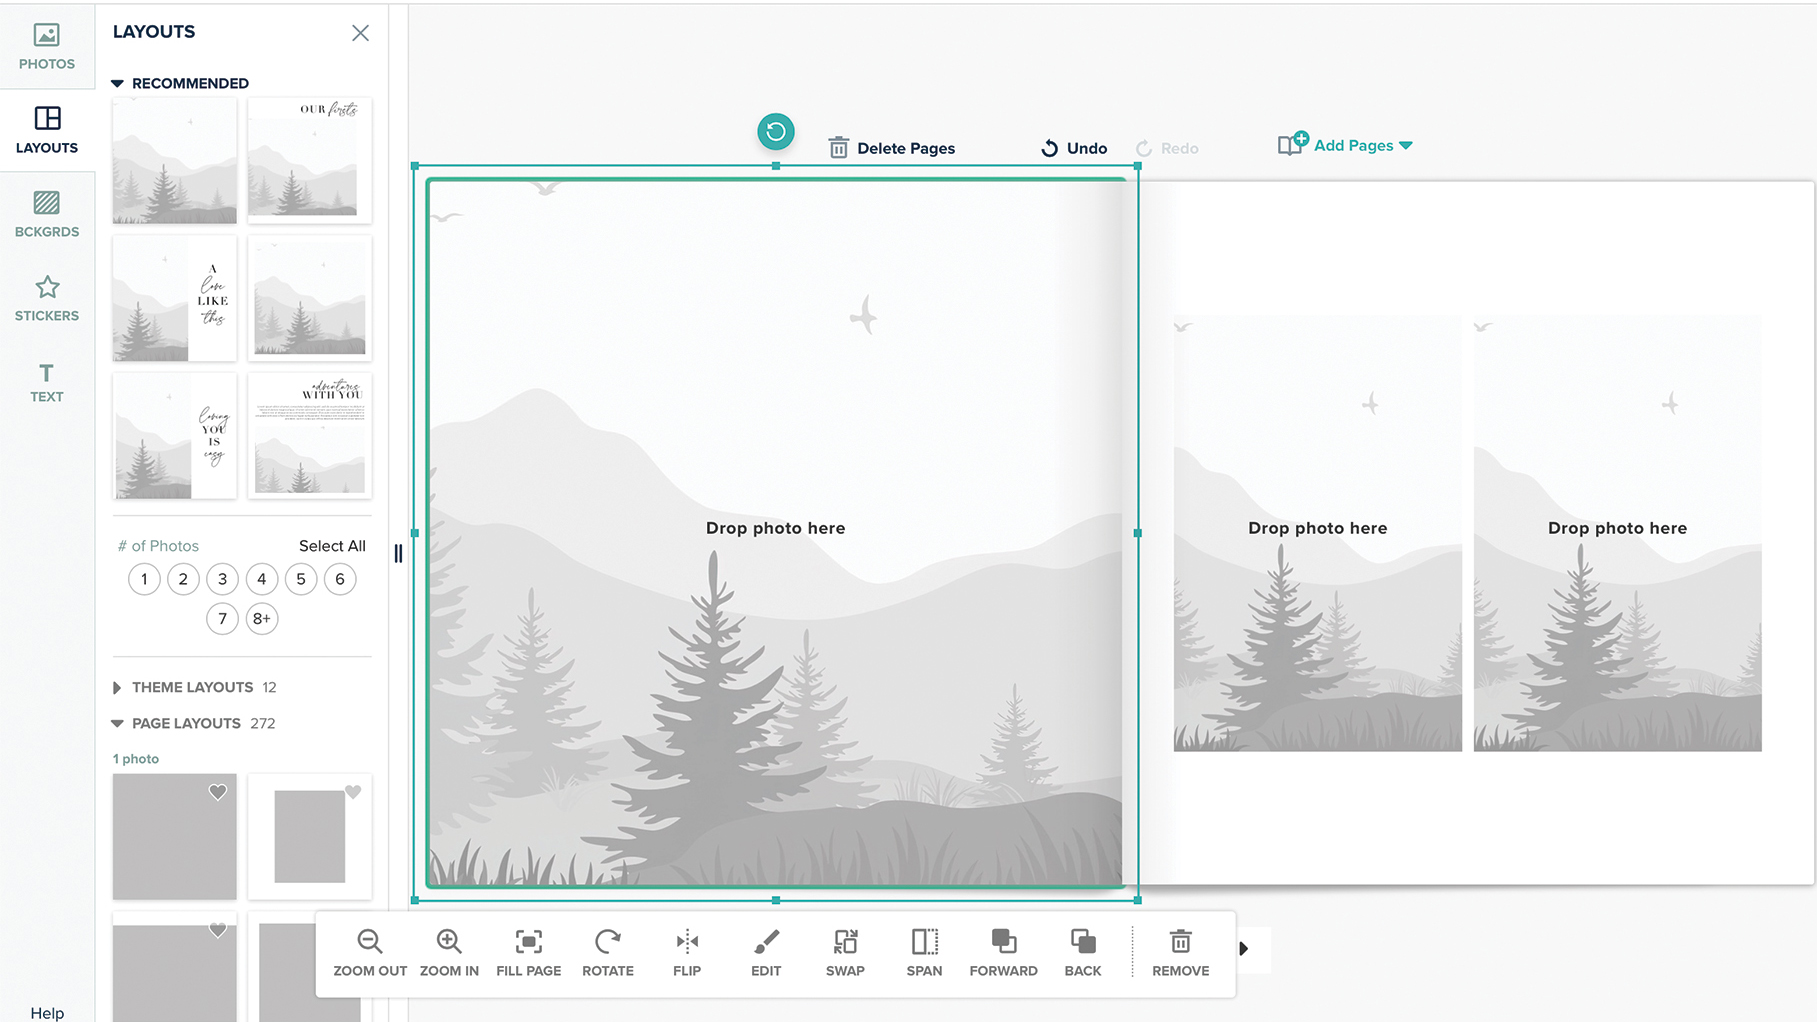
Decide on the format of the photo book to maximise the impact of your photos. Sometimes, this decision is obvious as some genres such as landscape photography are dominated by specific formats. Most online providers feature a drag-and-drop system so you can easily adjust the layout and add an individual touch. Be careful not to try and cram too many photos on a page and work with negative white space to keep the spread focused on certain aspects.
4. Highlight hero images
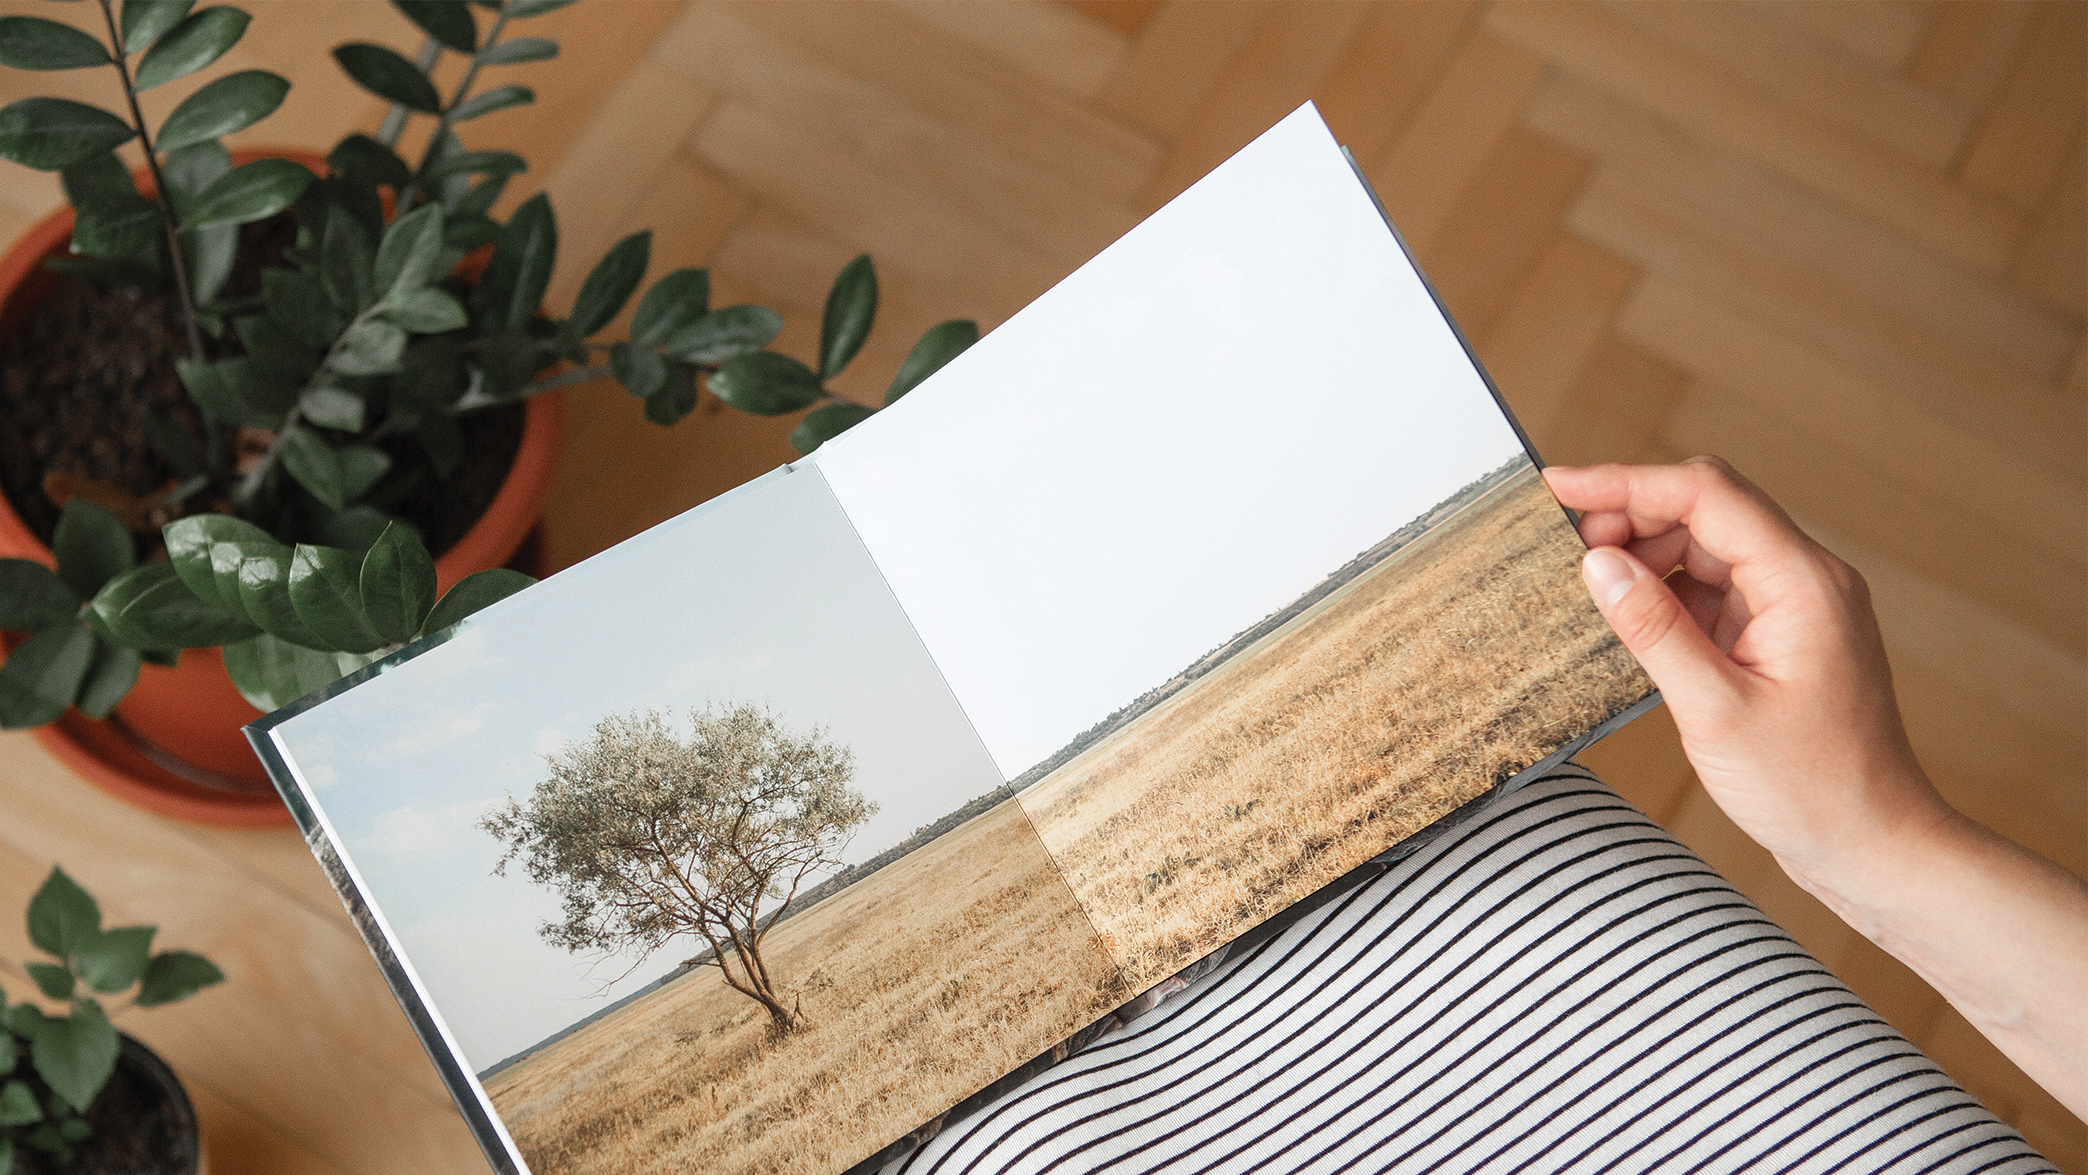
Hero images are the key to emphasising special moments. To make them stand out, place them so that they fill the whole page – the viewer can concentrate on one subject and also have a visual break when leafing through the book. If printed in landscape format, make sure the subject isn’t placed in the centre of the image as the gutter of the book will break it up. If this is the case, consider cropping the original image until it fits.
5. Add some text
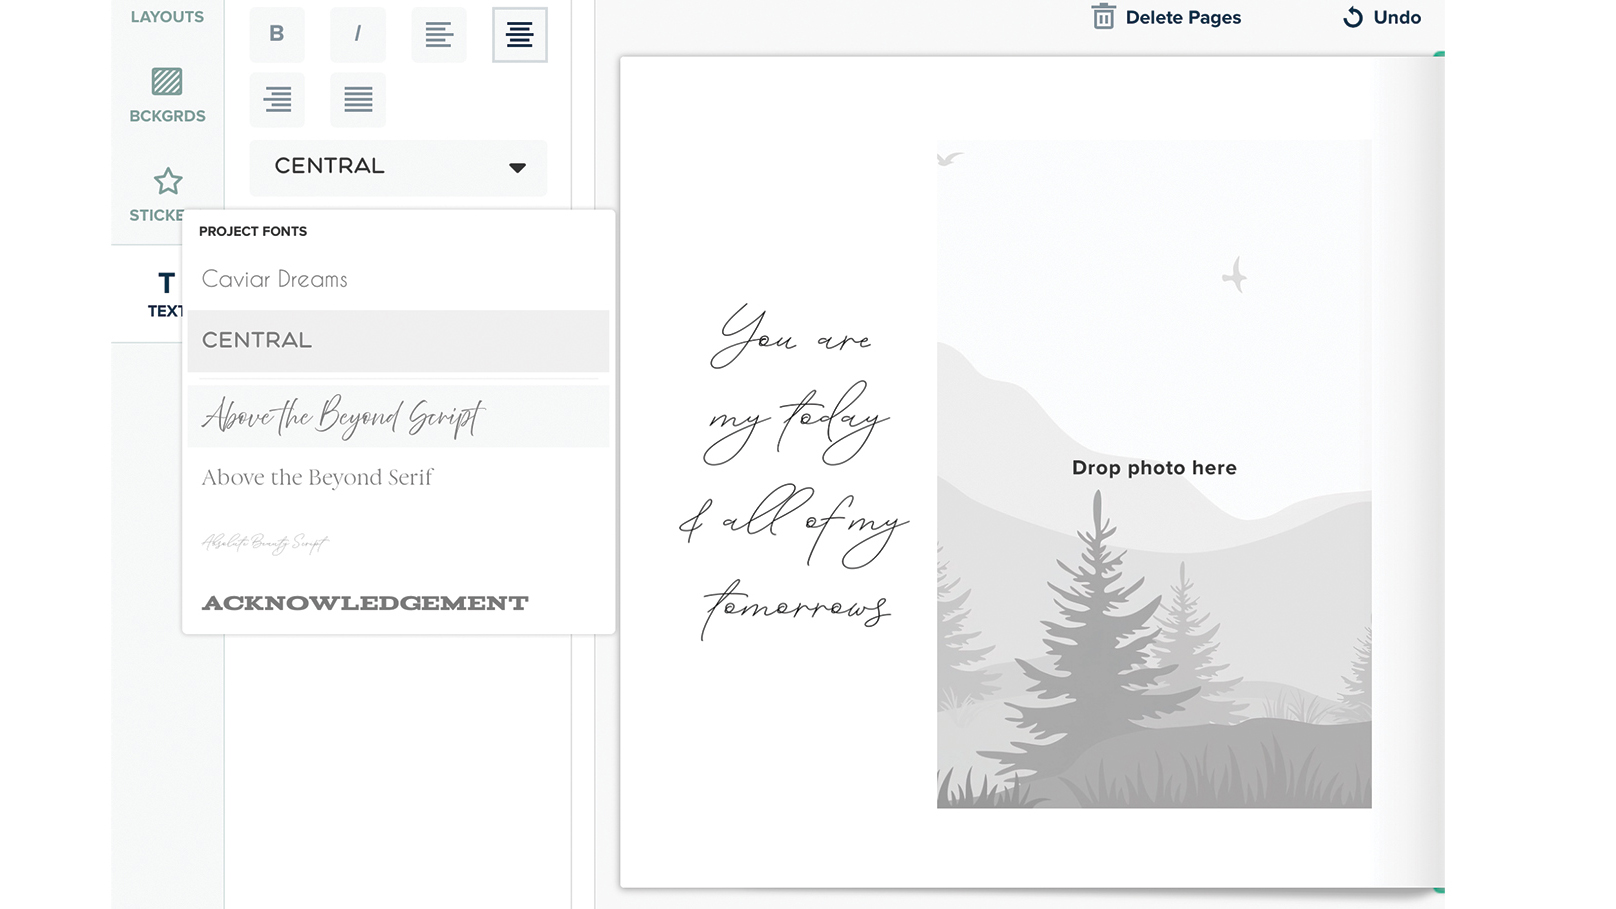
Depending on the theme or event of your photo book, consider adding some text to the images. This could be on a professional level with, for example, technical information, or you could add a few words for an extra emotional layer. Wedding photographs, in particular, may benefit from a few sentences to add a personal touch. Classic fonts are timeless, and more creative typography can underline the mood of the book. Make sure to integrate the text in a meaningful way so that it does not distract from the photos.


