Animal Crossing: New Horizons tips are handy to have by your side as you navigate island life. Whether you're starting out or looking for ideas on how to streamline how you play, these 30 tips will hopefully help you across the board (or island).
Before you really start to feel the sand between your toe beans, it's worth checking out this little guide, which will run you through all the tips and tricks we'd want to arm ourselves with if were we starting our island again from scratch. And you may well be doing just that if you've made the move from Switch 1 to Switch 2. From tools, to the best way to earn bells, here are our top Animal Crossing: New Horizons tips to help you get the most out of your island.
1. Remember that progress is gated by real-life days
If you're new to Animal Crossing, or it's been a spell since you last hung out with Tom Nook and co., it's easy to forget that this is not a game that you can rush. Progress, especially at first, is doled out slowly, restricting access to certain activities / items / buildings according to how many real-world days you've spent in the game. Take it easy folks, there's no rushing island life.
2. Hold B to run
But, if you do fancy rushing a little bit, there's a way to at least up your pace on foot. This one might seem obvious, but it's easily forgotten (if you're like me). I was playing Animal Crossing: New Horizons for longer than I'd like to admit before I realised that you could run around by holding B, and it makes a lot of tasks on the island easier. Plus, you can just zip around the island so much quicker going from A to B. It's an intuitive gaming mechanic, but if you forget, there's no judgement here.
3. You have to learn a recipe before you can craft it
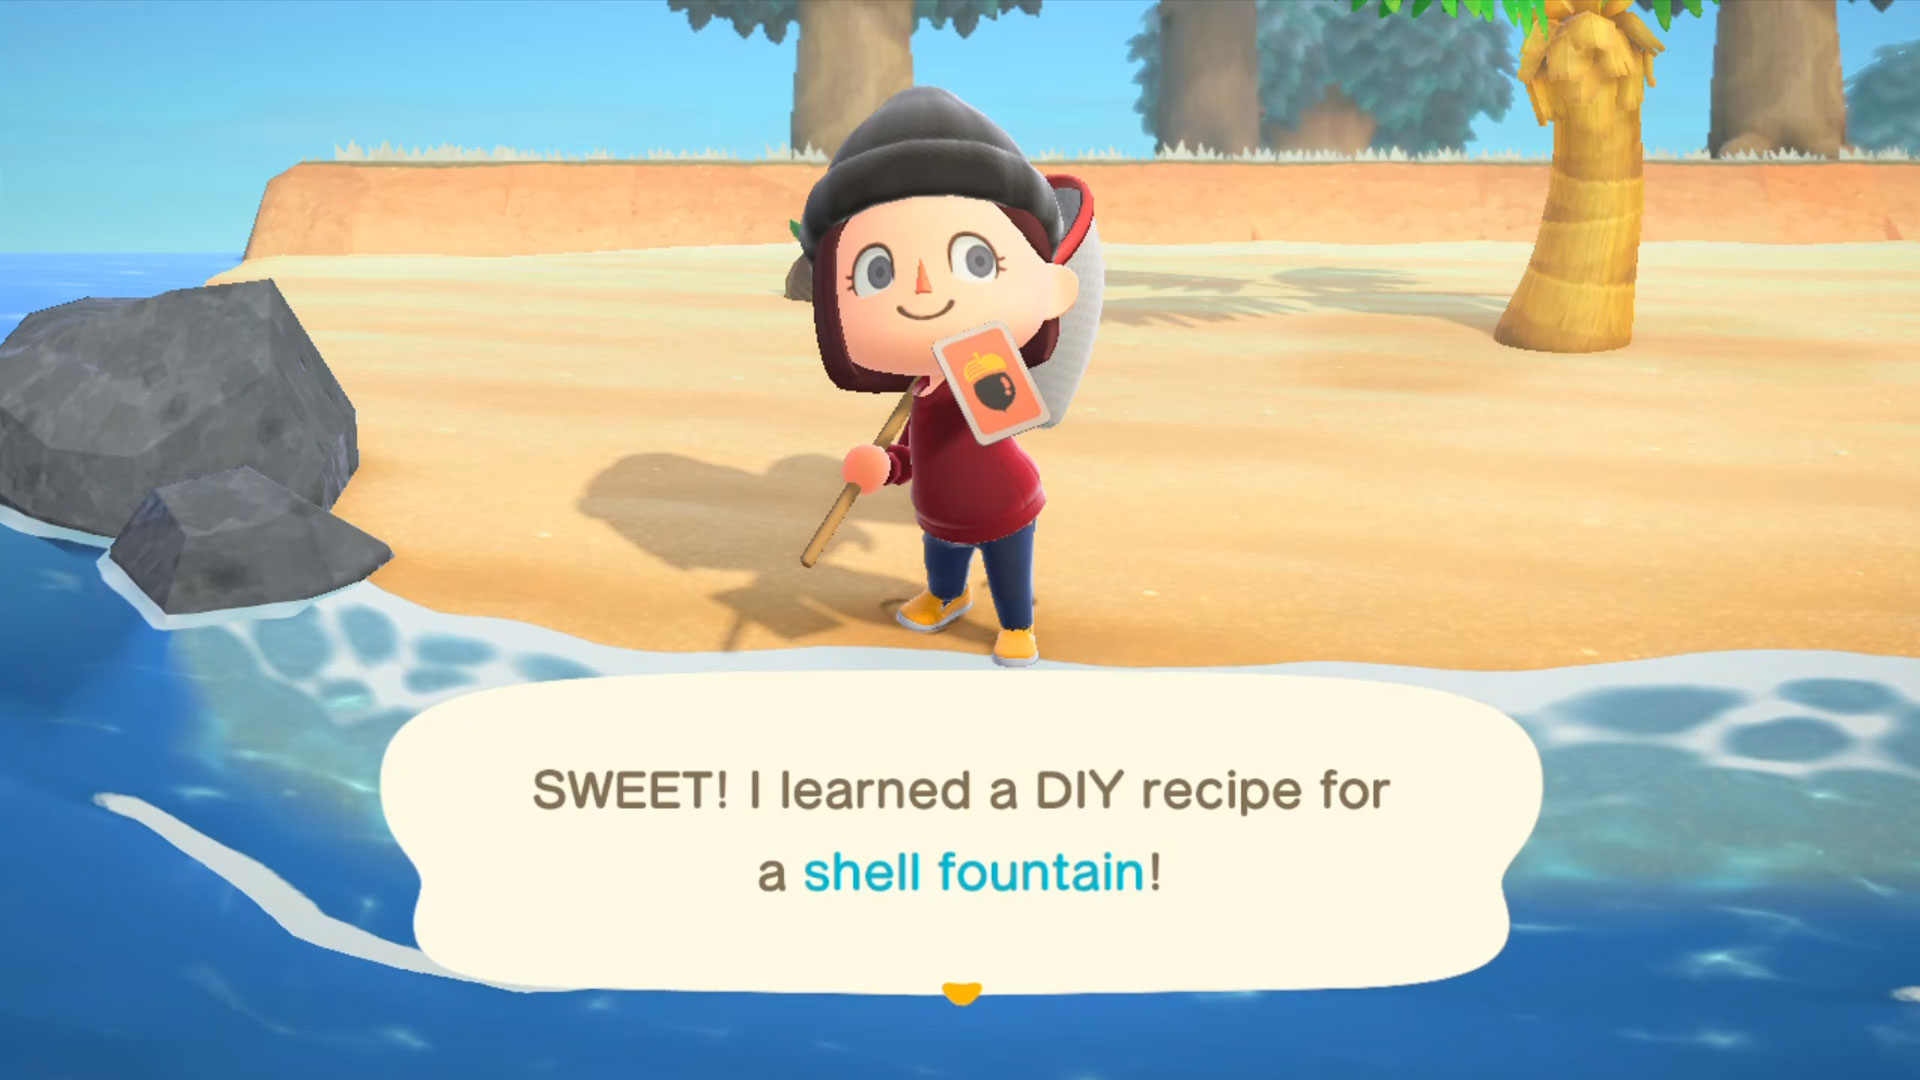
If you're given, or otherwise find a recipe card, you'll have to learn it before it appears in your crafting options. Just head to the item in your inventory by pressing X, and then hit learn. Then it's yours to craft forever!
4. Pay off your moving costs ASAP to unlock new options
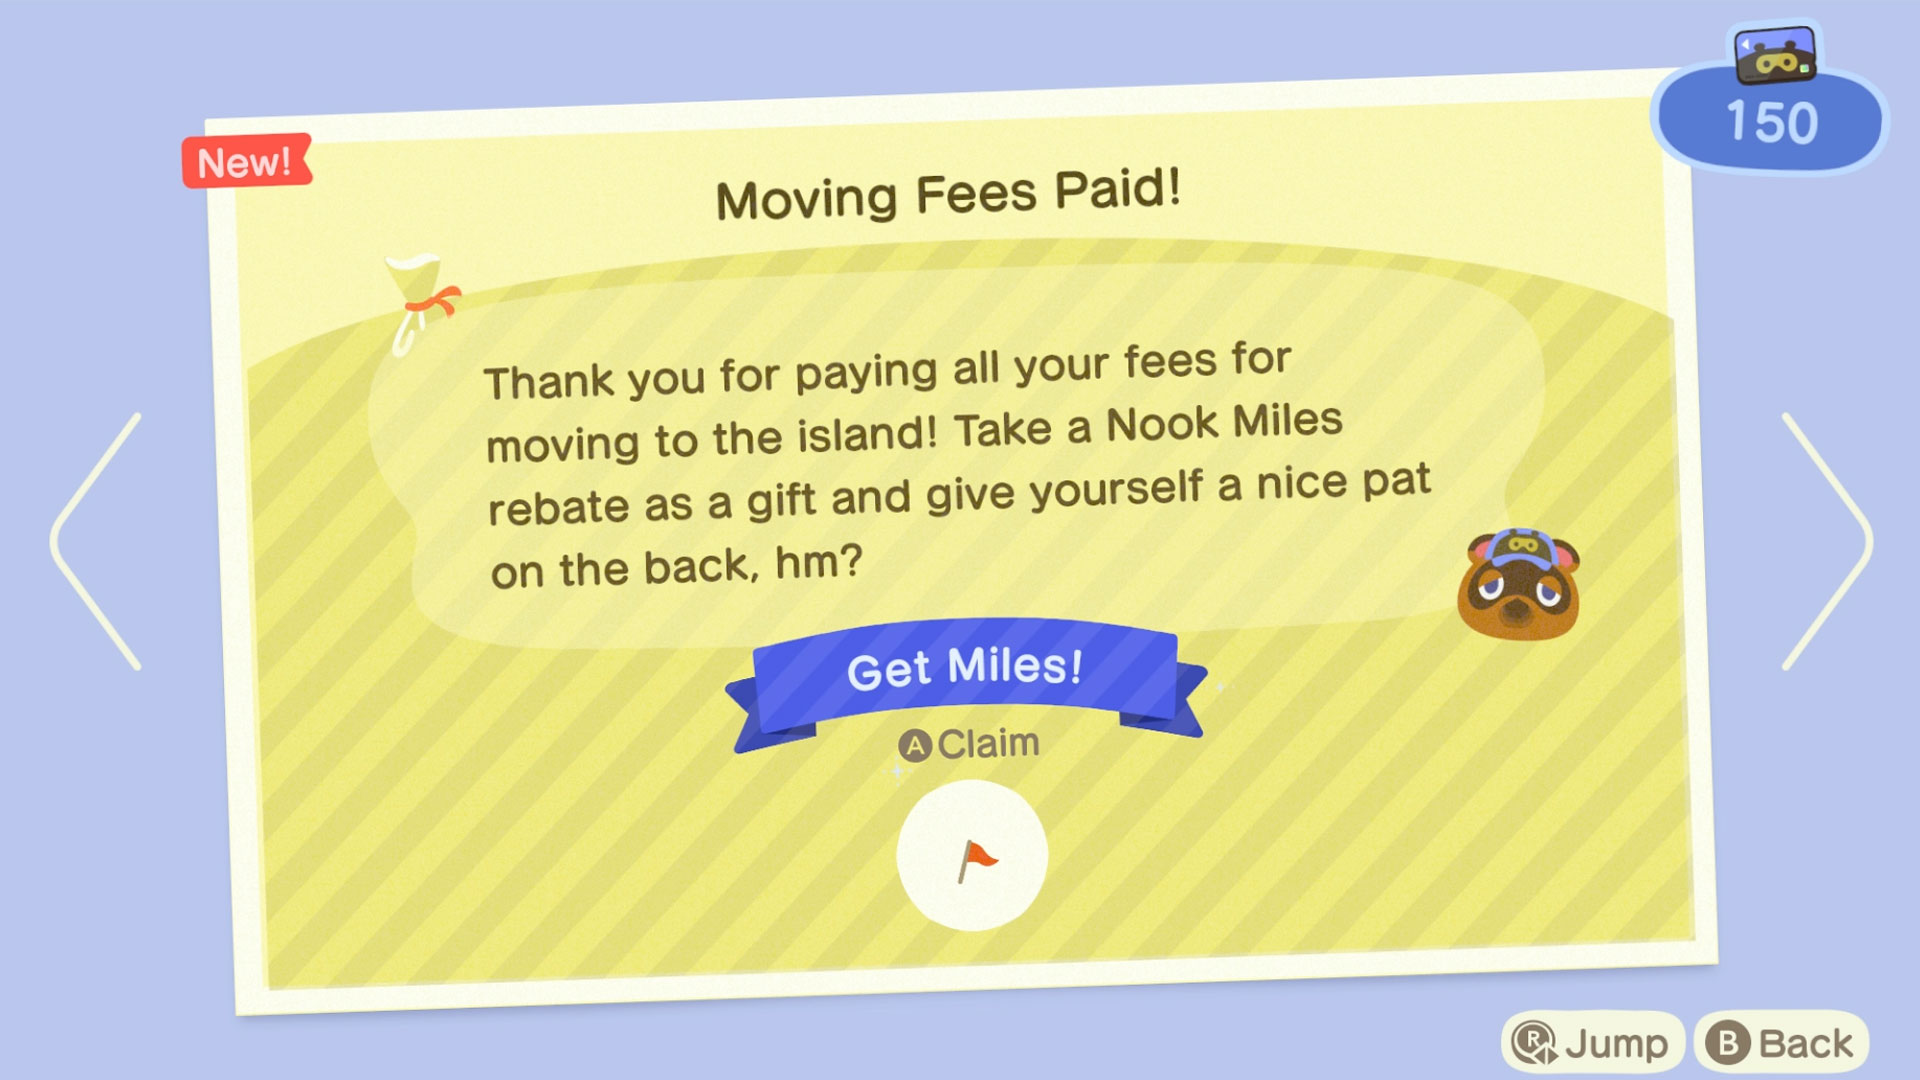
On your first full day on your new island, Tom Nook gives you a rather large bill to cover all of your moving costs. Thankfully, you can pay it in Nook Miles - and a fairly reasonable 5,000 Nook Miles at that - and we'd advise making it the first thing you do on the island. Once you've paid off Mr. Nook, you'll unlock a whole load of new options. Firstly, you'll be able to take out a new loan, which will automatically let you upgrade from a tent to a house. It's a loan of 98,000 bells, but your new home will be built by the next morning, and then you can start repayment. This unlocks the ability to hoard items in your home's in-built storage, which is very handy indeed.
But, that's not all. You'll also unlock the Nook Miles Rewards at the Nook Stop terminal in Residents' Services, which opens up a whole load of items, recipes and more.
Plus, once you've taken out your new home loan, you'll unlock Nook Miles+, which are a selection of five straightforward tasks that constantly replenish as a way of earning Nook Miles more quickly and easily. For example, these range from catching five fish or selling 10 shells, to chatting to three neighbours or planting one tree. So many perks, so little time!
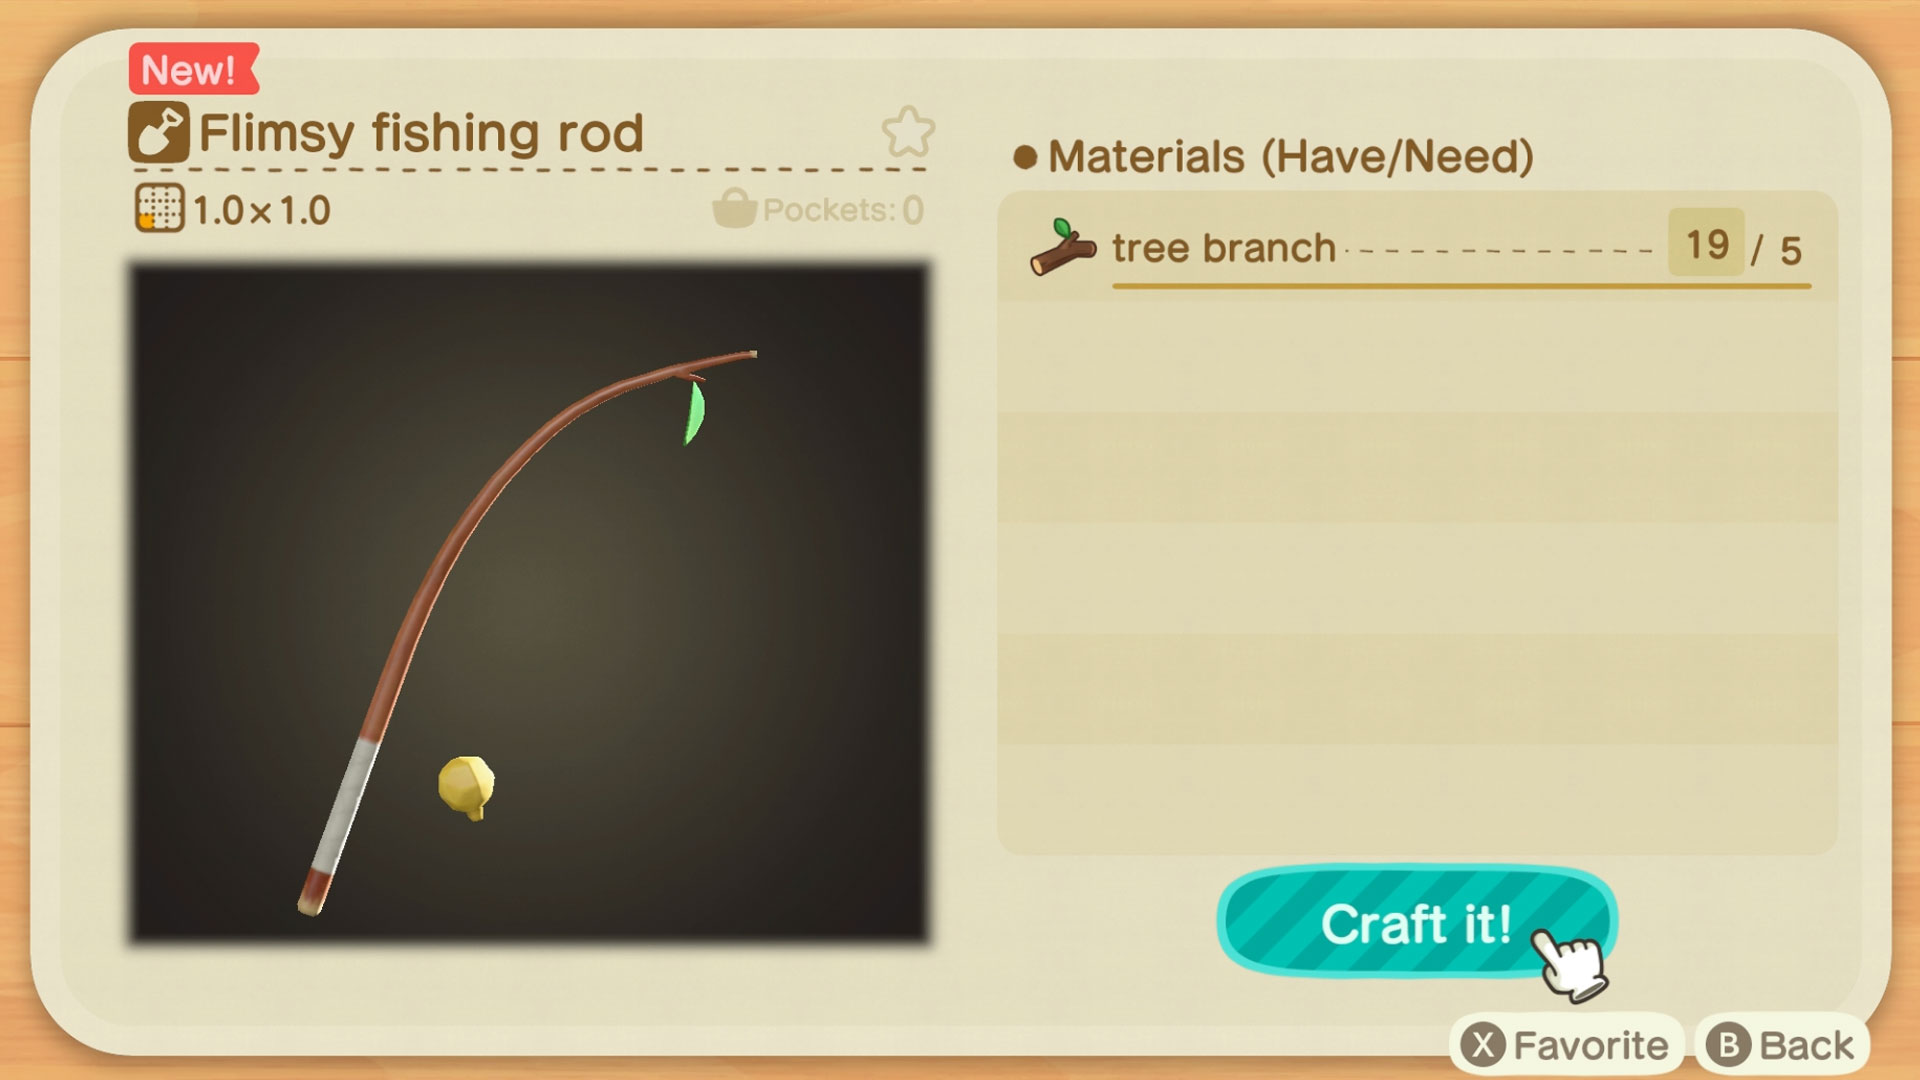
5. You won't get all the tools you'll need straight away
You won't be able to get access to all the usual tools straight away in Animal Crossing: New Horizons. On your first full morning, Tom Nook will give you recipes for the flimsy fishing rod and flimsy net, but it's not until you meet Blathers at his little pop-up museum tent that he'll give you recipes for the shovel and vault pole. You can buy a watering can recipe and the slingshot from the Nook nephews though, but you might have to wait a day or two for them to appear in rotation.
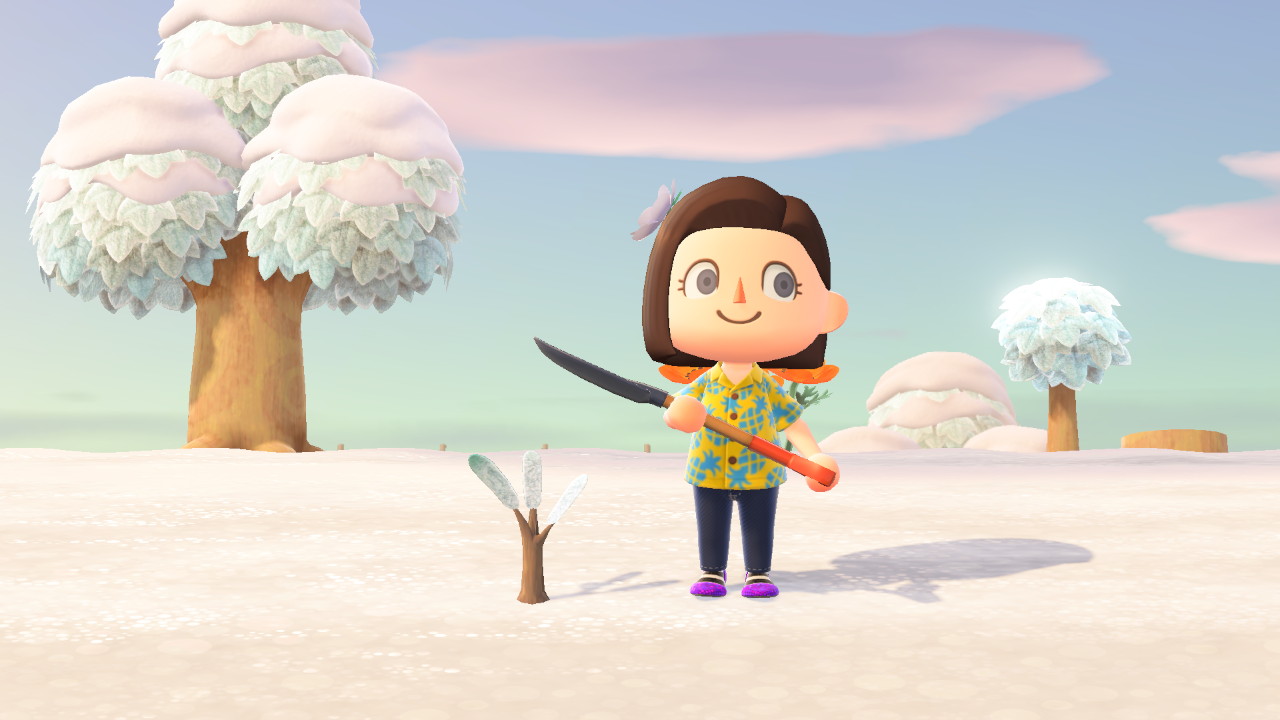
6. Flimsy tools are your friends in the early days
Because iron nuggets are a bit of a rarity at first, try and use the flimsy tools as much as you can initially. They are all made from materials that are easily found on your own island. Tree branches can be shaken free from trees all day, repeatedly. Stone can be found by hitting rocks. Softwood, hardwood and wood can be found by hitting trees with a flimsy axe or stone axe. It's a lot easier to replenish your stock of these items than iron nuggets at first, so stick to the flimsy tools at first.
Then, when you're ready, you can buy yourself the Pretty Good Tools Recipes from the Nook Miles section of the Nook Stop, which are mostly powered by iron nuggets.
7. Use a stone axe or shovel for a chance to get iron nuggets from rocks
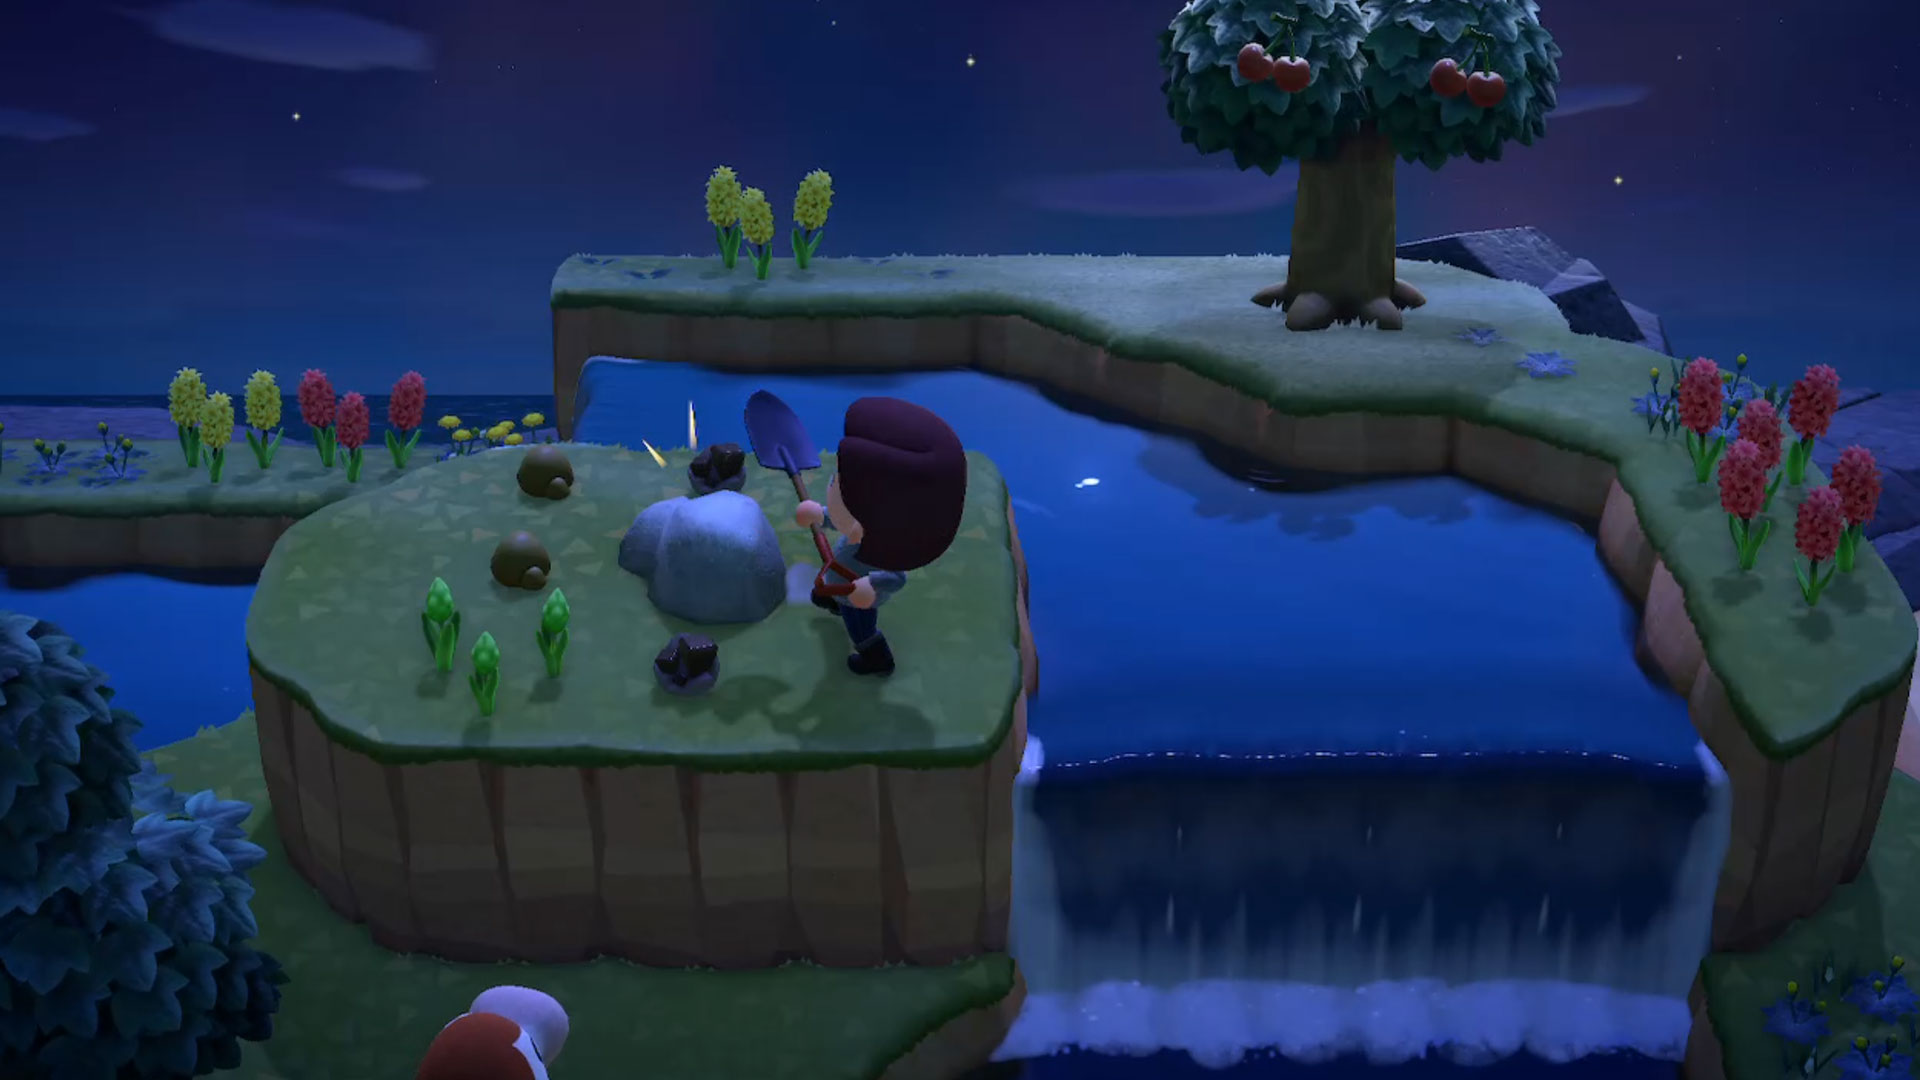
You'll start gaining crafting recipes for better tools rather quickly, but to create them you'll need better materials - namely, iron nuggets. Soon, Animal Crossing: New Horizons iron nuggets will become one of your most-needed materials, and to find them you'll need to hit rocks. Use your stone axe, or a shovel on any rocks you see on your island - the small light grey kind, not the larger, darker grey versions that are just part of the coastal scenery - and you'll find a variety of materials will start popping out - stone, clay, iron nuggets, and sometimes money or even bugs. Getting iron nuggets will be slow at first, so if you want to amass a few more, save up Nook Miles to buy Nook Mile Tickets that allow you to visit remote islands, which are a paradise for resources - usually netting you at least four iron nuggets per trip.
8. Nook Miles Tickets are a (temporary) escape and goldmine for resources
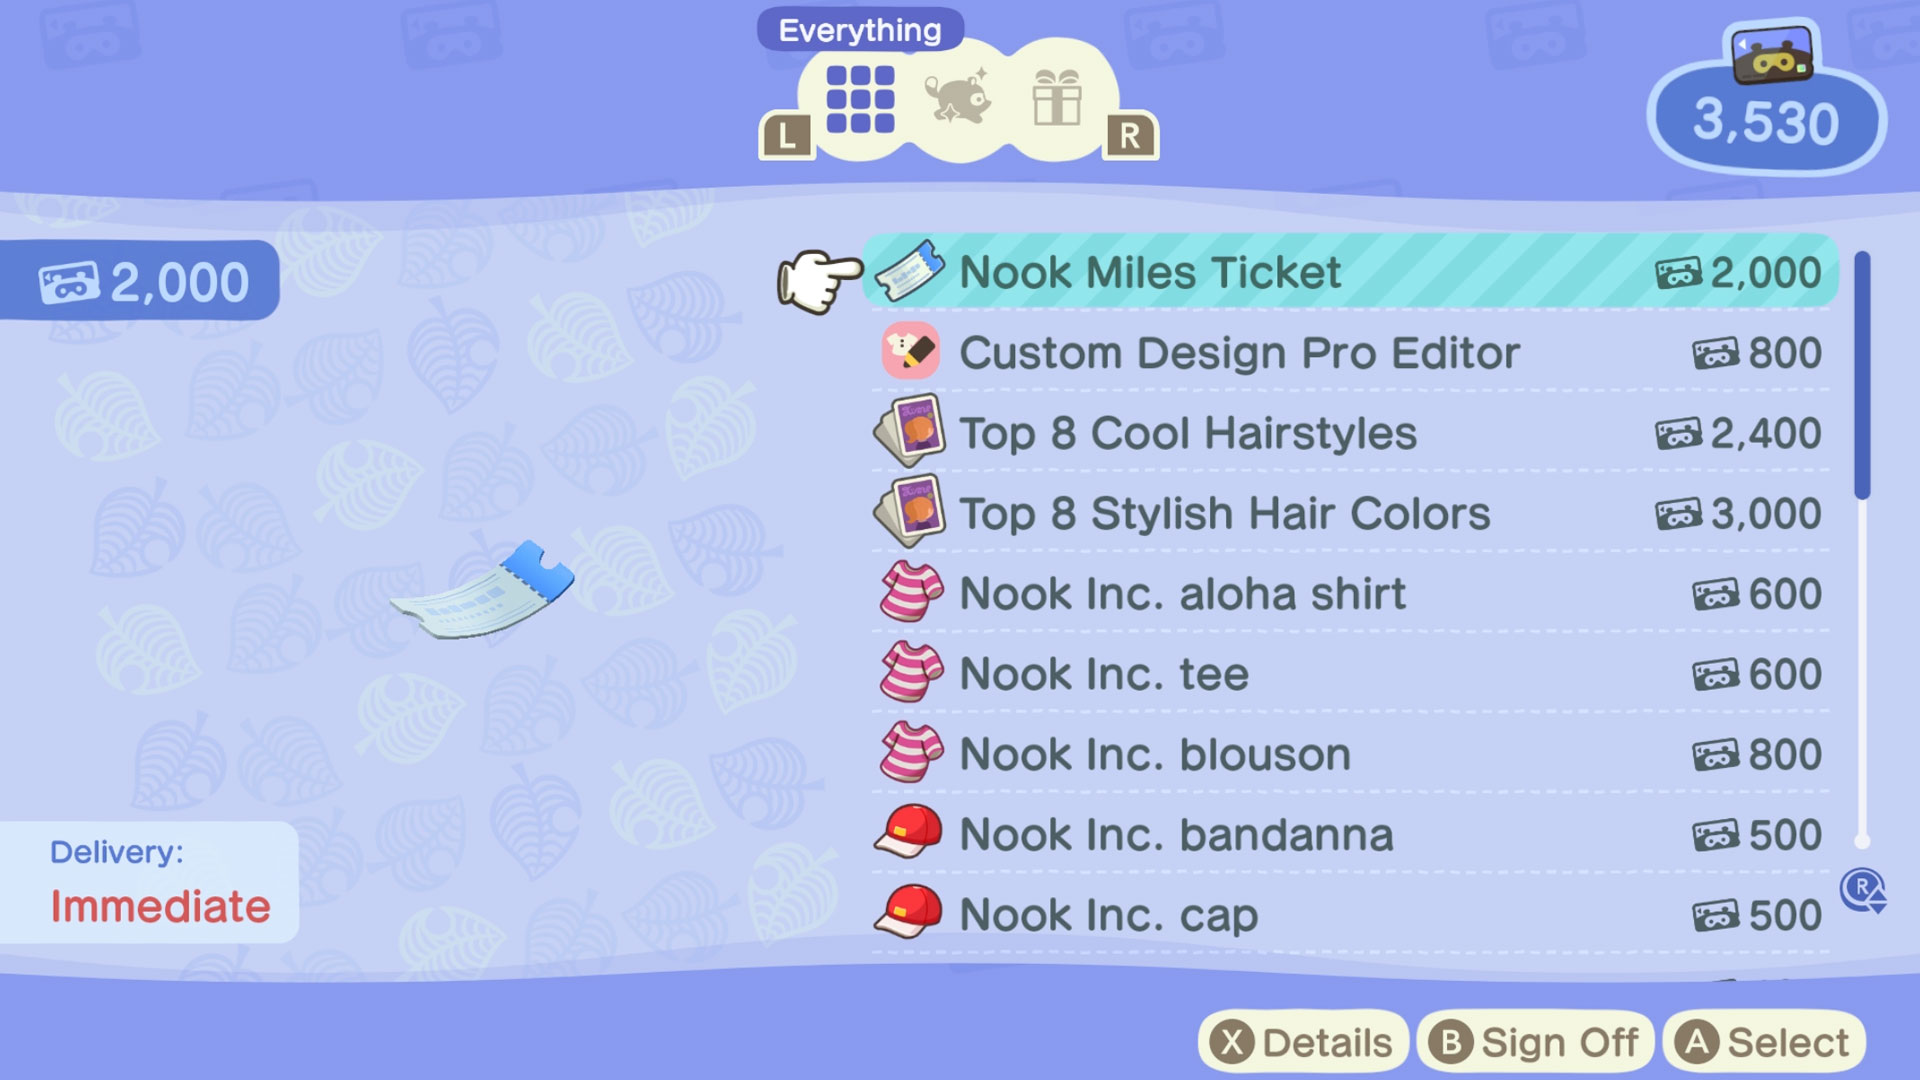
Yes, Nook Miles Tickets are an absolute godsend. For 2,000 Miles, you can buy one of these tickets that you use to travel to other - completely random, procedurally generated - deserted islands. For every ticket you use, you'll go to a different island, which will each have its own range of fruit, flowers, trees, and more. You can bring anything you find back with you to your own island, making it a fantastic way to gather sellable items and crafting materials. Plus, as your own island will natively only grow one type of fruit, it's by doing this that you'll slowly evolve your own island's ecosystem.
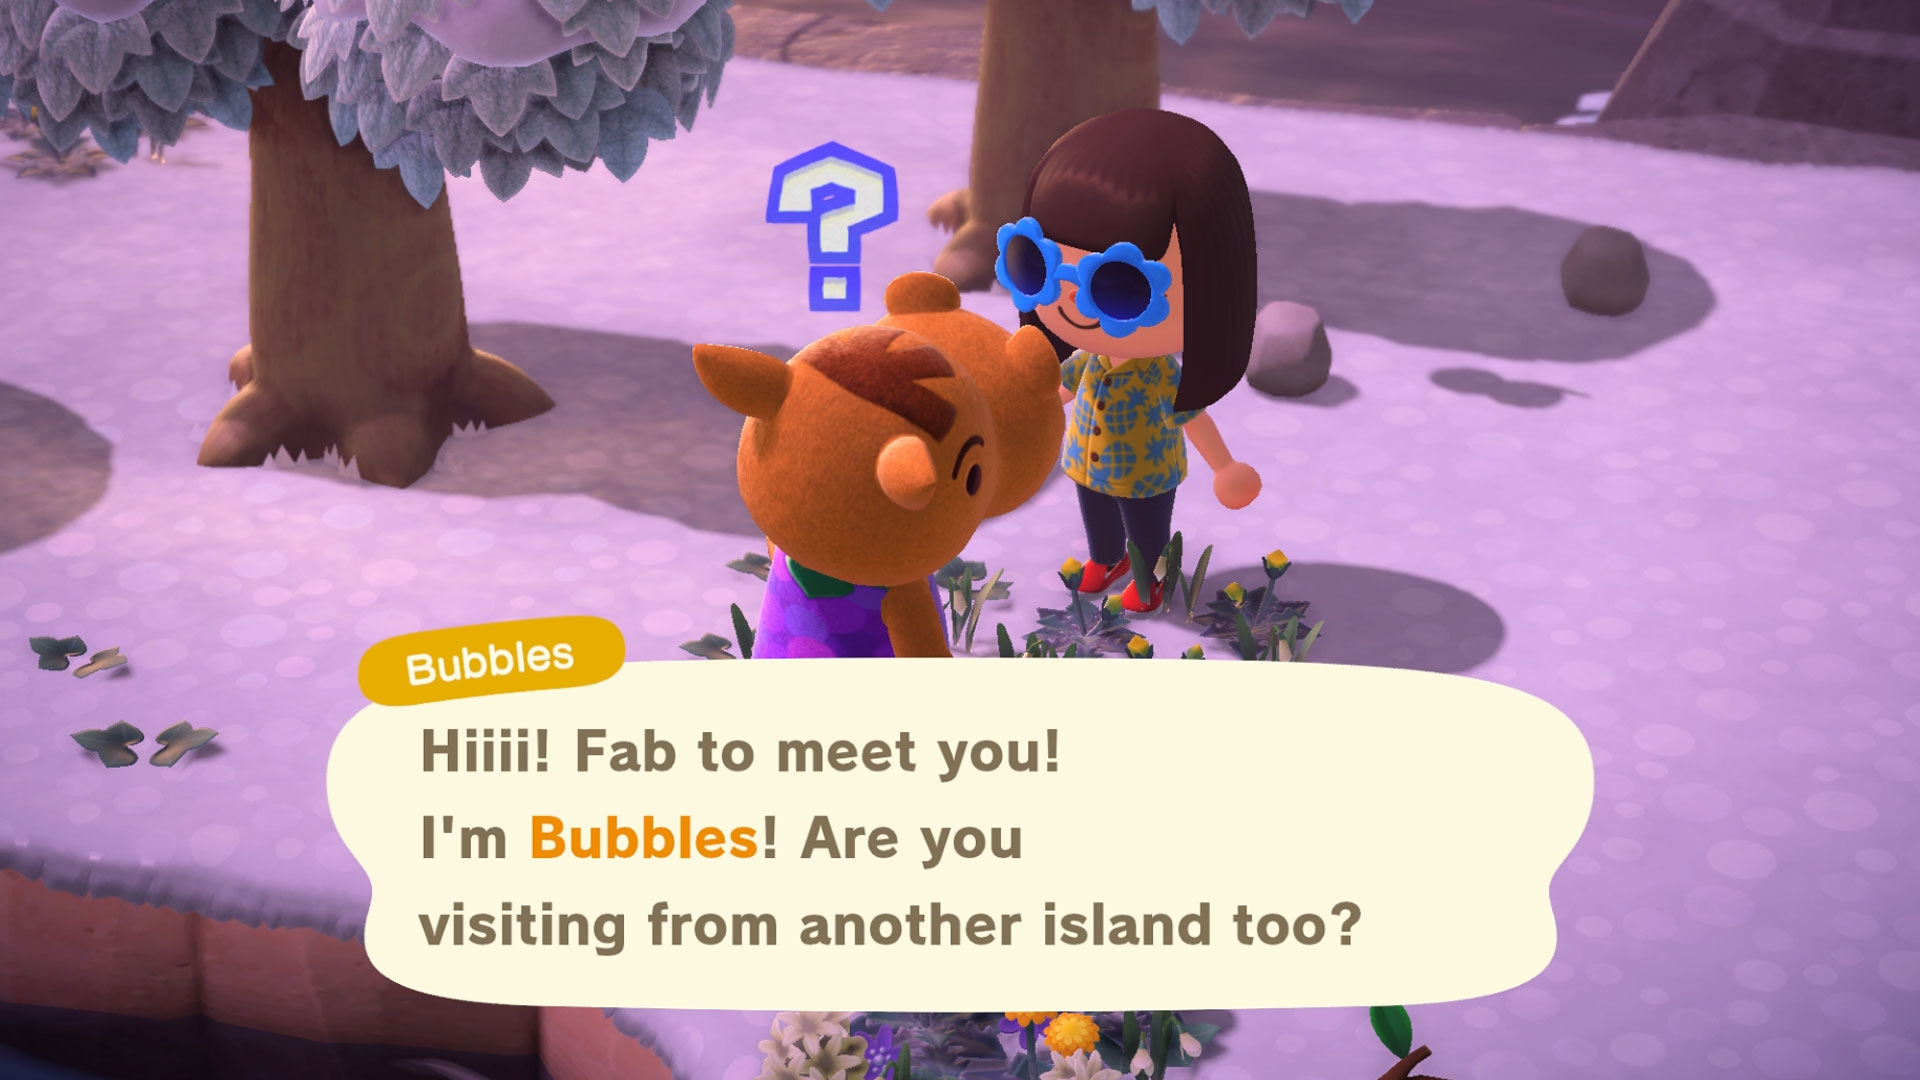
What's even more exciting about these islands is that sometimes you'll find a friend there too, who you can speak to and potentially invite them to your island if you'd like.
9. Read speech bubbles properly
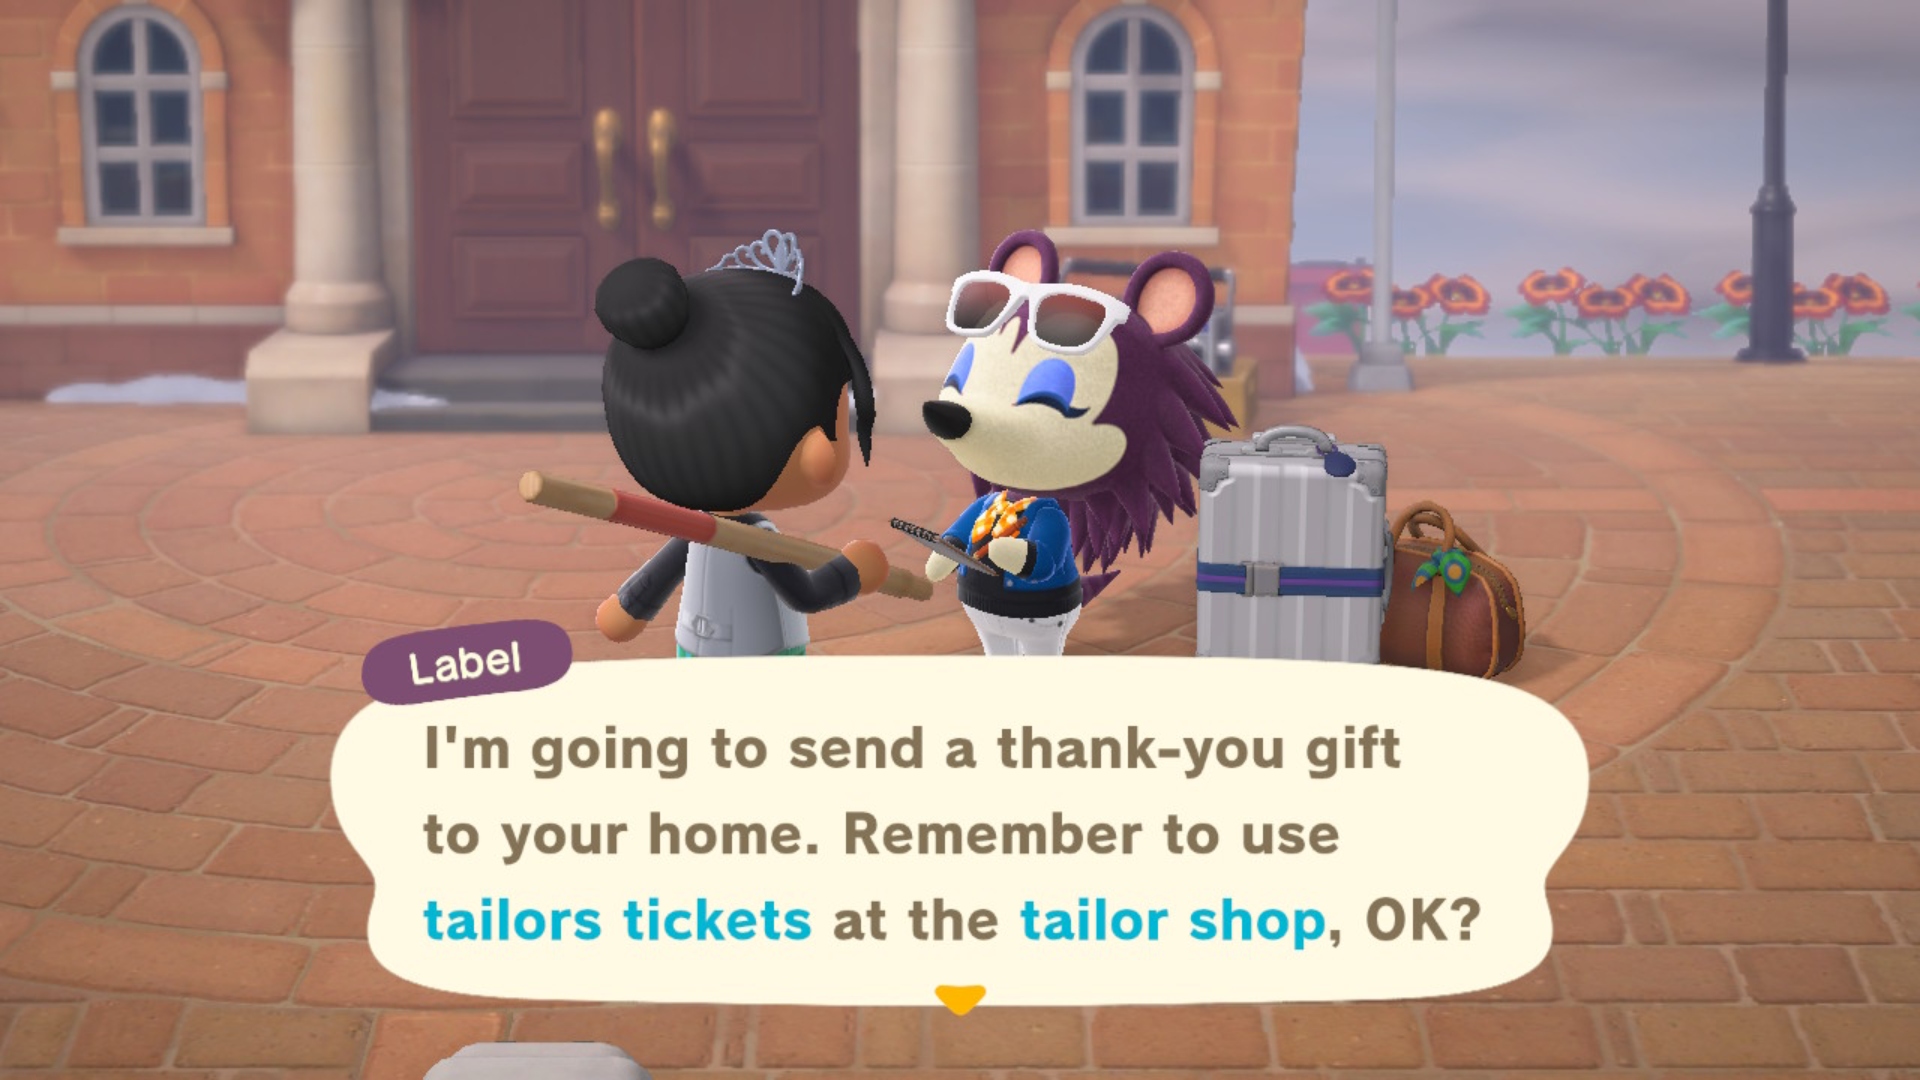
It's easy to skip past speech bubbles to move onto your next pressing task, but remember that Animal Crossing: New Horizons is a chill game and actually, not reading the speech bubbles properly may result in you missing something important. Take your time and soak in the tips that the villagers and other characters give you, it could save you hassle in the long run.
10. Shake a tree before you chop it
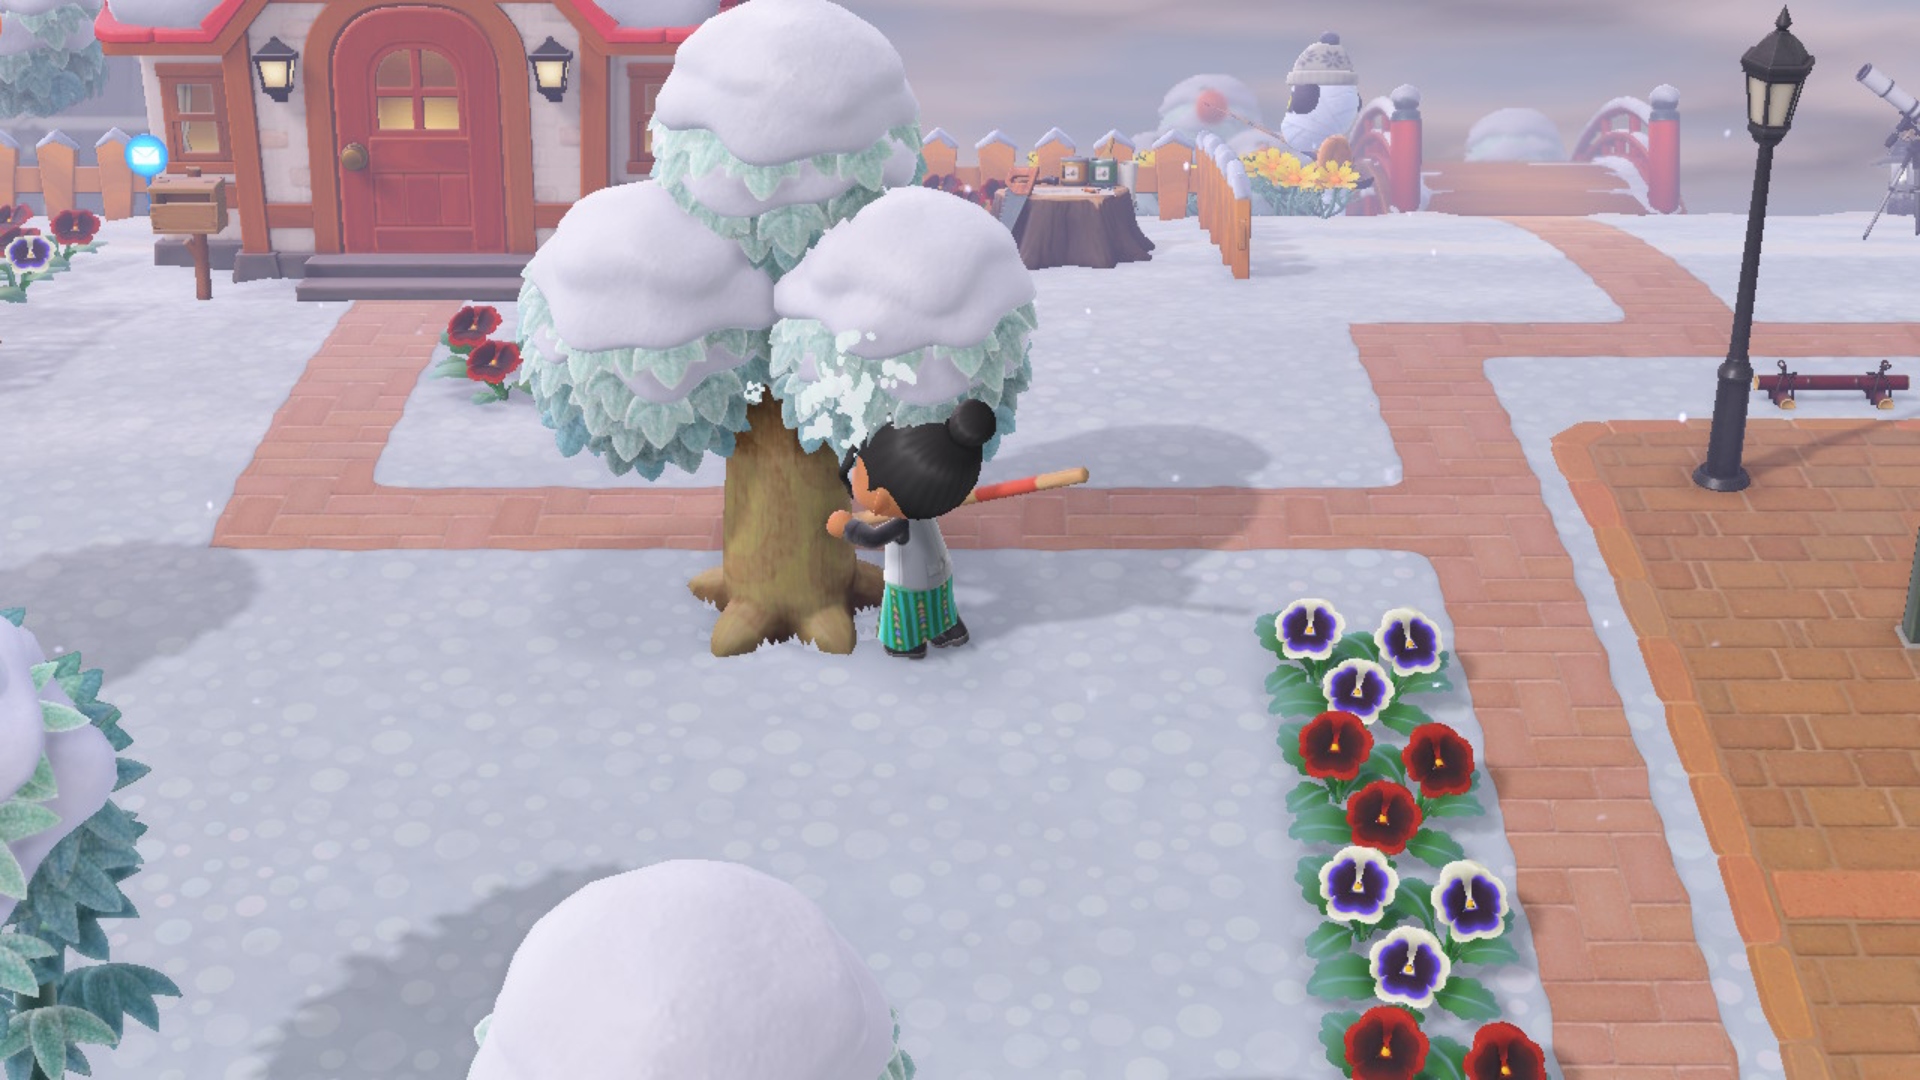
In case you didn't know, trees are actually great places to get free items and catch rare bugs, but you have to shake them first. Press A when you're near a tree and it'll give it a shake, dropping down a treat from free bells to furniture, or spiders, bagworms, and sometimes wasps (which you can catch if you've got your net ready). You can keep shaking it until it's fresh outta items.
11. Be careful with your axe
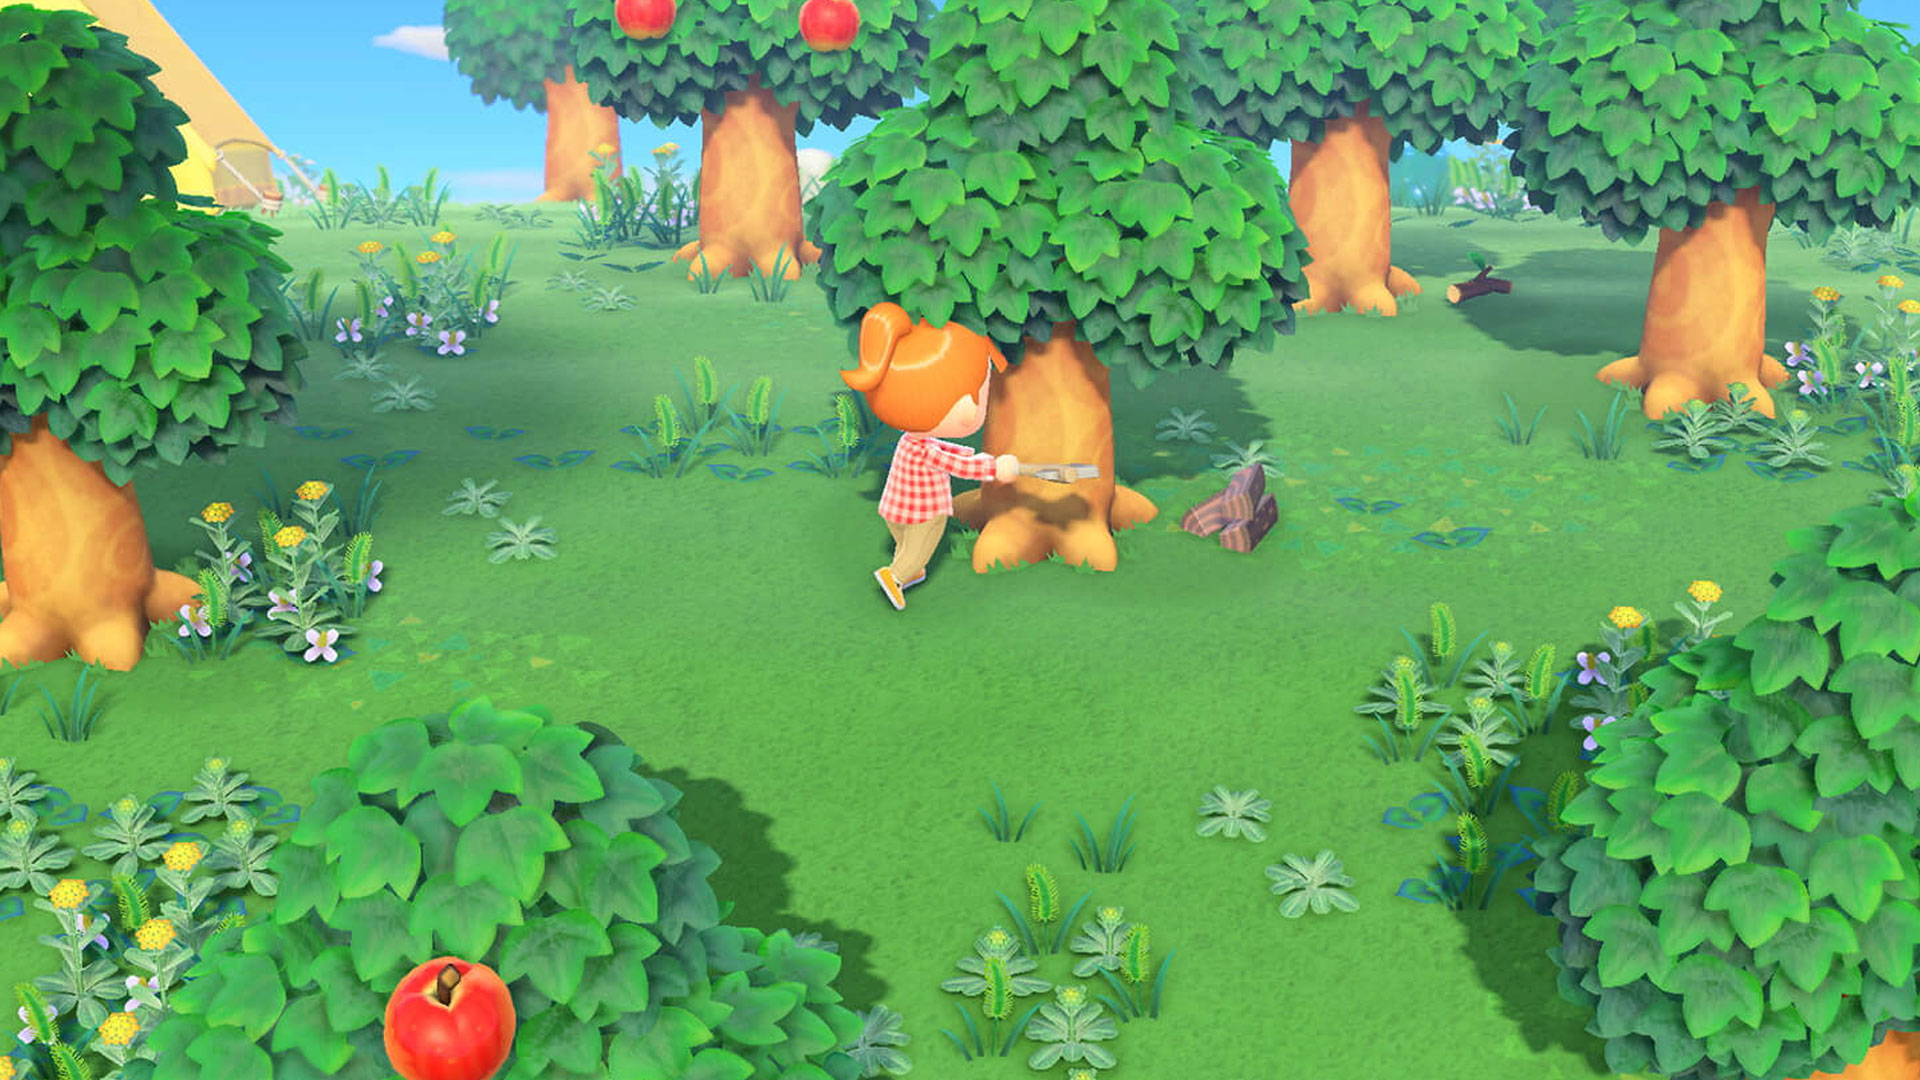
Once you start upgrading your tools, you'll notice that they somewhat increase in power – particularly when it comes to the axes. You'll quickly get access to the 'flimsy axe', the 'stone axe' and just a very simply named 'axe'. Don't be fooled though, as the axe is impressively formidable. While the stone axe and the flimsy axe will shake a tree enough to set free the softwood, hardwood and normal wood, but leave the tree intact, the axe will carve straight through the tree. If you want to chop down trees, you'll need the axe – and stumps do encourage more wildlife to frequent your island – but just for wood it's the stone axe max.
12. Give five bugs and fish to Tom Nook ASAP
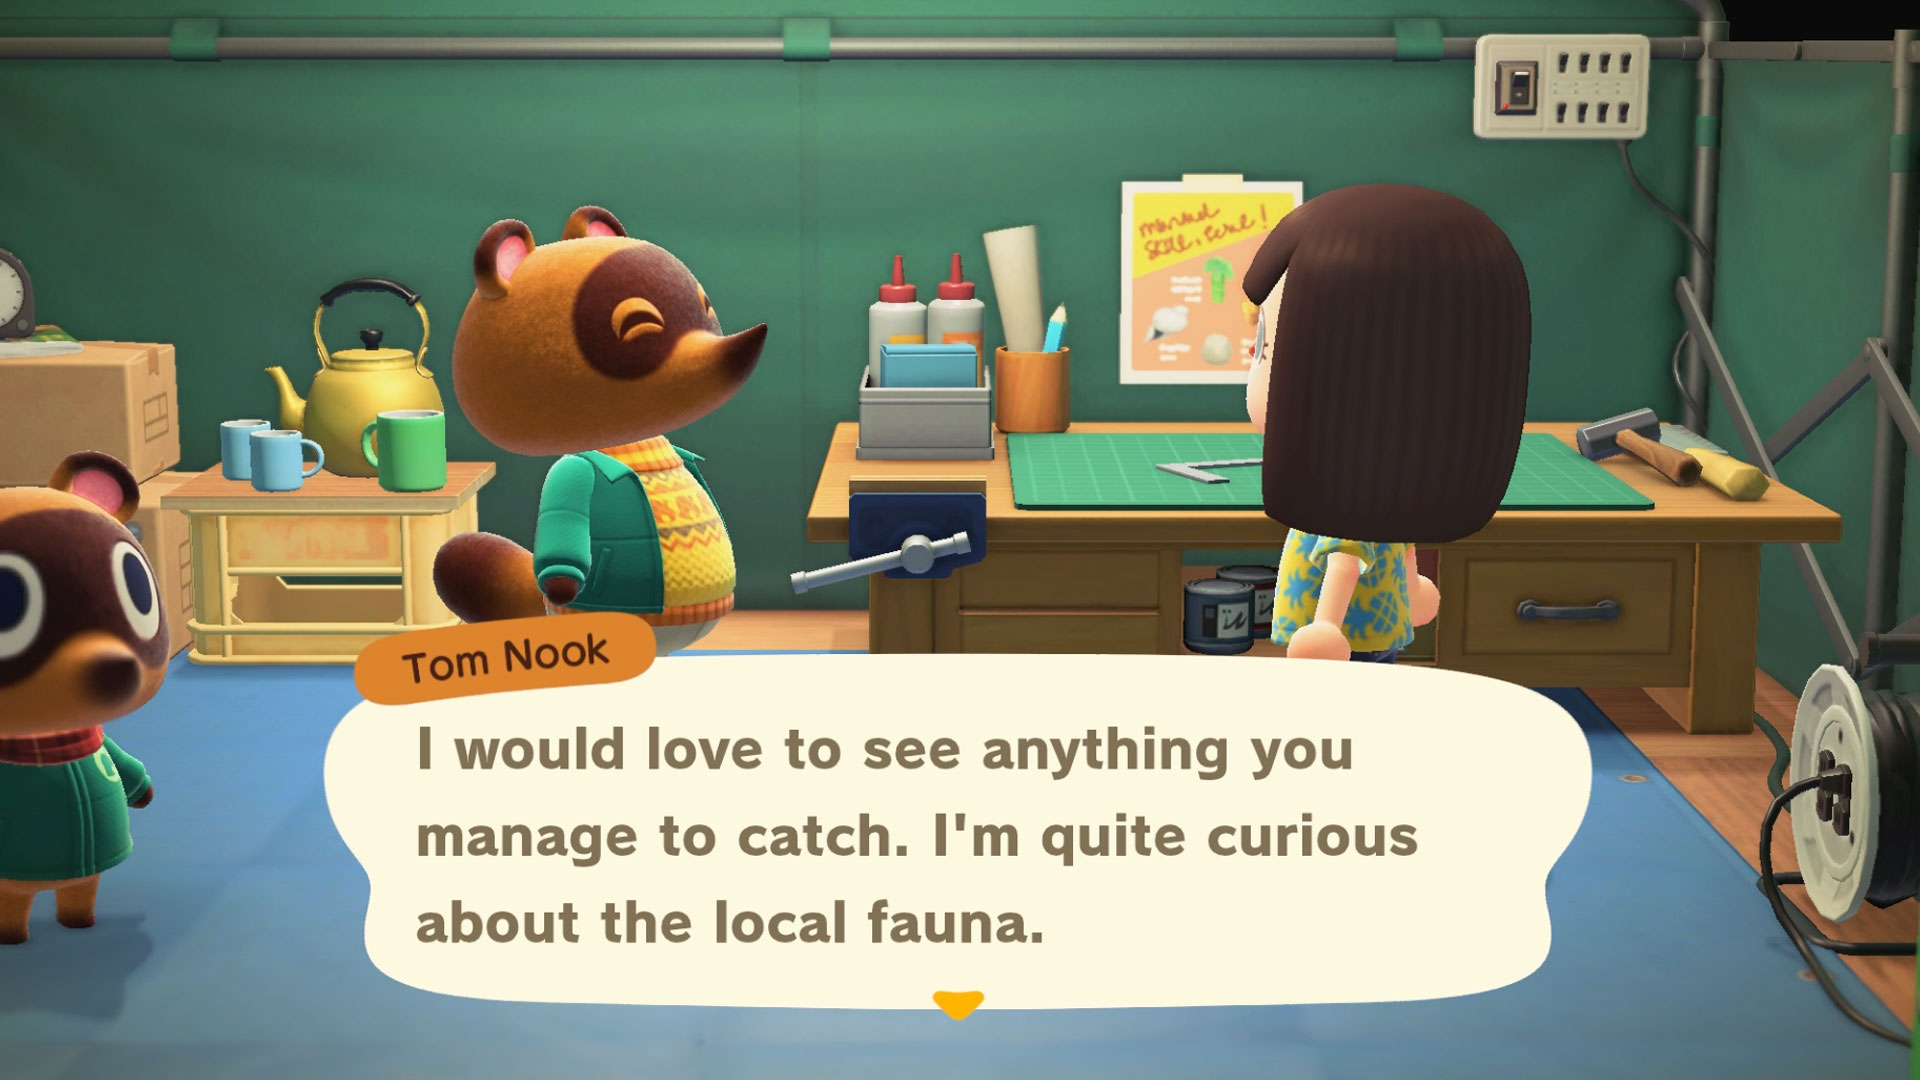
The museum running Blathers will pay for bugs and fish to fill his exhibits but won't show up unless you summon him via Tom Nook. When Nook gives you the recipes for the net and fishing rod, he'll nonchalantly say "I would love to see anything you manage to catch. I'm quite curious about the local fauna." Now, don't dismiss this as just a little enthusiasm for your fishing abilities, if you go and talk to him after you catch a fish or bug with your new tools, you'll notice a prompt that says "I found a creature!" If you give him five creatures, he'll suddenly get a phone call from his old pal Blathers. The next day, Blathers will appear in his little makeshift museum tent, and if you keep donating, you'll eventually unlock the Animal Crossing: New Horizons museum proper.
13. Look out for balloons and bottles to get free stuff
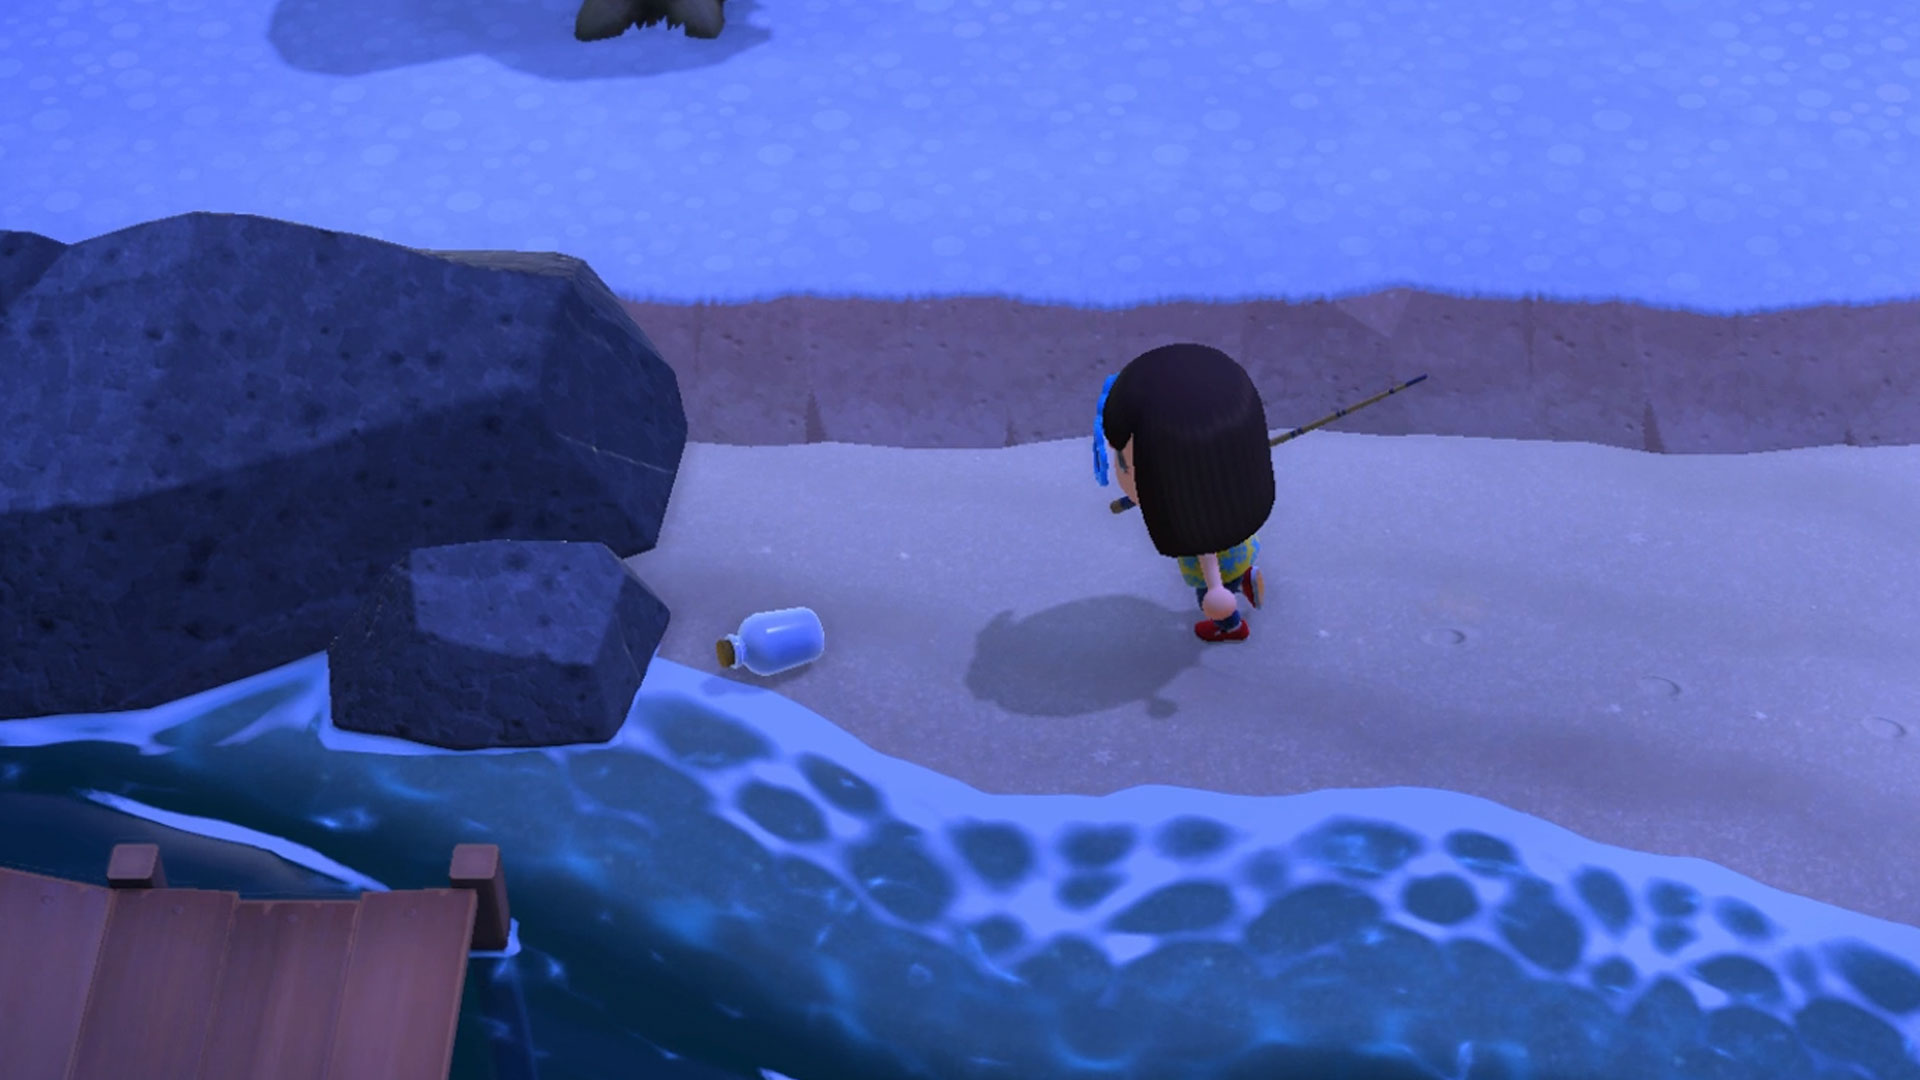
There are two regular items that will arrive on your island that you should look out for. Once or twice a day you can find little bottles that wash up on the beach. These will always contain a letter from a random source, and a crafting recipe. They're random, so there's no way to know what kind of recipe you'll get, but if you already have the recipe in your list, you can always sell it for a few Bells or gift it to another islander.
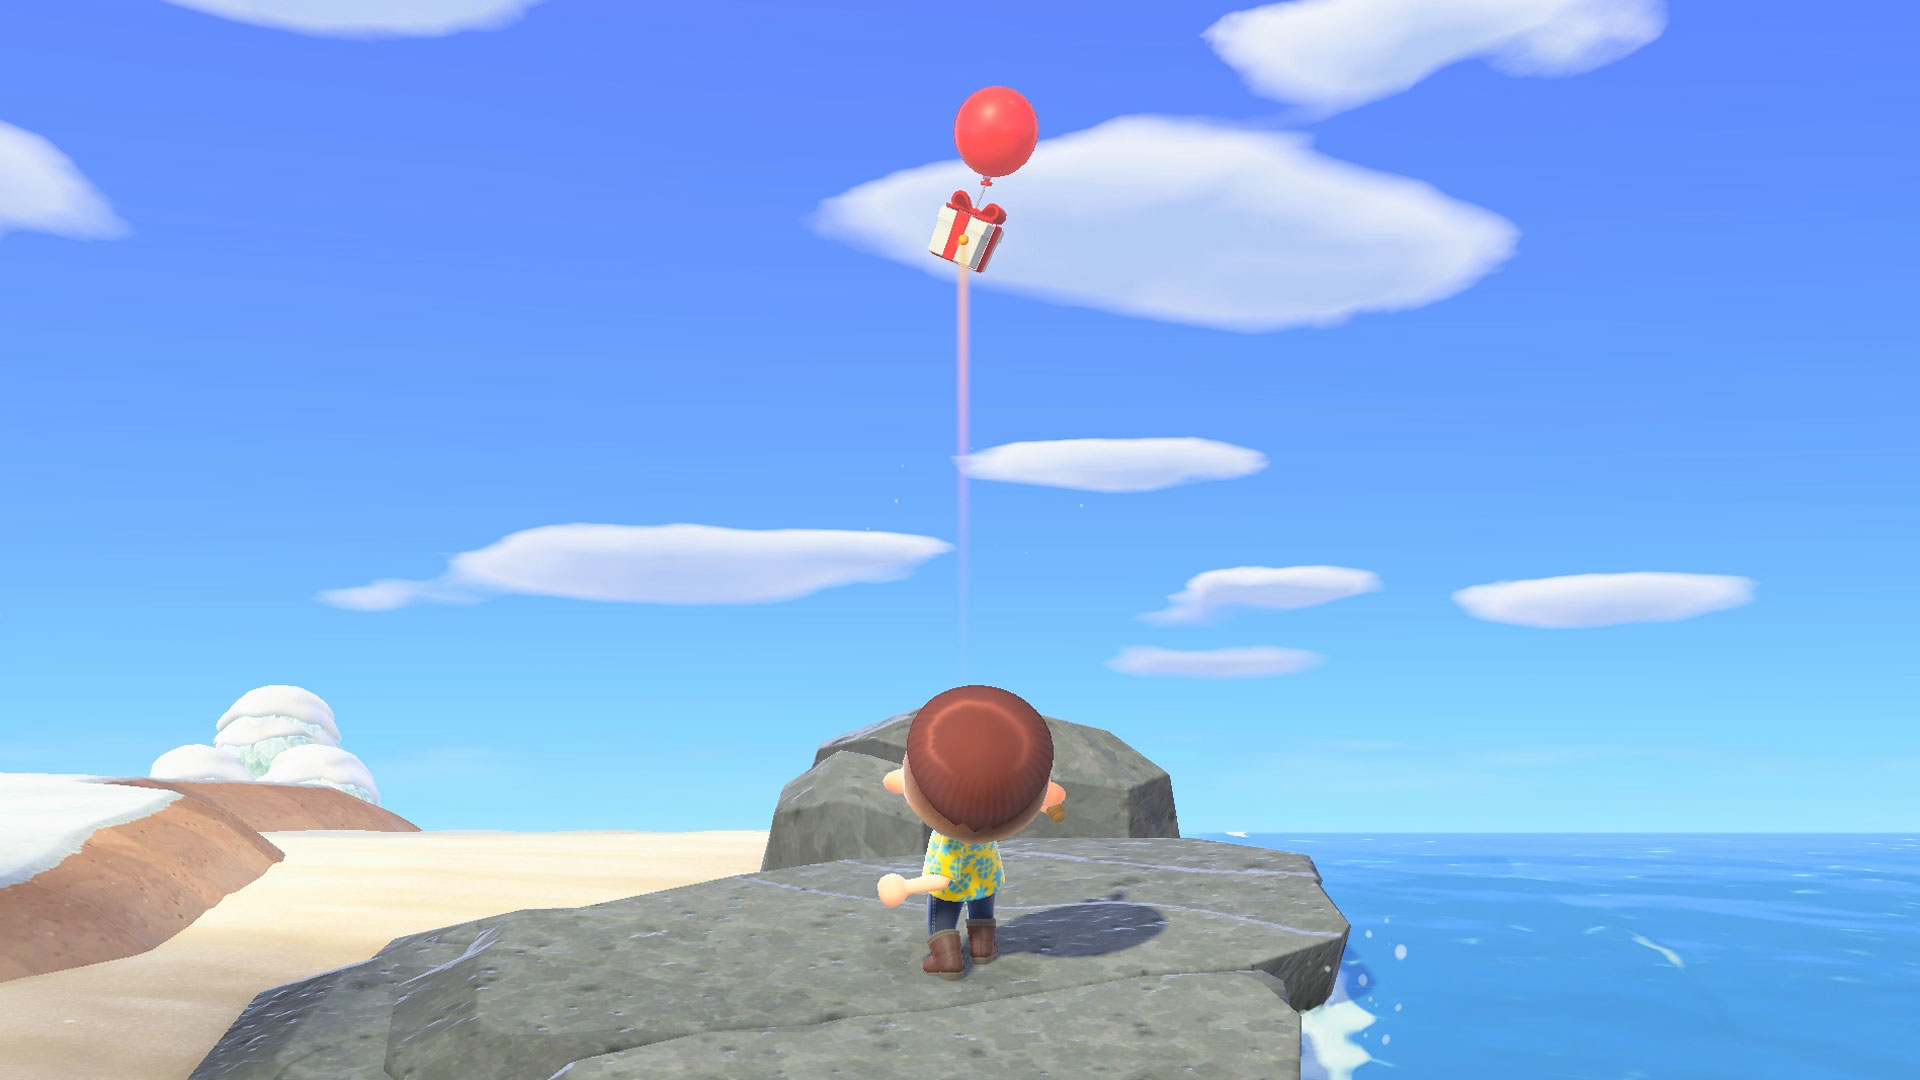
Another great source of new items, recipes and often Bells, is the little presents that will float through the sky attached to balloons. You'll know there's one in the vicinity because you'll hear a very clear whooshing wind sound. Push up on the right joystick until you can see the skyline, and give it a scan for a floating balloon, or look on the ground for a moving shadow. You'll need the slingshot to shoot it down - the recipe for which is available at Nook's Cranny or from Tommy in Residents' Services - but when you do there's a present in it for you. Just watch that there's no danger of it falling in the river - although there's a Nook Mile Reward for doing just that.
14. Catching sea creatures is worth your time
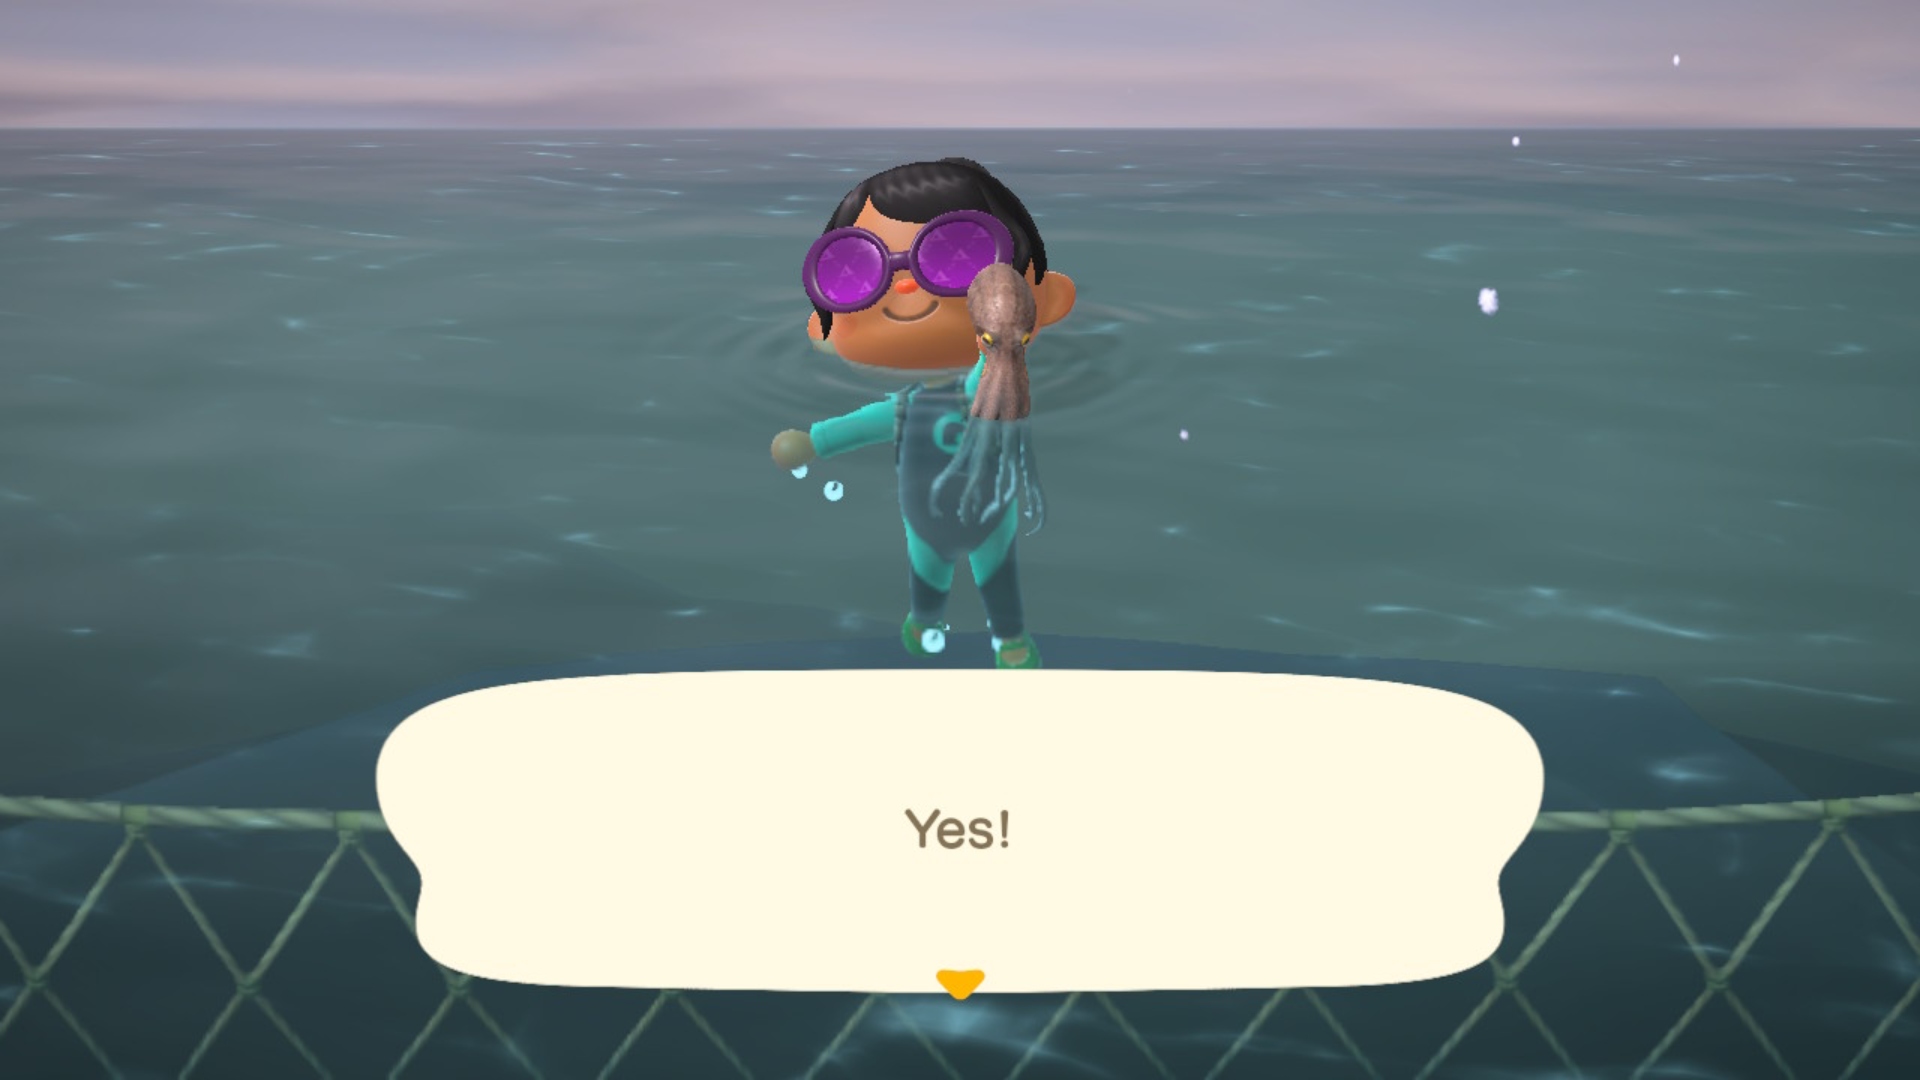
Learning how to catch all the Animal Crossing: New Horizons sea creatures is a very good skill to have and it'll earn you a lot of bells. While it starts off as simple as grabbing a wetsuit, diving into the ocean and grabbing your prize, you'll need to think about time of day and season to get the most profitable finds. Take the Gigas Giant Clam, for example, it sells for 15,000 bells a piece, but it also only appears between May and September. Or, the Spider Crab for 12,000 bells, but only between March and April.
15. Replant bells you dig up
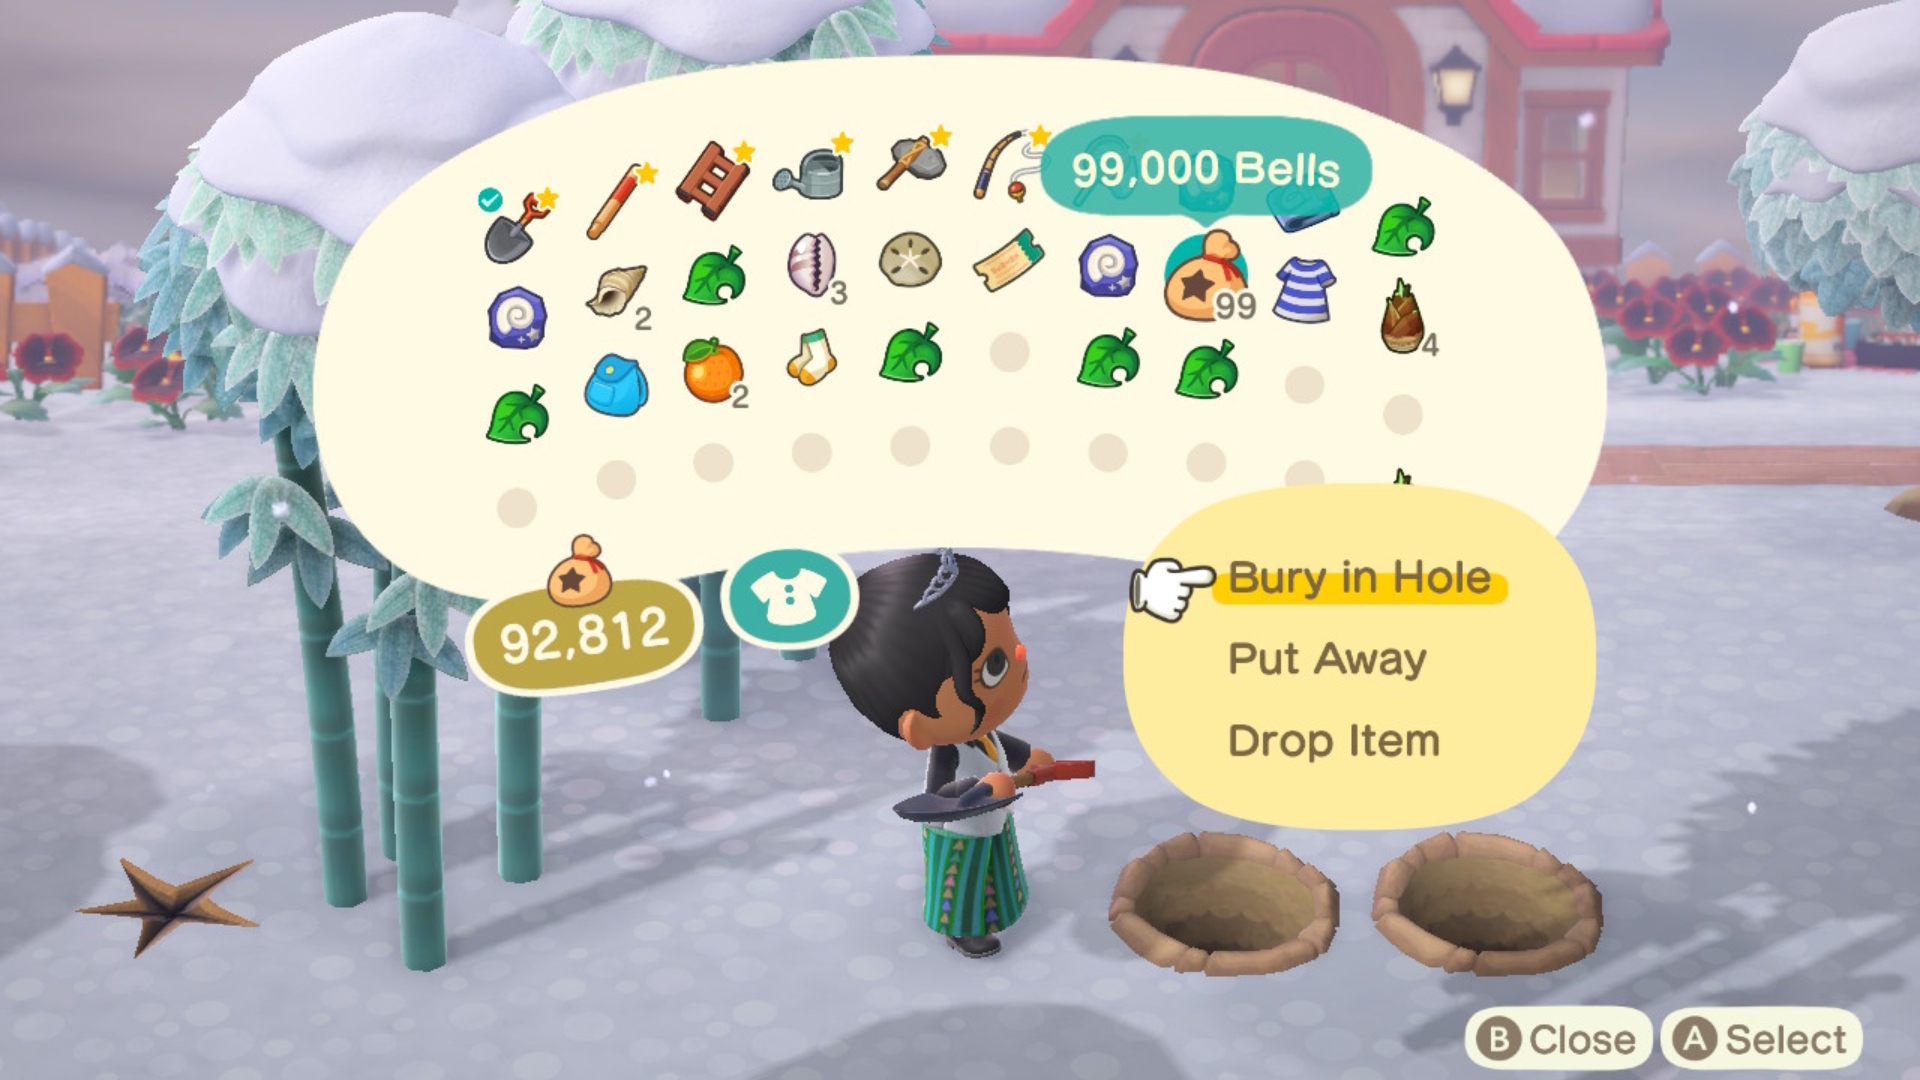
Every day in Animal Crossing: New Horizons, you'll have the opportunity to dig up glowing spots that will give you free bells. But, what you might not know is that you can replant bells in the exact same spot afterwards to grow Money Trees. You can replant up to 10,000 bells to reap the best rewards in return.
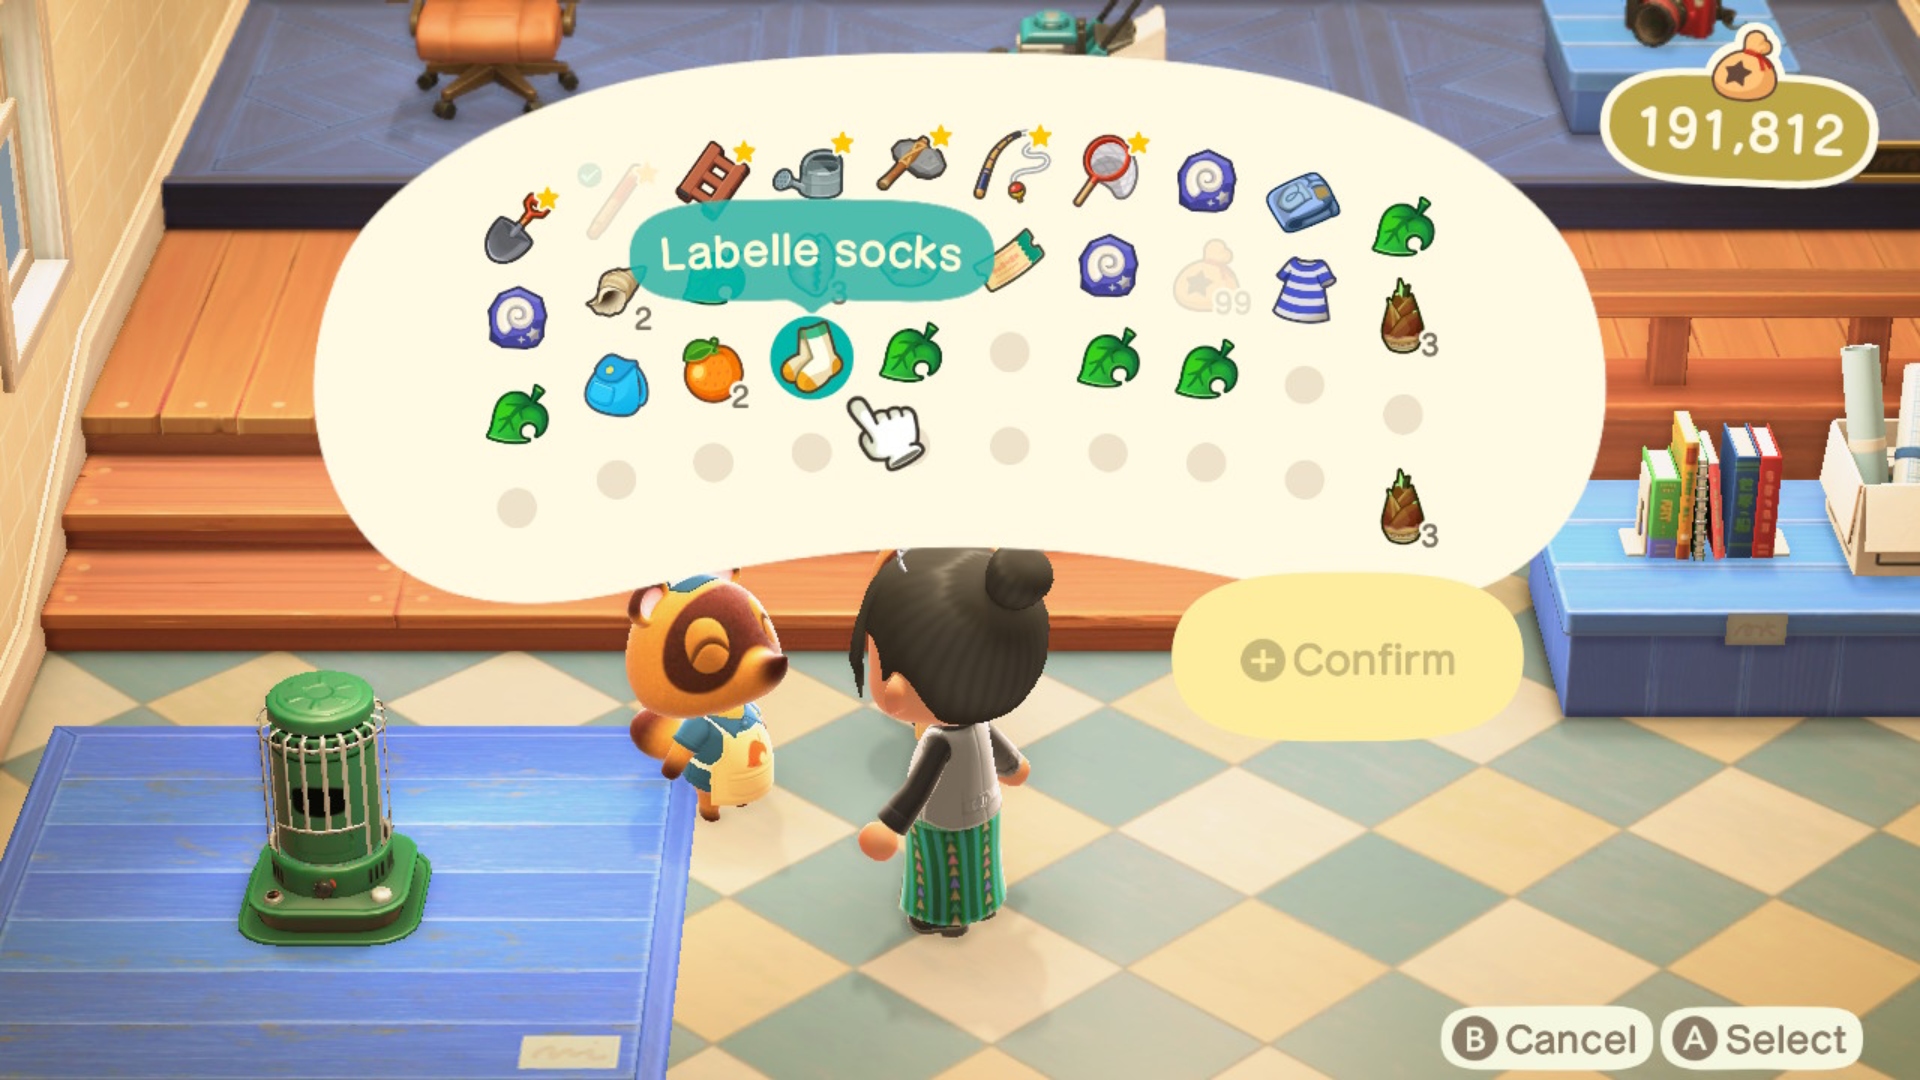
16. Keep an eye on your Nook Miles Rewards
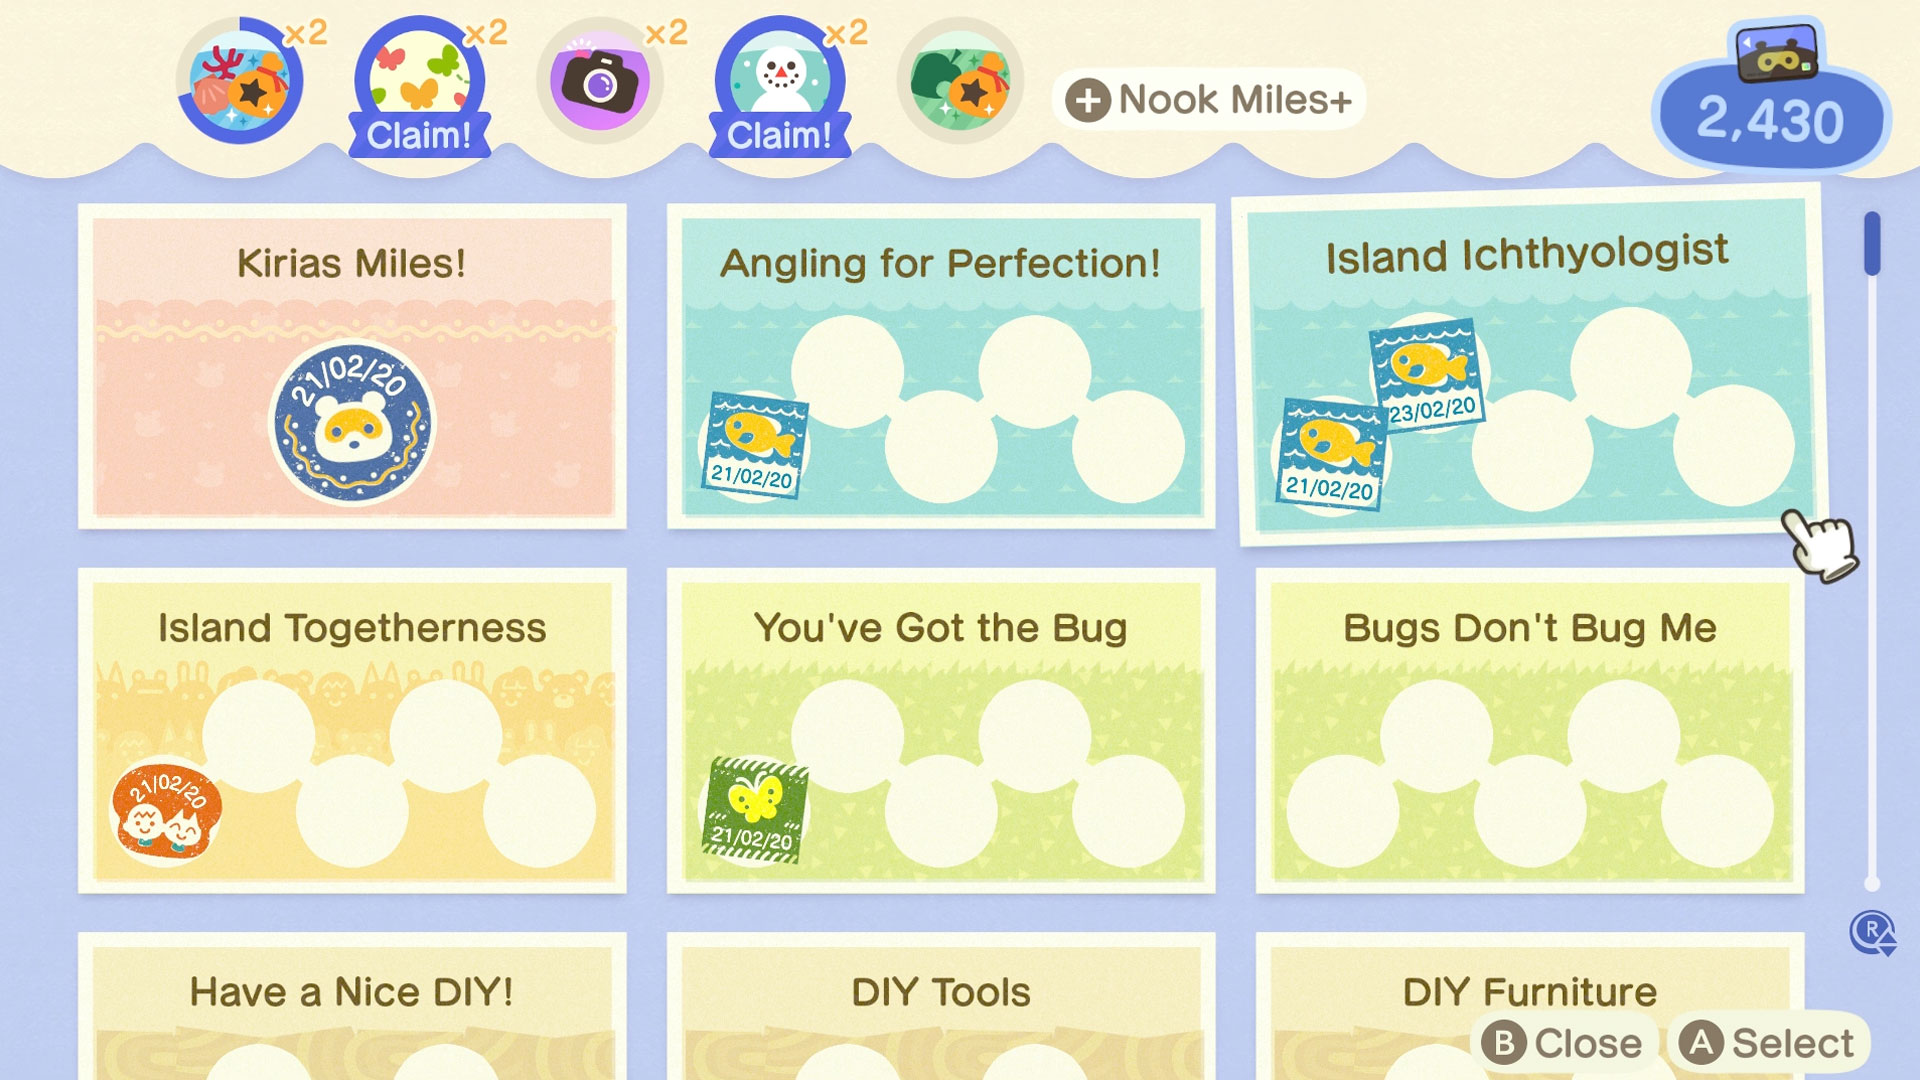
Along with the traditional Bells, there's a new currency in the game known as Nook Miles. Tucked away inside your Nook Phone is a handy app that lets you track your progress towards the next Nook Miles Rewards Milestone. Miles can be exchanged for rewards, recipes, furniture and more via the Nook Stop terminal found in Residents' Services.
Initially, you'll basically haemorrhage Miles because you practically get rewarded for doing anything - you can see all the Animal Crossing: New Horizons Nook Mile Rewards we've discovered and unlocked in our guide - and we're talking catching bugs, planting flowers, selling fruit or seashells, increasing the number of furniture items you have placed, taking snapshots, editing your profile, placing furniture outside, editing the bulletin board and more.
It's worth keeping an eye on your progress within each task though, as if you need more Miles, it might just be a case of planting a few more flowers or something to hit the next Milestone.
And when you unlock Nook Miles+ after paying off your initial moving fees, that's even more the case.
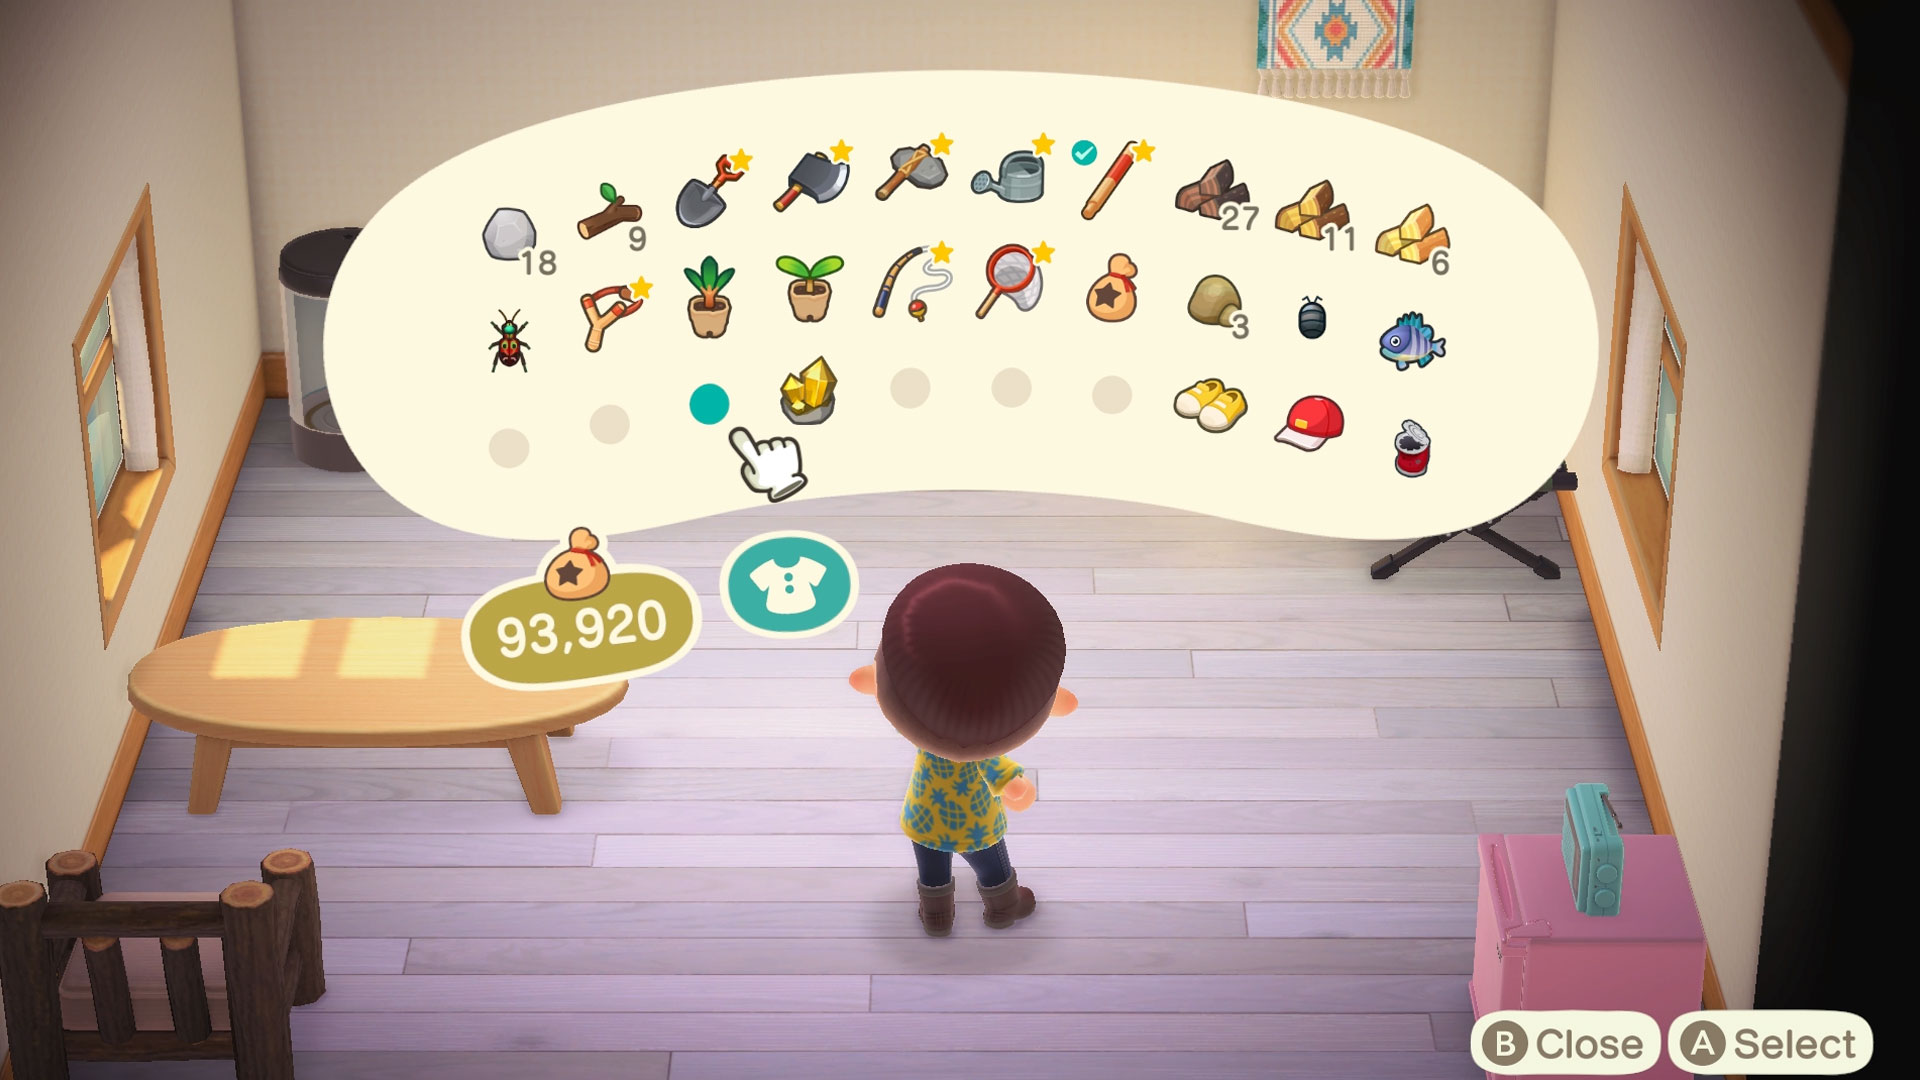
17. Aim to get the inventory upgrade ASAP using Nook Miles...
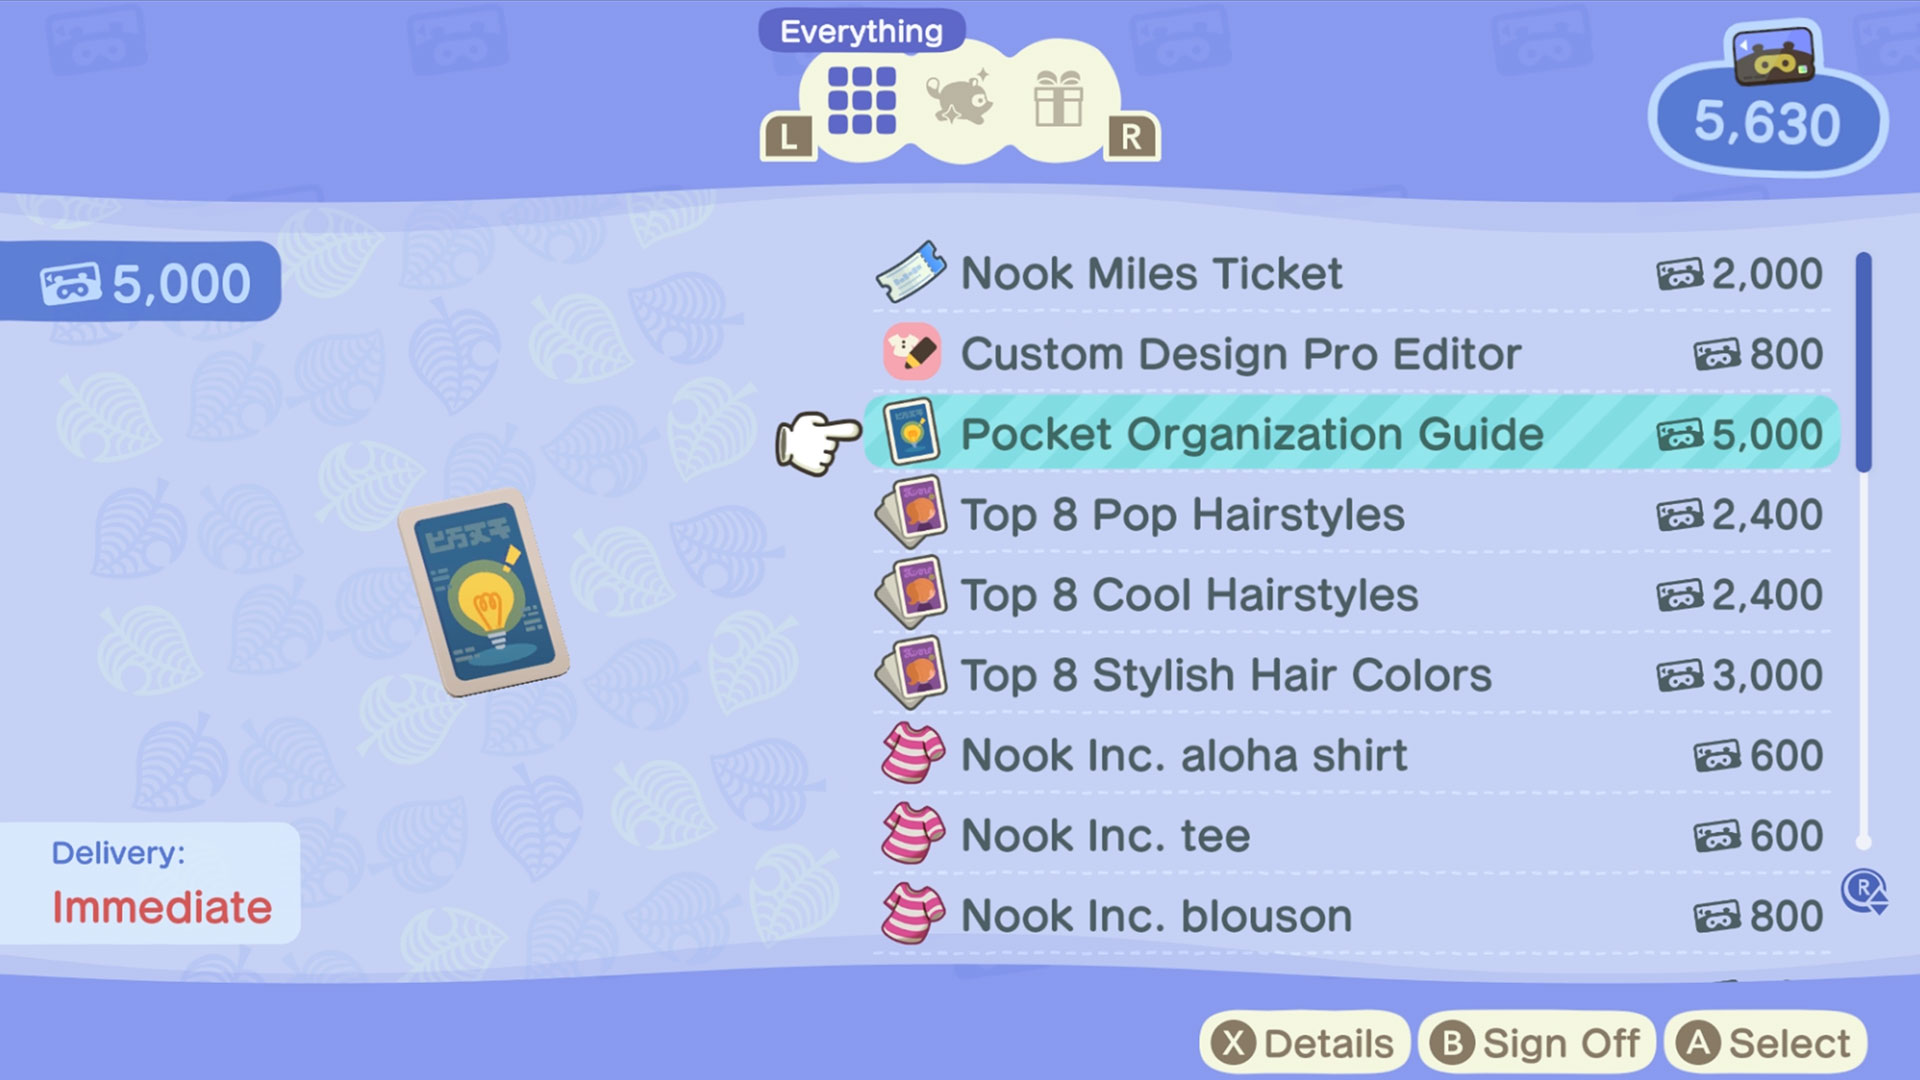
There are a lot of useful things you can exchange your Nook Miles for, but the one we suggest aiming for first is the inventory upgrade. Check the 'Redeem Nook Miles' section of the Nook Stop terminal in Residents' Services for something listed as the 'Pocket Organization Guide', which you can get for 5,000 Nook Miles. This will add another rung of inventory slots to your pocket capacity, which is a huge boon for everyday island life.
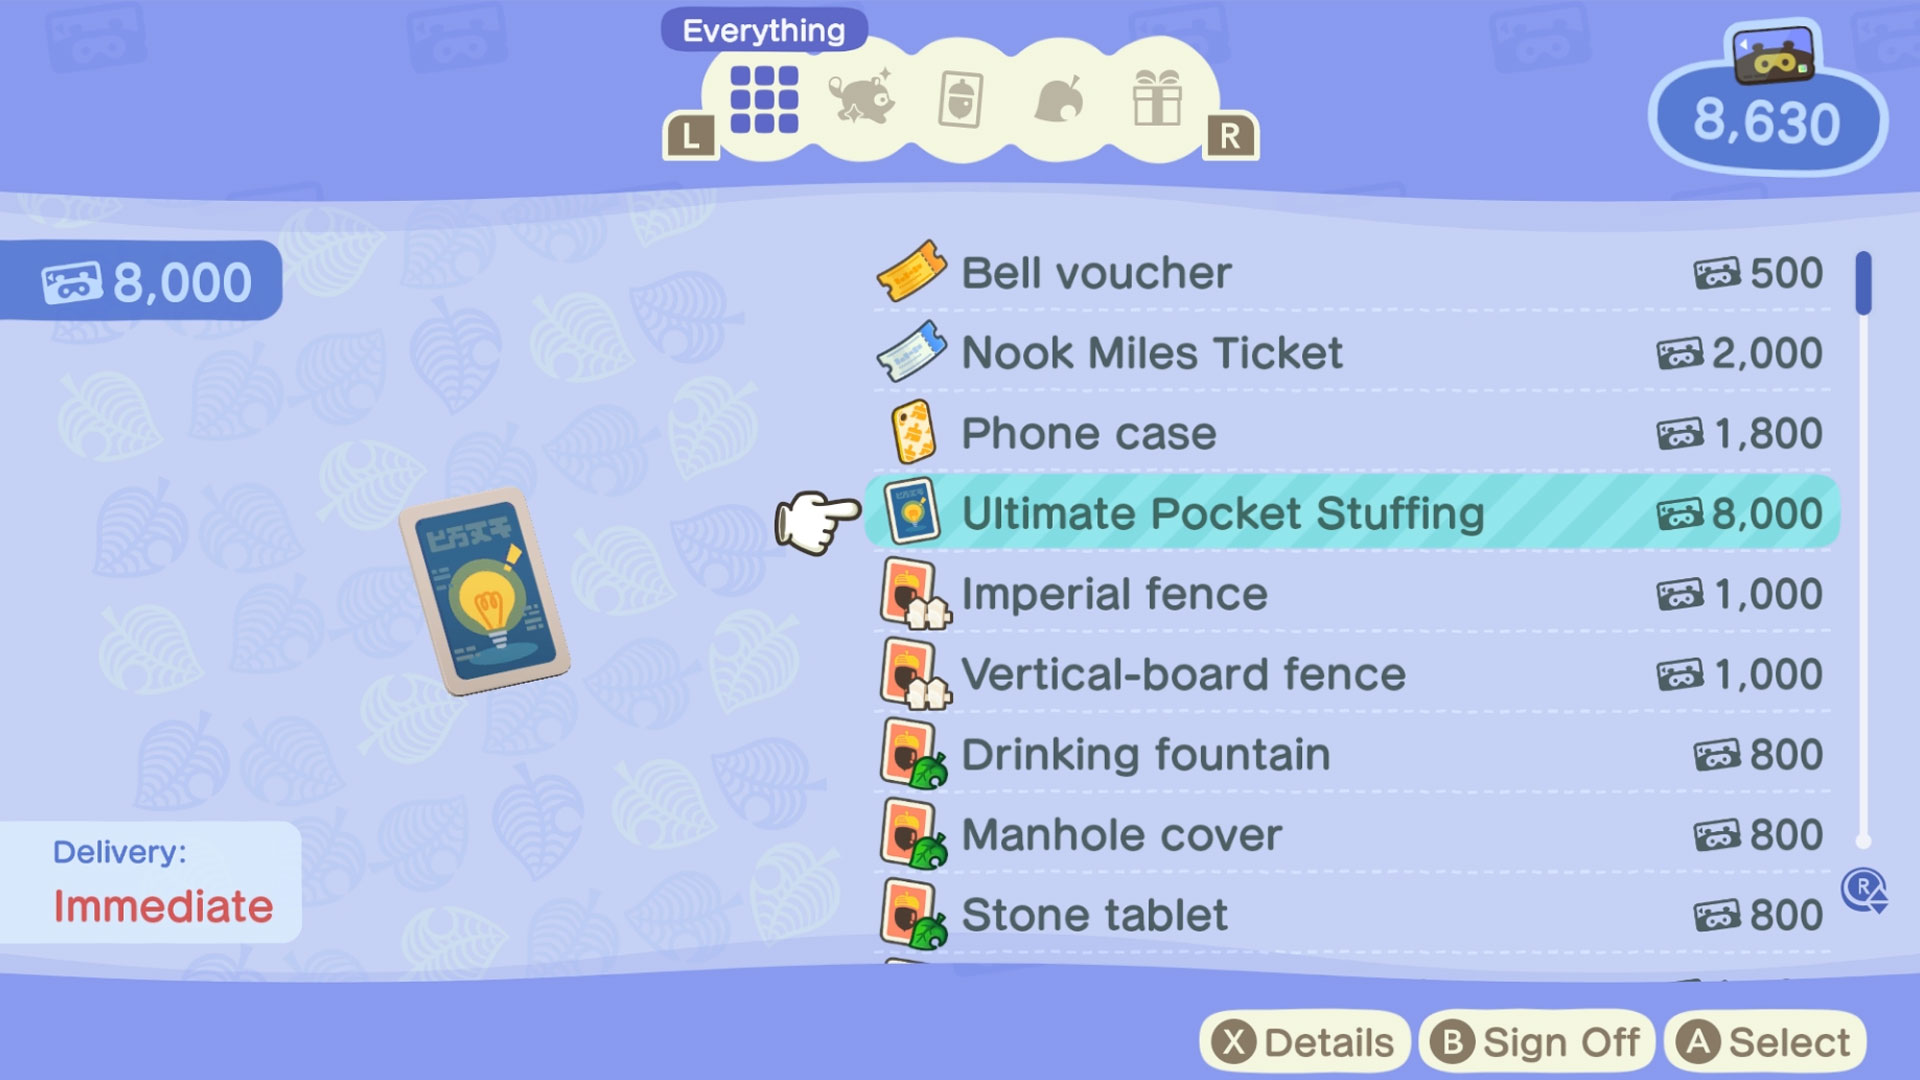
There's another upgrade available much later, called 'Ultimate Pocket Stuffing' for 8,000 Miles, which will upgrade your inventory slots to four rows.
18. ...and then the Tool Ring
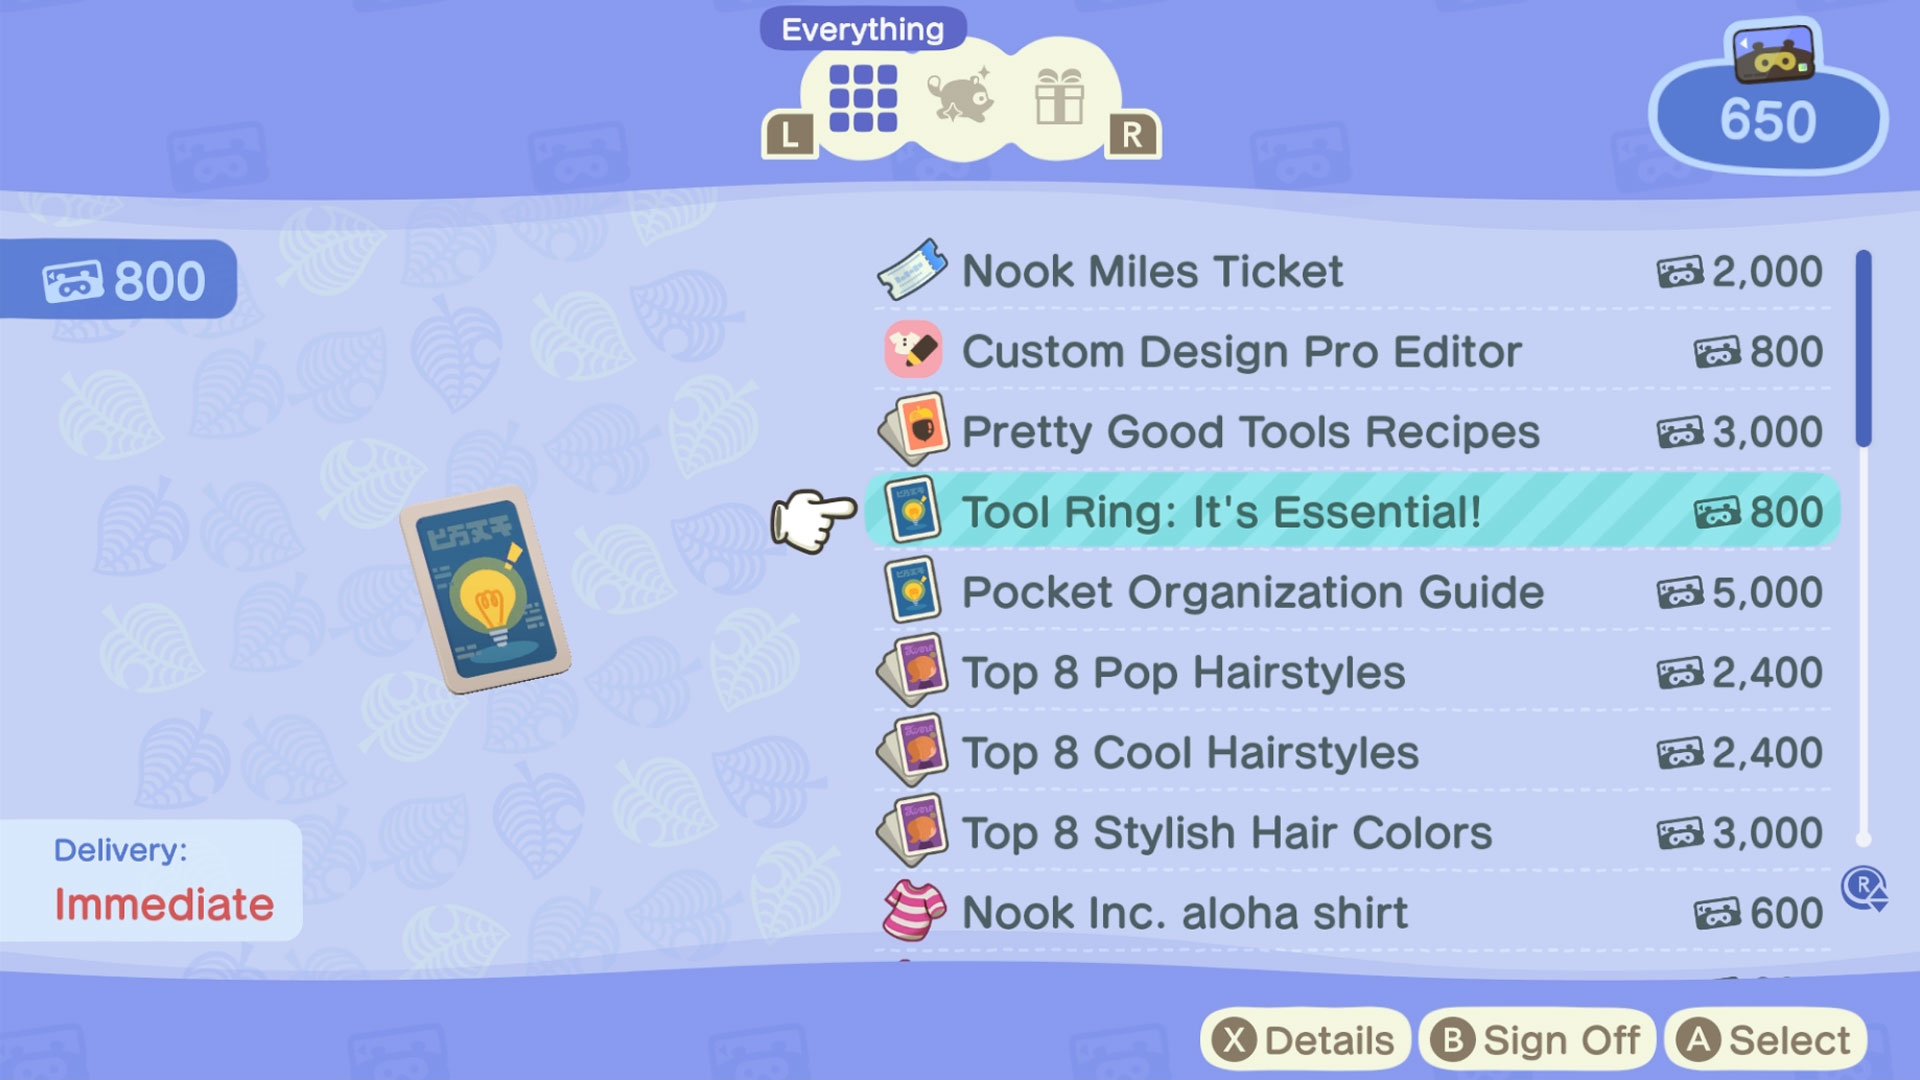
Another really useful Nook Mile Reward you should aim to unlock ASAP is the 'Tool Ring'. It might not sound like much on paper, but as the listing suggests 'It's Essential!'. Available for the rather reasonable price of 800 Miles, the Tool Ring adds a whole new feature to your game. Once you've bought it, you'll be able to hit up on the D-Pad to quickly access and switch between all your various tools. You can swap them in and out straight from your inventory too, meaning it's totally customisable. It's a lot easier than heading into your inventory every time, and quicker than cycling through your tools using left and right on the D-Pad.
19. Items bought from the Nook Stop will arrive the next day
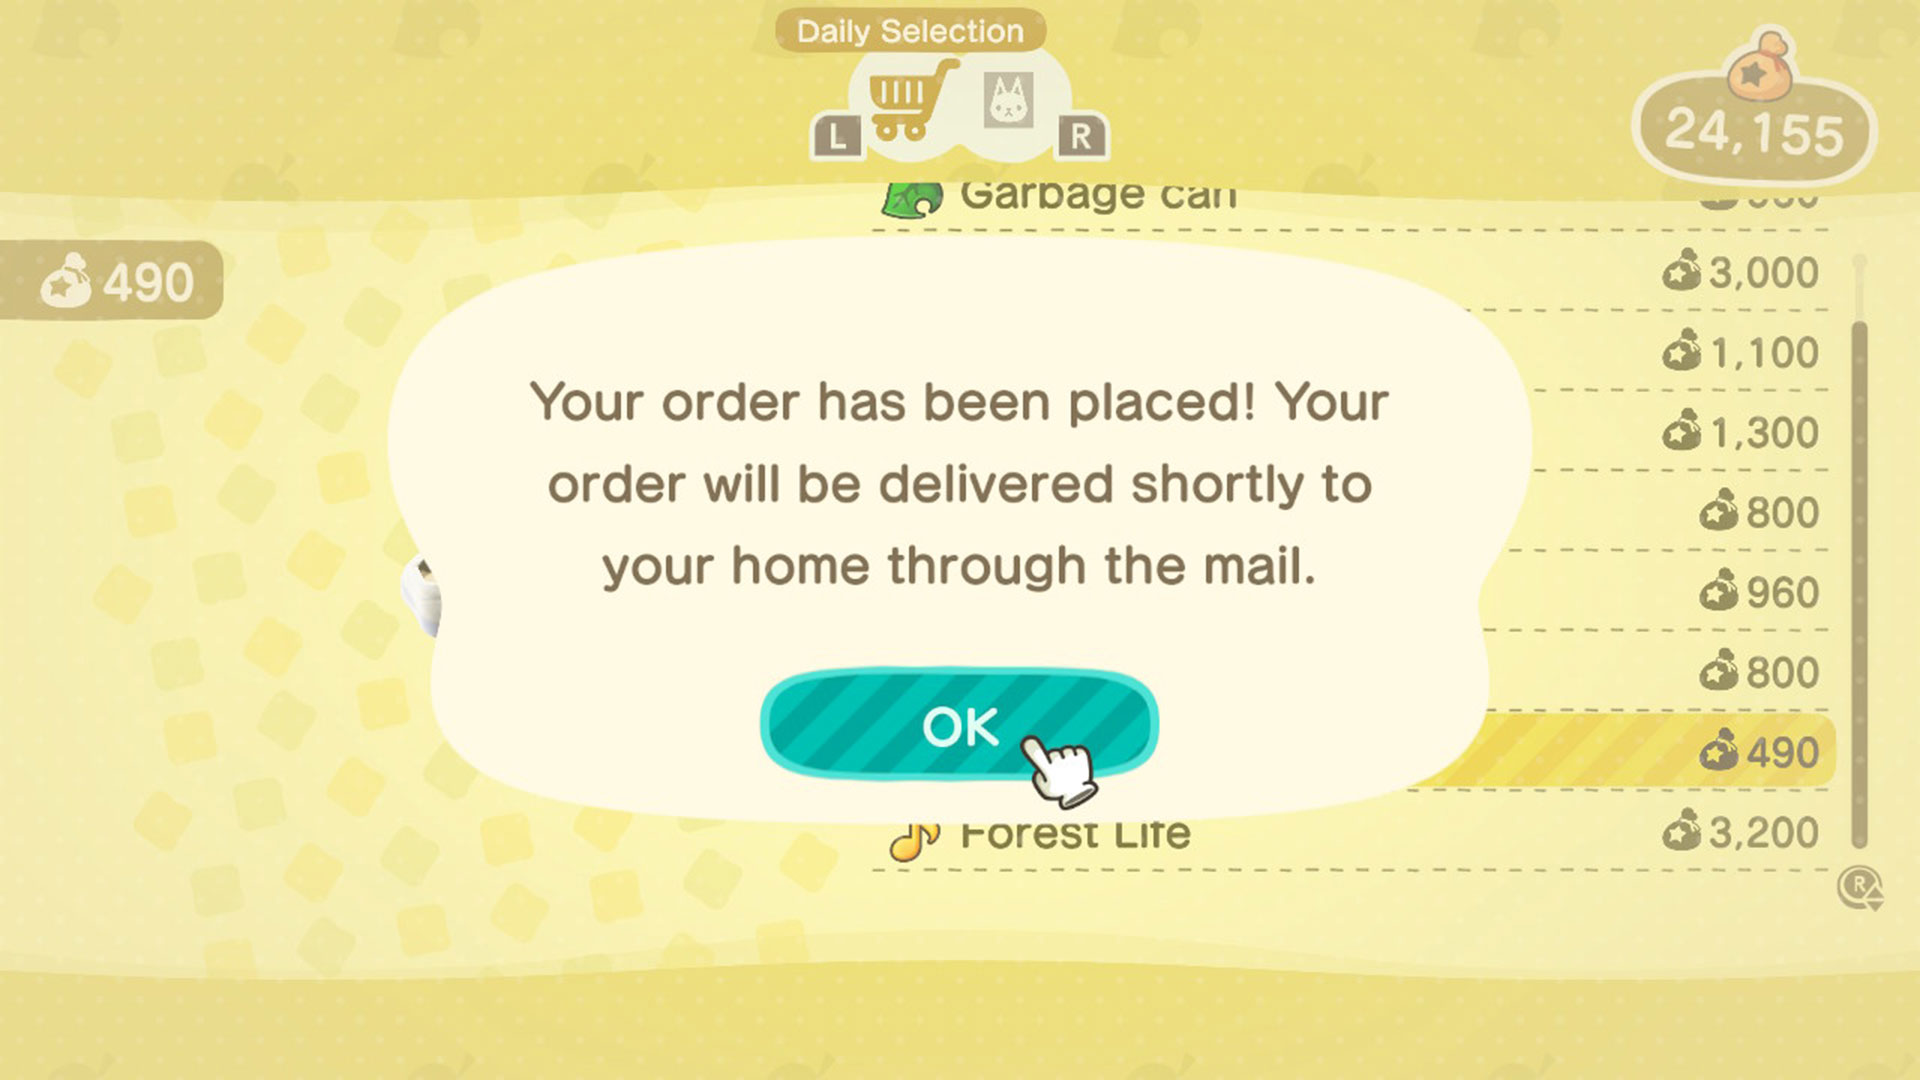
It can become quite an obsession buying items using your Nook Miles or through the Nook Shopping channel at the Nook Stop terminal, but be aware that anything you buy that's listed on Nook Shopping or as 'Delivery: Mail' in Nook Miles Rewards will arrive in your mailbox the next day. Yes, that means you'll have to wait until the next real-world day to get access to those cute new rain boots you bought. We're sad too.
20. Buy Mario pipes for fast travel
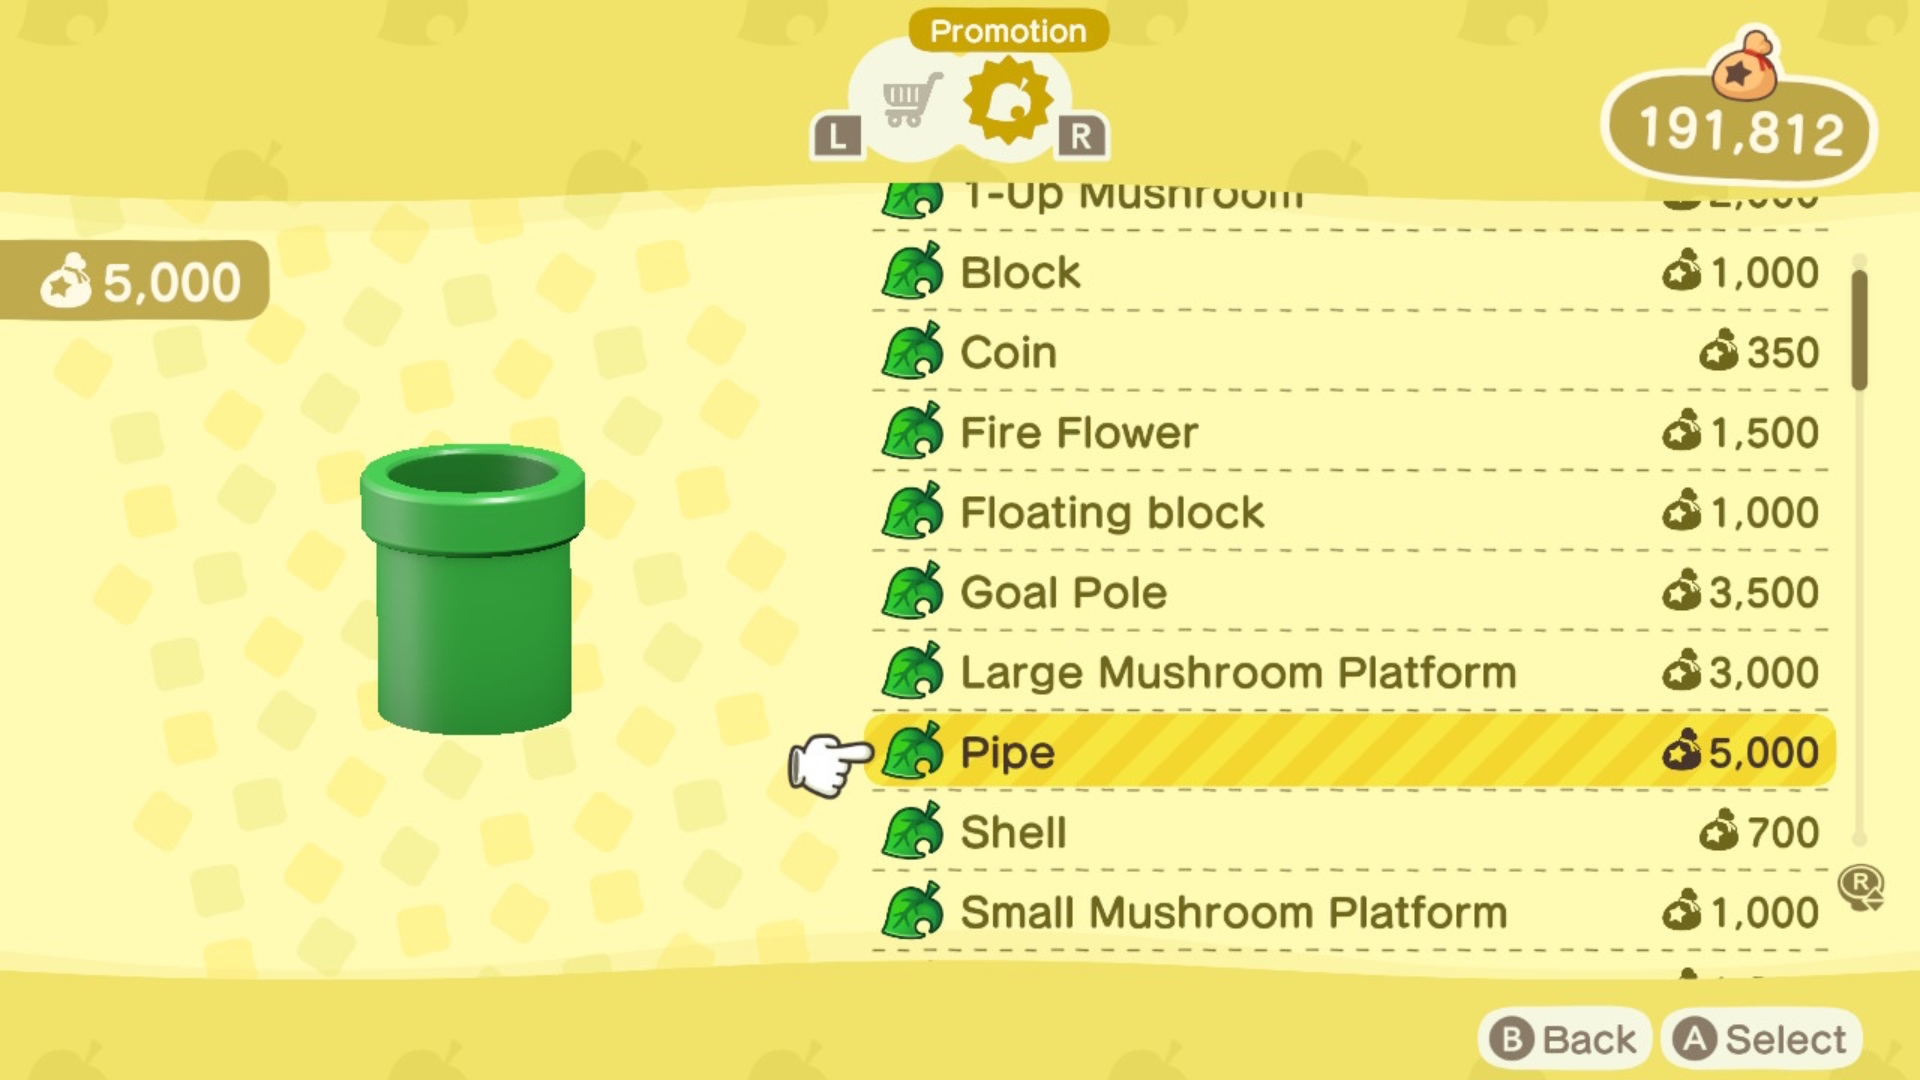
Whilst you're shopping at the Nook Stop, it's worth buying a couple of Mario pipes from the Special Goods section of the Nook Shopping app. Why? Well, you can place them in different parts of your island for fast travel. I personally have one in my home, so I can always return home from the other one when I need to, but it's totally up to you how you use them. They'll cost you 5,000 Nook Miles each though, so save up.
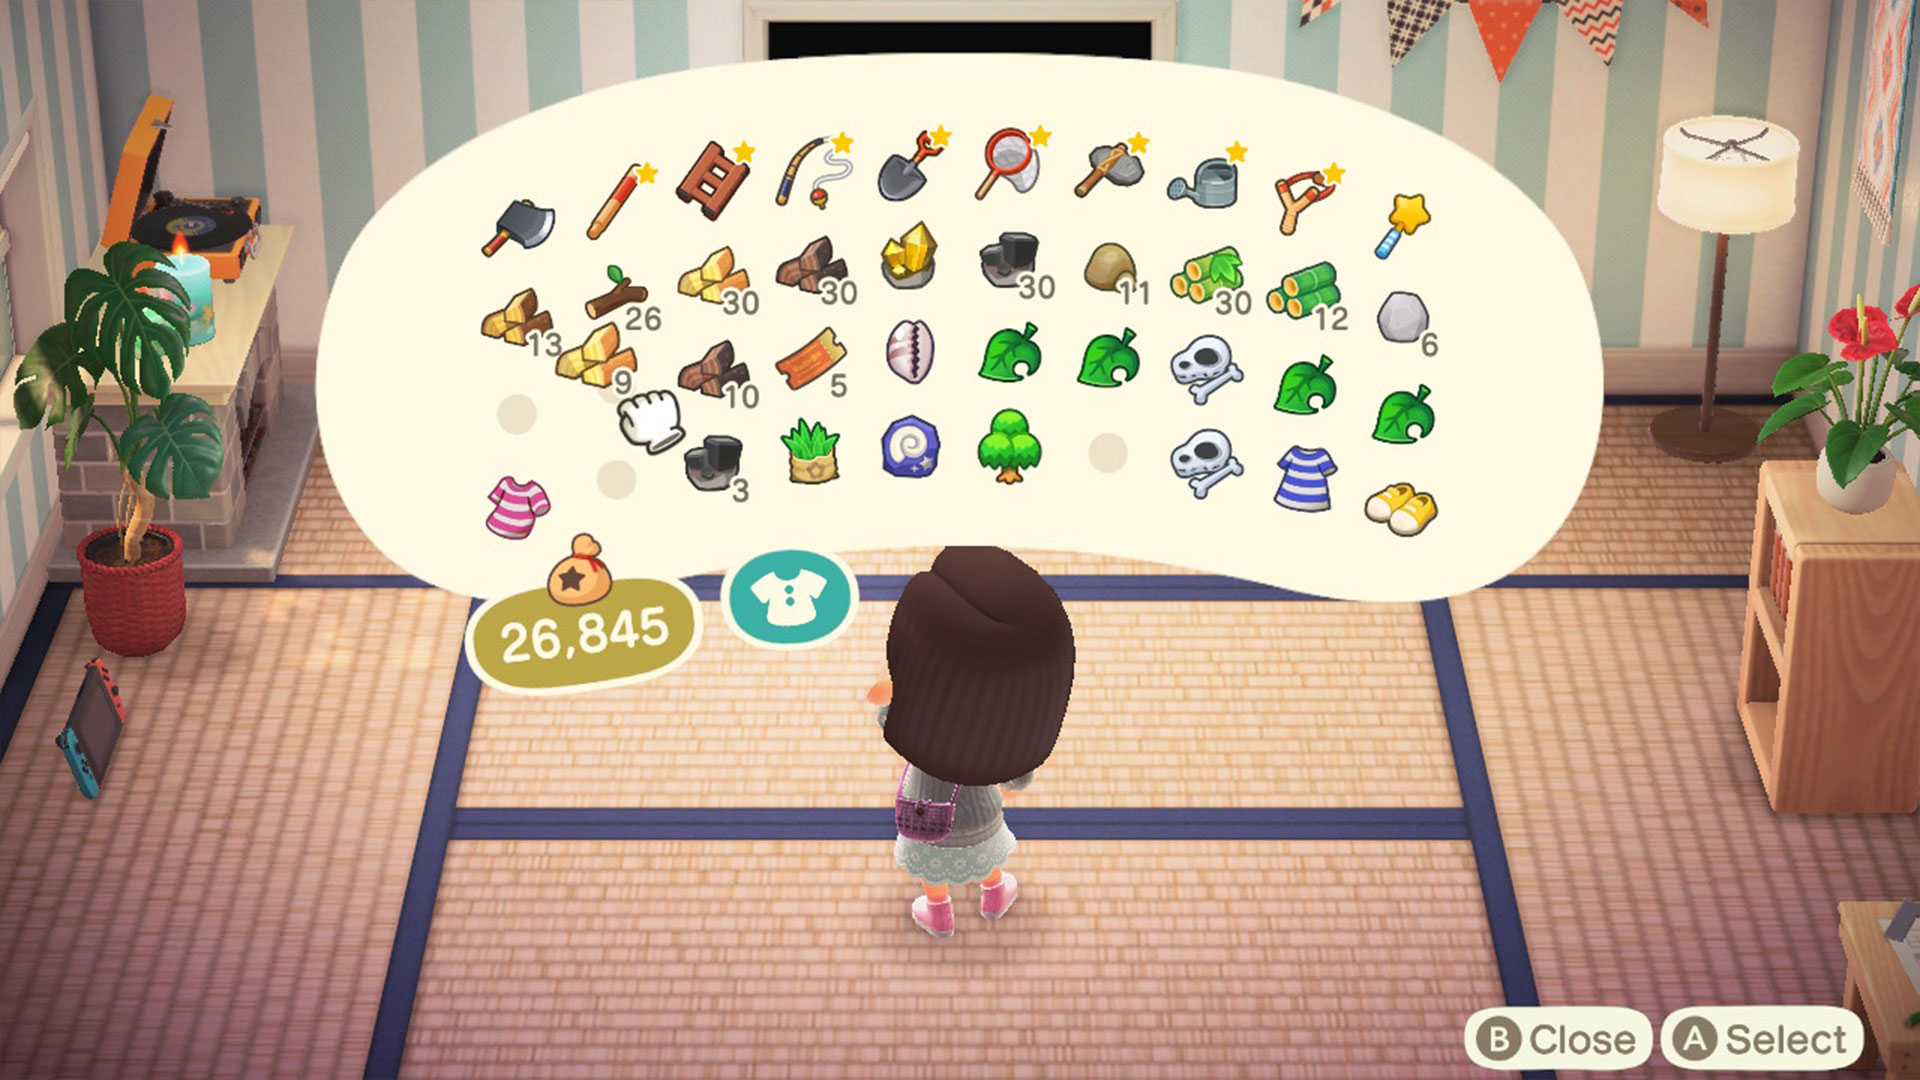
21. Everything stacks differently in your inventory
There's been a bit of an upgrade as to how your inventory works in Animal Crossing: New Horizons. Initially, we were elated to find that you can pick as many weeds as you like without them taking up individual inventory slots, but there's a catch - every item type stacks differently in your inventory so be aware of your space requirements:
- Stacks of 99: Weeds
- Stacks of 30: Wood, softwood, hardwood, stone, clay, iron Nuggets, bamboo, tree branches, pine cones, acorns
- Stacks of 10: Fruit, seeds, shells
- Stacks of 1: All furniture, fish, bugs, fossils, clams, recipe cards, tools, presents
22. You only need to eat one piece of fruit to get its effects
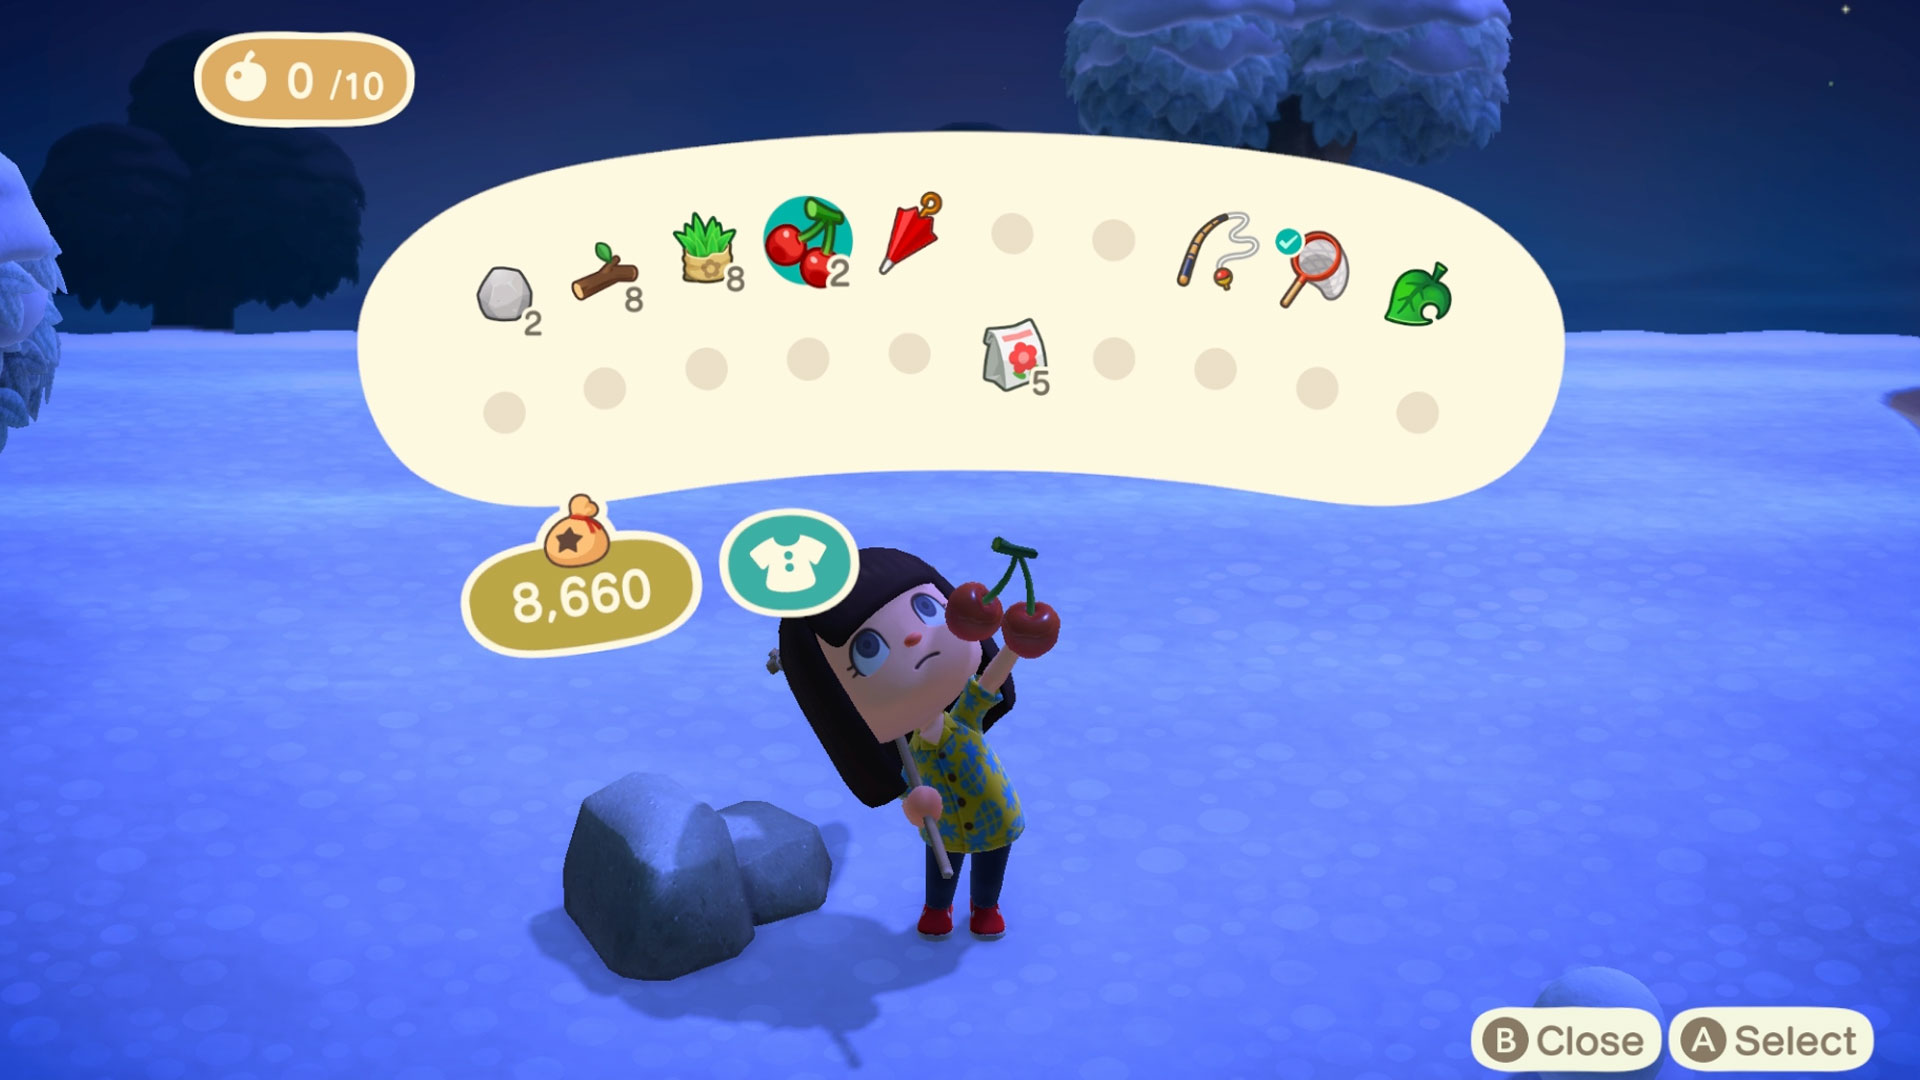
You can eat the various fruits that you'll find in and around your island, and doing so will give you magical powers. Well, not exactly, but it will make you more powerful. Using your shovel while hopped up on fruit, for example, will mean you can uproot entire trees and relocate them without damaging them. Using your shovel on a rock while under the influence of fruit will cause the rock to completely smash - handy for getting the last resources out of a rock on a deserted island, less so on your own island where you want the resources to replenish every day.
So be aware, that while you can eat up to 10 pieces of fruit in a row, you only need one piece of fruit in your system for every one super-powered action you want to achieve. Eating too much fruit may mean you ruin elements of your island without meaning to, and it takes a while for the effects of any consumed fruit to wear off. Thankfully, you'll see the X/10 fruit counter drop as the effects wear off, and it'll disappear entirely from the top left of the screen when you're completely free of side effects.
23. Hold down A on an item to move it around in your inventory
There's no way of organising your pocket inventory with the push of a button, but if you hold down on A on individual items you can move them around and tidy things up a bit.
24. You can tell what you have or haven't donated to Blathers at the museum
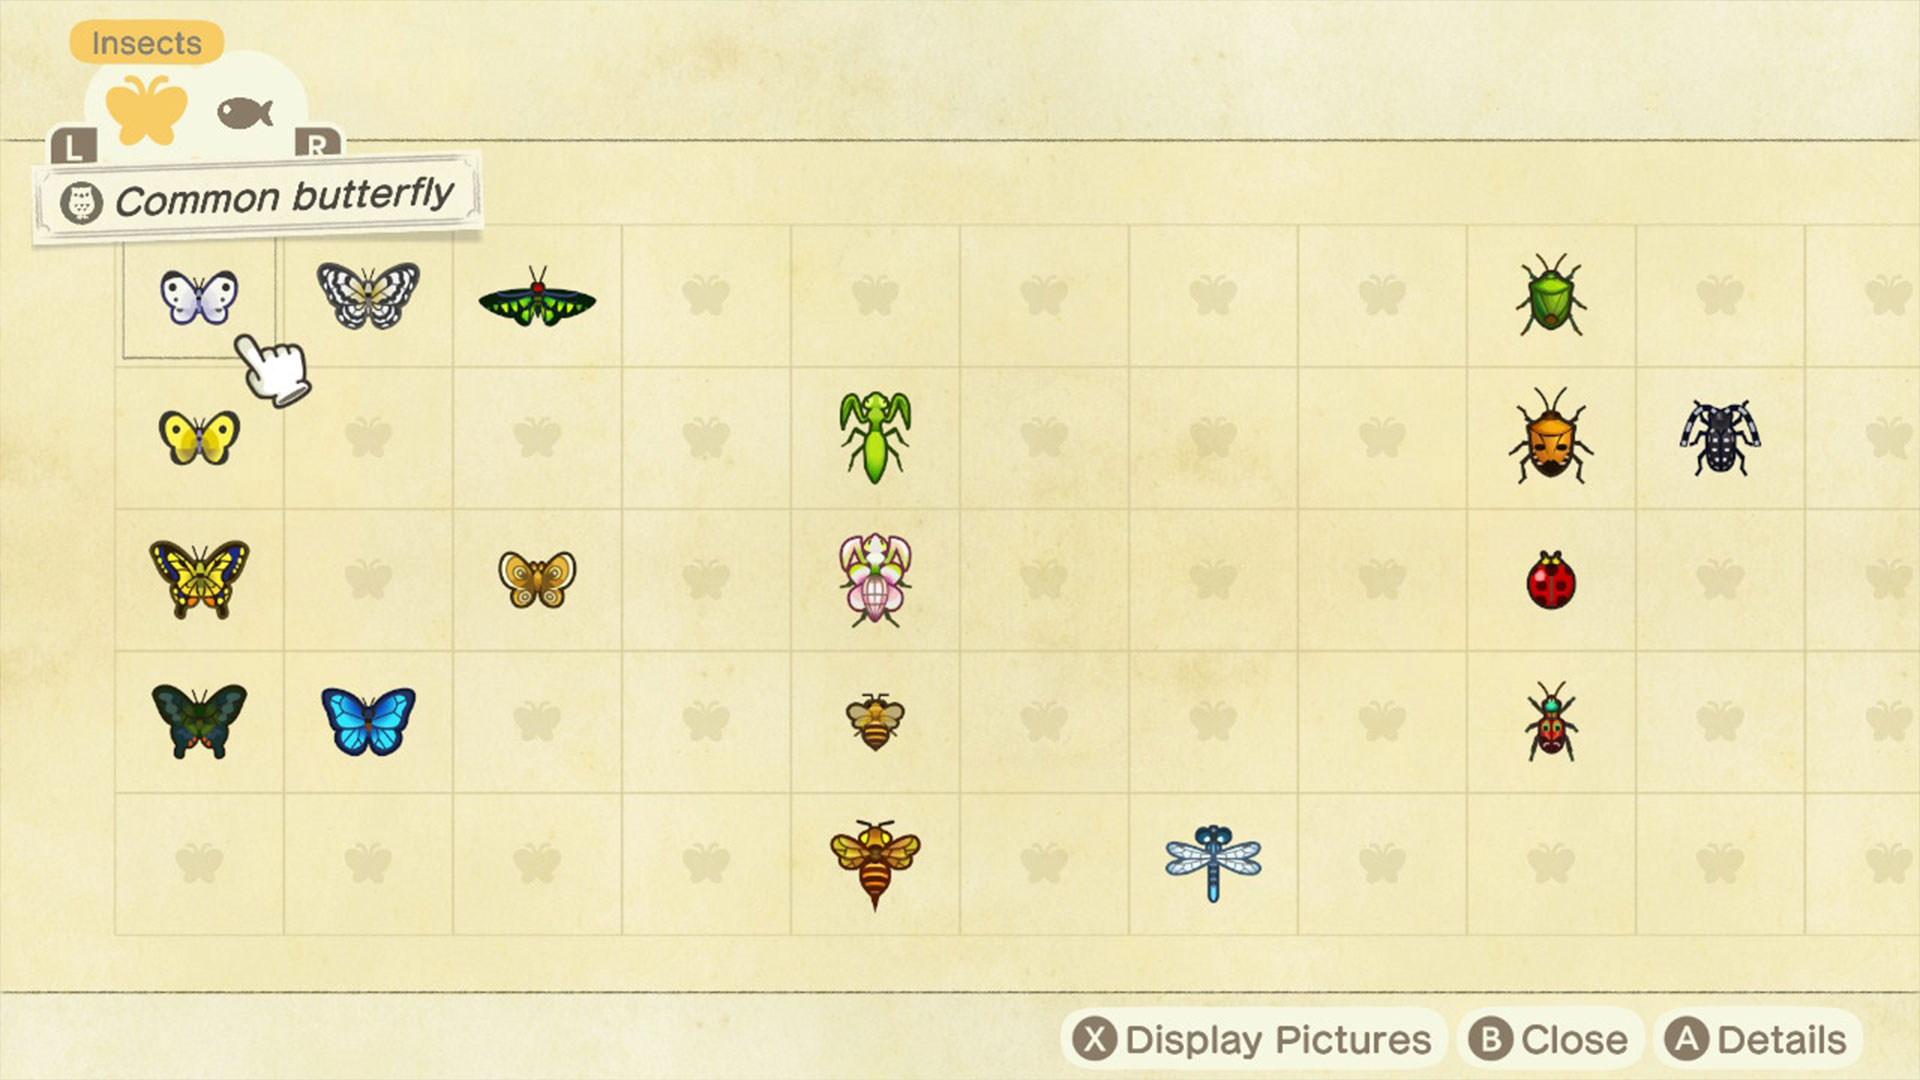
If, like us, you're a little obsessed with making the museum as full and beautiful as it can be, you'll want to keep track of all the bugs and fish you've donated to Blathers. Well, there's an easy way to tell. Go into your Critterpedia app on your Nook Phone and thumb through the entries you've got in there. Anything with a little owl icon by its name is something that you've donated to Blathers, so you can easily see if there are any you've accidentally traded in for Bells rather than take straight to our old feathery pal.
25. You can catch the island predators - if you're quick

The bugs you can donate to Blathers also includes the range of aggressive critters that now patrol your island. Previously, we only had to worry about wasp nests falling out of trees, which would then send a hive of angry stingers after us. But now we have to worry about bees, tarantulas, and scorpions roaming the island ready to attack us. Wasps will still sting you if you can, making your face quickly resemble a swollen pincushion, but if you're attacked by a scorpion or spider, you'll faint and wake up outside your home - said critter still roaming around somewhere waiting to pounce.
But, it is possible to catch them and negate any bad things happening to you. Our advice is 1) run away for a bit to get some distance, 2) whip out your net, and, 3) when you feel confident enough, spin round and bash your net down on the pesky predator. Hopefully, that'll net you some new creepie crawly to give to Blathers or sell for precious Bells.
26. Look out for island regulars and in-game events
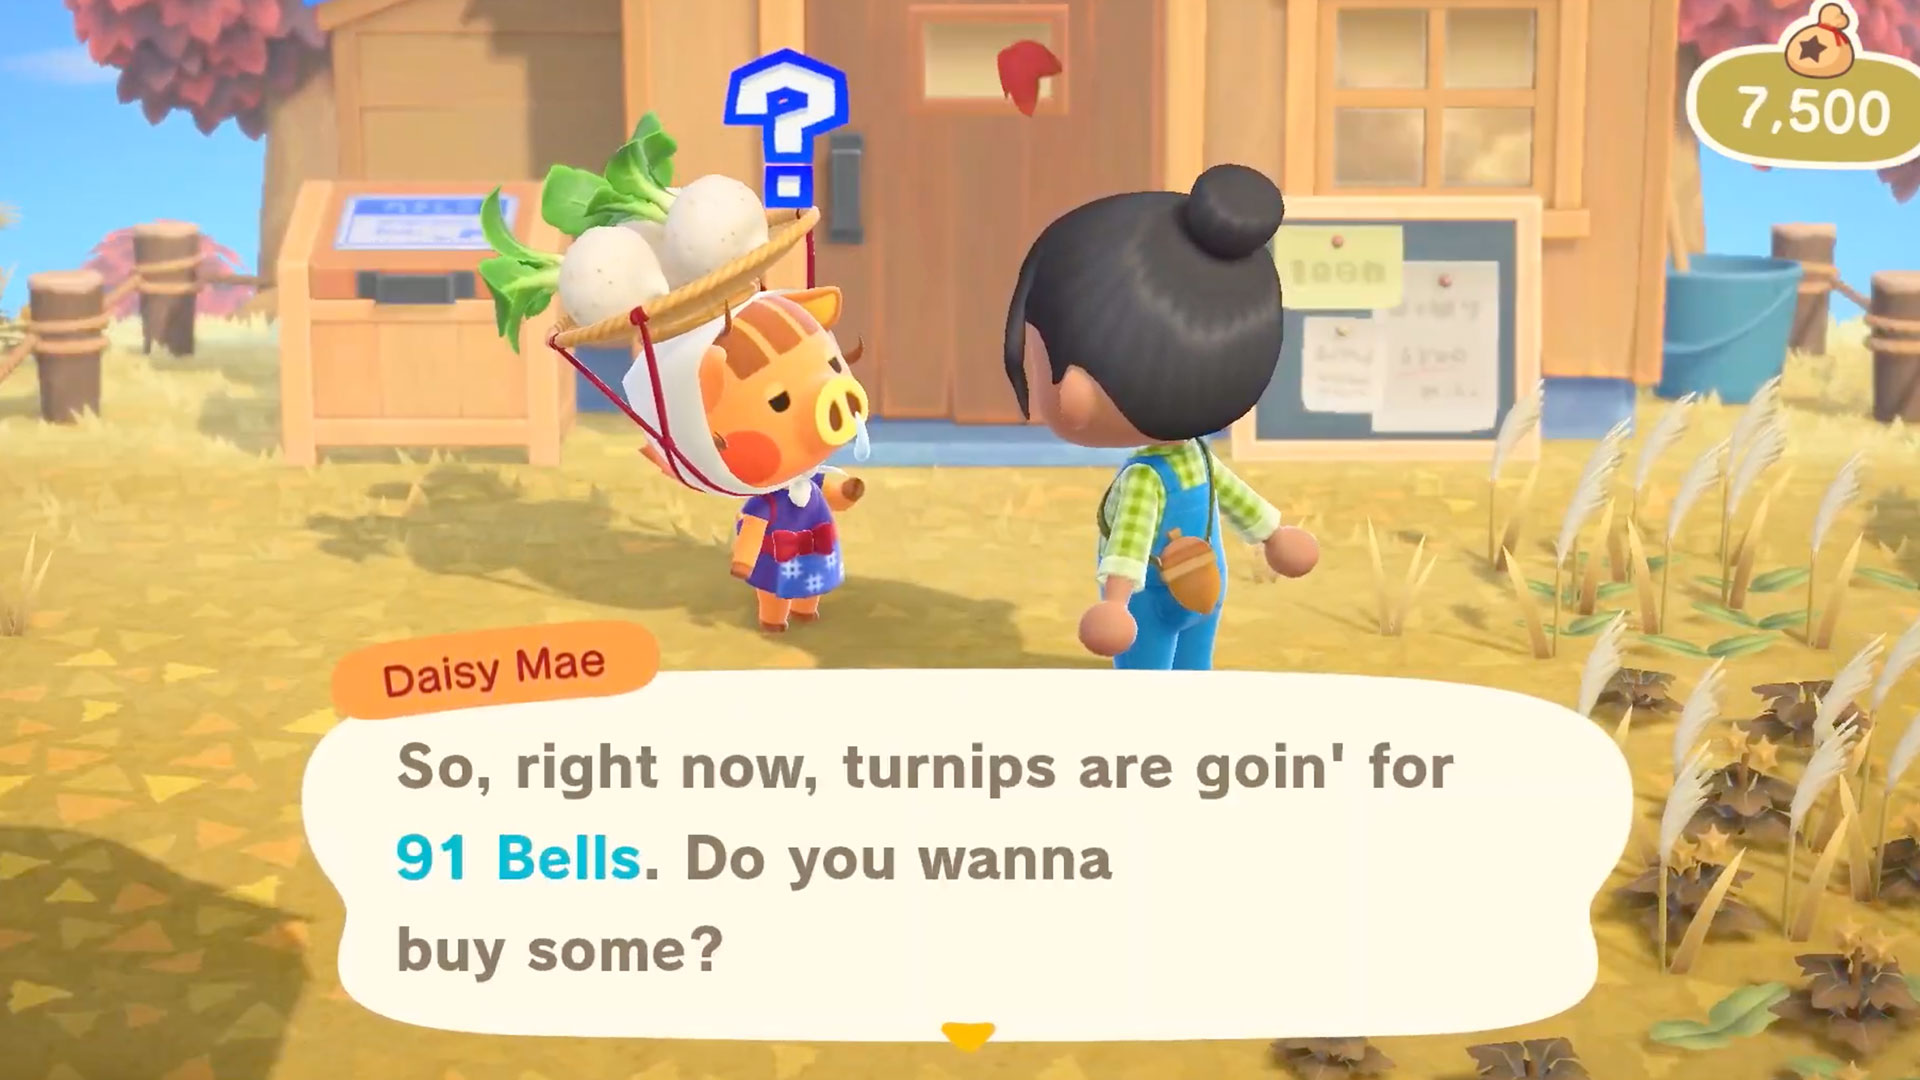
As you get used to the rhythms of living on a deserted island, and the real world days roll on, you'll start to notice that there are regulars that come to your island who are worth looking out for. Sahara the camel, for example, comes to the island every Monday to sell you rugs of differing sizes, along with mysterious wall and floor coverings. Then there's Daisy Mae who'll turn up between 10 and 12 on a Sunday morning to sell you turnips, which effectively act as Animal Crossing's stock market, as the Nook nephews buy back turnips for a differing price per day. There's also the fish collector CJ who's obsessed with getting views on his ‘seasports’ channel (we see what you did there Nintendo), and Flic, who will collect all the bugs you bring him. And don't forget about castaways and ghosts too! There's a whole raft of faces you'll start seeing regularly on your island, so be aware of what's happening.
27. Sell items you've made rather than materials
Instead of selling materials that you have, use the DIY recipes to craft them into items that'll get you a lot more bells when you sell them. And fortunately, selling them is super easy. All you have to do is visit Nook's Cranny and sell them to Timmy and Tommy. Even better? Ask them what are the hot items are for the day and craft those to sell for even more.
28. Beware the drop box at Nook's Cranny
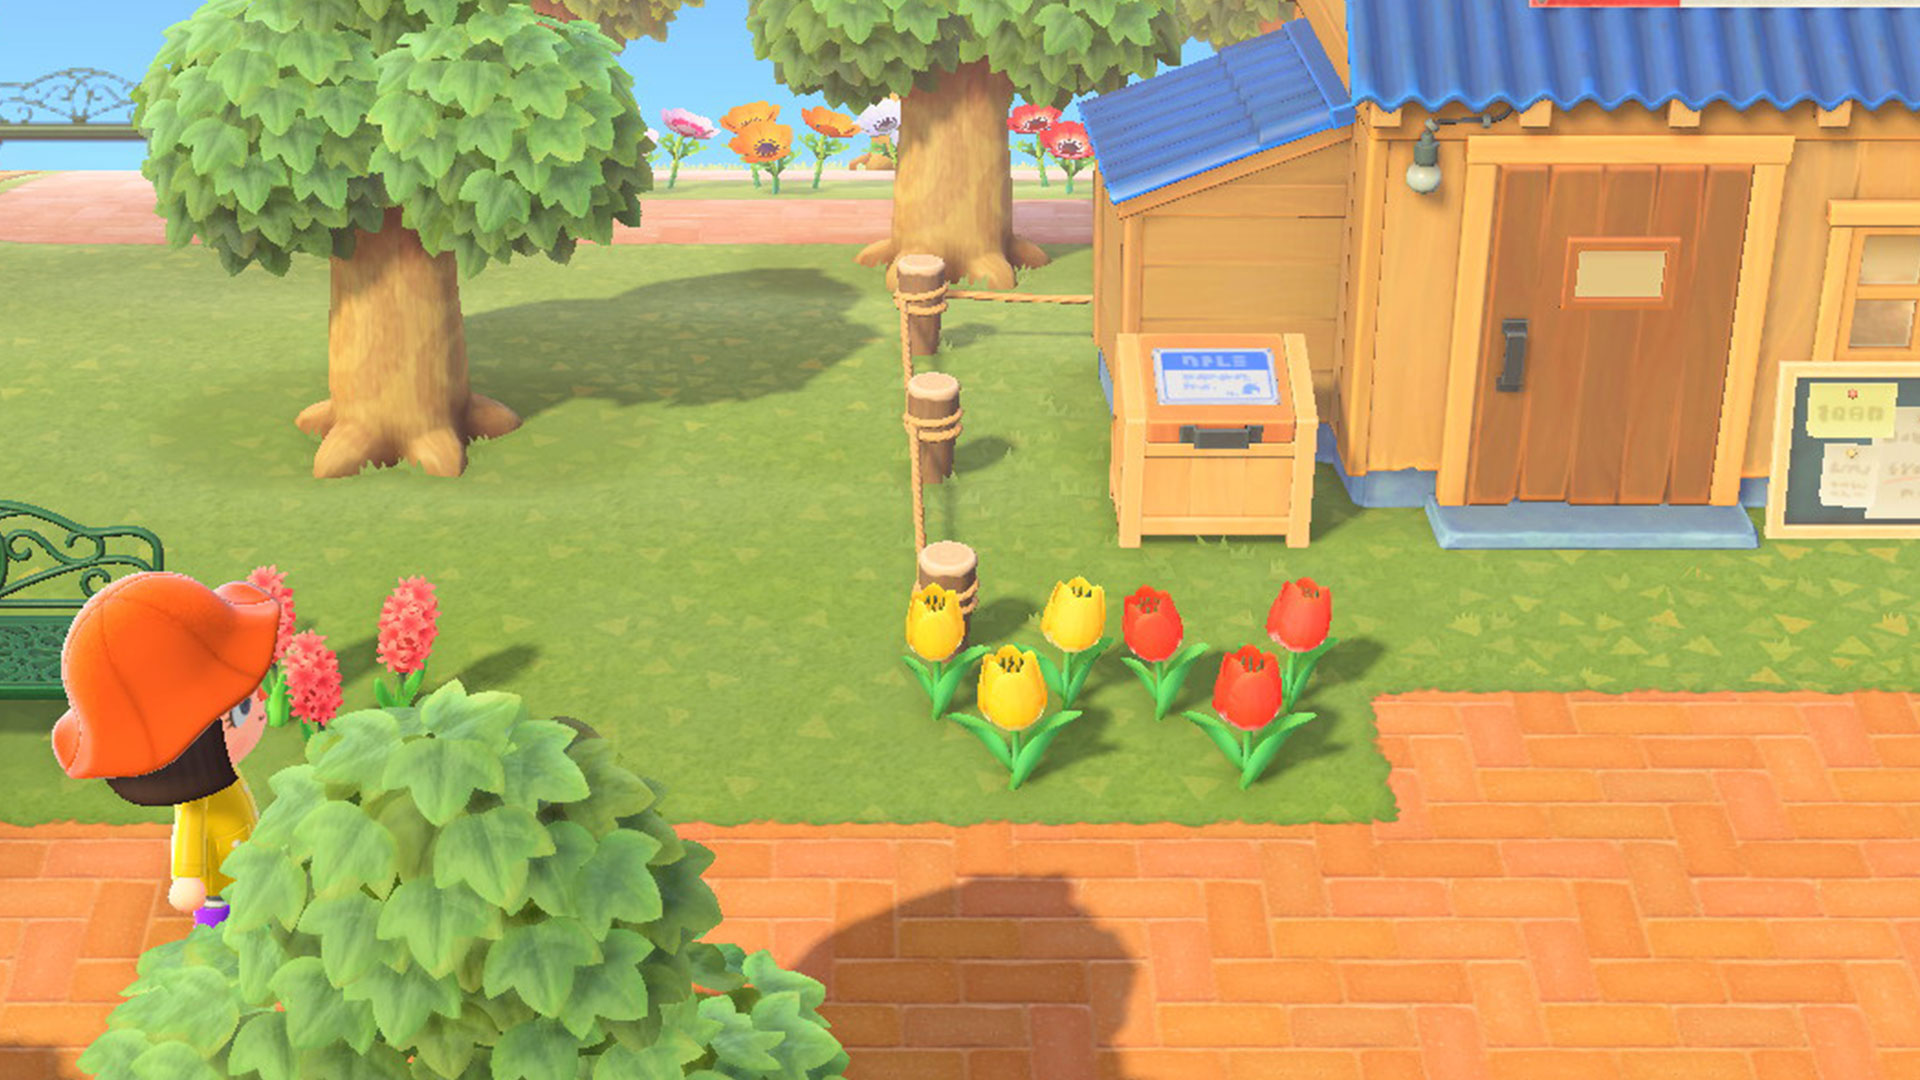
Outside of the Nook's Cranny opening hours, it's possible to sell items through the shop's drop box. This little wooden box is situated just outside the shop's door, and using it to sell stuff is as easy as chucking it in and watching the Bells wrack up. But, it's worth noting a few downsides to using the box. Firstly, you only earn 80% of the item's full price when selling through the box, and secondly, you won't get the profits until the next day, at which point it'll be transferred to your bank account accessible via the ABD at the Nook Stop in Resident Services.
29. The pace of island life means taking your time and following the seasons

Part of acclimatising to island life in Animal Crossing: New Horizons is that the pace of life is slower than other sim games - especially if you're used to the much more frantic pace of something like Stardew Valley. Things take time to happen in Animal Crossing, and your island is bound by the rules of the real world much more than you'd expect. Building anything usually takes around 24 hours, if not longer. Bamboo will only grow in Spring. Coconut trees only take root on the beach. Fish and bugs will change according to region, time of day, and weather. All of these things, and many, many more, are all part of the rules of island living. Just be aware that this is not a game you can rush through.
30. Take lots of screenshots
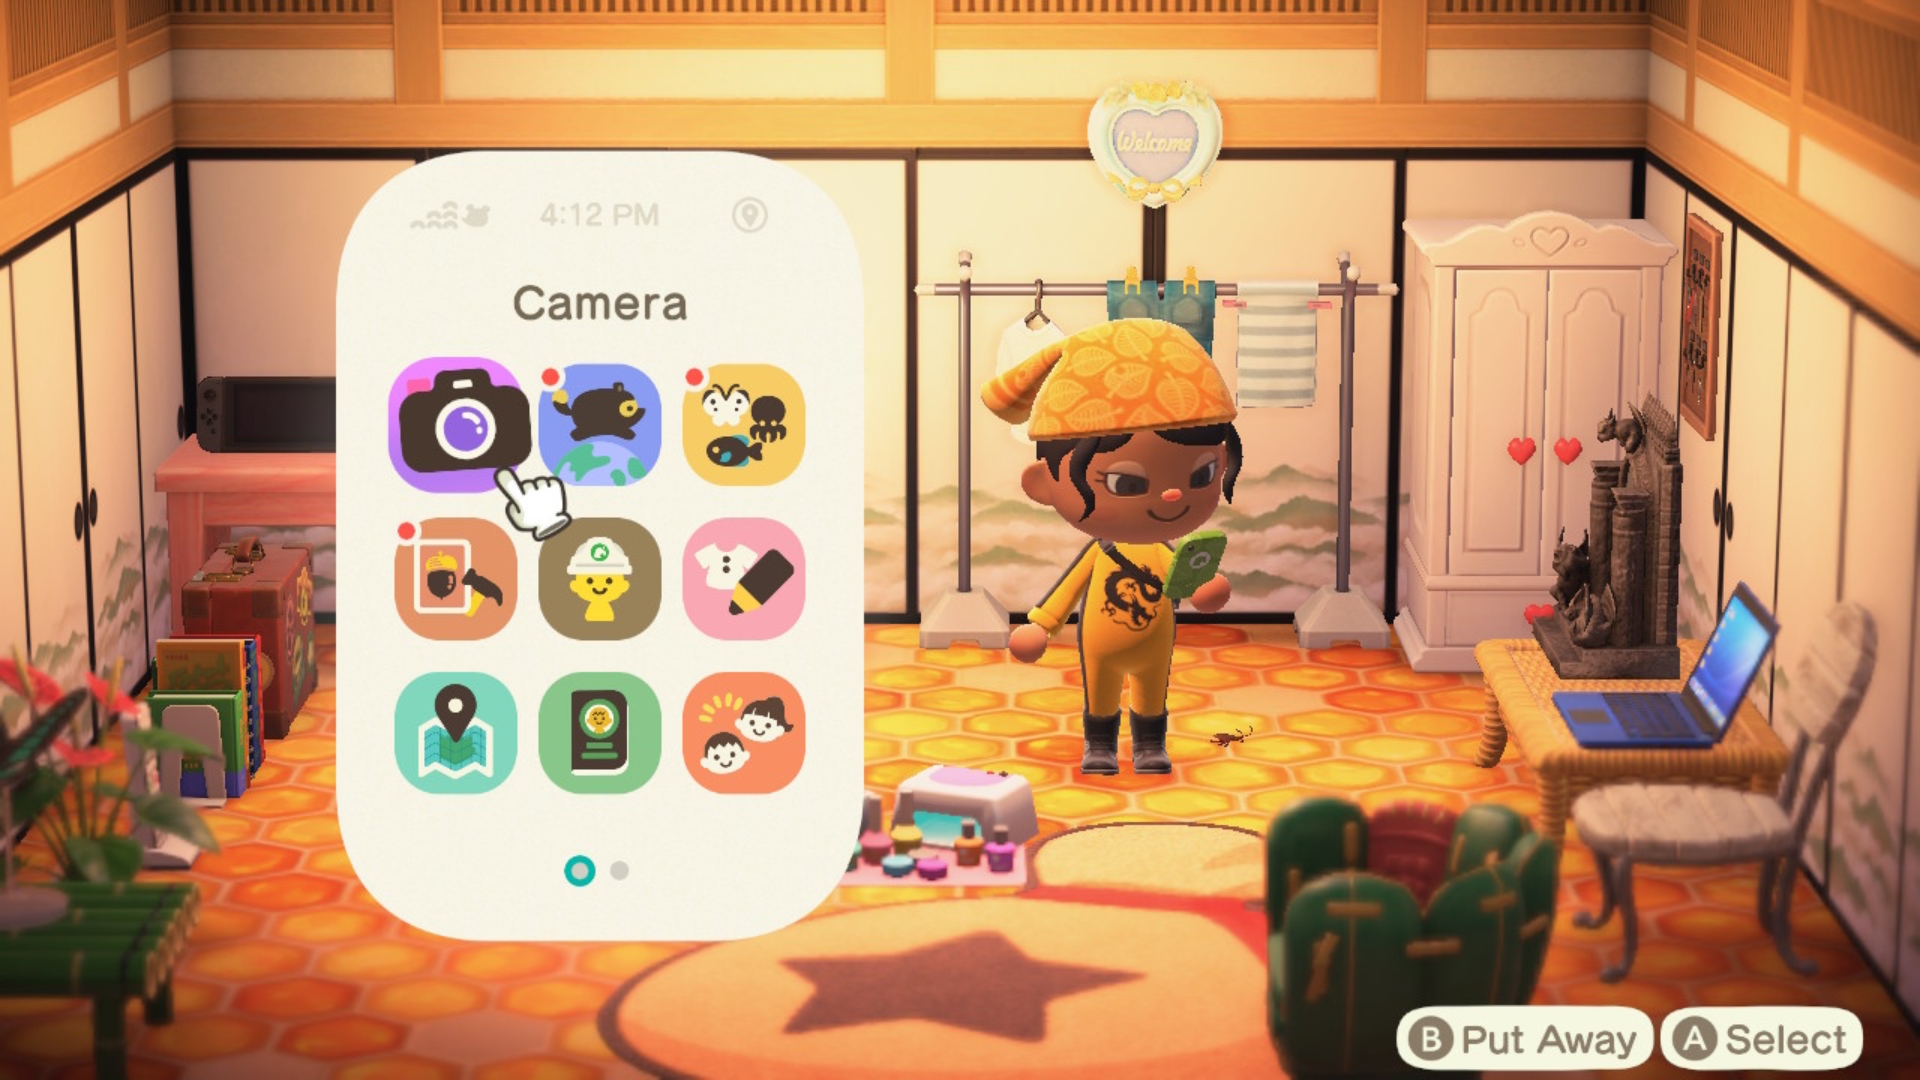
When you've put so many hours into Animal Crossing: New Horizons, it's quite nice to take a trip down memory lane and see how far you've come. So, you should take lots of screenshots along the way. To do this, you can either access the Camera app on your NookPhone to take advantage of zoom and effects, or with the capture button on your Switch next to the left analog. Consider if your island photo album.