Are you getting excited about setting foot in that first layer of crunchy frost this winter? Dreaming about floating across deep powder in your snowshoes while your breath plumes in clouds? Stop right there. Winter hiking is the best, we agree, but before you head out onto a frosty trail, you’re going to want to perform a few vital winter gear checks to make sure your kit is in top condition.
There are some items like your base layer and water bottle that you might use year-round, and therefore you already know if they’re in good condition or not. But then there are other items that either get packed away for the summer altogether, or sit at the bottom of your backpack in case of an emergency that fortunately hasn’t come, and these items need a quick once over before you head out into sub zero conditions in them.
In this article, we guide you through three simple but essential gear checks to perform before any wintery hiking adventure begins. None of these checks takes up a lot of time, but they could save your life if things go off-piste in the mountains.

1. Charge your batteries
There are a few really vital pieces of battery-powered safety gear that you want to make sure are juiced up in winter when you’re far more likely to use them, starting with your headlamp, which could easily see more action now the days are shorter. Make sure to check it and charge it up if it’s rechargeable, or carry a spare set of batteries.
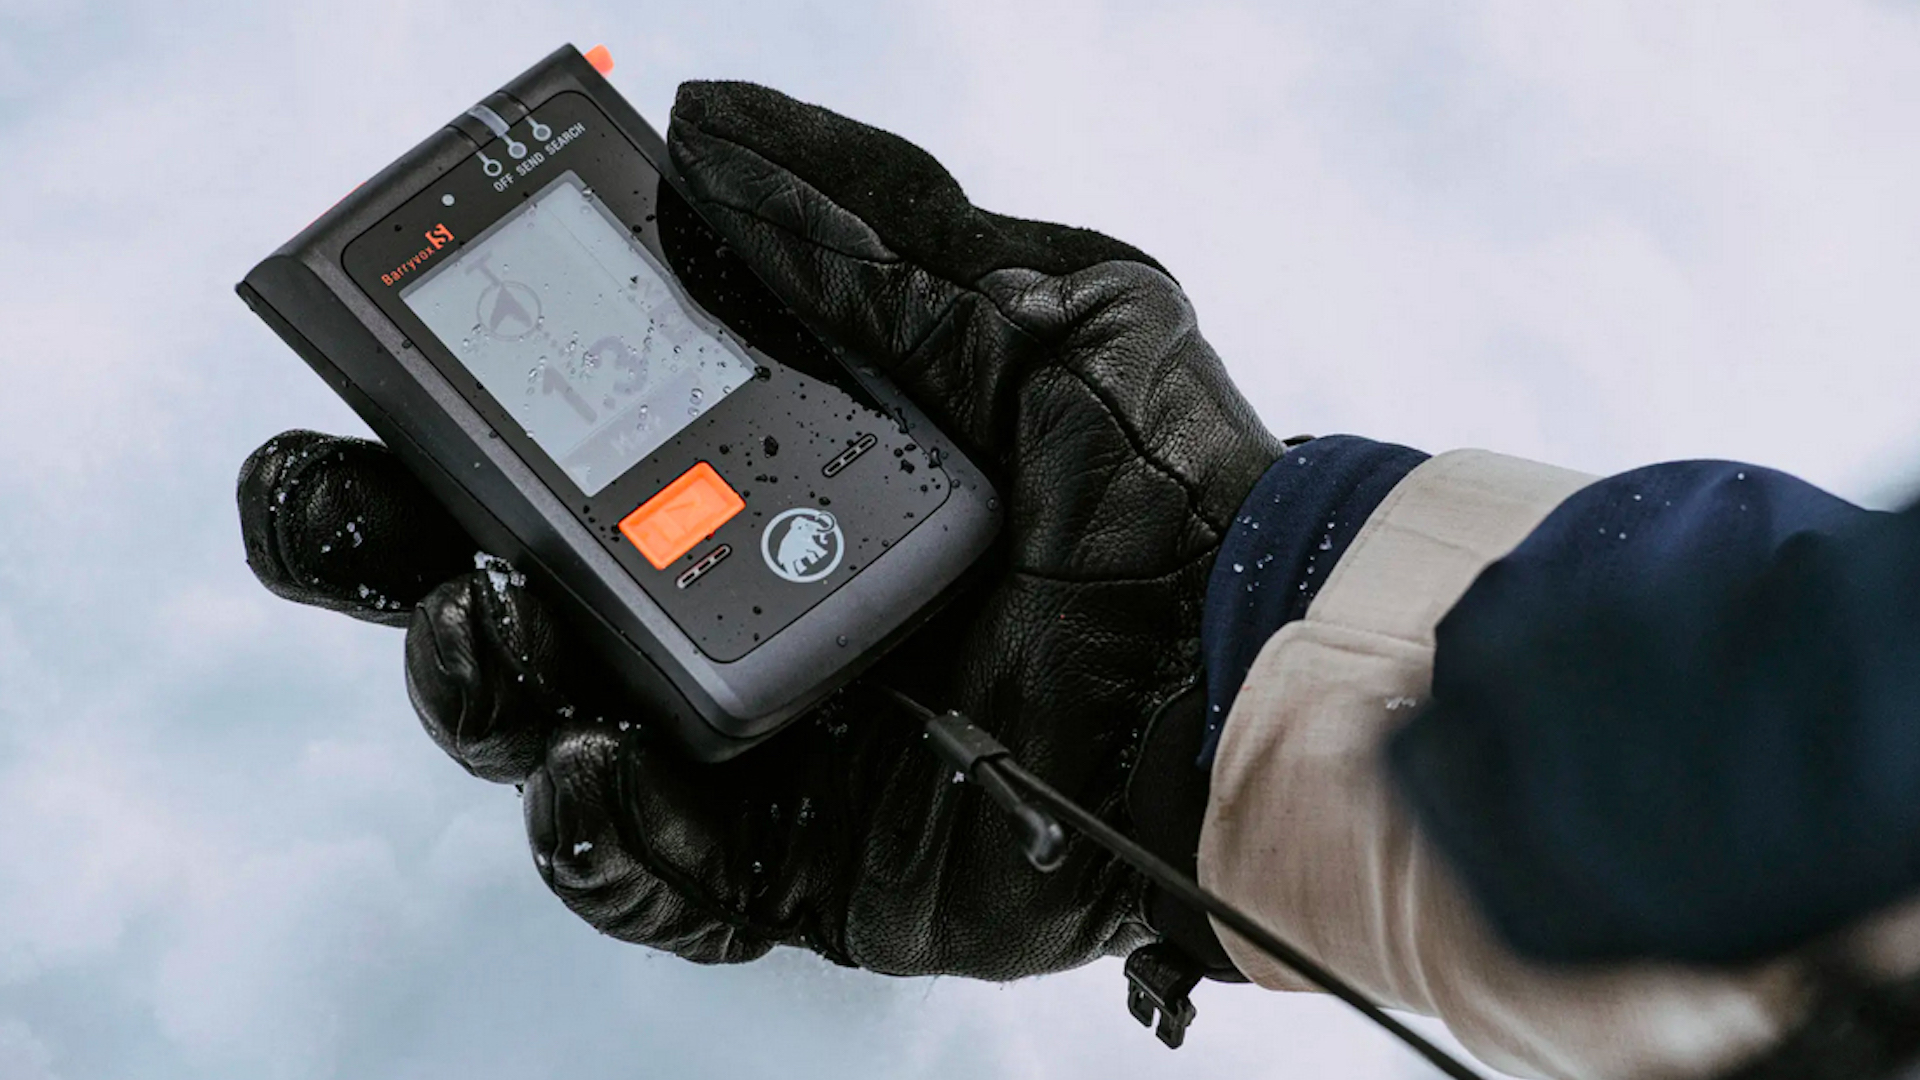
If you’re venturing out into the snowy backcountry, you should carry an avalanche beacon and because these typically boast hundreds of hours of battery life, it can be easy to forget to charge them. Charge yours up before your first adventure and make it a standing appointment to charge it – and your emergency beacon or satellite communicator – once a month on a scheduled date you’ll remember, like the first or last day of the month.

2. Tune up your traction devices
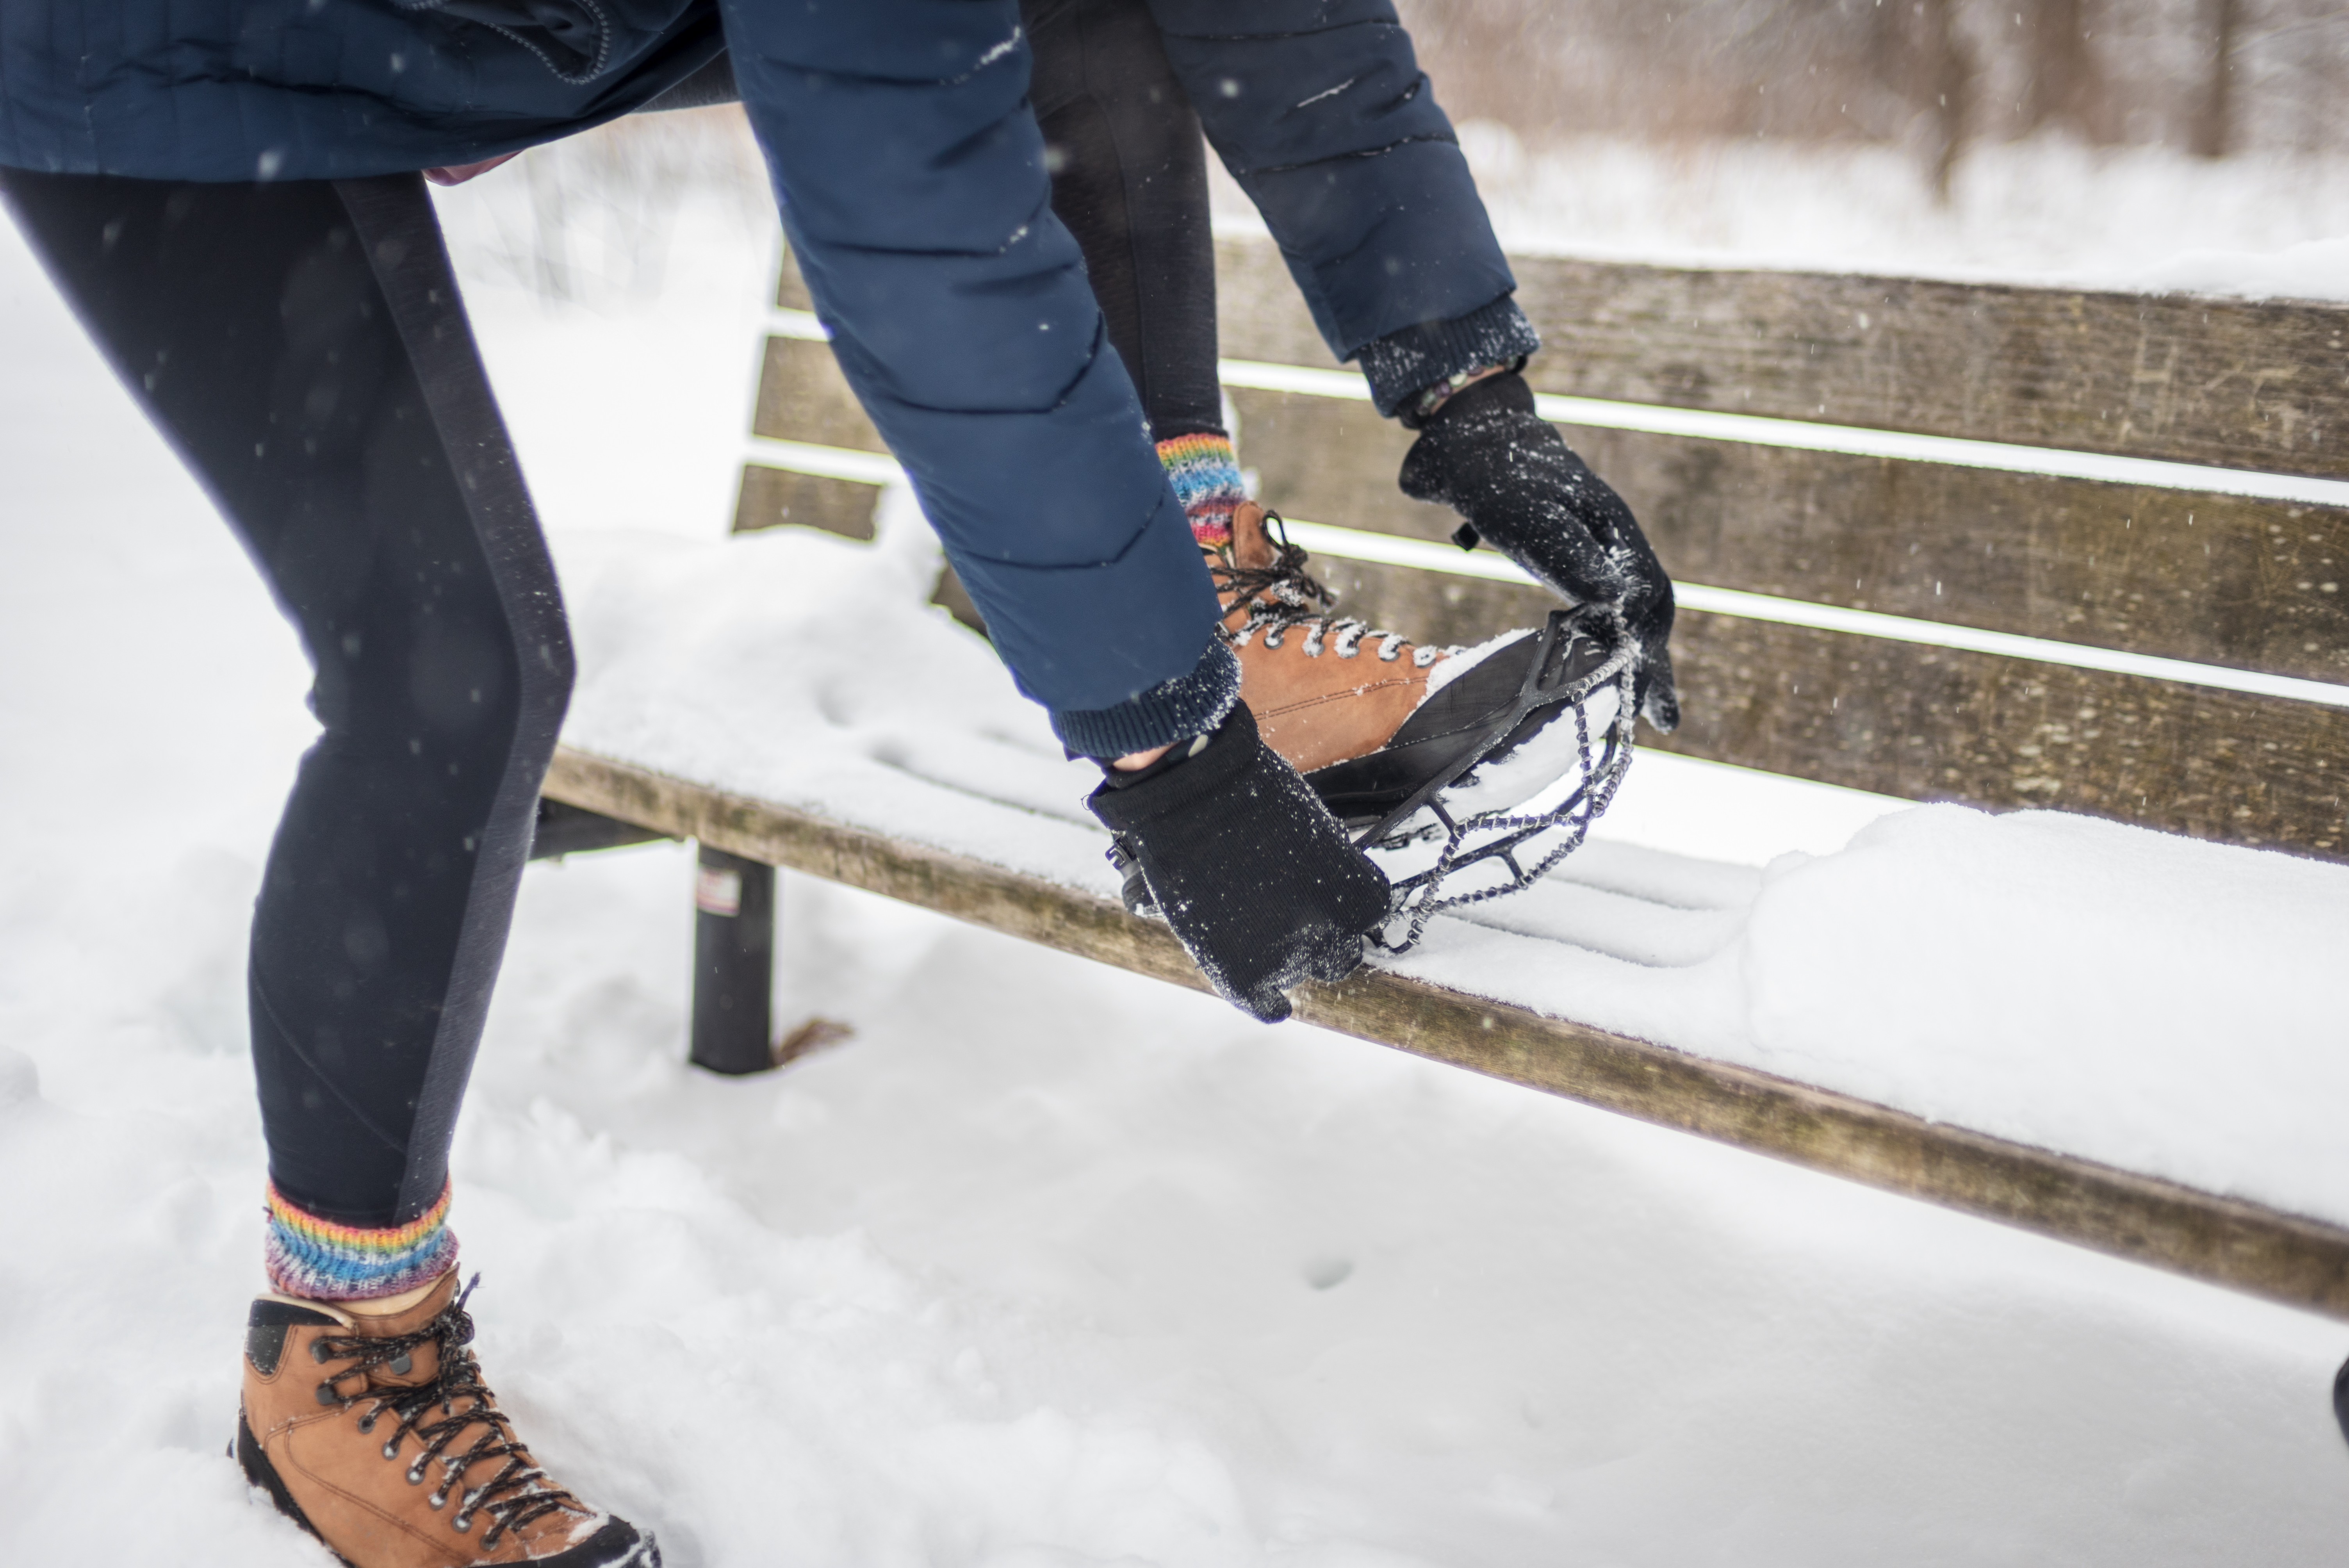
In many places, your winter traction devices will have been packed away for months, and before you head out on an icy or snowy trail, you’ll want to check that all is well. If you’re using rubber grips like Yaktrax or Microspikes, the rubber can erode over time, especially if they’ve been left somewhere warm or in direct sunlight. There’s nothing worse than stopping to pull your grips on at the first icy patch of trail only to have the rubber snap, so make sure you put them on over your hiking boots at home and replace them if they give way or look like they’re going to soon.
For more serious high altitude hiking, you’ll need a pair of crampons and these can usually be repaired if need be. Inspect the bindings for loose screws and tighten or replace as needed, and make sure you sharpen the teeth using a file so when you take that first snow step, you remain upright.

3. Reproof your waterproof gear
Unless you’re one of those impressively organized adventurers who washes and reproofs your waterproof gear before you pack it away for the season, there’s a good chance that yours is going to need a little TLC before you use it.
In many places, winter brings more moisture, but even if it doesn’t where you live, your waterproofs could be the main barrier between you and the wind or wet snow. Give your waterproof jacket and rain pants a wash, use dry heat to reactivate the DWR and even apply a fresh DWR coating like Nikwax. Learn more in our article on how to waterproof a jacket.


