
You own a million samples, and that new softsynth you just bought has a gazillion presets, so why on earth would you want to bother designing any sounds these days?
As far as effects go, you’ve surely got a hugely powerful multieffect in your chain. Simply hit Random, and, hey presto, it’s automatically ‘designed’ some sounds for you, right? And let’s not even start with AI – that has surely already been revolutionising the intelligent design of all-new sounds, hasn’t it? So there’s no point in creating your own sounds, period. Wrong! Here’s why sound design should be at the top of your music production process…
First, saying ‘Why bother with sound design when I can use someone else’s preset?’ is a bit like saying, ‘Why bother creating a tune if I can use someone else’s?’. But there are more practical – and frankly less argumentative – reasons why you need to bother creating your own sounds.
Designing your own sonic textures gives you total control over everything you could wish for, from the very attack of the sound to that gently fading reverb tail. Then there is the very pleasure of using something that you have created within your latest tune. In fact, it might well be the very essence of that tune.
Thirdly, sound design can be fun, and we mean really fun (although maybe don’t go on about it like we do at parties, okay?). Fourthly, as great as presets are, they are often used to grab your attention, filling space in places you might not want them to. Fifth, using a synth or effect to create sounds means you really get to know your tools well. Do we need a sixth reason? Thought not. Without further ado, here are 14 sound design tips to help your tracks stand out.
1. Don’t be scared to cheat
We’ve all done it: identified a preset, tweaked it a little and hit the Save button, calling it our own and slapping ourselves on the back as the greatest sound designer ever. Don’t feel guilty. Anything that gives you that extra pride is a good thing. But why not go further with the tweaks? Once you know what the controls do, take it in another direction. You can save as many times as you like.
2. Record everything
The oldest advice in the book when recording a vocalist is to hit record straight away and don’t press stop until the session is over. And those wise words can easily be applied to sound design. Every tweak you make on that synth, or every combination of effects you audition in your rack could result in sonic gold that you might never get back. And any resulting audio, of course, can be further processed in another sound design session. But, er, make sure you record all of that too (external multi-terabyte hard drives are pretty cheap now).
3. What’s wrong with noise? Nothing!
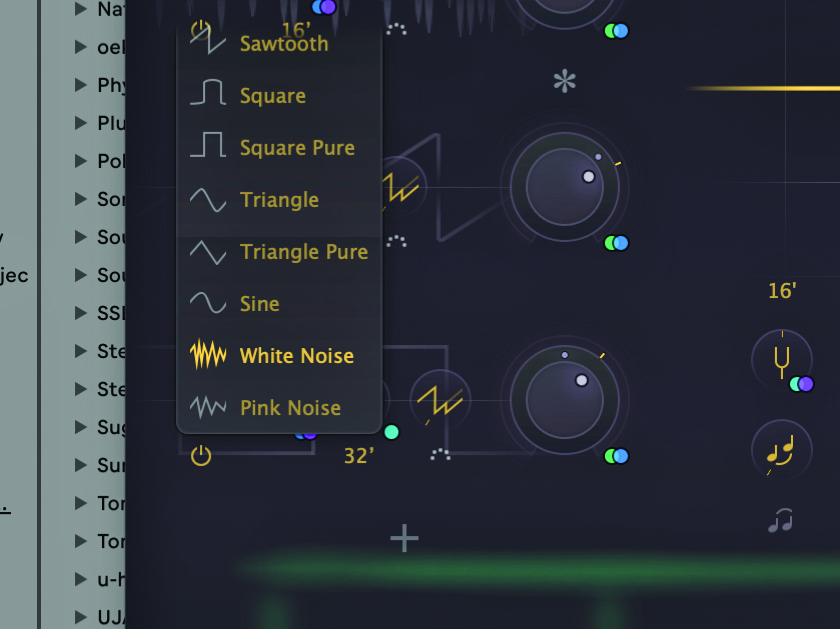
We’ve seen how important noise can be in the context of synthesis, and we’ve also seen how important noise can be with recording, as tape emulation plugins have become so popular. So don’t be scared to get noisy when designing. Noise can be used to underpin sounds, mix with beats, wash with pads, you name it. White, pink, purple, whatever, don’t be afraid to add it and mix it.
4. Break the rules
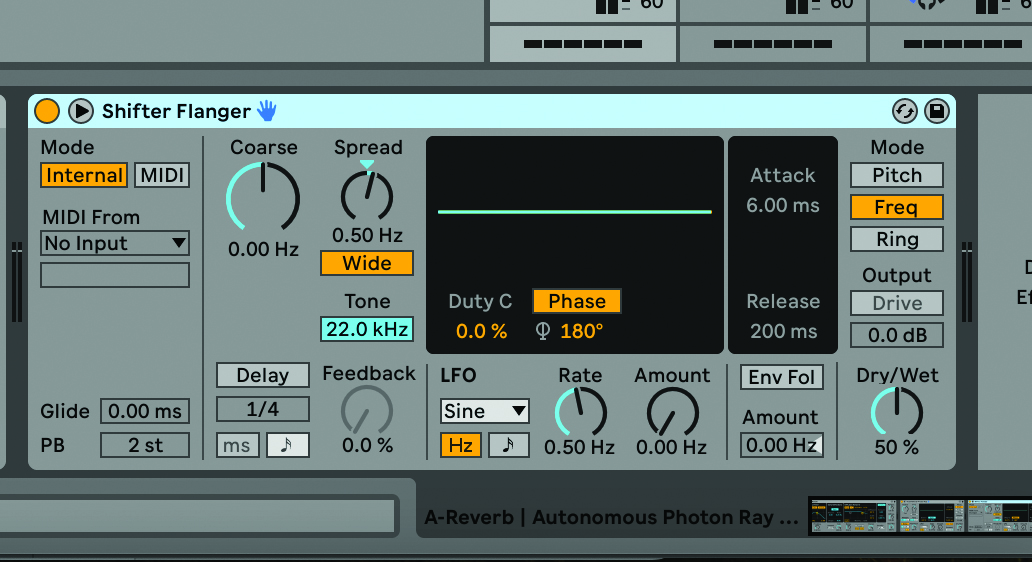
It’s an obvious one but depending on how extreme you want to go with your sound design, you might have to break some rules along the way. Reverbs on return tracks, for example, are usually followed by EQs and compressors to control their tails. However you might want to try a more aggressive compressor with a sidechain input for some pumping atmosphere or even pitch effects and frequency shifters – it’s all up to you…
5. Capture the detail
It might well be the side effect of an effect that you want more than the effect itself. Let’s try and explain. Reverb tails, for example, can be beautiful in isolation and easier to catch in the wild than you might think.
Set your reverb to maximum mix and then the output to another channel. Hit record and experiment and you’ll have some wonderfully atmospheric audio to play with. Distort it, filter it, run it through the reverb again.
6. Don’t be scared to reverse
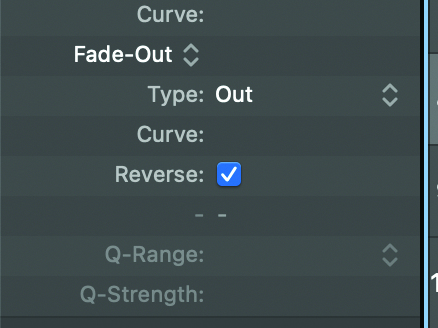
And following on from that, one of the perfect things to do with that reverb tail is to reverse it and use that as a riser into the original sound. Yes, reversing audio is as old as The Beatles – older! – but there’s nothing wrong with it if you don’t overdo it. Other cool reversing techniques include using a reversed drum hit to then move into a set of kicks and snares, adding a unique rhythmic effect.
7. Add impact
As noise can add impact or atmosphere, so beats can add necessary transient detail where it’s missing. So if that section you created is lacking a start, consider layering some impact.
8. Crush it
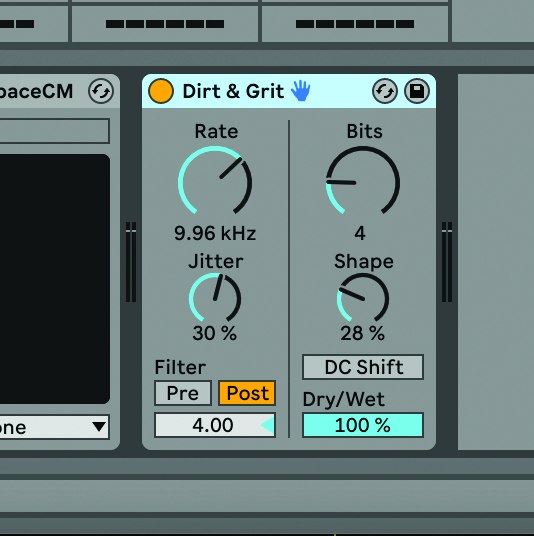
Bitcrushing is another favoured sound design process but can also be used to enhance a signal, as well as destroy it. Add mild bitcrushing to low-end sounds and you’ll give it some mid-range grit which could make your lows stand out just that bit more. As ever, start off gently and then crush the life out of it. Somewhere between you will find perfection.
9. Gate keeper
Noise gates might not be an obvious sound design tool, but they can keep things in check if you are layering heavily reverbed parts together.
10. Learn by stealth
We like this one; it follows from our advice on learning how synths work to become a great synth sound designer, but might just make that process a little bit quicker.
Load up an instance of a synth loaded with your favourite preset, and then load another version of that synth with its Init preset loaded (ie blank sound, usually a sawtooth). Move the knobs on the ‘Init’ synth towards those of the ‘great preset’ synth and you’ll learn rather quickly how that sound was designed.
11. Stretch the audio
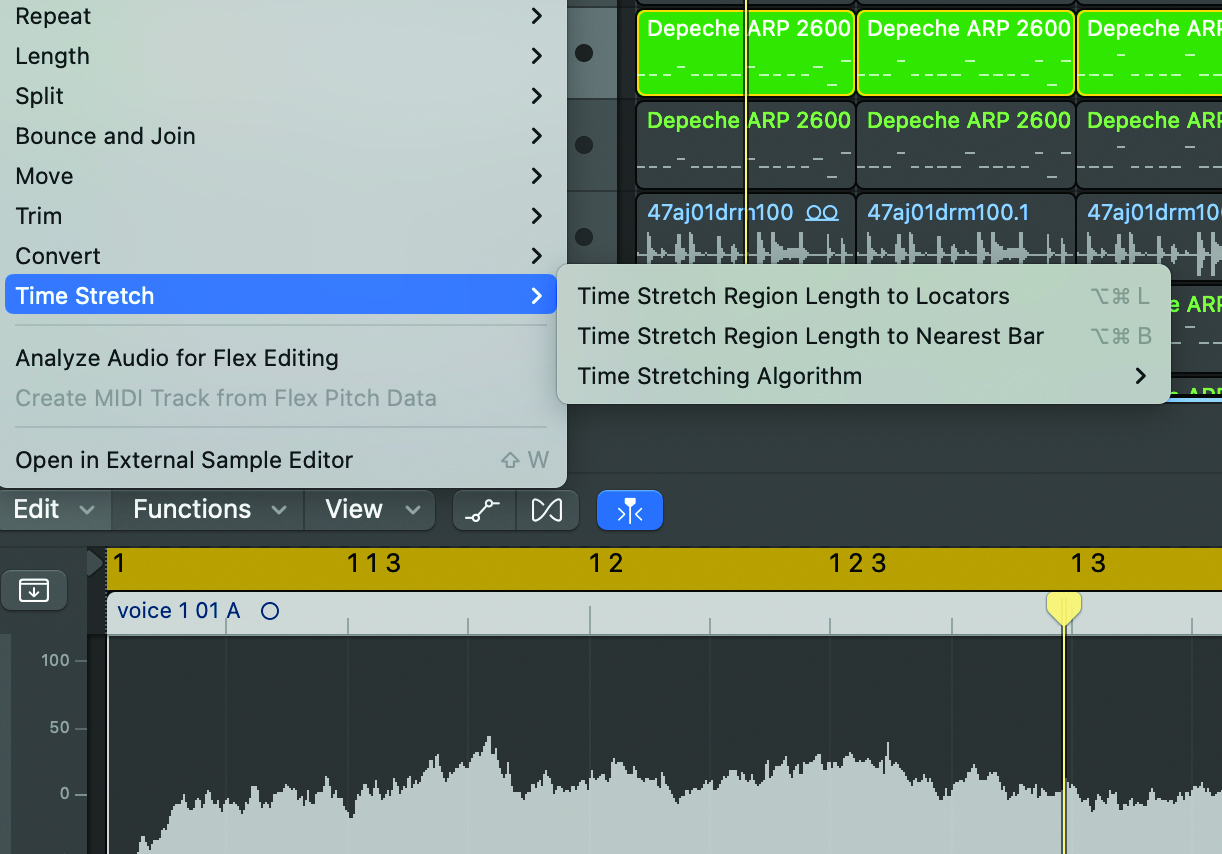
Timestretching almost falls into that same category as ‘reversing’ whereby you’ll be wondering if it isn’t old hat. It’s true that every DAW does timestretching. Heck, even your toddler nephew or niece probably does timestretching on their phone. But, just like reversing audio, timestretching can be valid. Try extreme versions, or try extra processing afterwards. Or, how about timestretching and reversing. Timeversing! Revstretching!
12. Extreme mixing
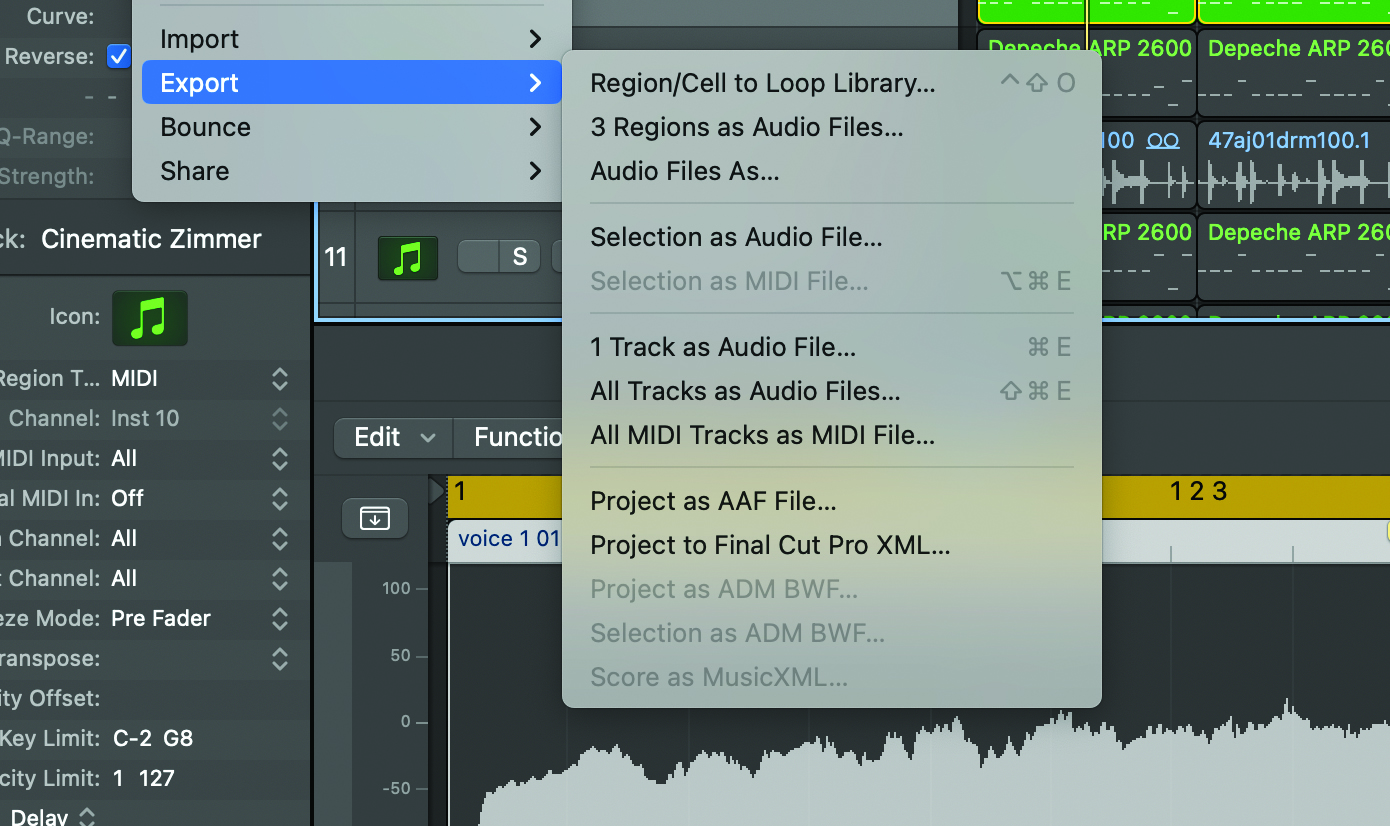
A lot of sound design is about taking one sound and creating something newer or more extreme with it. Why not consider taking one of your own songs, or a few of its constituent tracks bounced down together, and processing the whole thing? A bit of extreme timestretching, or bitcrushing, and you could find yourself striking gold.
13. Tune like a synth
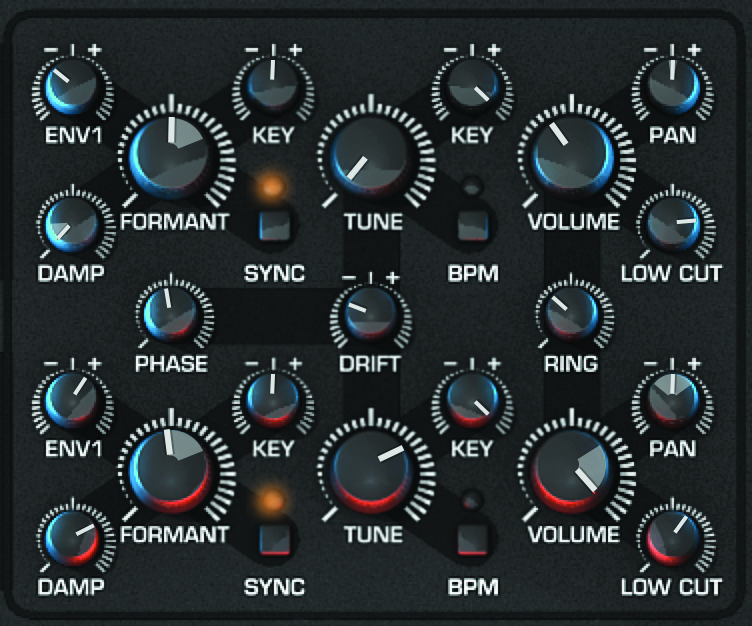
As we detailed in the synth section, detuning two oscillators will fatten up the sound of a synth. Why not try that with the same audio tracks by duplicating one and pitching the duplicate up or down three, five, seven semitones or an octave? It won’t work on everything, but pads and even vocals should deliver ‘interesting’ results.
14. Learn when to stop, or get a plan
Unless you’ve been diligently recording everything (and you should be – see tip 2), and saving every step (perhaps you should be), you might want to learn some restraint when in a sound design session. If you are one of these people who just can’t stop piling on effects until there’s little memory, let alone audio, of what you started with, it’s often best to have a plan, or a process, and stick to it.
Maybe it’s having the same effects lined up to try as sends, or maybe it’s the same modulation setup in a synth. We love experimentation but we’re all different, so if you identify as ‘the chaos designer’ (and we think we might), get a plan. But however you design sounds, as Wham! used to say, just make sure you enjoy what you do.


