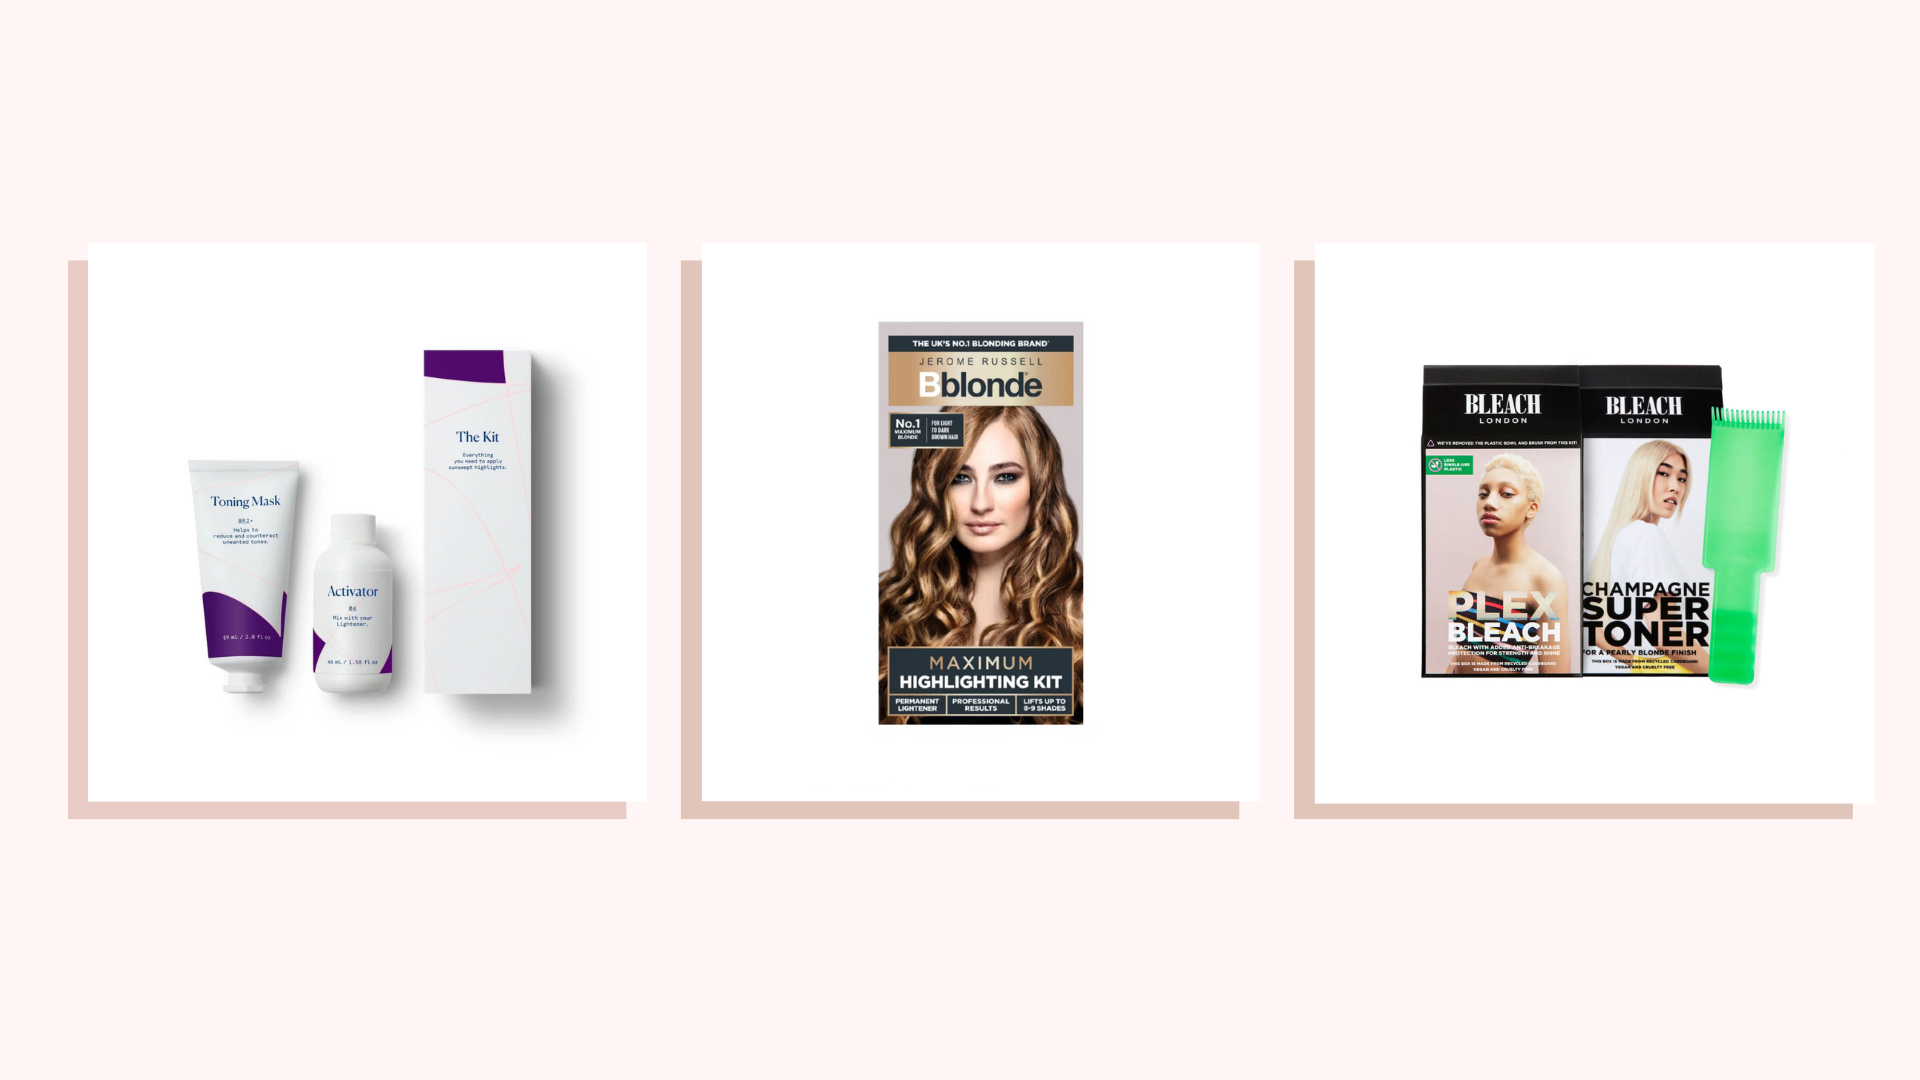
Home highlight kits are a growing area of the beauty industry as budget-conscious consumers turn to box dye to add subtle, sunkissed pieces to their current hair colour.
In the interest of honesty, it's worth stressing right off the bat that, unless you happen to be a pro hairdresser – or trained as one in a past life – at-home hair dye cannot be used to replicate intricate salon colour services, such as ultra-fine hair highlights or complex balayage hair looks like balayage with money pieces. There's a reason it takes years to train as a colourist: it is a highly skilled profession.
But with intricate salon services often costing hundreds of pounds, not to mention the fact you'll spend at least three hours in the chair each time, there is a case to be made for the ever-improving technology of home highlight kits. From permanent bleaching to semi-permanent glazes that can help you achieve warm red hair ideas, DIY options can help you create multi-tonal colour – and a more natural look than traditional box dye – at home.
How to pick the right home highlight kits for you
While many of us have dabbled with semi-permanent or permanent dye at least once in our lives, home highlighting is a completely different kettle of fish, so it's important to carefully consider the following factors before you grab yourself a kit.
- Your natural hair colour: It's a good idea not to stray too far from your base colour when colouring at home and most of the best home highlight kits are for blonde or light brunette hair only. Those with very dark or black hair will know that nothing does the job except bleach, which is best in the hands of the pros. Instead, you could consider creating a statement 'money piece' (contrasting strands around the face) or adding a warm or cool glaze over the top of your natural colour for a light-reflecting look.
- Type of highlights: There are different types of looks to consider, with traditional highlights, a money piece, balayage, and ombré the most popular. Only a few brands offer a specialized highlighting kit, while some are created with ombré or balayage in mind.
- Your hair's health: If there's one thing we all want, it's healthy hair. If yours is on the fragile side, “use something ammonia-free and low peroxide,” advises Francesca Dixon, colour director at Hari’s Salon. “Ammonia-free dye has fewer chemicals, so is less likely to cause as much breakage, and low peroxide allows for a longer lift." All-over reflective glazes or colour-enhancing masks that prioritise the hair's condition are good alternatives.
- Semi-permanent vs permanent: “Many clients are keen to experiment with semi-permanent colour as it allows you to try different shades without the commitment of a permanent colour,” says Sam Acott, master colourist at Josh Wood. Unlike permanent hair dye, semi-permanent doesn’t contain ammonia or peroxide and won't damage the hair. “It’s worth noting, however, that semi-permanent colour adds tone, colour and shine—but is unable to lift hair lighter,” adds Acott. So, if your hair is naturally dark and you want highlights, a permanent product will work best.
Ready to get inspired? Once you've narrowed down the home highlight kits that are best for your needs, skip to our home highlighting FAQ to find out exactly what you need in your kit and the method to use for a seamless process from start to finish.
The best home highlight kits, chosen by our experts
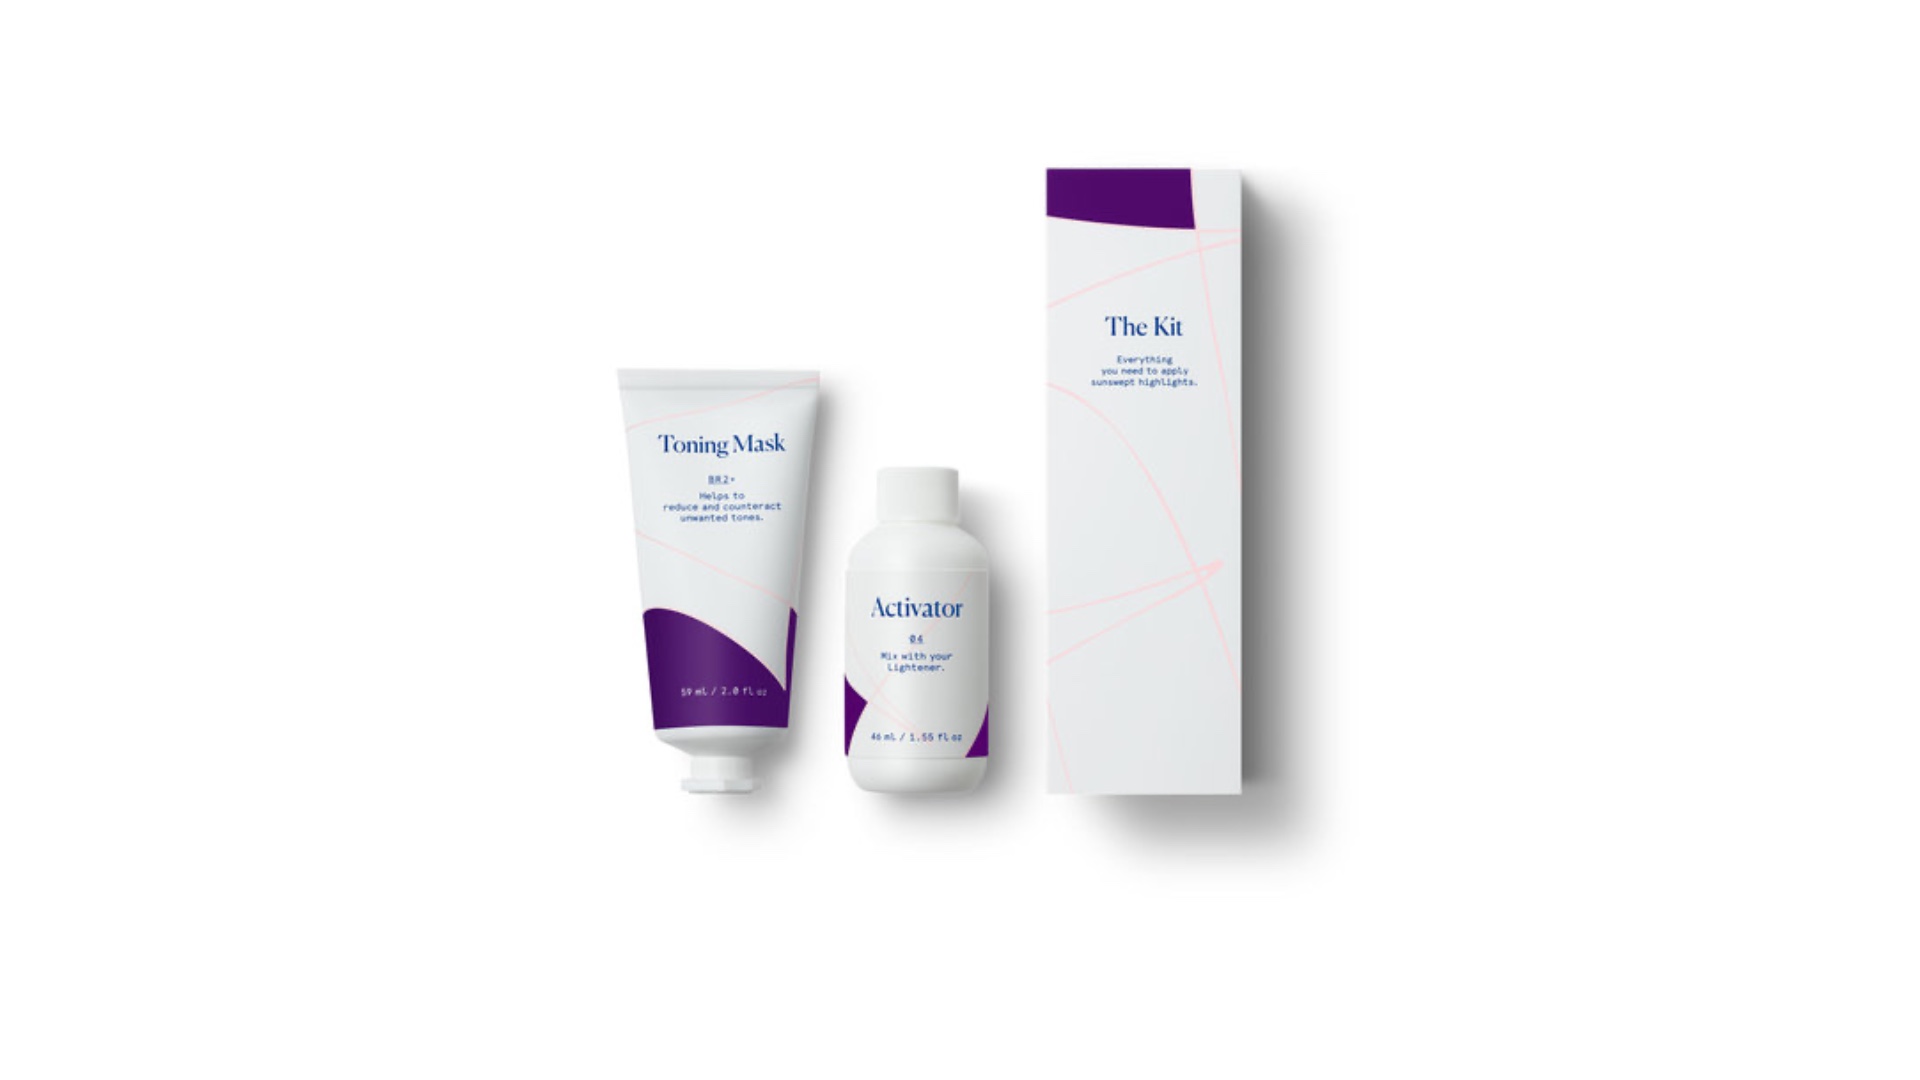
This at-home highlights kit is probably as close as you'll get to a salon colour service without leaving the house. The brand that brought us bespoke at-home hair dye has, once again, thought of everything. Firstly, you can pick from an unusually large selection of six shades, which determines the developing time (they've helpfully worked that out for you, too). Your selected Light Set will be delivered to your home along with tools, printed instructions and the option to watch step-by-step videos on the brand's site so you can see and really understand what you're supposed to be doing.
The lights are applied in balayage style, meaning you paint on sections without foils or a painful cap, once again making things pleasingly simple – and the results are subtle and sunkissed. The idea is to go slowly and create gentle lighting effects, then top up every few months until you reach your desired colour. All this makes it a fairly foolproof and unintimidating process. As the cherry on top, a toning mask selected by their in-house experts is included for you to apply after the main colouring process to help you hit your perfect hue – just as they do in the salon. Genius!
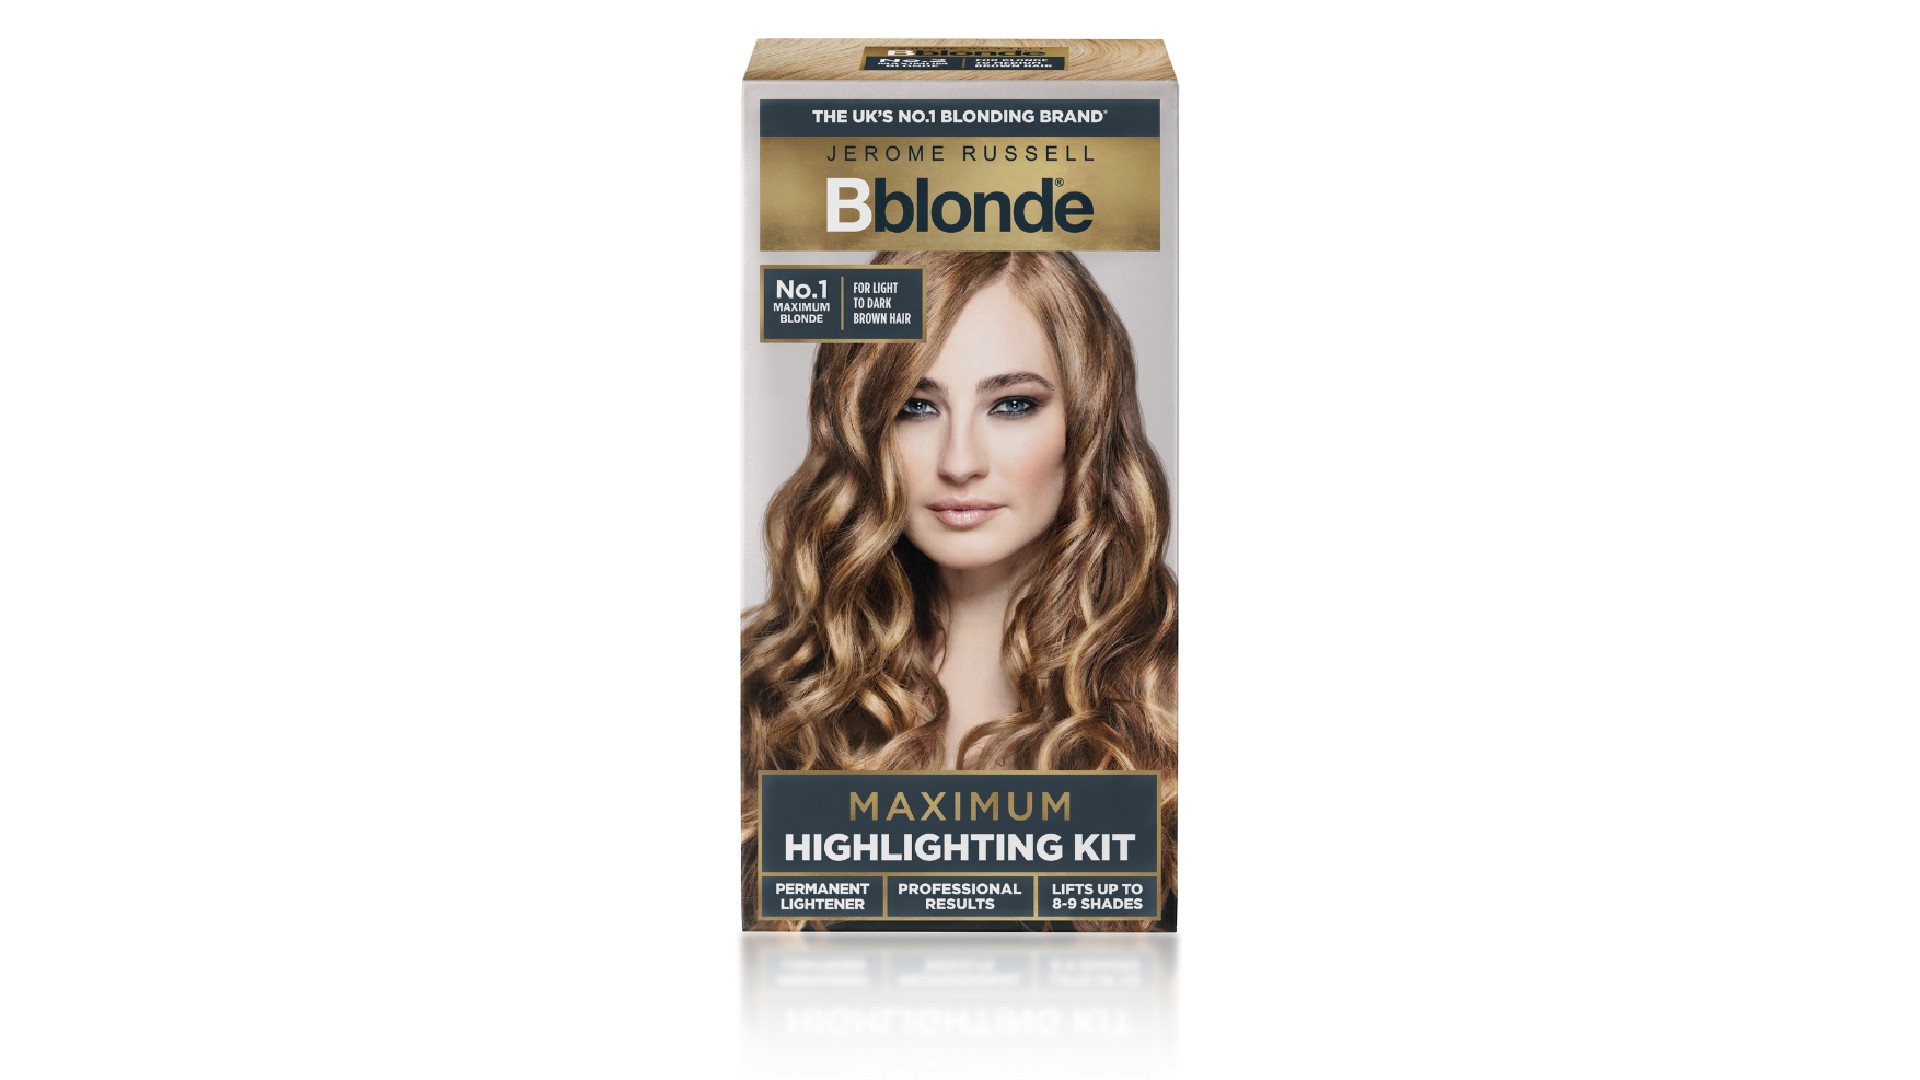
Working particularly well on light brown hair, expect an unrivalled lift of up to eight to nine shades from this highlighting kit. It includes a cap and brush, much like the salon highlighting techniques of yore. Although you'll probably want to enlist a friend to do the back of your head, this kit holds your hand through the home highlighting process to help you achieve fine, natural-looking lights.
Our tester did find the tools a little flimsy, so extra care is needed with the application. And, if you have very dark hair, the colour can go a little brassy, so it's worth using a violet toning mask or shampoo afterwards. But if you take plenty of care with the application, this is certainly one of the best home highlight kits for professional-feeling results. It also promises enhanced hydration and shine thanks to the inclusion of avocado oil, which is a bonus.
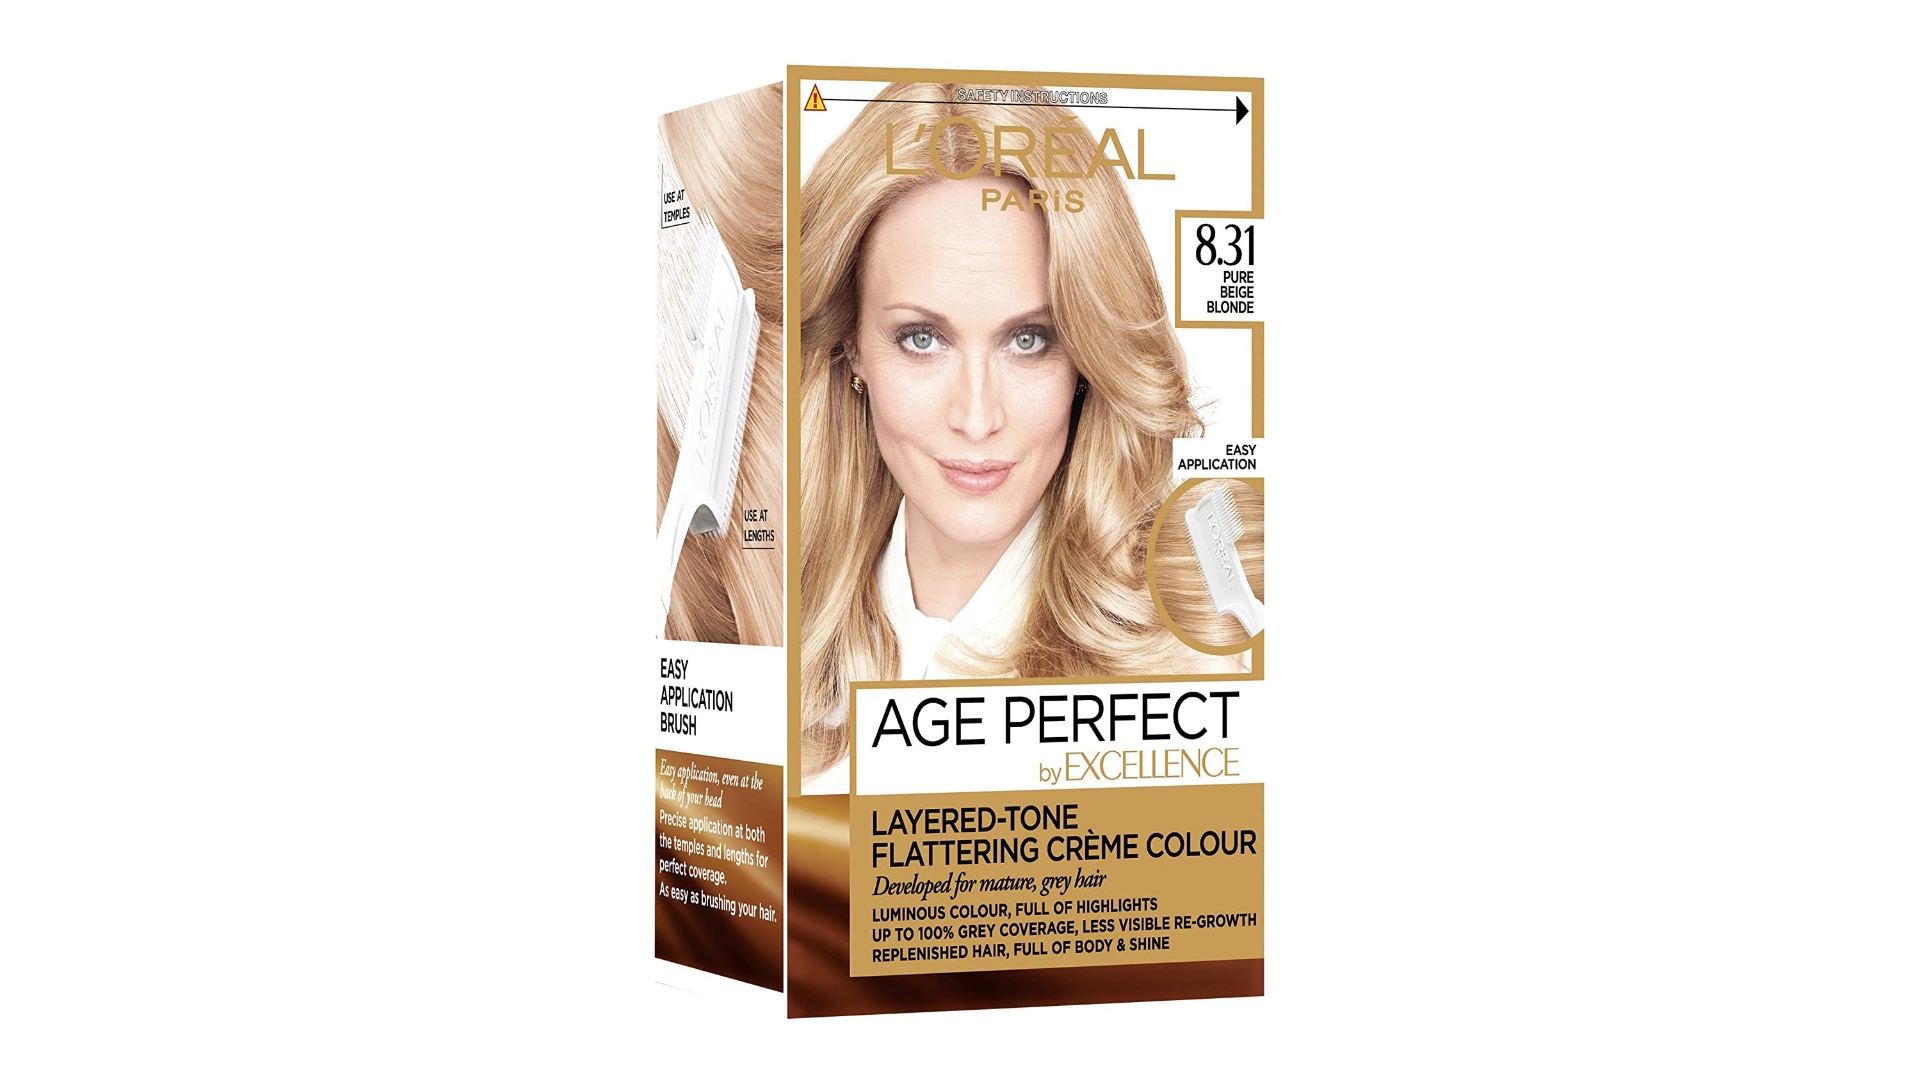
This nifty little number, designed with graying hair in mind, takes the tricksiness out of home highlighting as it is essentially an all-over color, but with enough multifaceted high and low tones to appear as if the hair is highlighted.
As well as excellent coverage on any grey hairs you wish to eradicate, this particular shade is ideal for adding subtle shimmering highlights to blonde hair for a bright and sun-kissed finish. It also contains a unique complex of shine-boosting ingredients to leave your hair looking healthy and is so easy to apply you won't find yourself in a tangle in the bathroom.
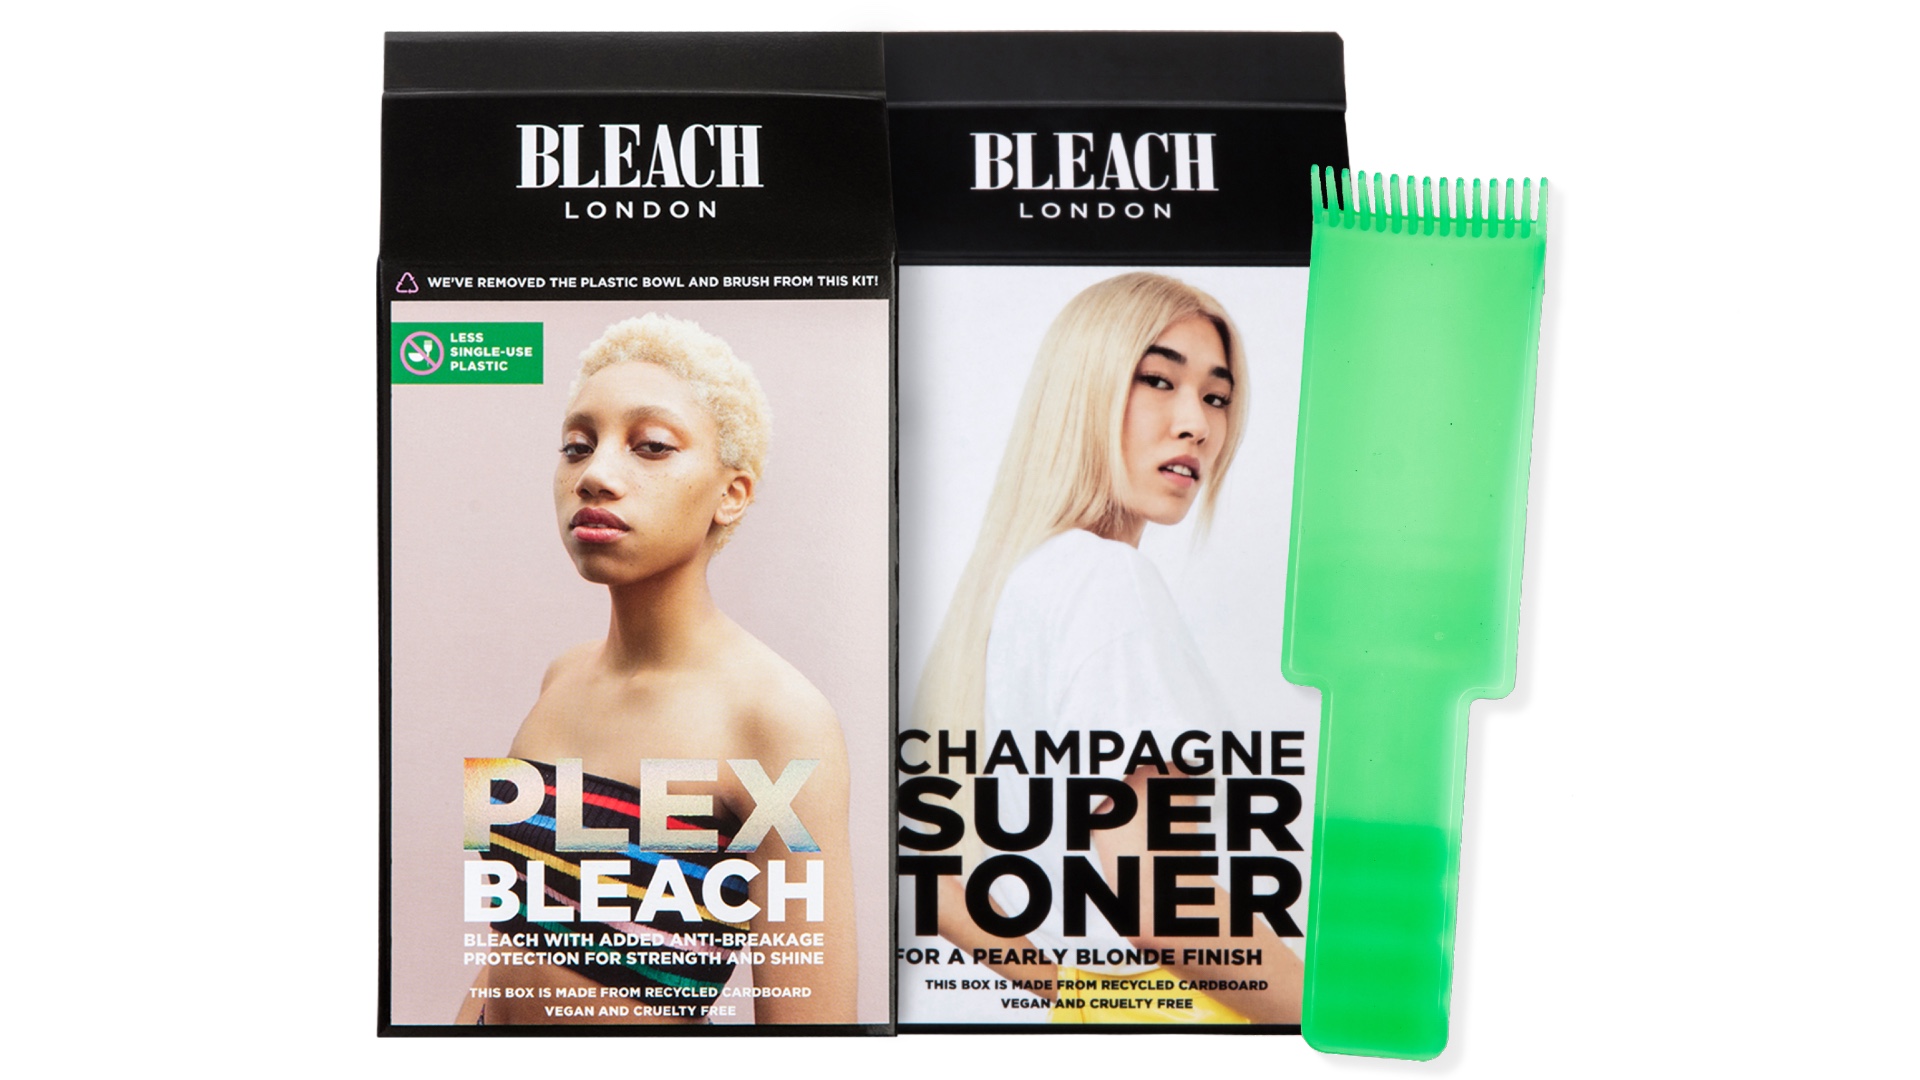
Hip hair colour specialists Bleach London launched this kit to help its loyal fans create pro-style balayage without a salon visit. Balayage, for the uninitiated, is when strands of lighter colour are painted freehand, rather than using uniform foils as with highlights. This freer placement can make balayage an appealing option for anyone weighing up highlights vs balayage for a DIY hair dye job.
The kit itself contains Total Bleach to lift the hair, a balayage board and Champagne Super Toner to give it a creamy finish (you can buy the bleach and toner separately if you wish). This makes it ideal for those with naturally dark hair for which only bleach will do the job. Just be sure to be even more diligent with heat protection for hair after a powerful colour lift like this one, as tools like the best hair straighteners can exacerbate parchedness after bleaching.
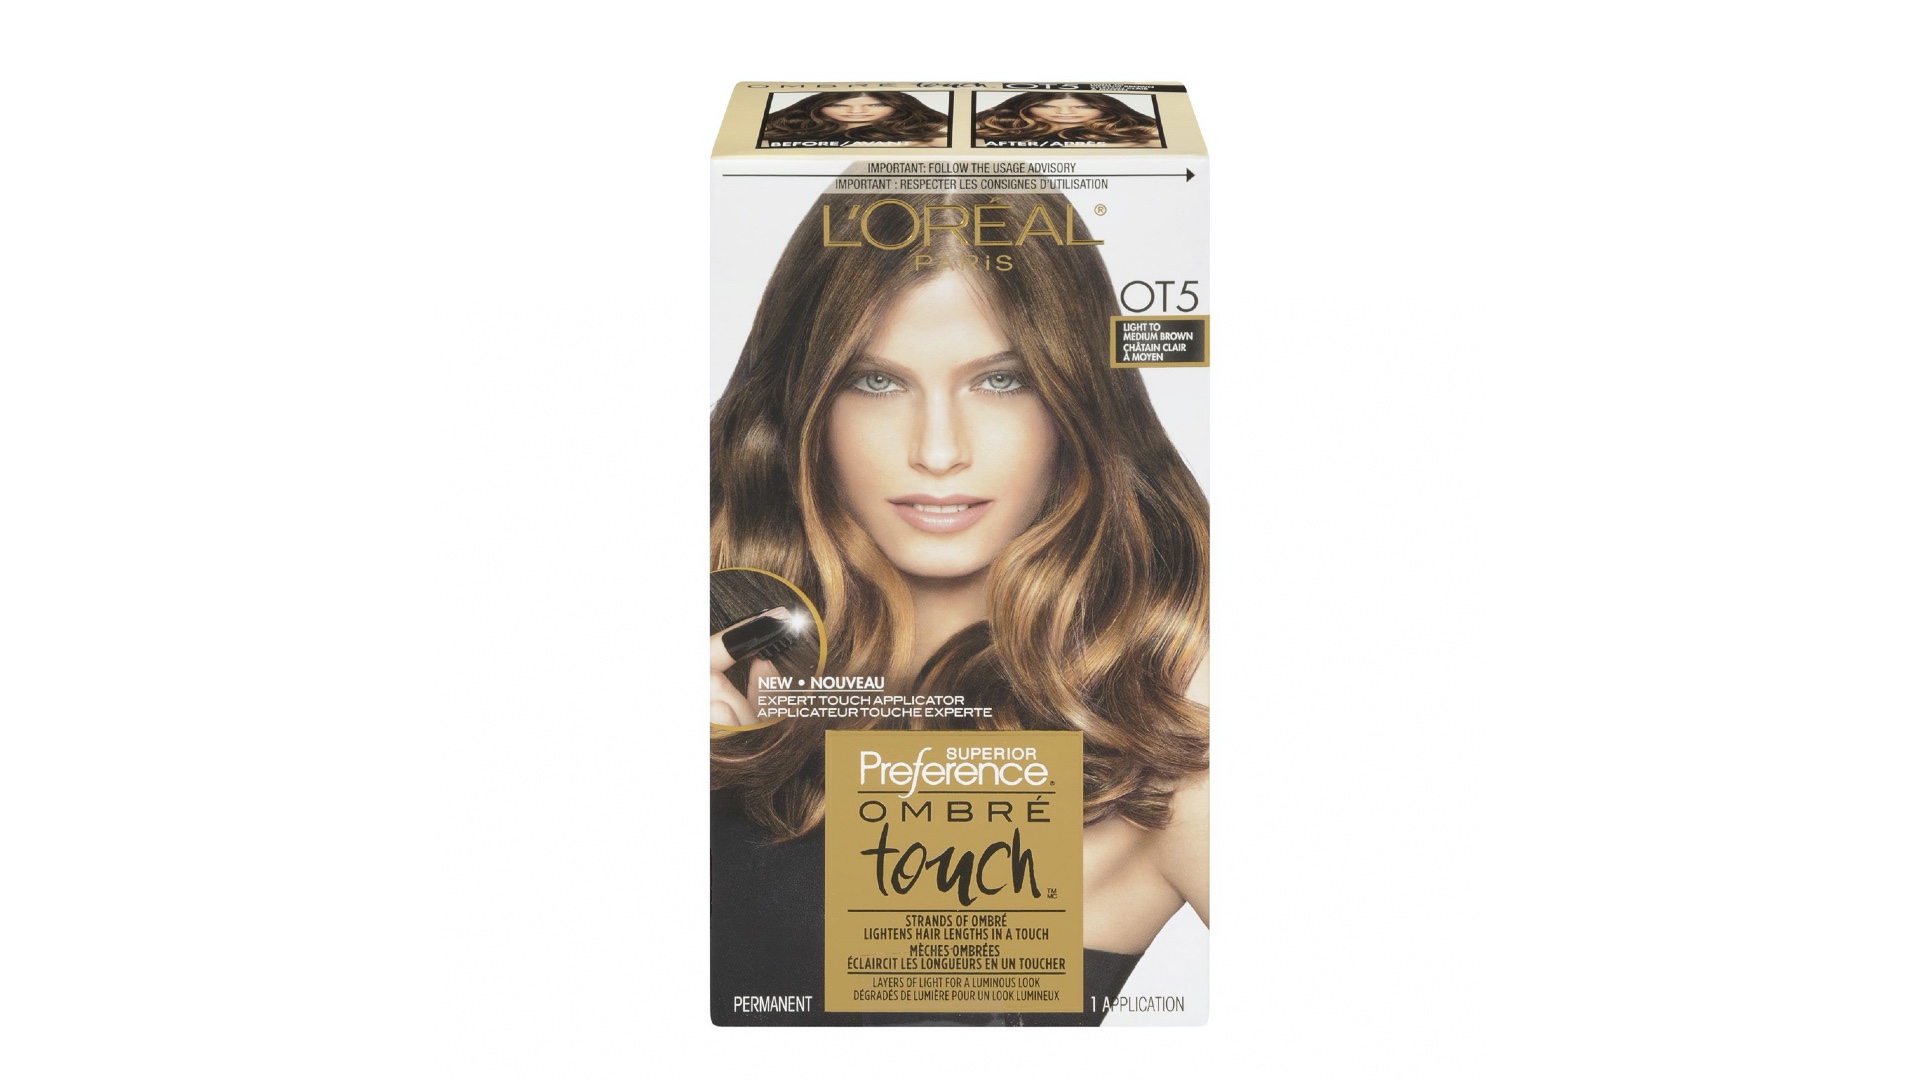
L'Oréal brands are always at the forefront of hair colour techniques, and this clever kit is designed to make that tricky ombré technique easier to pull off at home. Ombré is essentially a subtle graduation of colour through the hair, usually starting with deeper roots and developing through to lighter ends. The secret to getting a salon-look with home highlight kits is all in the blending, so go slowly and carefully for the best results.
As well as gentle shade-lifting hair dye, this contains an expert touch finger applicator brush to help create a seamless blend between the lightened ends and root sections. Christophe Robin, an expert colourist for L'Oréal Paris, advises: "For best results, start [somewhere] between ear and chin level."
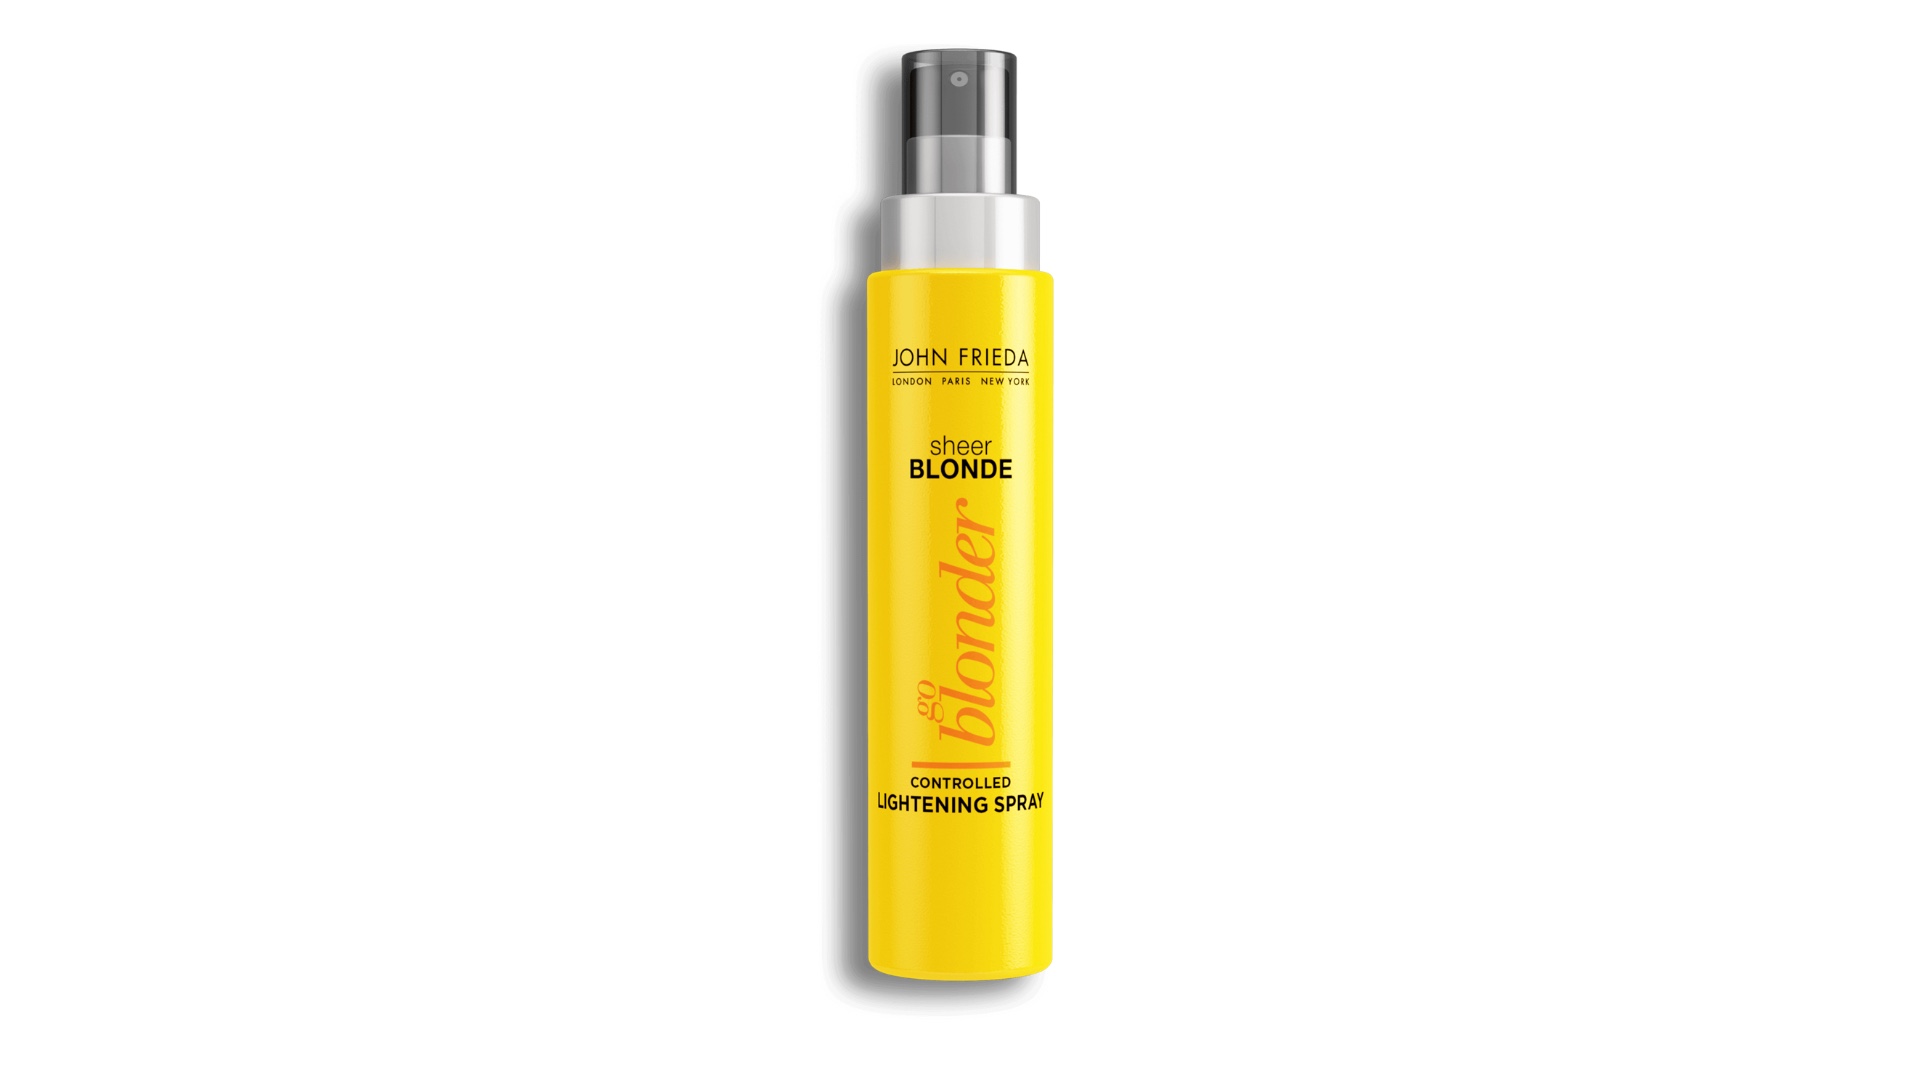
This hair-lightening spray is ideal for giving your hair colour a gradual lift, either during the warmer months or any time you wish to go a little bit lighter without committing to a full salon or bleach session. This can also prolong existing highlights that you have had done at the salon. Although, as a mist-in product, you cannot be specific or targeted with placement, so if your colourist has worked hard to create a specific look, think carefully before going in with this every day. Take a gradual approach and don't be tempted to apply too much at once, especially the first time – remember you can always add more but not take away.
That said, you can use this without spraying it all over the head if you want to fake a sunkissed look. Simply isolate the strands you want to lighten and top up as needed – the results are gradual, so you won't get any nasty surprises with the colour (although you may need to take some snaps to remember the exact placement for your next spraying session).
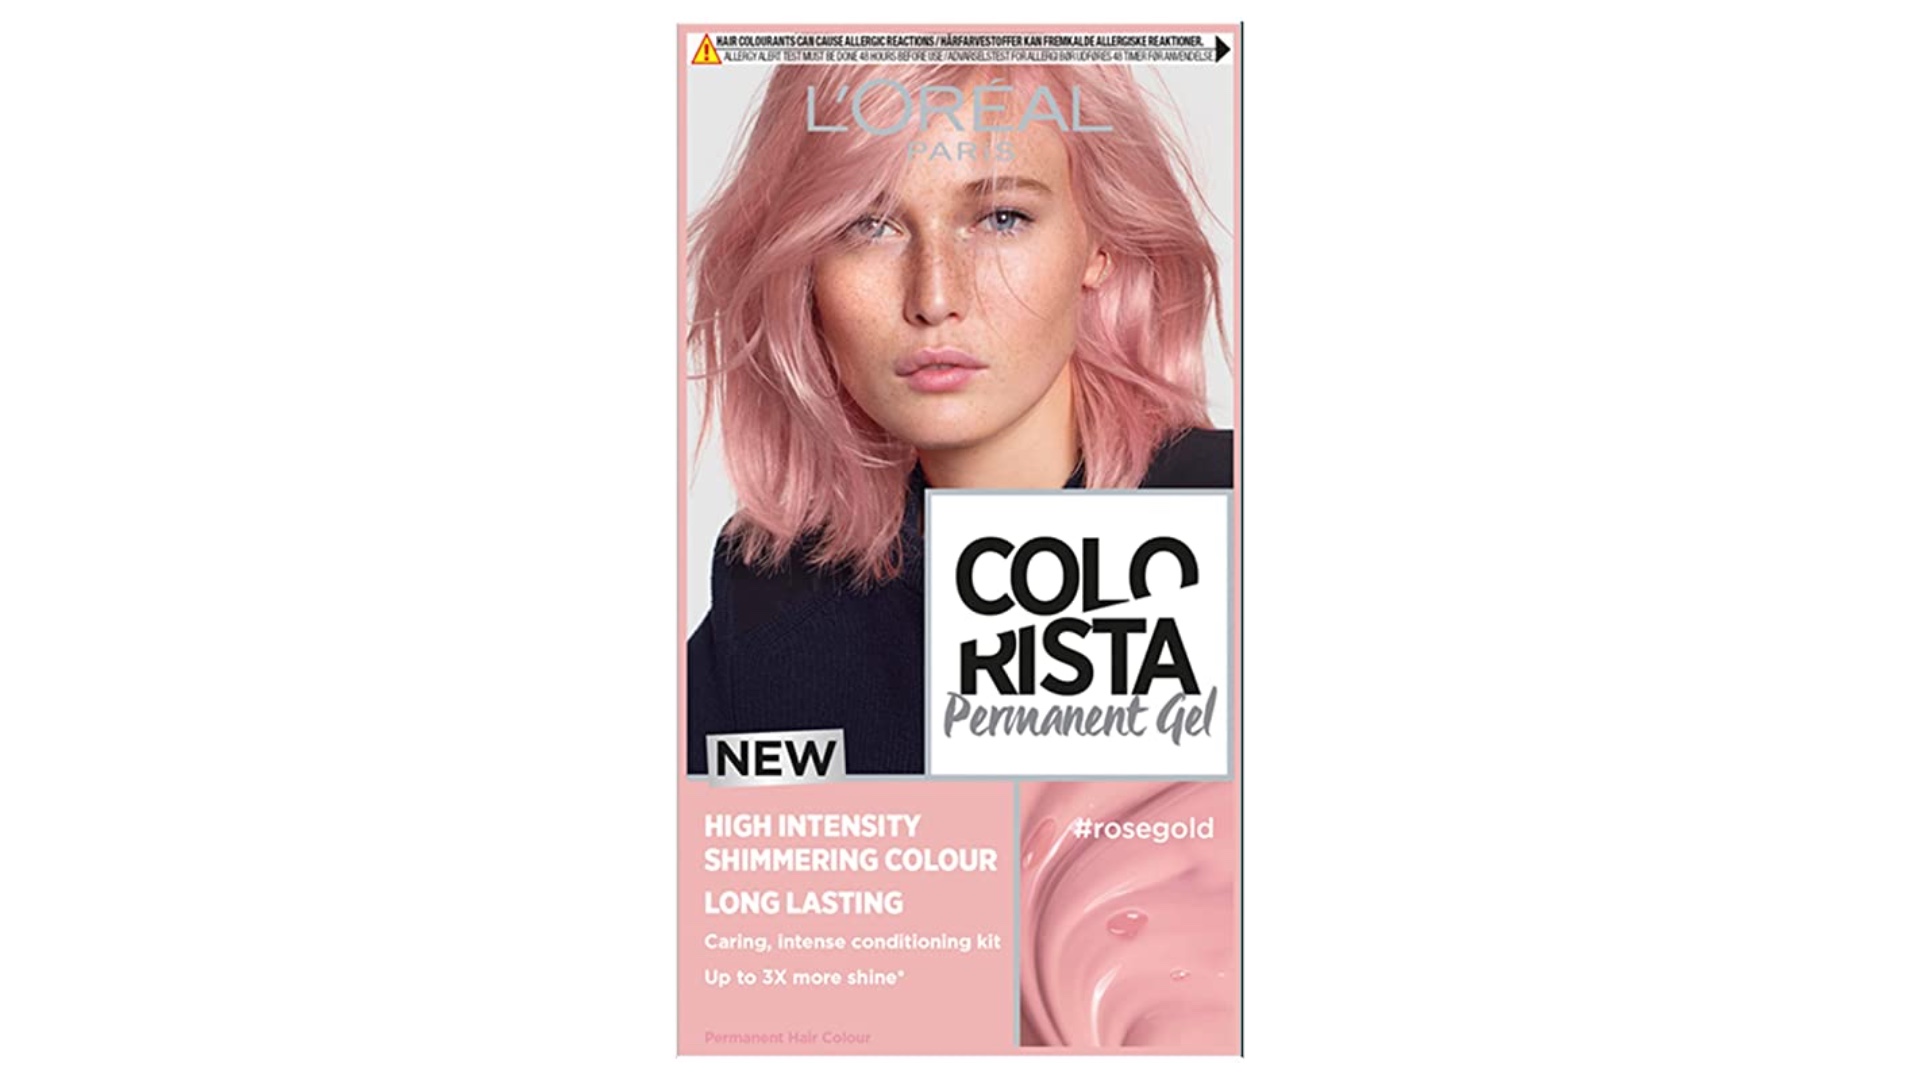
Not all home highlight kits have to be blonde. If you're stuck wondering what colour should I dye my hair, but know you want something bolder, perhaps we could tempt you with L'Oréal Paris' pretty-in-pink Colourista Permanent Gel. Pink ombre, streaks and face-framing "money pieces" are hugely on-trend and can be very flattering, too.
As this is not a lightening hair dye, it is bleach-free so it's kinder to the hair than many formulas promising a dramatic lift. You also don't have to go for the pink colour either, as it comes in a variety of bright shades that you can play around with. Personalise your look with an ombré or balayage effect by painting this onto your hair in well-blended pieces – our FAQs later in this guide have all the application tips you'll need.
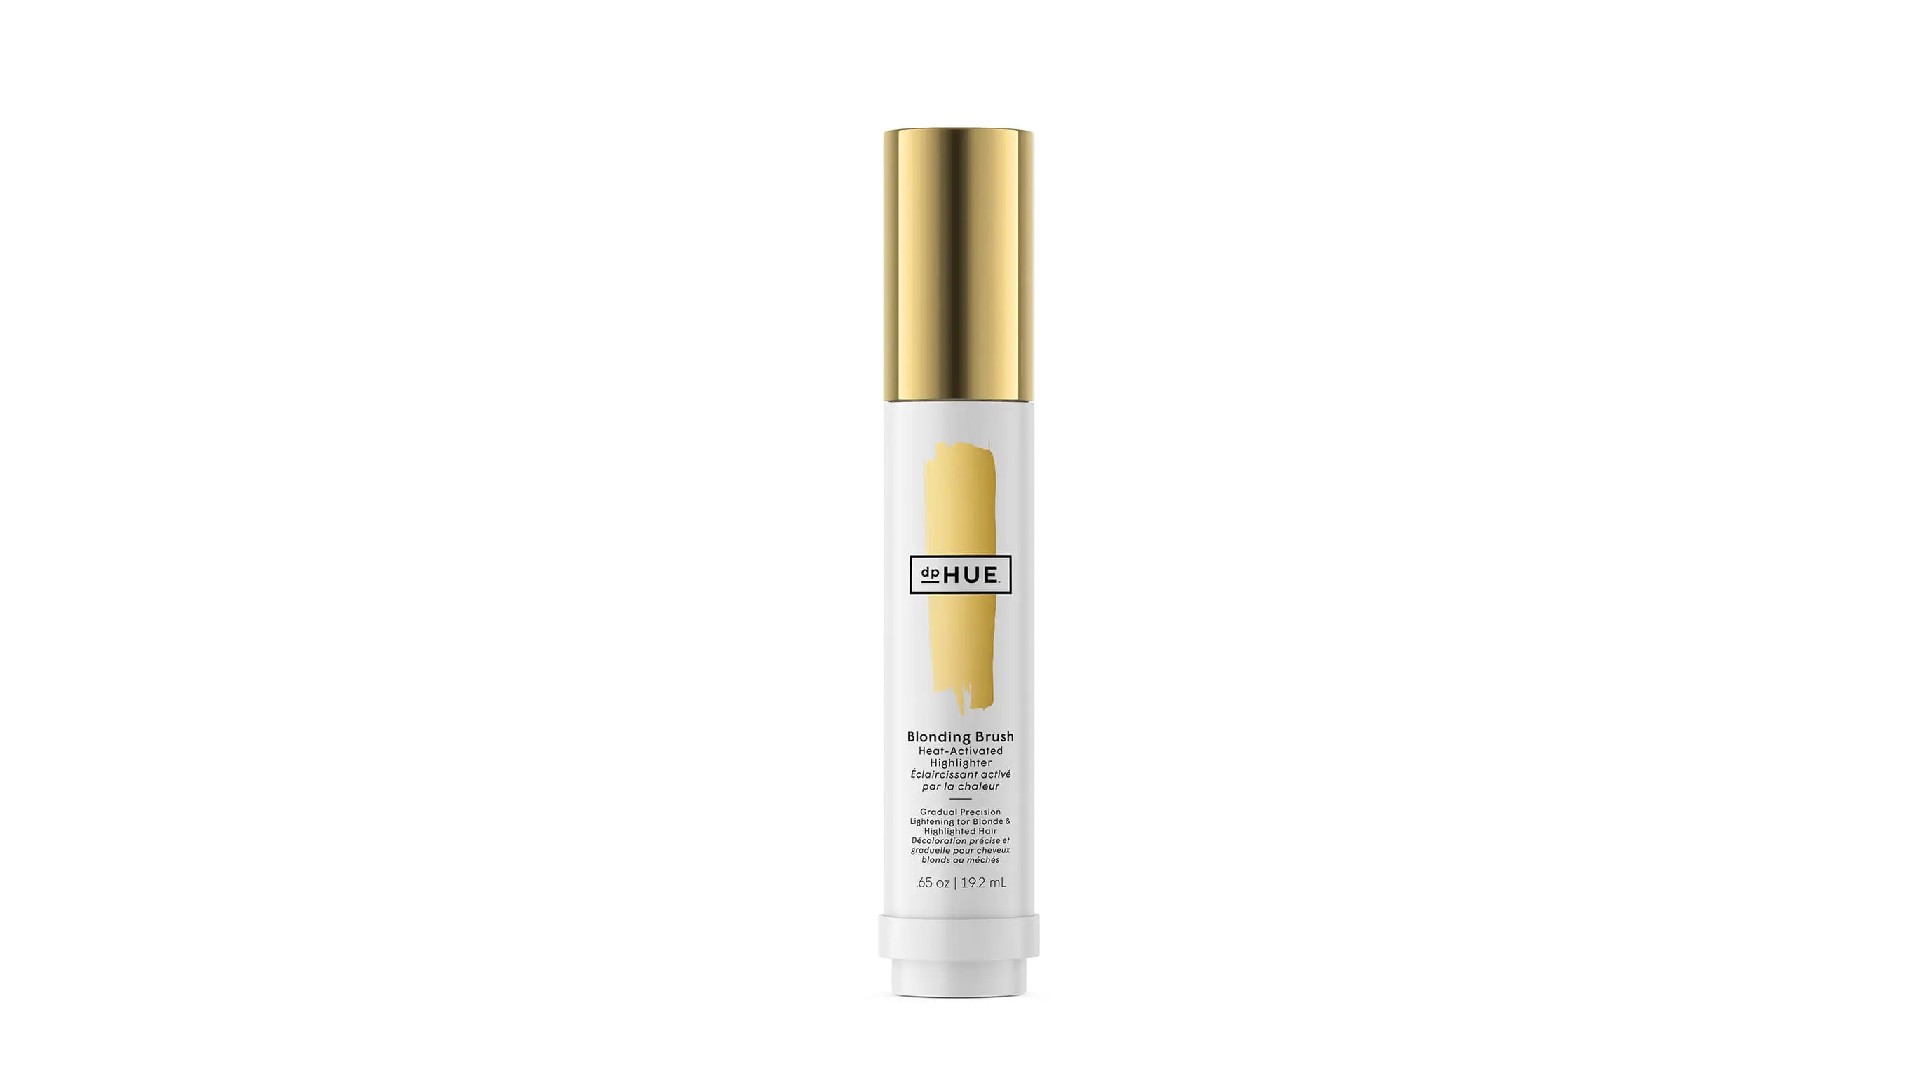
For sun-kissed highlights that mimic "holiday hair", turn your attention to this clever Blonding Brush from dpHue. Featuring a blend of lemon juice and hydrogen peroxide (a bleaching agent), the formula gradually lightens hair when it's exposed to sunlight or heat styling tools, such as the best hair dryers. To use, you simply click the button to bring the product into the brush before painting it onto dry or damp strands of hair.
Our top tip? To achieve natural-looking results, we recommend painting the product onto thin sections of hair to create that sun-kissed look. Start near the root before painting the length of the section of hair. Note that this formula is specifically designed for pre-lightened or naturally light hair and is activated by heat, which means that, unfortunately, it won’t work on darker shades (including medium blonde and dark blonde). But if your hair is already light and you’re after a vibrant boost, give this product a whirl – you will not be disappointed!
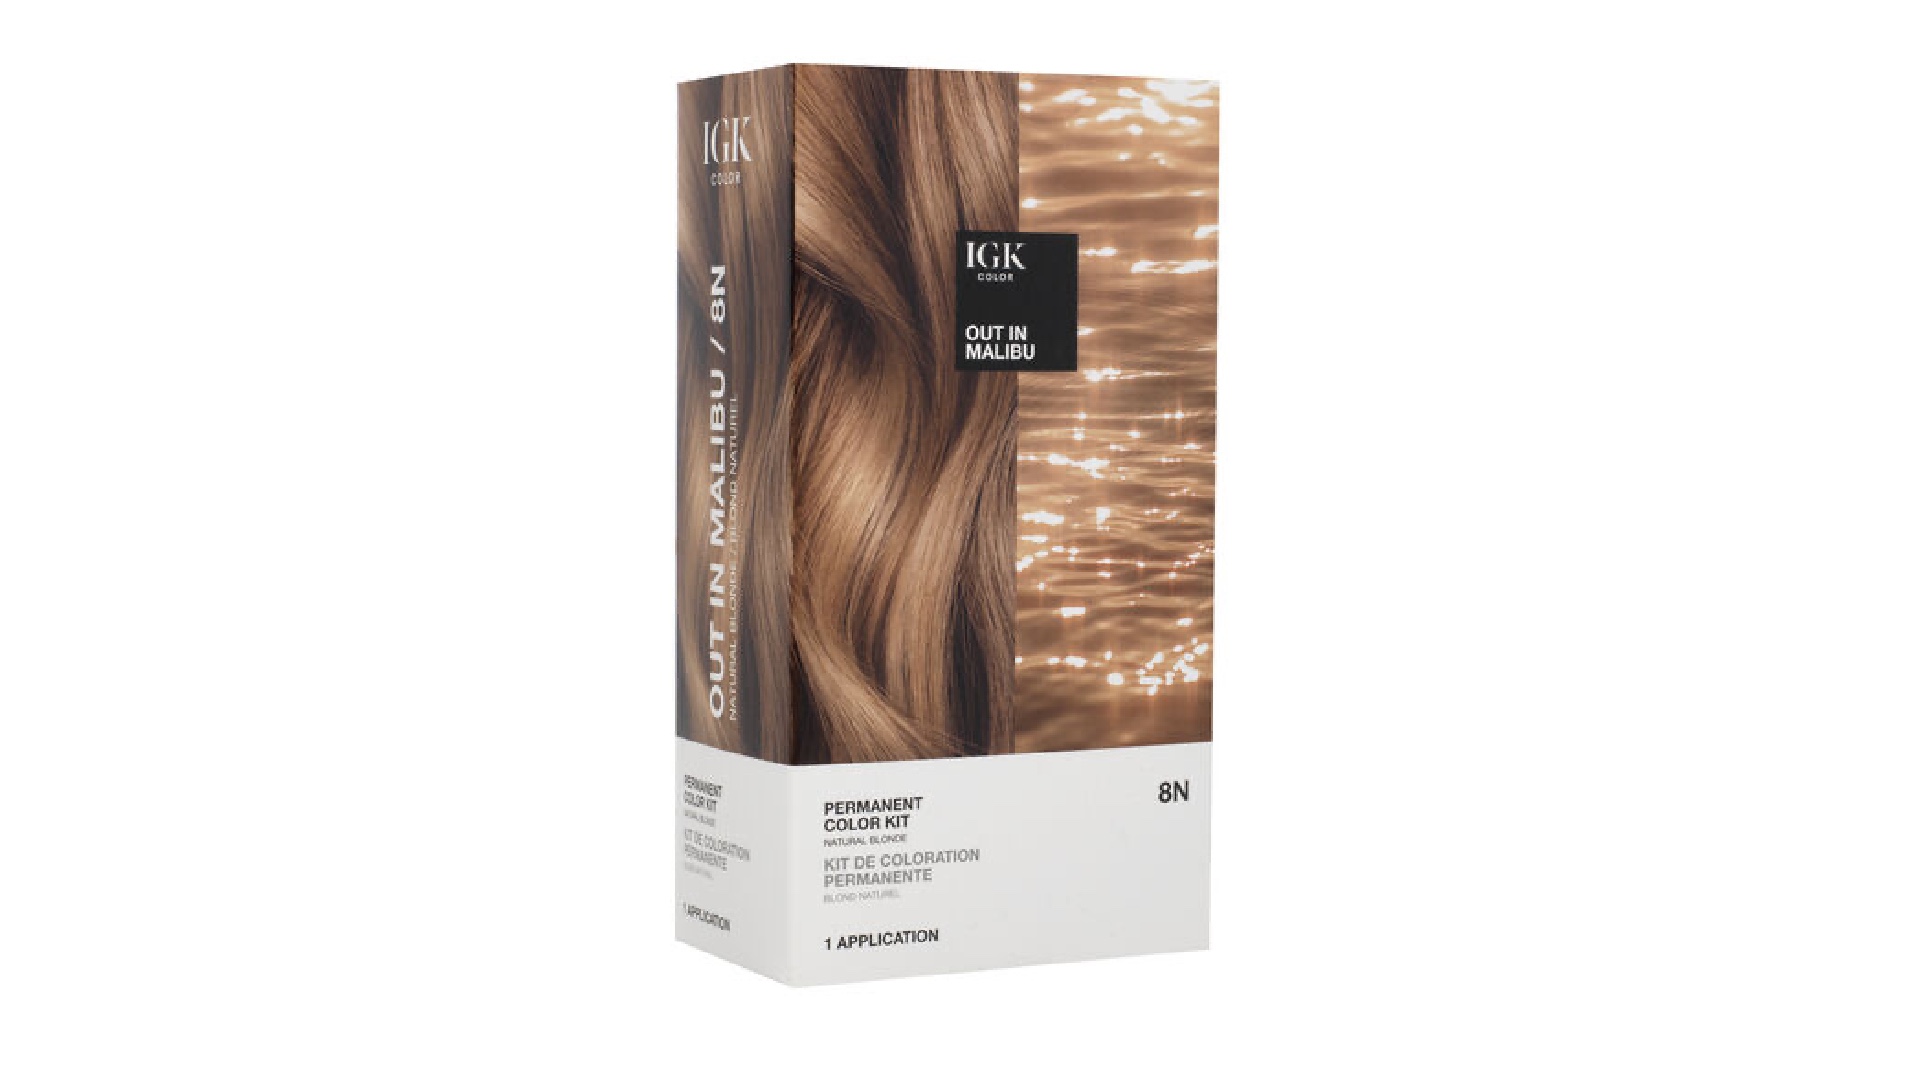
Ok, so this technically isn’t a highlighting kit. But it is a brilliant all over colour kit that delivers vibrant, dimensional colour and shine. You’ll notice that where your hair naturally differs in shade, this dye will pick up on those nuances and create soft variations in colour that mimic highlights and/or lowlights. With 10 shades to choose from (spanning from black to blonde), there’s something to suit everyone.
Shades aside, the strand-savvy formula boasts nourishing ingredients (including squalene, bamboo extract and orchard extract) to lock in moisture and bolster shine. Expect glossy, swishy results. Easy to use, the kit comes with gloves, an applicator, dye and developer as well as a barrier gel to protect the hairline and ears from becoming stained. Clever! Follow the step-by-step instructions and finish with the post-colour mask for super soft strands.
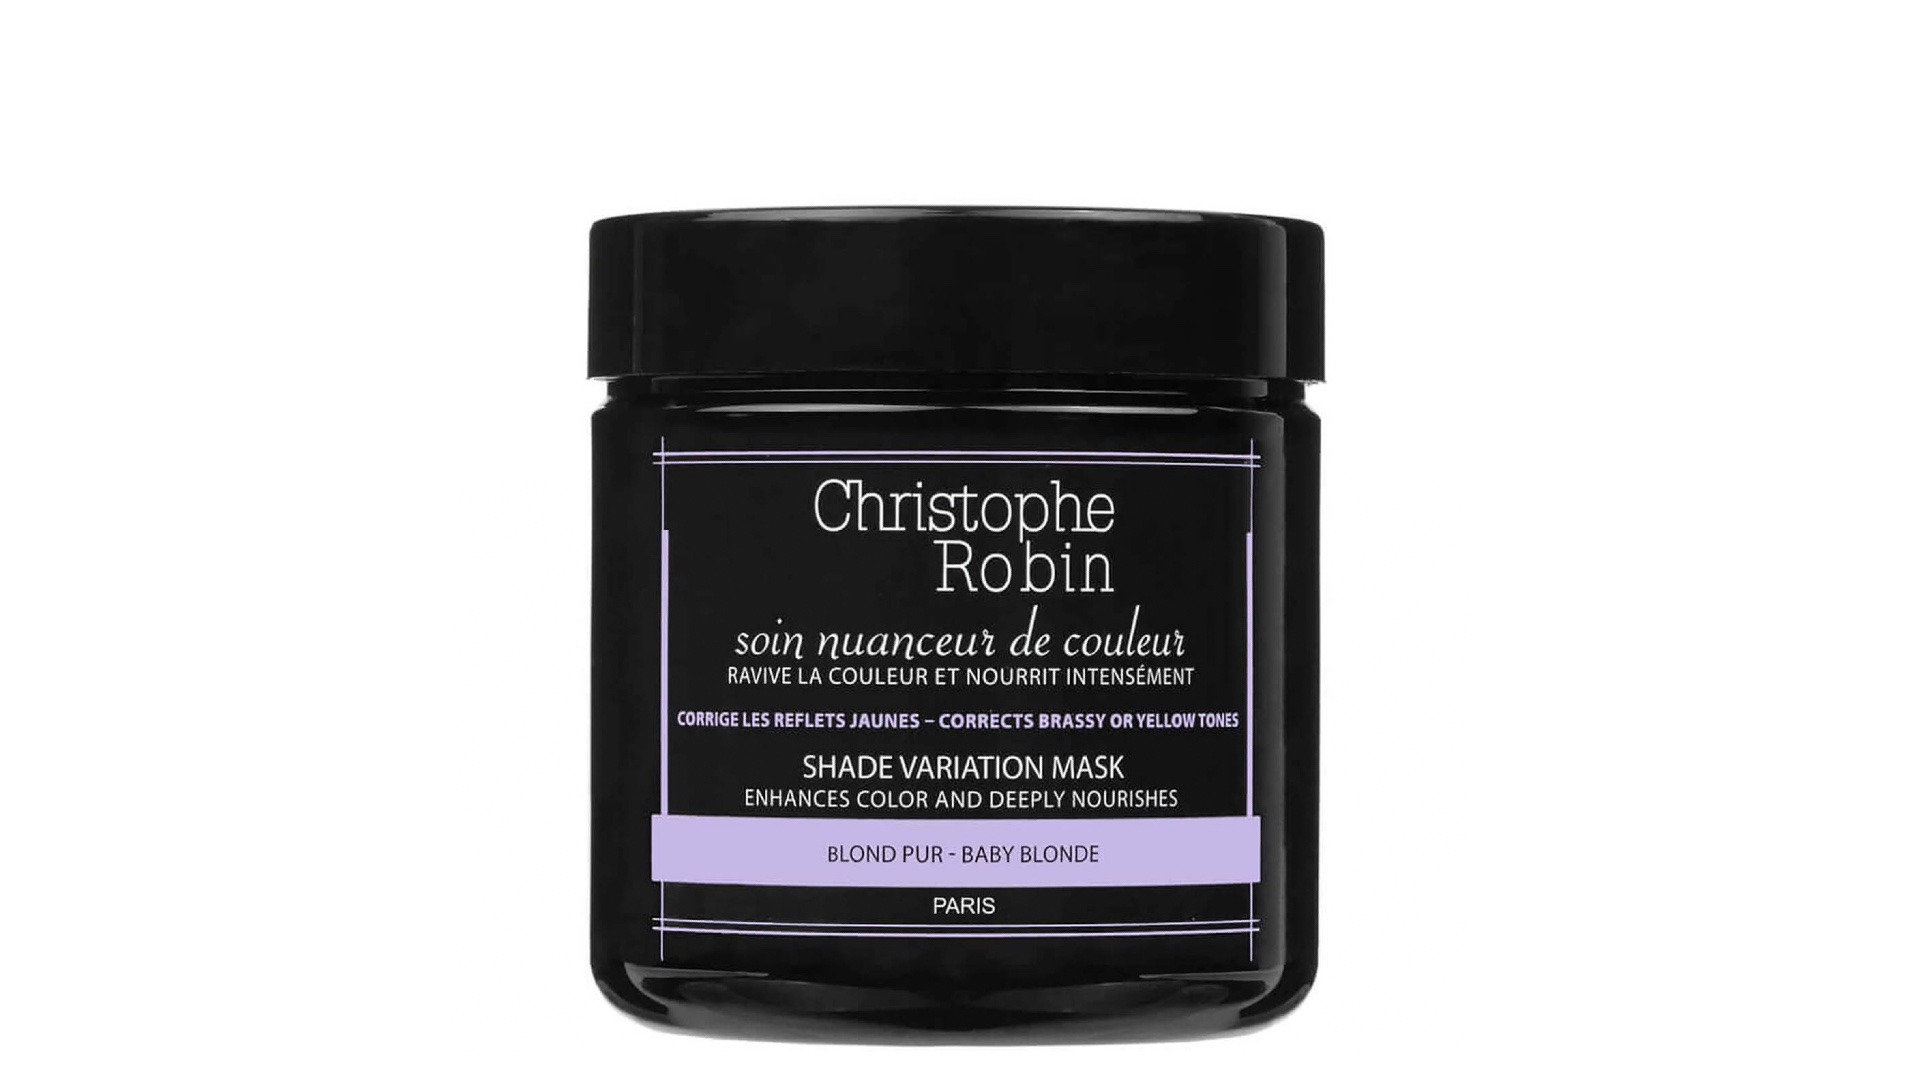
Many of us have experienced the development of dreaded brassy tones a few weeks or months after getting our hair colour done. This unintentional yellow tinge can make professional (and expensive) highlights appear faded, tired and older than they are, but using purple products can neutralise them.
This clever mask works to tone down brassy tones in highlighted hair in a matter of minutes, and truly makes older highlights appear fresh and sparkling again. This is a bit like a supercharged version of the best purple shampoo, but without the dulling residue. The longer you leave the mask on, the stronger the toning effect so give it five for general creaminess, or if you prefer a really cool and ashy tone try 15.
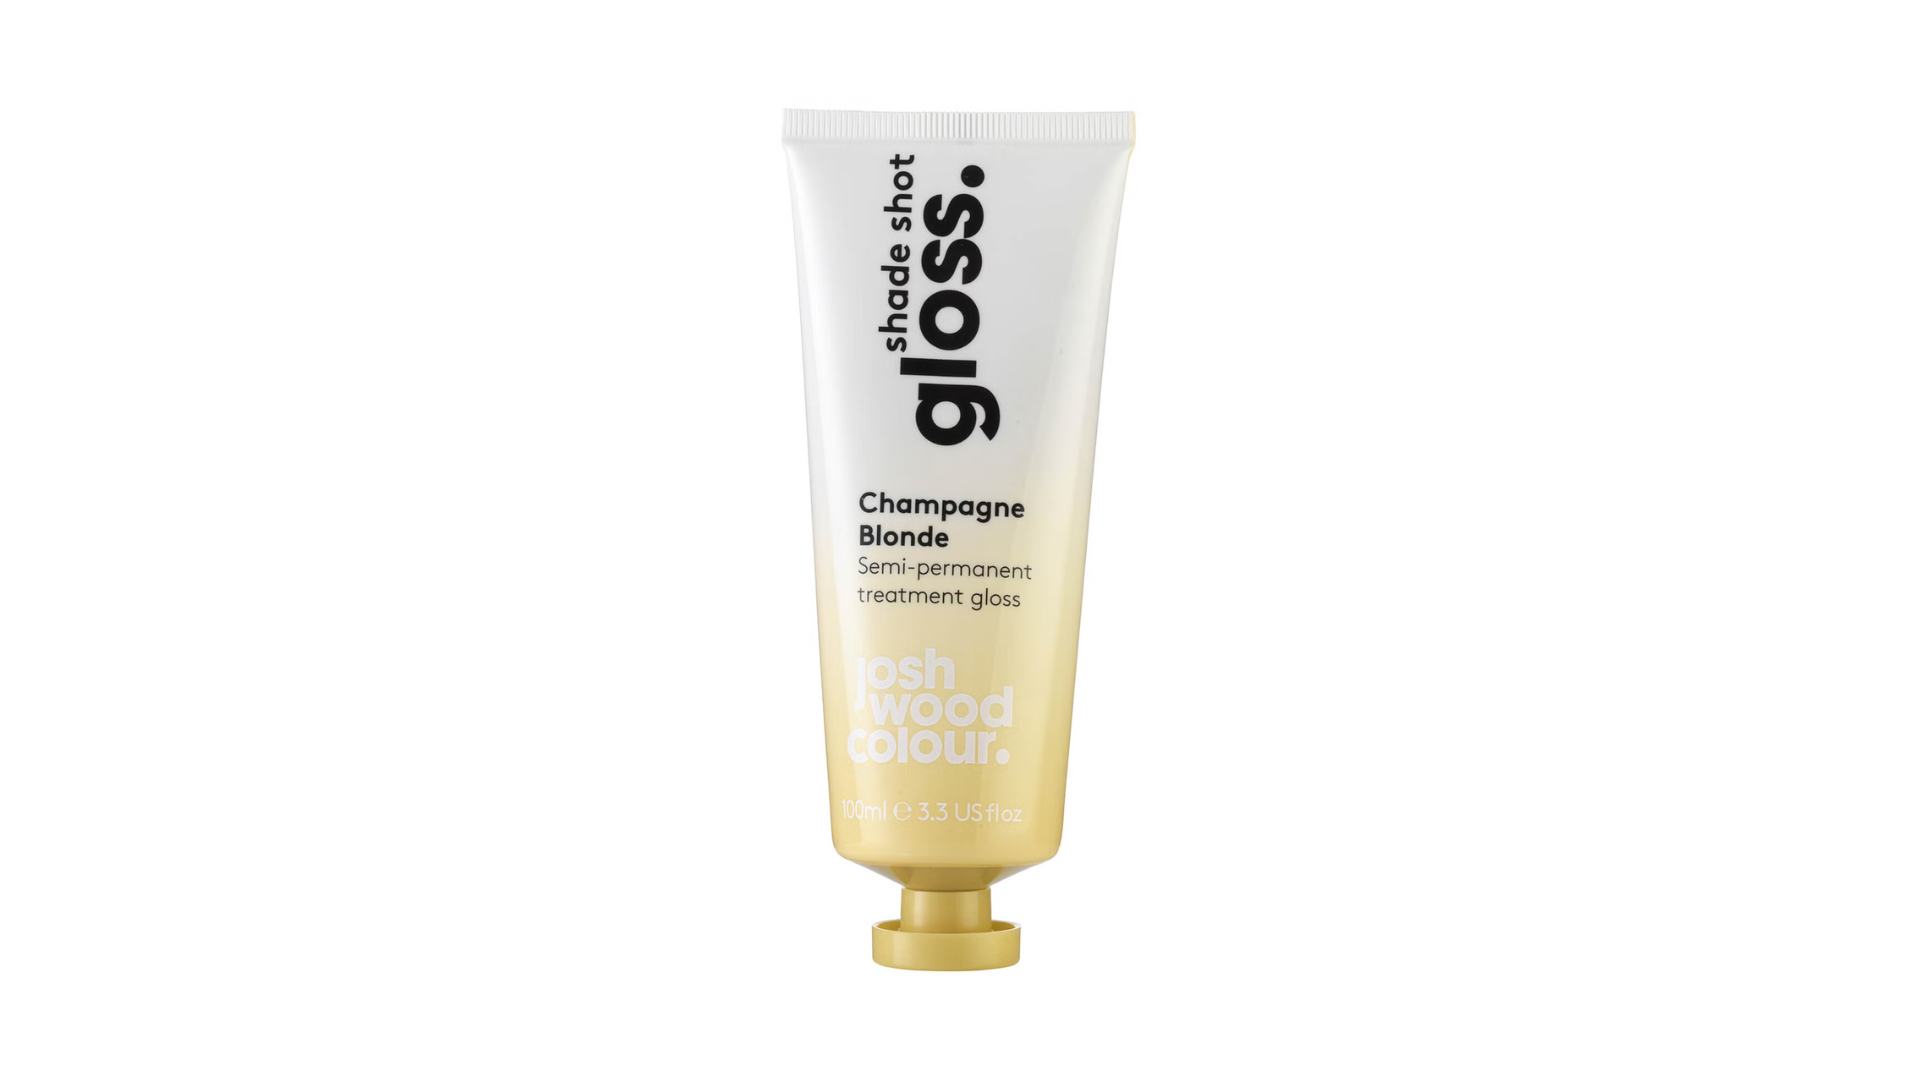
If you've already got bleached hair and are looking to play with your colour between salon visits, Josh Wood's semi-permanent Shade Shots will let you try out a different look without inflicting any damage on your hair or shelling out a fortune on treatments.
If you want to brighten things up a bit, the Champagne or Icy Blonde Gloss will lift your bleached sections for a professional-looking finish. Or for brunettes, Chestnut and Smokey Brunette will enhance a darker look. You could even try out the colourful "glazes" – Copper, Cherry, Berry or Rose. Whichever you pick, they work in a few minutes flat and made no mess in our bathroom; the Champagne shade left our grown-out highlights looking glossy and shimmering with a creamy finish.
How to use home highlight kits: Your FAQs answered
What's inside home highlight kits?
- Instructions: Read these thoroughly and always carry out a patch test on your skin at least 48 hours before use.
- Lightening formula: The actual dye and sometimes even a darker dye if you're going for a reverse ombré with a specific kit.
- Applicators: Tint brush with foil, tint brush with balayage board, comb applicator, or cap and hook.
- Accessories: Gloves, and sometimes a mixing bowl, depending on your chosen application method.
- Conditioning mask: A conditioning treatment to use on your hair post-highlighting.
As well as different kits, there are few different methods for the actual application of your highlights. Below, we've explained each one to help get you going with your colour application.
How you decide on which method to use is completely up to you, but we've advised on which colour techniques work best with each different method, so this could all be down to your desired final look.
How to use home highlight kits with foils
Works best with: Highlights
Full-on highlights are when fine streaks of colour are distributed evenly in small sections throughout the hair, often separated by foils. They tend to come right up to the root and can also be fine or chunky, depending on the technique used.
If you really know what you’re doing – or you're happy to give it a go – use foils like some hairstylists do, as they will help to give the closest finish to what you would get in a salon.
"Highlights are in the foil directly at the root and are usually the lightest effect, as the heat from the foil works the best," says Francesca Dixon, creative colourist at HARI's Salon. You can get hold of professional hairstylist foils easily on Amazon.
How to use home highlight kits with a brush
Best for: Balayage, ombré or adding shadow roots to grown-out highlights
If you usually opt for balayage when getting your hair coloured in a salon, chances are your stylist will use a freehand brush technique and a board to paint your colour in. This usually involves the colour being painted on without the use of foils for a more natural look and is often applied in larger sections and blended through the natural hair colour – so if you want an expertly blended finish, we'd opt for this method.
"Balayage tends to be the lowest maintenance, so you can get away with it for a little bit longer, thankfully – most people have it twice or three times a year," explains Francesca. This brush method can also be used to create an ombré look, which is "a shadow technique of colouring hair that gives hair a rooty effect going from dark to light effect from root to tip which gives a root effect," Francesca continues.
"In a salon, we often merge the two techniques of balayage and ombré together which can create a beautiful and more gentle result." You can also use this method to brush a darker shade onto your roots (known as shadow roots) if you find that your highlights are growing out and becoming too high-maintenance. "These can be created on top of highlights to convert it into a balayage," Francesca confirms.
How to use home highlight kits with a comb
Works best with: Highlights, balayage or ombré
A comb applicator will distribute dye through the hair for a highlighted effect. Use the one that comes in the highlight kit, or buy a paddle brush or a professional highlighting paddle. Wearing gloves, use your fingers to apply and then comb through for a more natural effect.
You can also use a comb applicator or paddle brush to create a balayage effect by applying the colouring product directly onto the tool and then combing or brushing it through your hands.
How to use home highlight kits with a cap & hook
Works best with: Highlights
Alternatively, use a cap and hook. Some highlight kits come with a cap instead of a comb, but you can also buy a professional highlights cap and hook set quite easily on Amazon.
To use, simply pick hair through your highlights cap with the hook and pull each section out evenly throughout your head. Take your time and be gentle; the last thing you need is to tug at your roots and encourage breakage. Try to set up your station with a mirror on both sides so you have a better view of the back of your head.
How to fix a home highlighting mishap
"If you had any of the issues from your DIY hair experience, I would always recommend waiting to see a professional to fix it," says Francesca. "If you have patchy hair colour, have a root glow or whatever your hair crisis may be, HARI's offers a full consultation (virtually or in-salon) with your professional who will deal with the problem and advise and guide you. Don’t try and fix it yourself at home as you may make it worse, which could cause breakage.
"If you have patchy colour, try using a purifying shampoo to remove the coating and soften the build-up to help your hairstylist deal with the colour mishap and keep your hair in good condition for when you do manage to get back into the salon," she continues.
"I recommend L’Oréal Professionnel Nutrifier Masque as it's silicone-free, so it won’t leave a coating on the hair cuticle, and contains coconut oil and glycerol, which is proven to hydrate nourish and add shine. If your hair is warmer or brassier than your desired result, then try a silver shampoo to mute the hue. L'Oréal Professionnel Blondifier Shampoo is my go-to shampoo for that!"
How to maintain your highlights
After going through the effort of painting on highlights, chances are you'll want to do everything you can to ensure they last as long as possible (unless the process hasn't gone quite as you'd hoped).
With that in mind, we got Francesca's expert advice on exactly how we should be looking after our highlighted hair, as well as sharing some of our favourite hair maintenance products to add to your regime.
- Nourish hair: "Keep your hair well-nourished and in good condition," Francesca advises. "Use a home hair mask and glossing treatments and drink lots of water for extra shiny hair."
- Start from the inside: "What you take internally will reflect externally," explains Francesca. "Hair vitamins are always a good idea to ensure you’re giving your hair all the nutrients it needs for optimal health."
- Go sulfate-free: "Opt for a sulphate-free shampoo to help prolong the colour and [keep the] tone from fading," says Francesca. "Rahua and Pureology [products] are all sulphate-free and are professional-grade. However, it's good to be aware that you only need a small amount of these shampoos as they are very concentrated. If in doubt, add a dash more water to lather it up more."
RRP: £38
Repair damaged hair with this deeply conditioning hair mask that’s powered by the brand’s patented "healthy hair molecule", tucuma butter and emollients to hydrate and smooth strands.
RRP: £22
These delicious daily supplements contain a cocktail of hair-loving ingredients (including biotin, zinc, vitamin b12 and selenium) to promote healthier, stronger strands. Take 2 gummies per day.
RRP: £24.70
A godsend for dry, damaged and colour-treated hair—this Hydrate Shampoo restores moisture with sage, green tea and jojoba. Hair is left silky soft and the colour looks salon-fresh.


