Remnant 2 is a challenging experience, filled with dangerous worlds, tough enemies, and mighty bosses that can squish you in a heartbeat. What's more, everything from levels to quests to available weapons is randomised every run, meaning you'll never know exactly what you're going to be fighting, or what you'll be fighting it with.
This makes offering advice trickier than for most games. I can't suggest you seek out a specific weapon, for example, as there's no guarantee it'll appear in your run. Likewise, I can't provide specific hints for completing the early game, as it's different every time you play. All that said, there are some things you can do to make onboarding easier, alongside some smaller, easy-to-overlook mechanics that can give you an edge in combat or exploration.
Some elements of Remnant 2 are universal, and therefore I can provide a few general tips on how to make your first few hours with the game easier, or at least, slightly less punishing. So, here are 10 tips for getting started in Remnant 2.
Pick the right starting Archetype
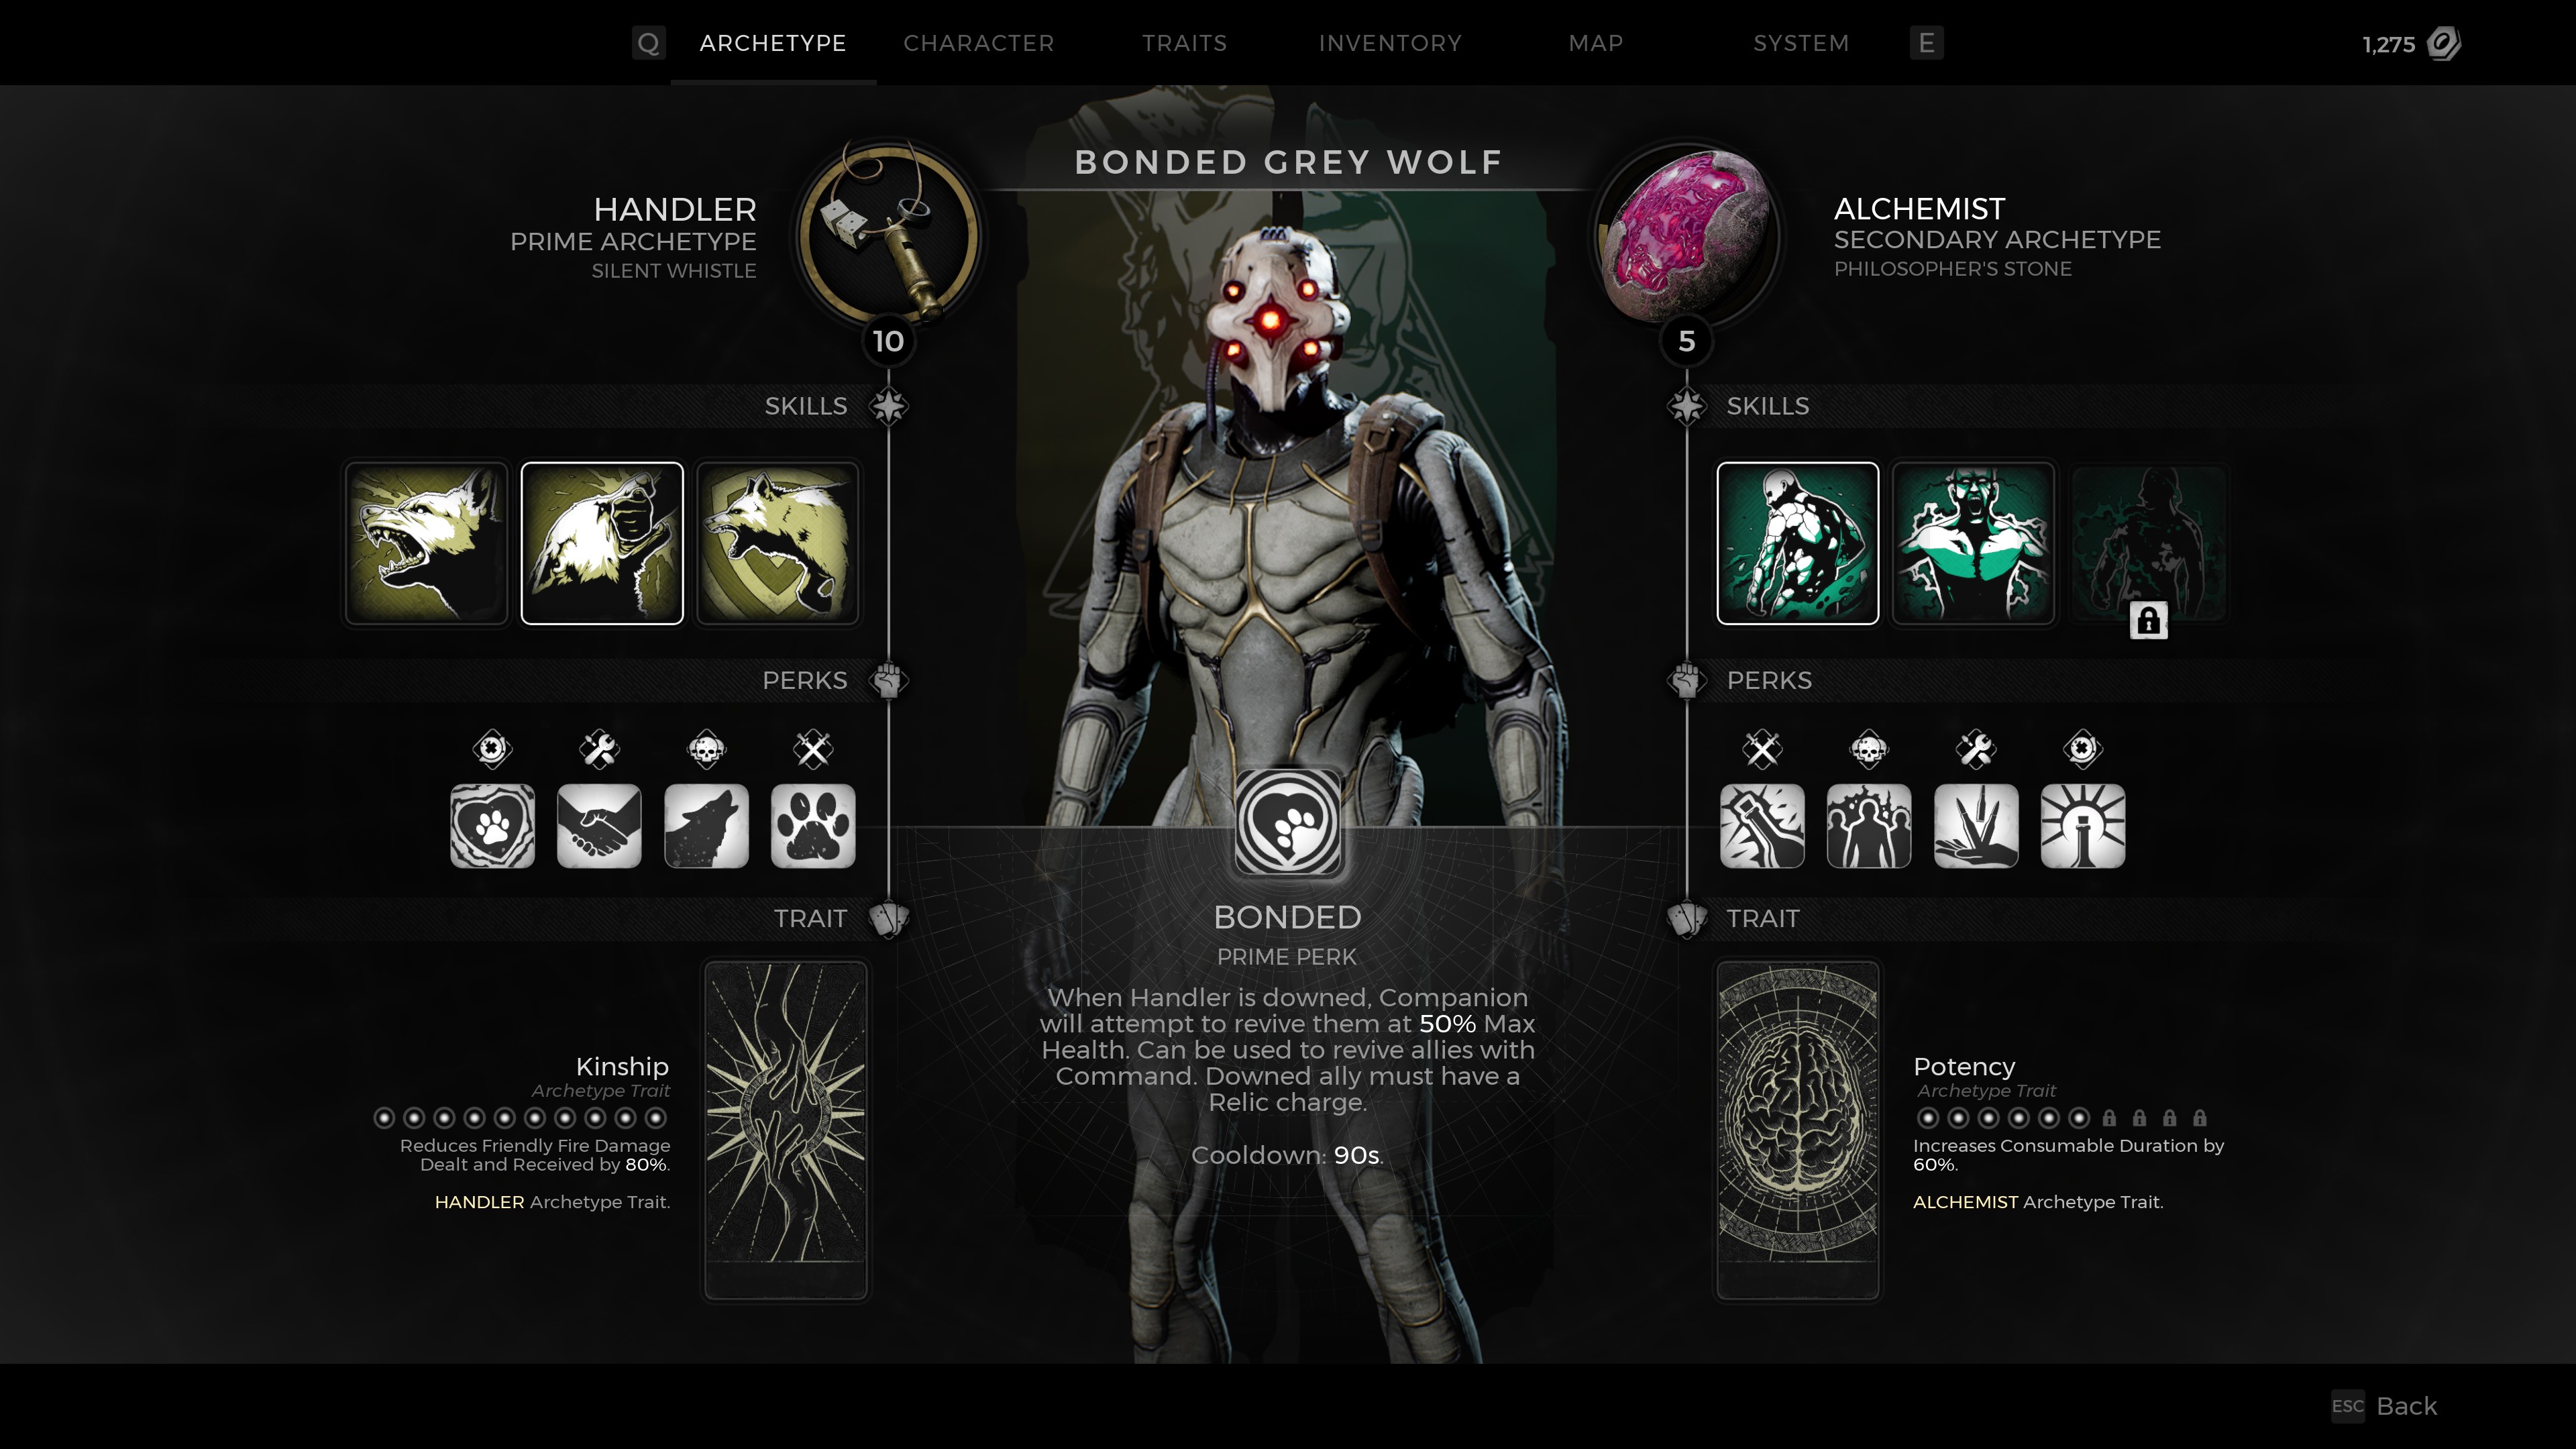
Midway through Remnant 2's tutorial, you'll get to choose an Archetype, which is essentially Remnant 2's version of classes. Archetypes come with a unique set of passive perks and one of three active skills, all of which expand and improve as you level up. There are four starting classes to pick from, namely Challenger, Handler, Hunter, and Medic.
Picking an Archetype is the most important decision you'll make in the game, so it's crucial to get it right. If you're playing solo, I strongly recommend that you pick the Handler Archetype. That's because the Handler is accompanied by an AI dog which essentially functions as an additional player. It will kite enemies away from you, can be ordered to attack specific opponents, and most importantly, can revive you if you are downed. If you're not a dog person, then the Medic is a decent alternative for solo play, as they have extensive healing abilities that help them stay alive in combat.
If you're playing with two players, Handler and Medic makes a strong combination, giving you plenty of ways to keep one another in the fight. If you have a full complement, then Medic, Hunter and Challenger make a neatly balanced trio, giving you both long and short-range combat proficiency, plus healing support.
Master your Archetype skills
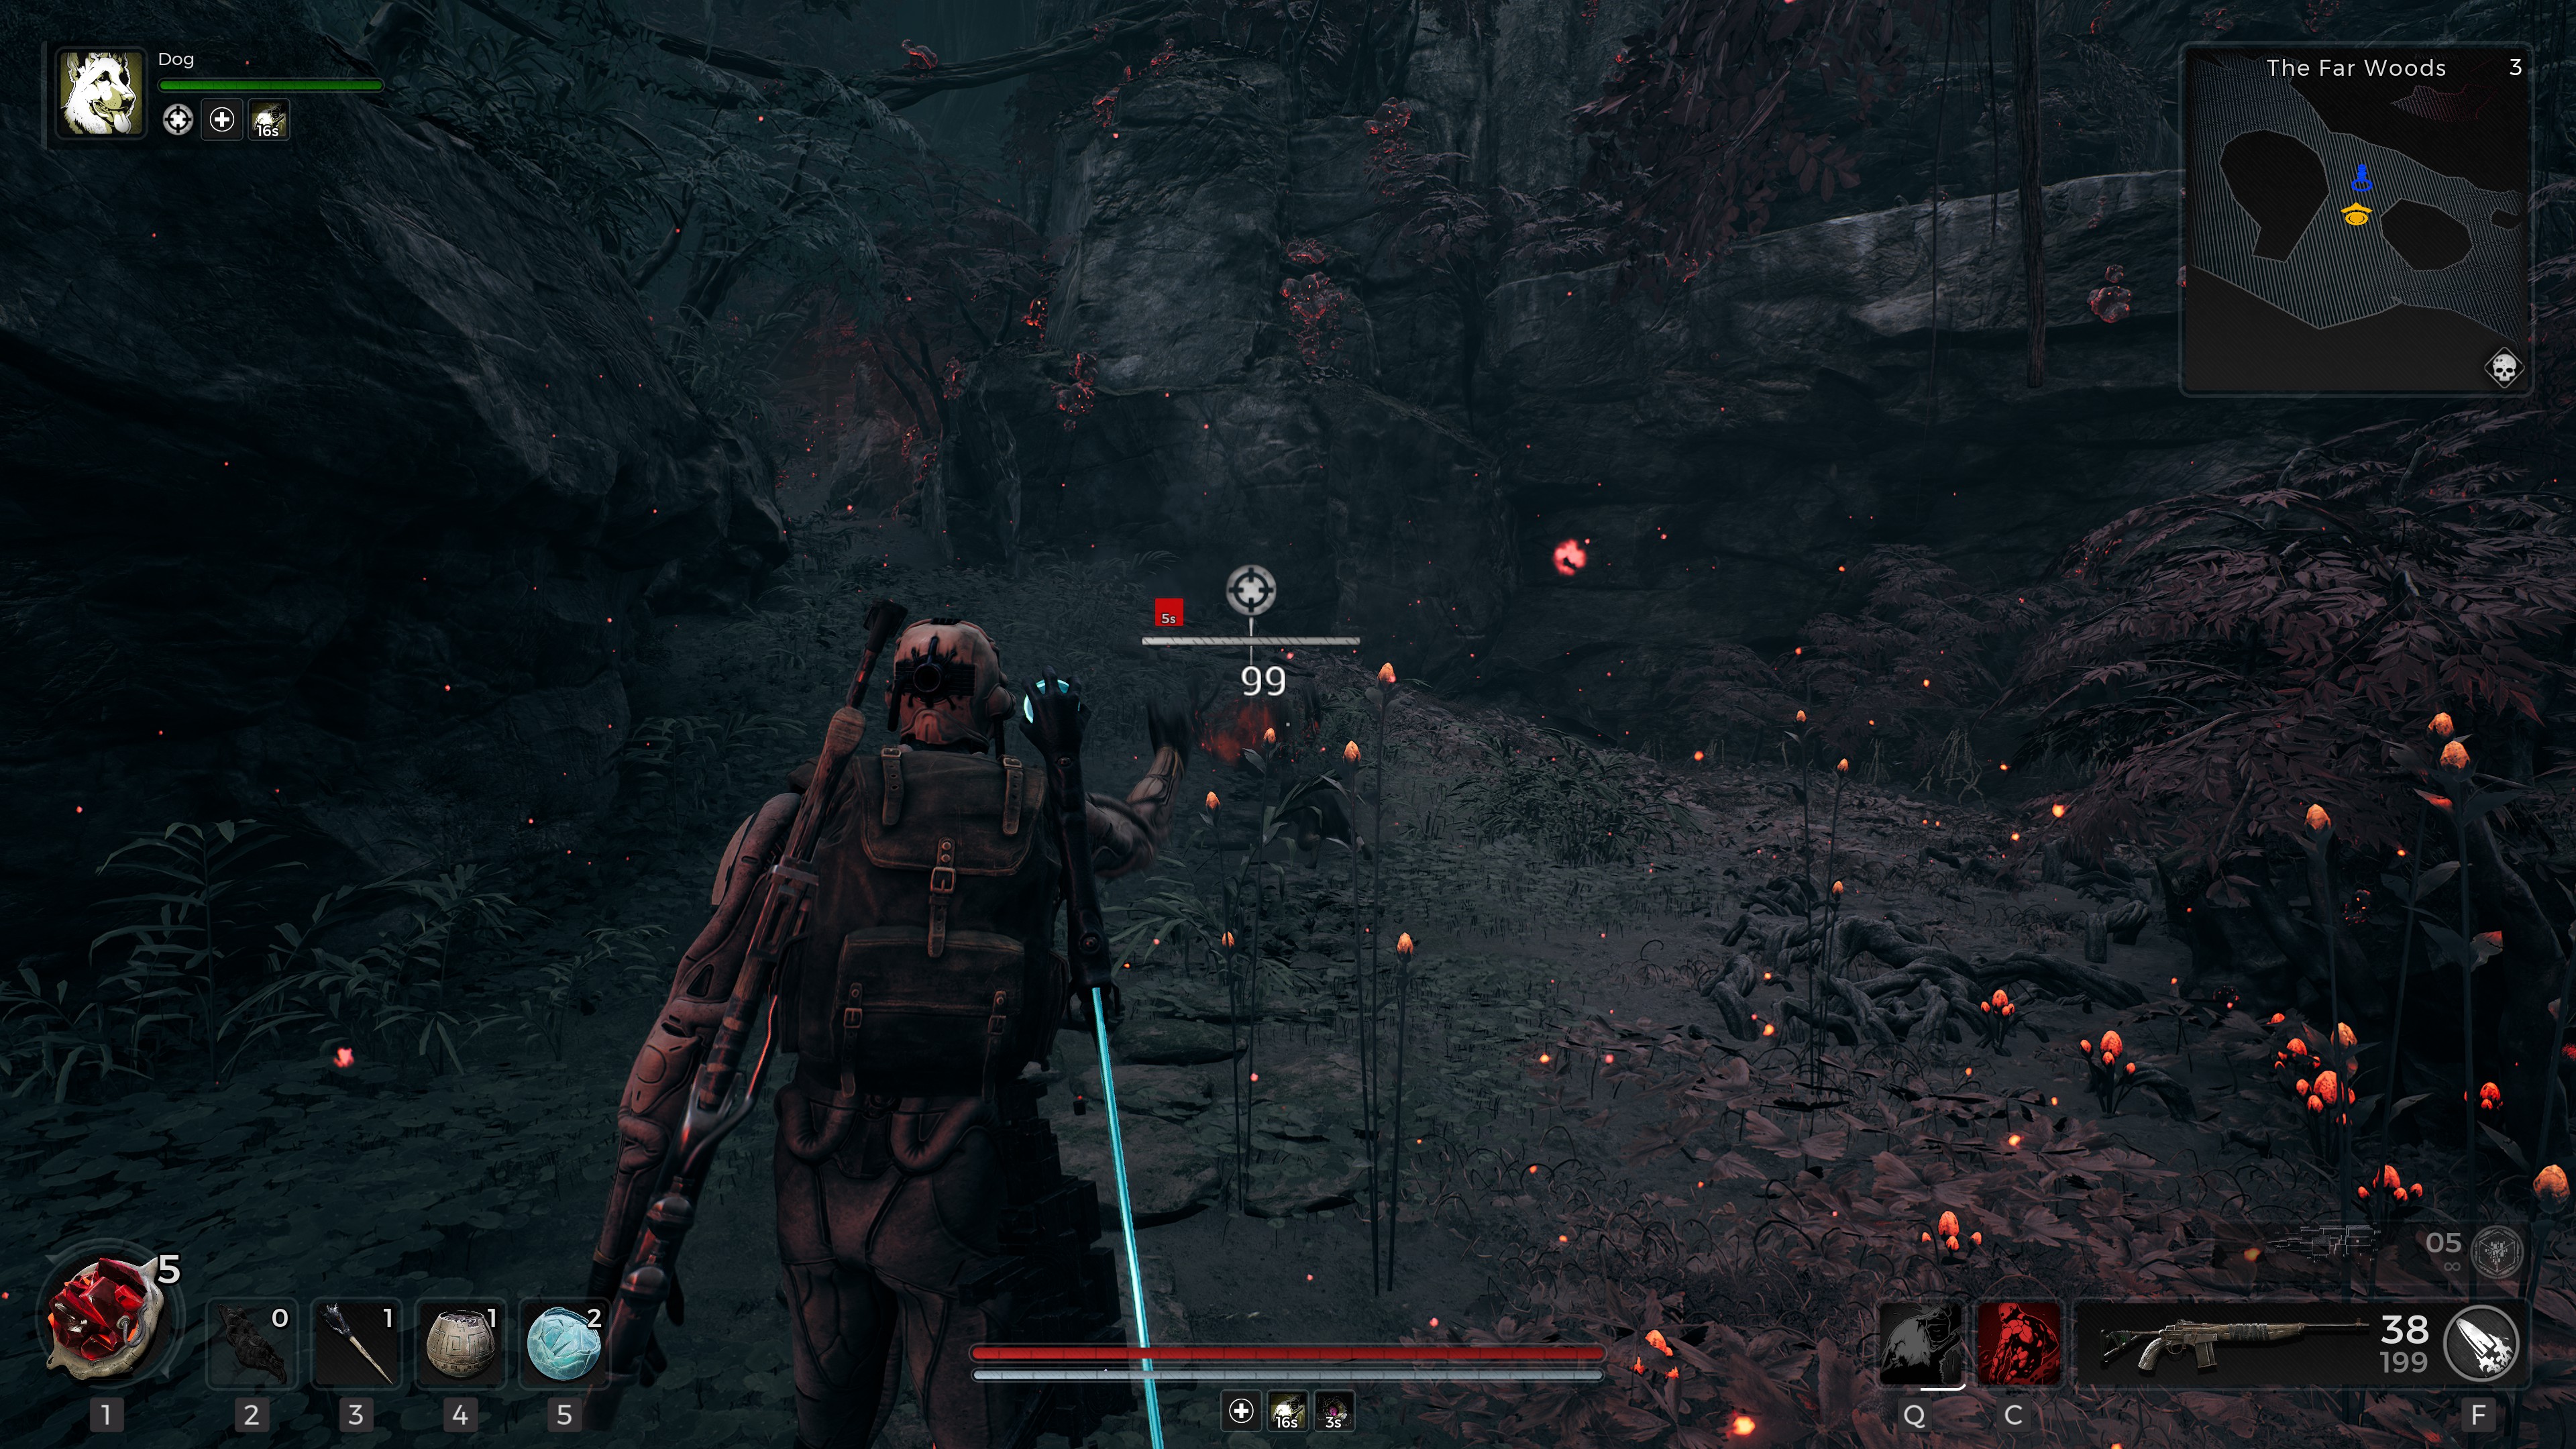
As mentioned above, each Archetype has an active skill that can be used to gain an edge in combat. But this skill is actually more like two skills, which have varying effects depending on whether you press or hold the corresponding button. For example, pressing the skill button as the Handler will direct your canine companion to attack an enemy. Holding down the button, meanwhile, will cause your dog to howl, buffing nearby players.
There are further layers to Archetype skills too. As you level up, you'll unlock new variants of your skill that have different effects. The Medic, for example, has three Archetype skills. Wellspring, the starting skill, lets them drop an AOE healing spring. Healing Shield, which is unlocked at level 5, gives additional damage protection to nearby enemies. Finally, there's Redemption. Unlocked at level 10, this unleashes a shockwave that will revive nearby downed allies.
Learn how to navigate
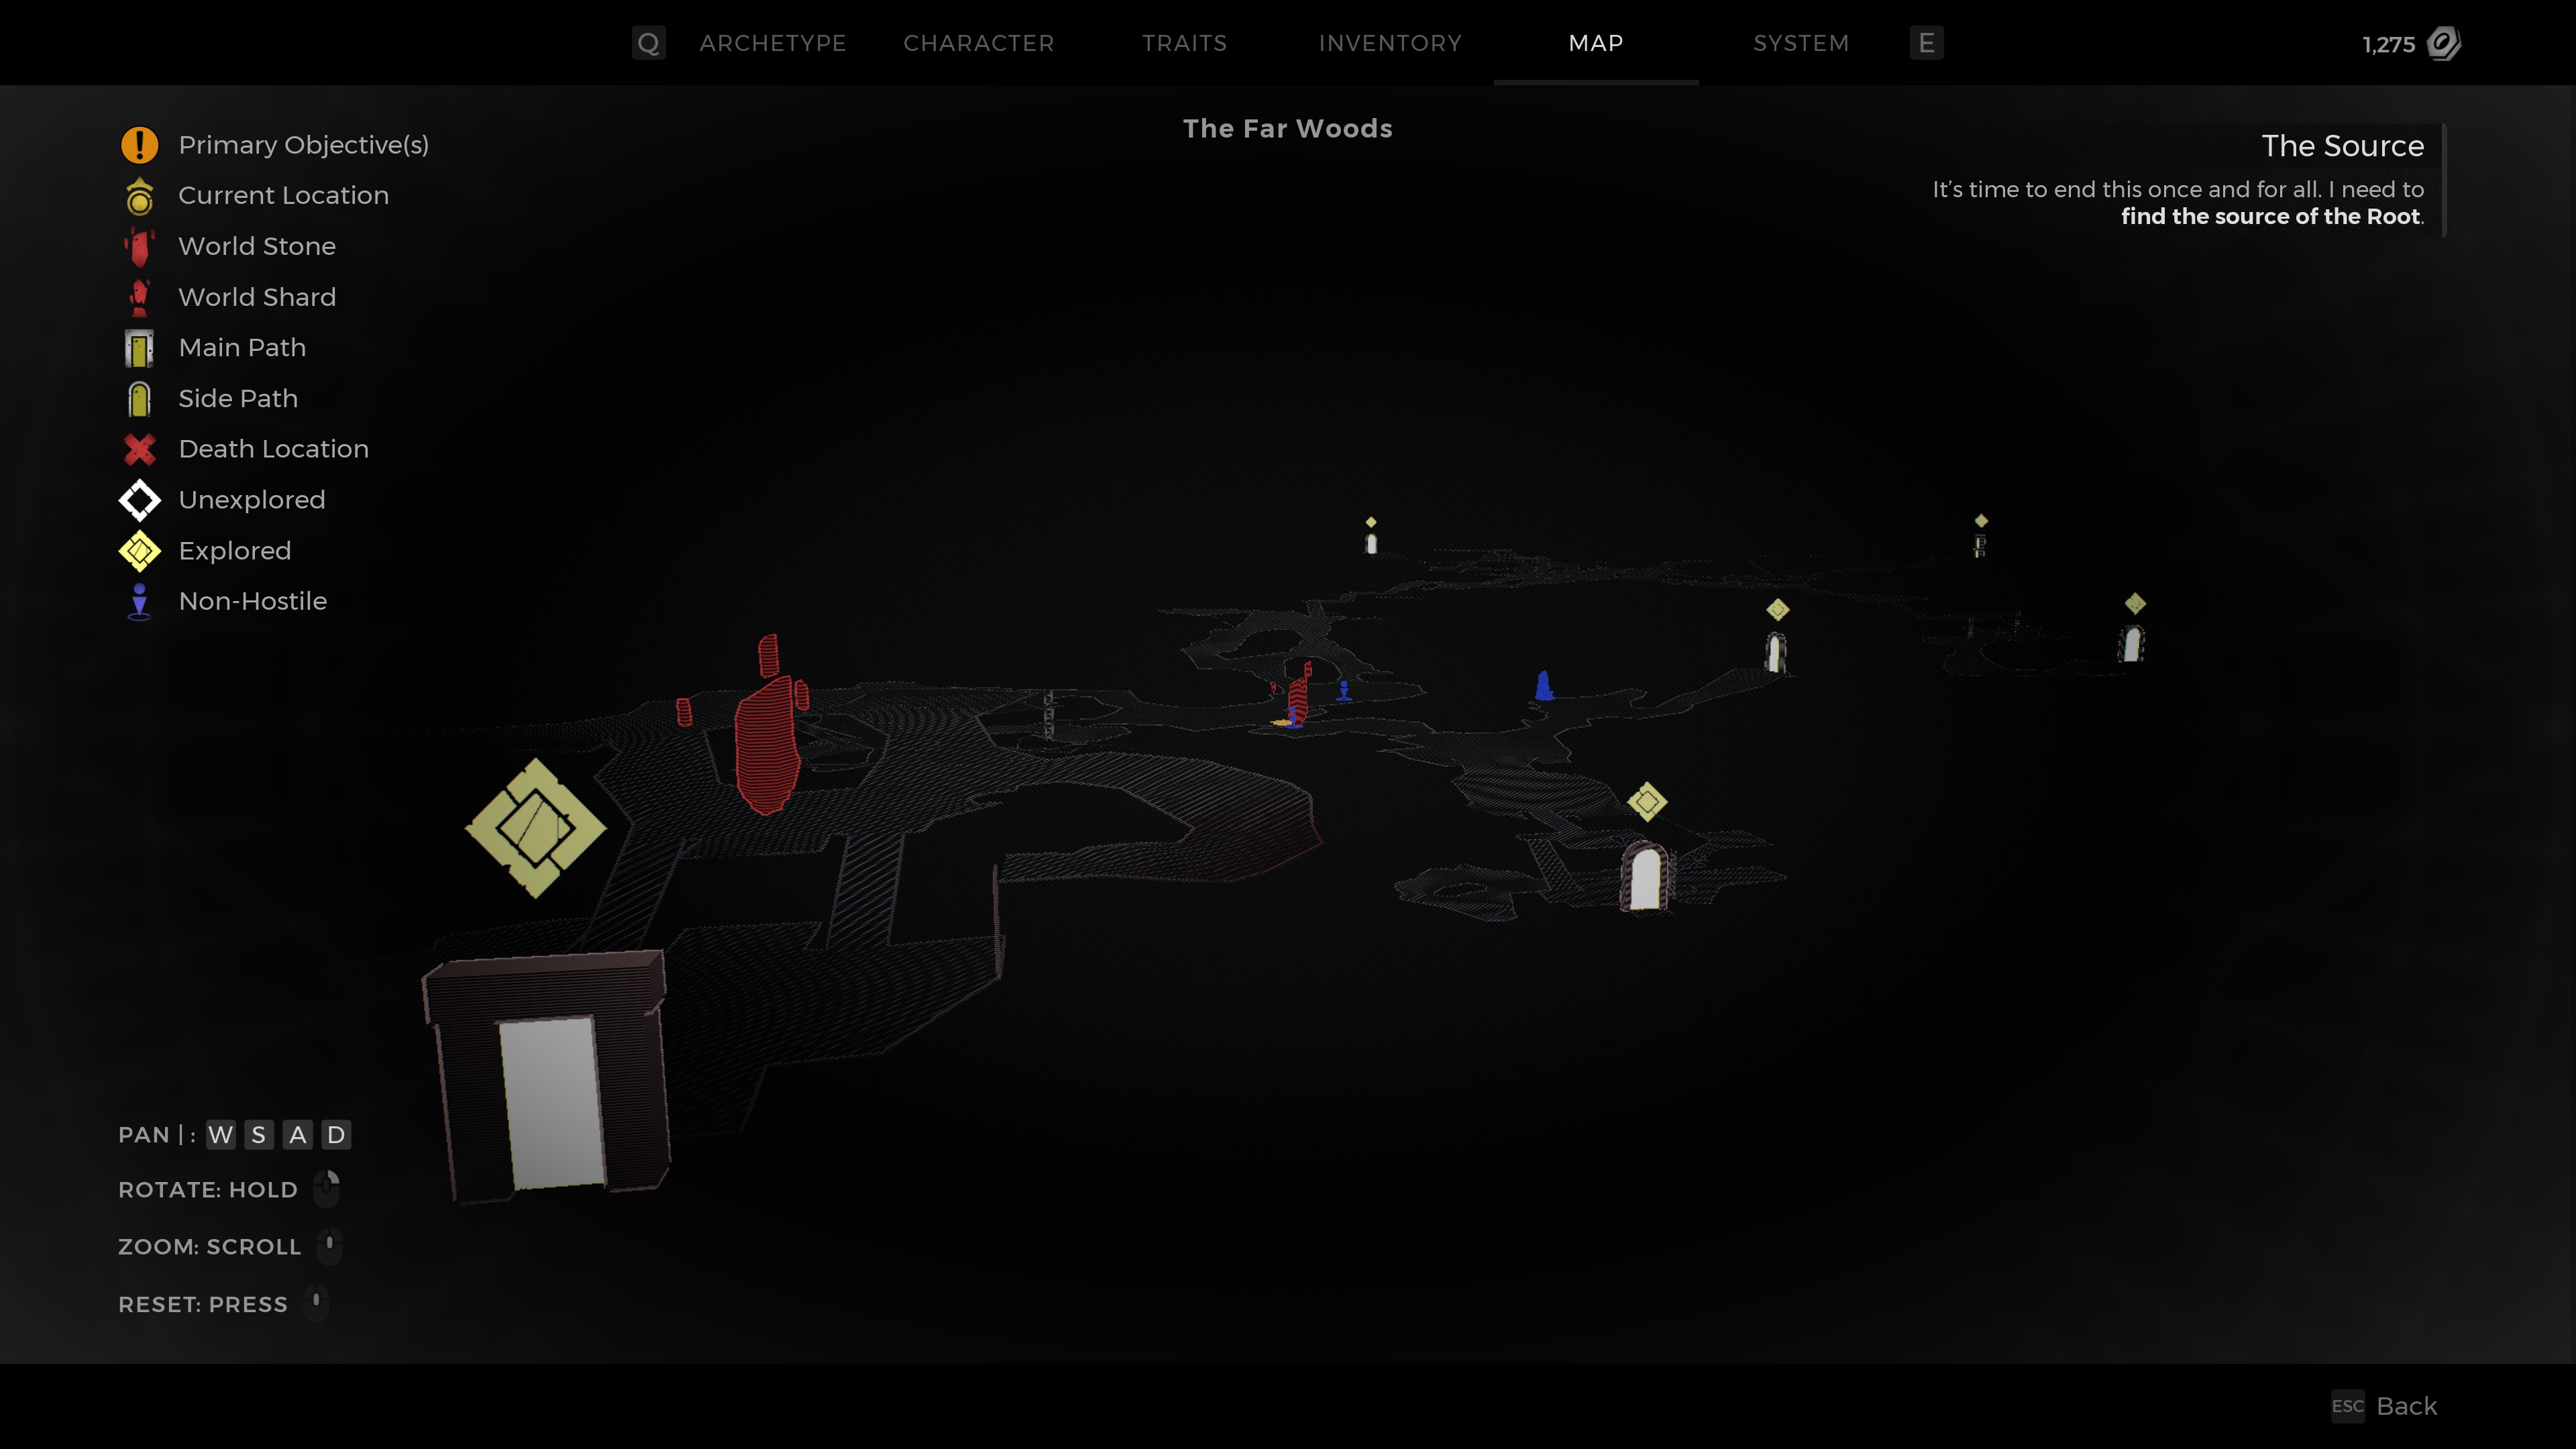
Navigating Remnant 2's worlds shouldn't cause you too much trouble, thanks to the game's truly excellent minimap. That said, there is one element of navigation worth highlighting, and that's spotting the difference between main and side areas. Paths to all new areas are represented both in-game and on the map as archways, but they come in two slightly different forms. The main path is represented by square archways, while side dungeons are indicated by rounded archways. It's worth exploring every new area you find, but learning the difference will help reduce confusion when you want to progress the story.
Learn when to dodge
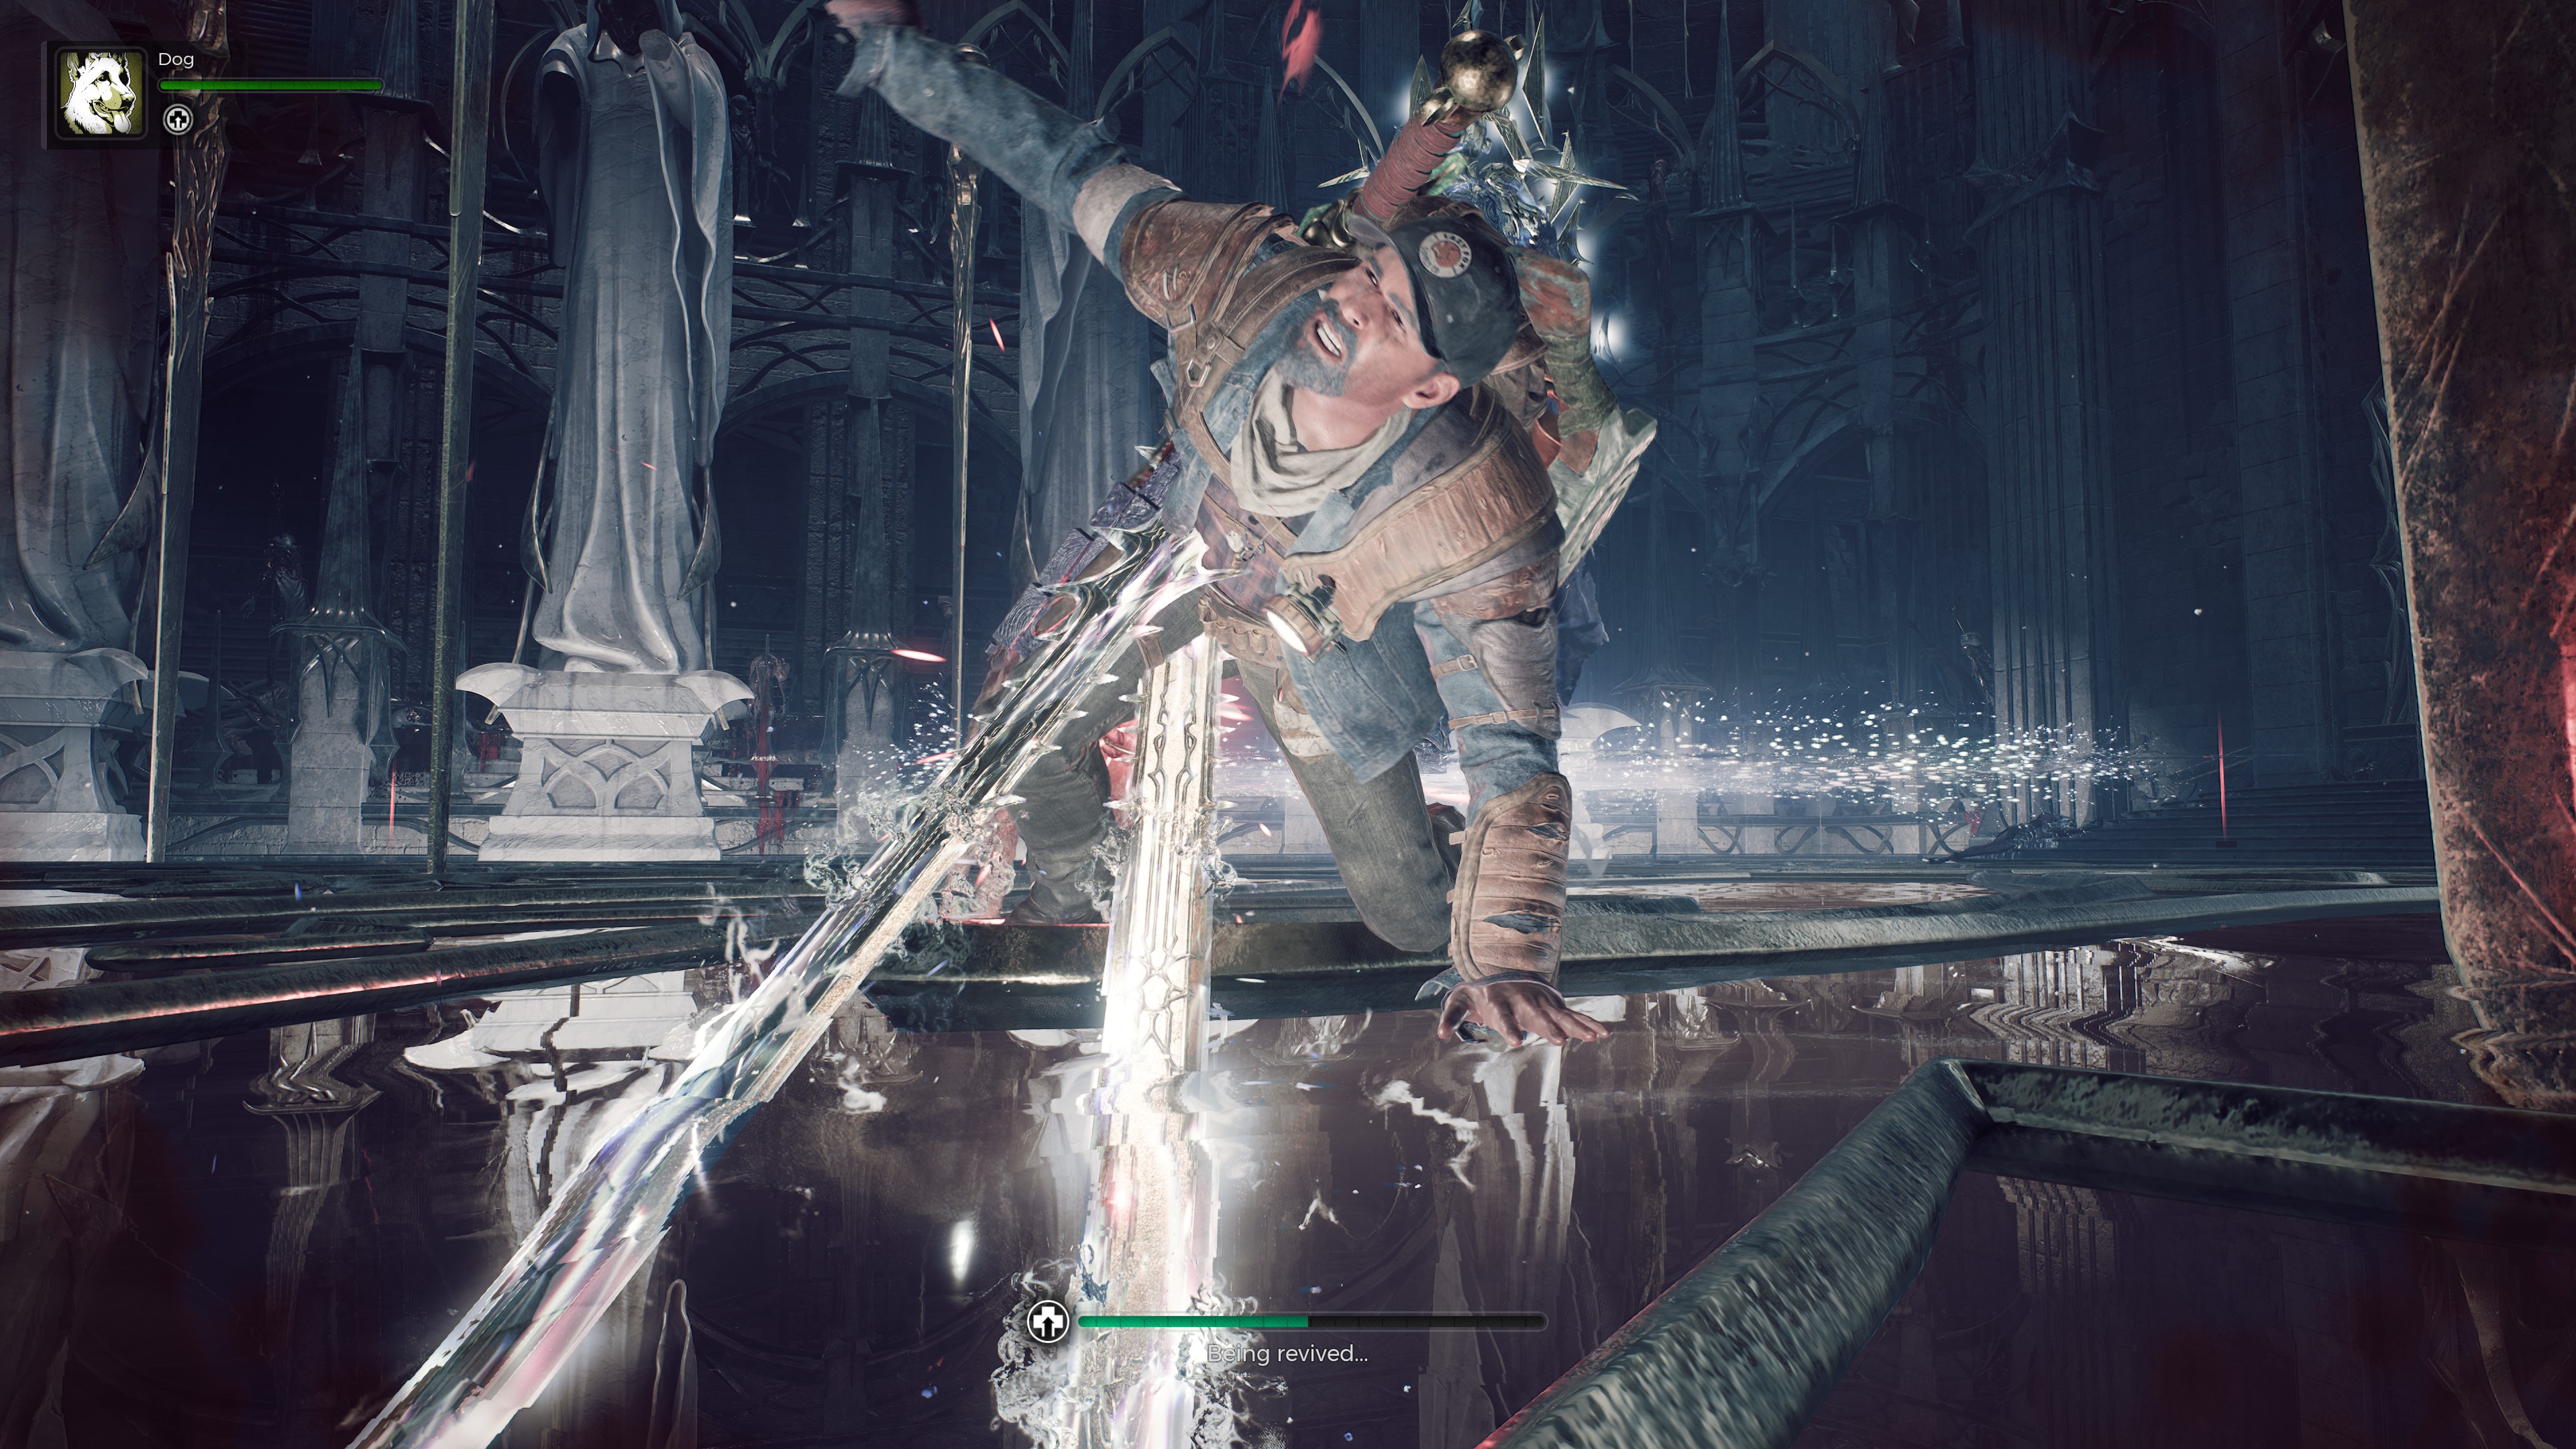
This one's obvious, but important nonetheless. Dodging is the main way to avoid damage in Remnant 2. Like Dark Souls, dodging not only helps you avoid enemy attacks, it provides a brief window of invulnerability that keeps you from taking damage while said attack is occurring. Many enemy attacks are designed to tempt you into dodging too early or too late, so it's important to watch what an enemy's arms—or other grasping appendages—are doing before you take your leap.
Finally, at the risk of summoning the Capra Demon by uttering the phrase "like Dark Souls" too many times, your dodge in Remnant 2 is affected by your armour weight. The lighter your armour, the faster your dodge will be, so consider your protection choices carefully before venturing forth.
Conserve ammo
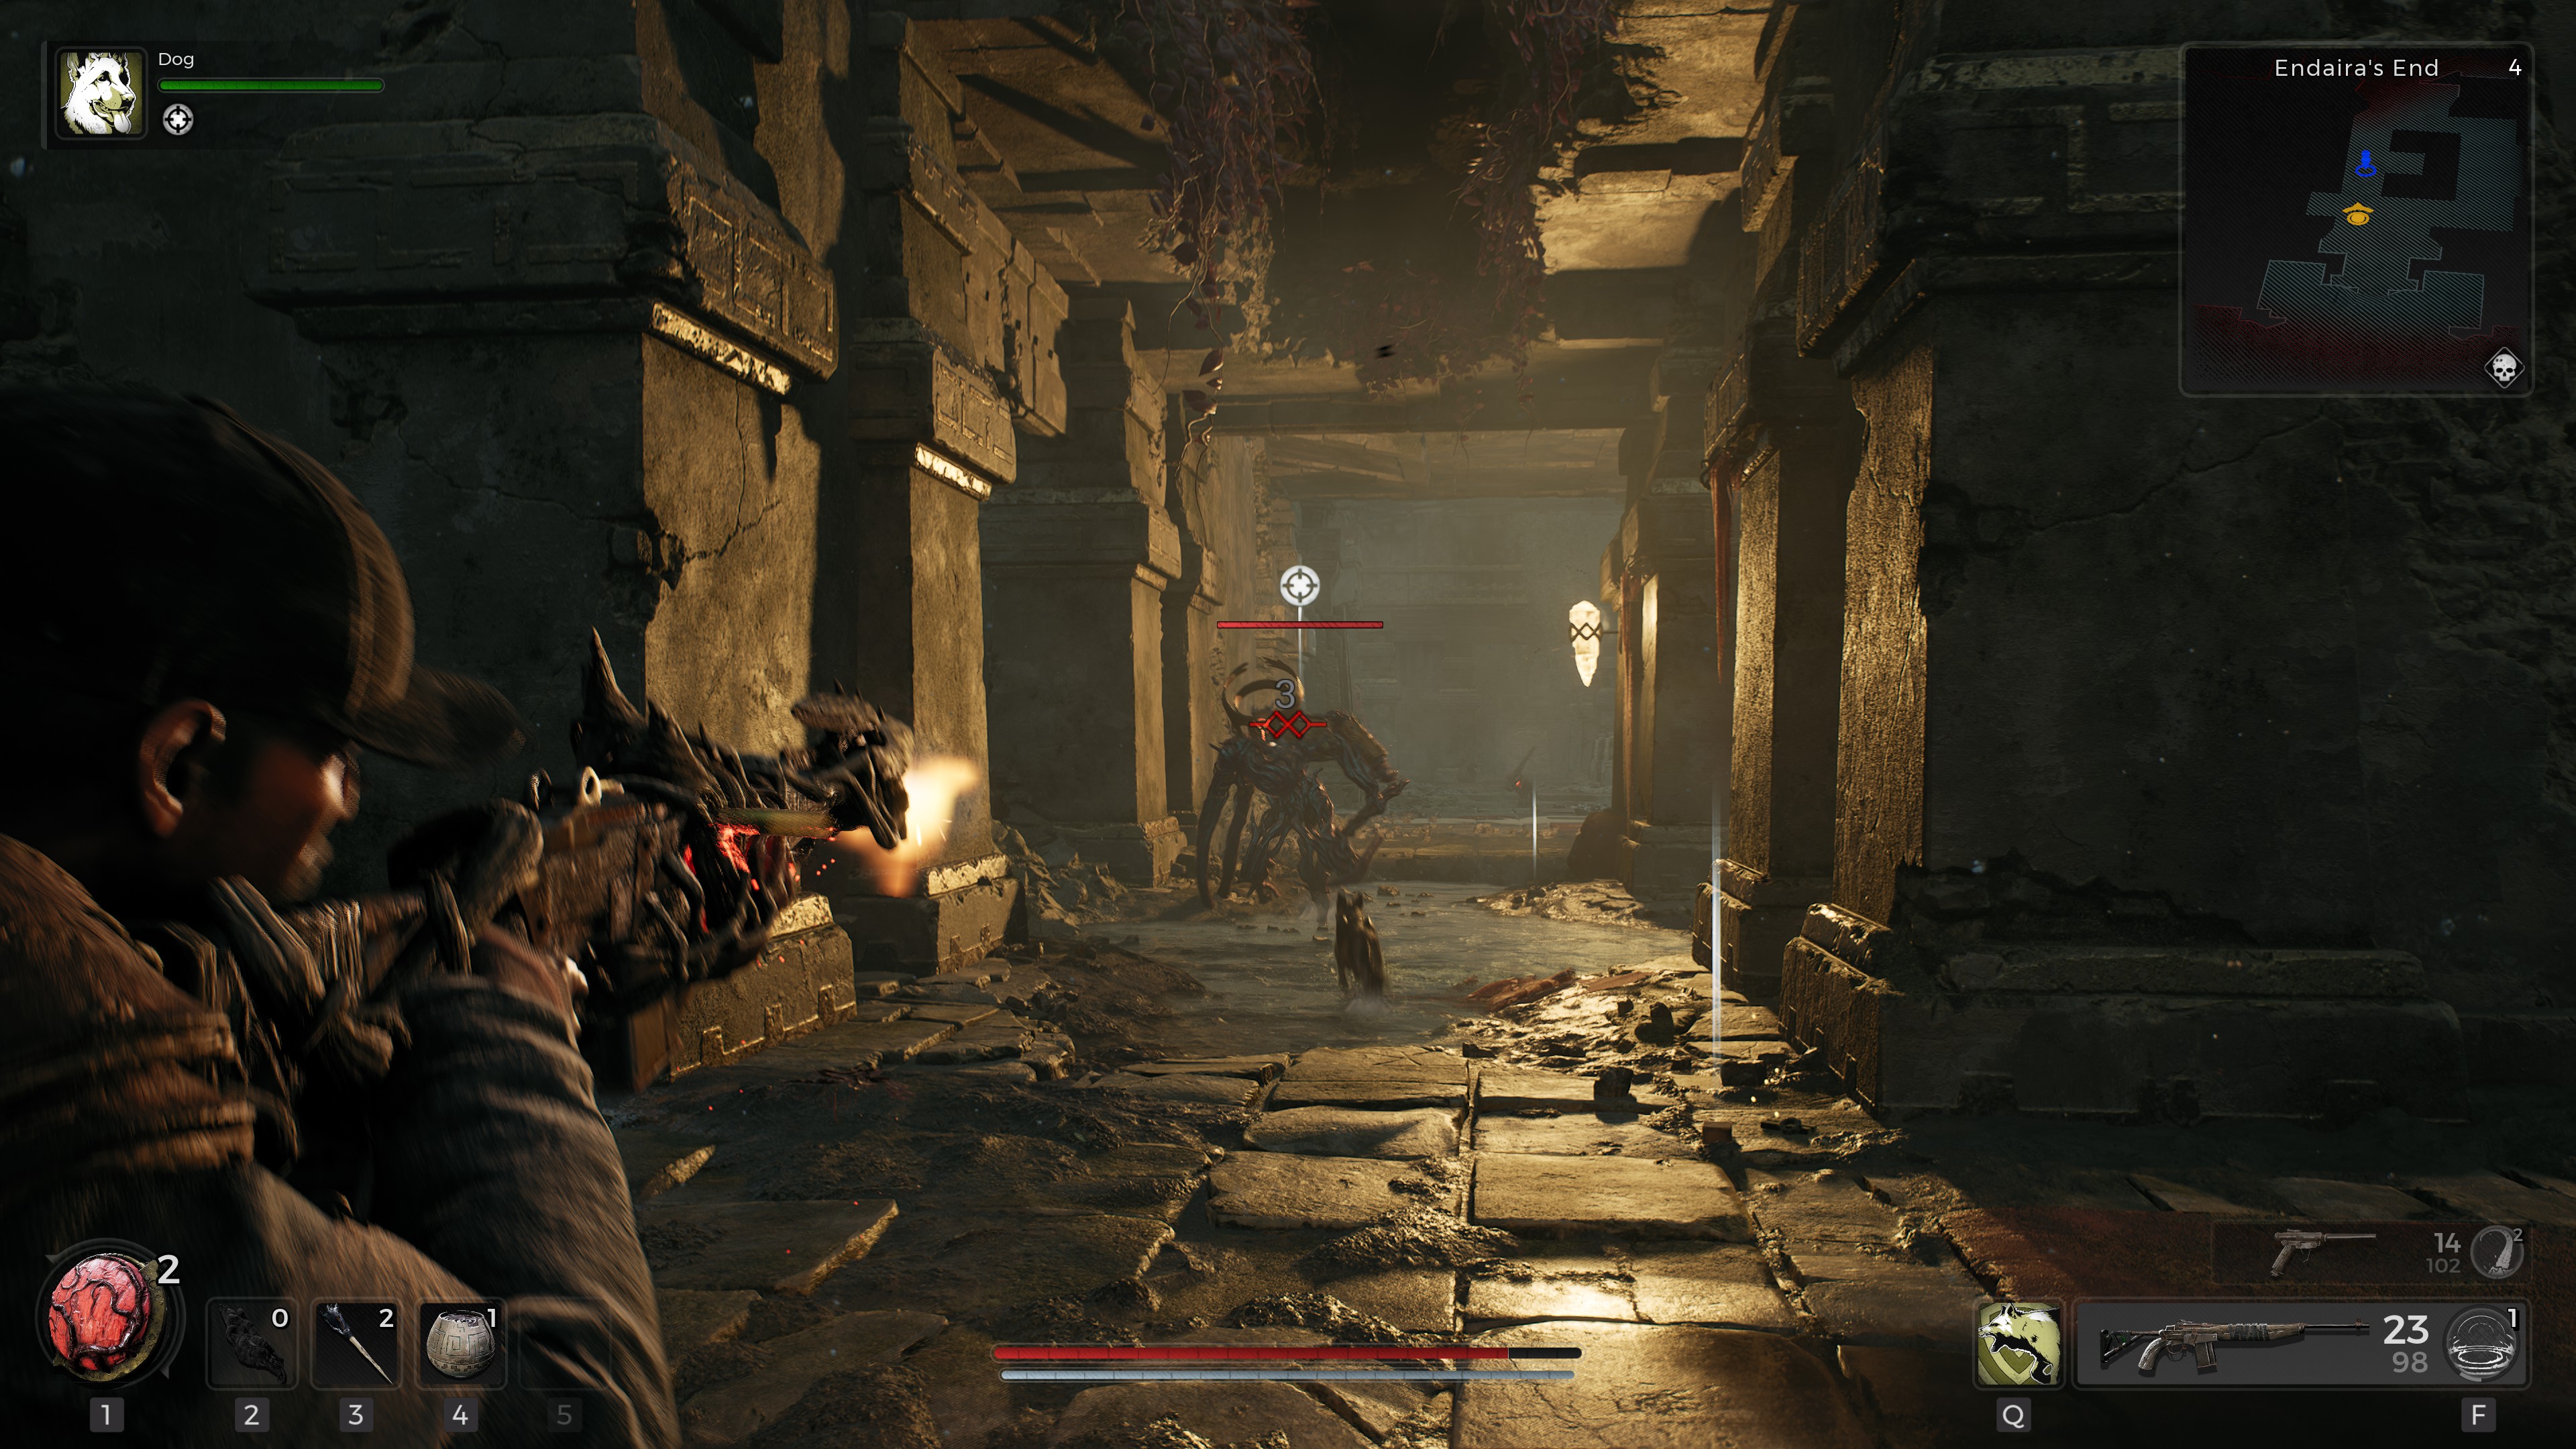
Ammo conservation is crucial in Remnant 2. If you blast every enemy with your main weapon, your bullets will run dry fast. At the very least, you should use your sidearm to deal with basic enemies, saving your bigger gun for larger foes that spawn periodically in every world. The most efficient way to play Remnant 2, though, is to eliminate basic enemies with your melee weapon. This puts you at greater risk of being hit, of course, but swords, axes, and hammers do substantial damage to the game's grunt-level opponents. Get up close and personal with the cannon fodder, and you'll be better equipped to deal with more dangerous foes when they appear.
Adapt your loadout
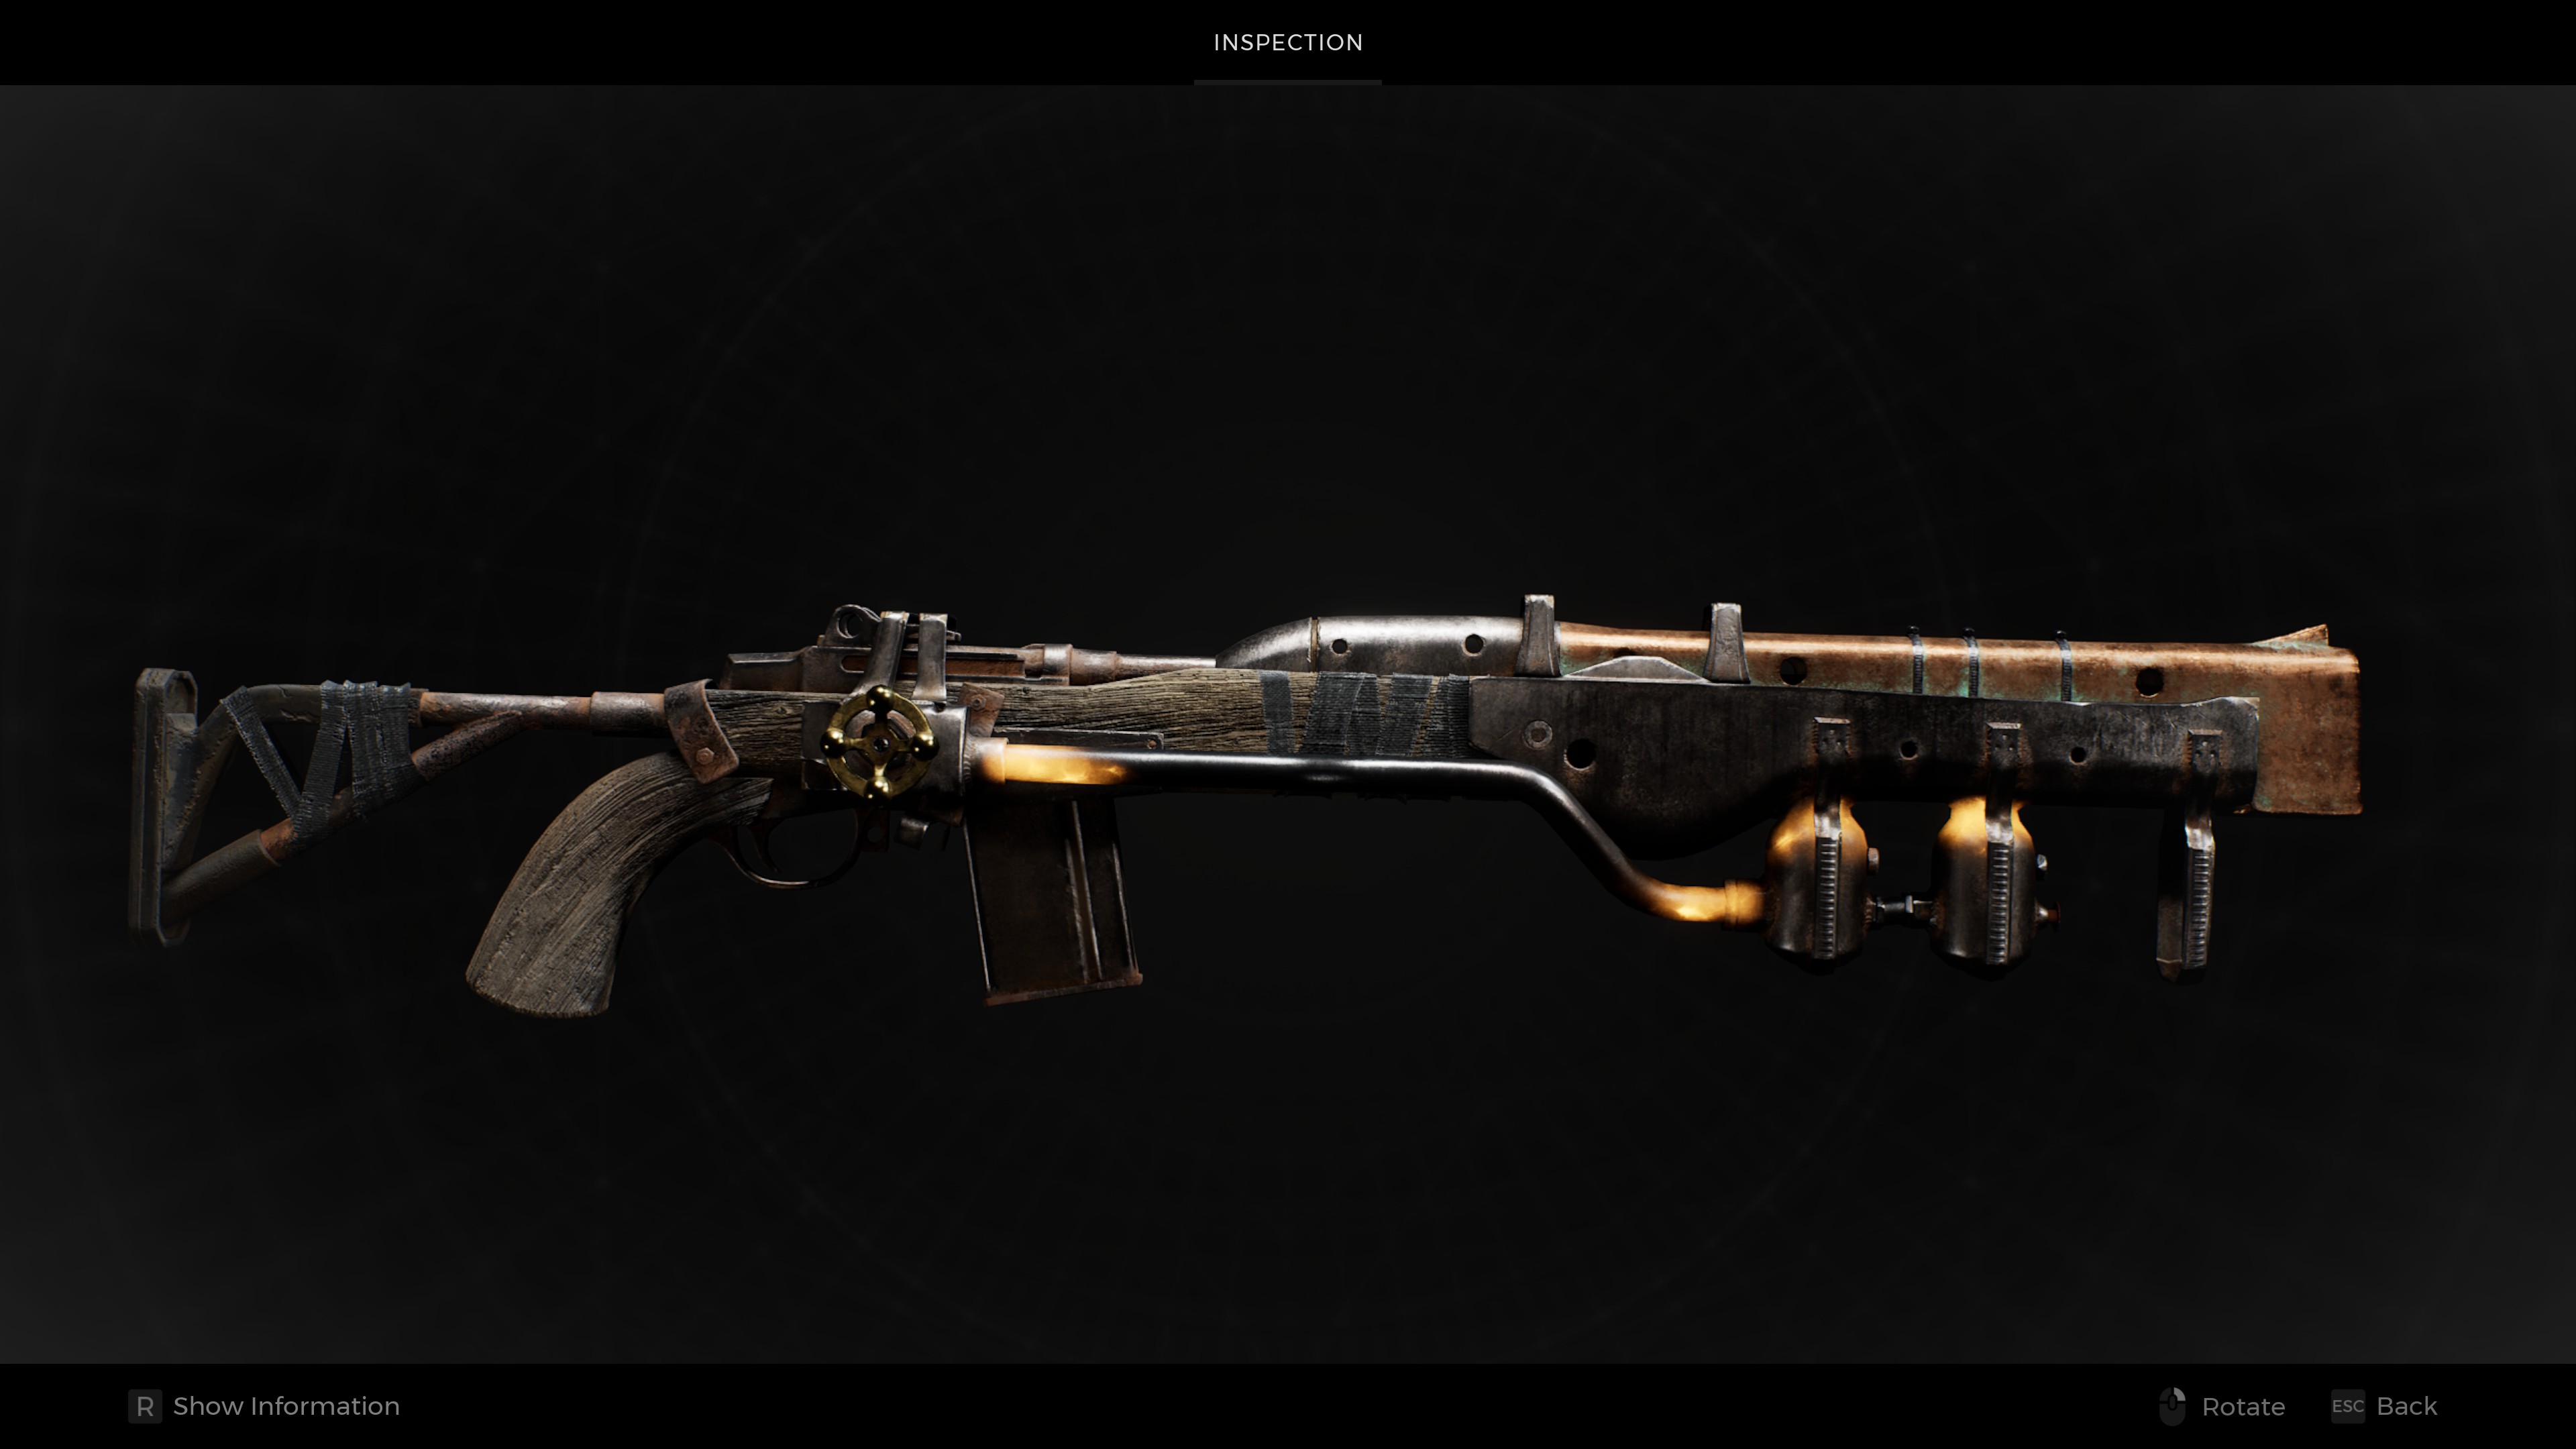
The best weapon in Remnant 2 isn't always the one boasting the biggest numbers. Picking the right combination of guns for each scenario can substantially influence your combat effectiveness. For example, the realm of Ne'rud is populated by large numbers of floating drones. These are a pain to fight using semi-automatic weapons, so you either want a gun with a high rate of fire or a shotgun that catch these nimble enemies in their spread.
Similarly, crafting the Boss weapons you'll earn by fighting bosses often have big advantages and drawbacks. The Twisted Arbalest functions like a portable pinball machine, bouncing a stone discus between groups of enemies for massive damage. It's fantastic against groups and in tight spaces, but useless in open areas. Consequently, it's best accompanied by a sidearm that's effective against individual opponents, like a high-damage revolver or a fast-firing SMG.
Look out for secrets
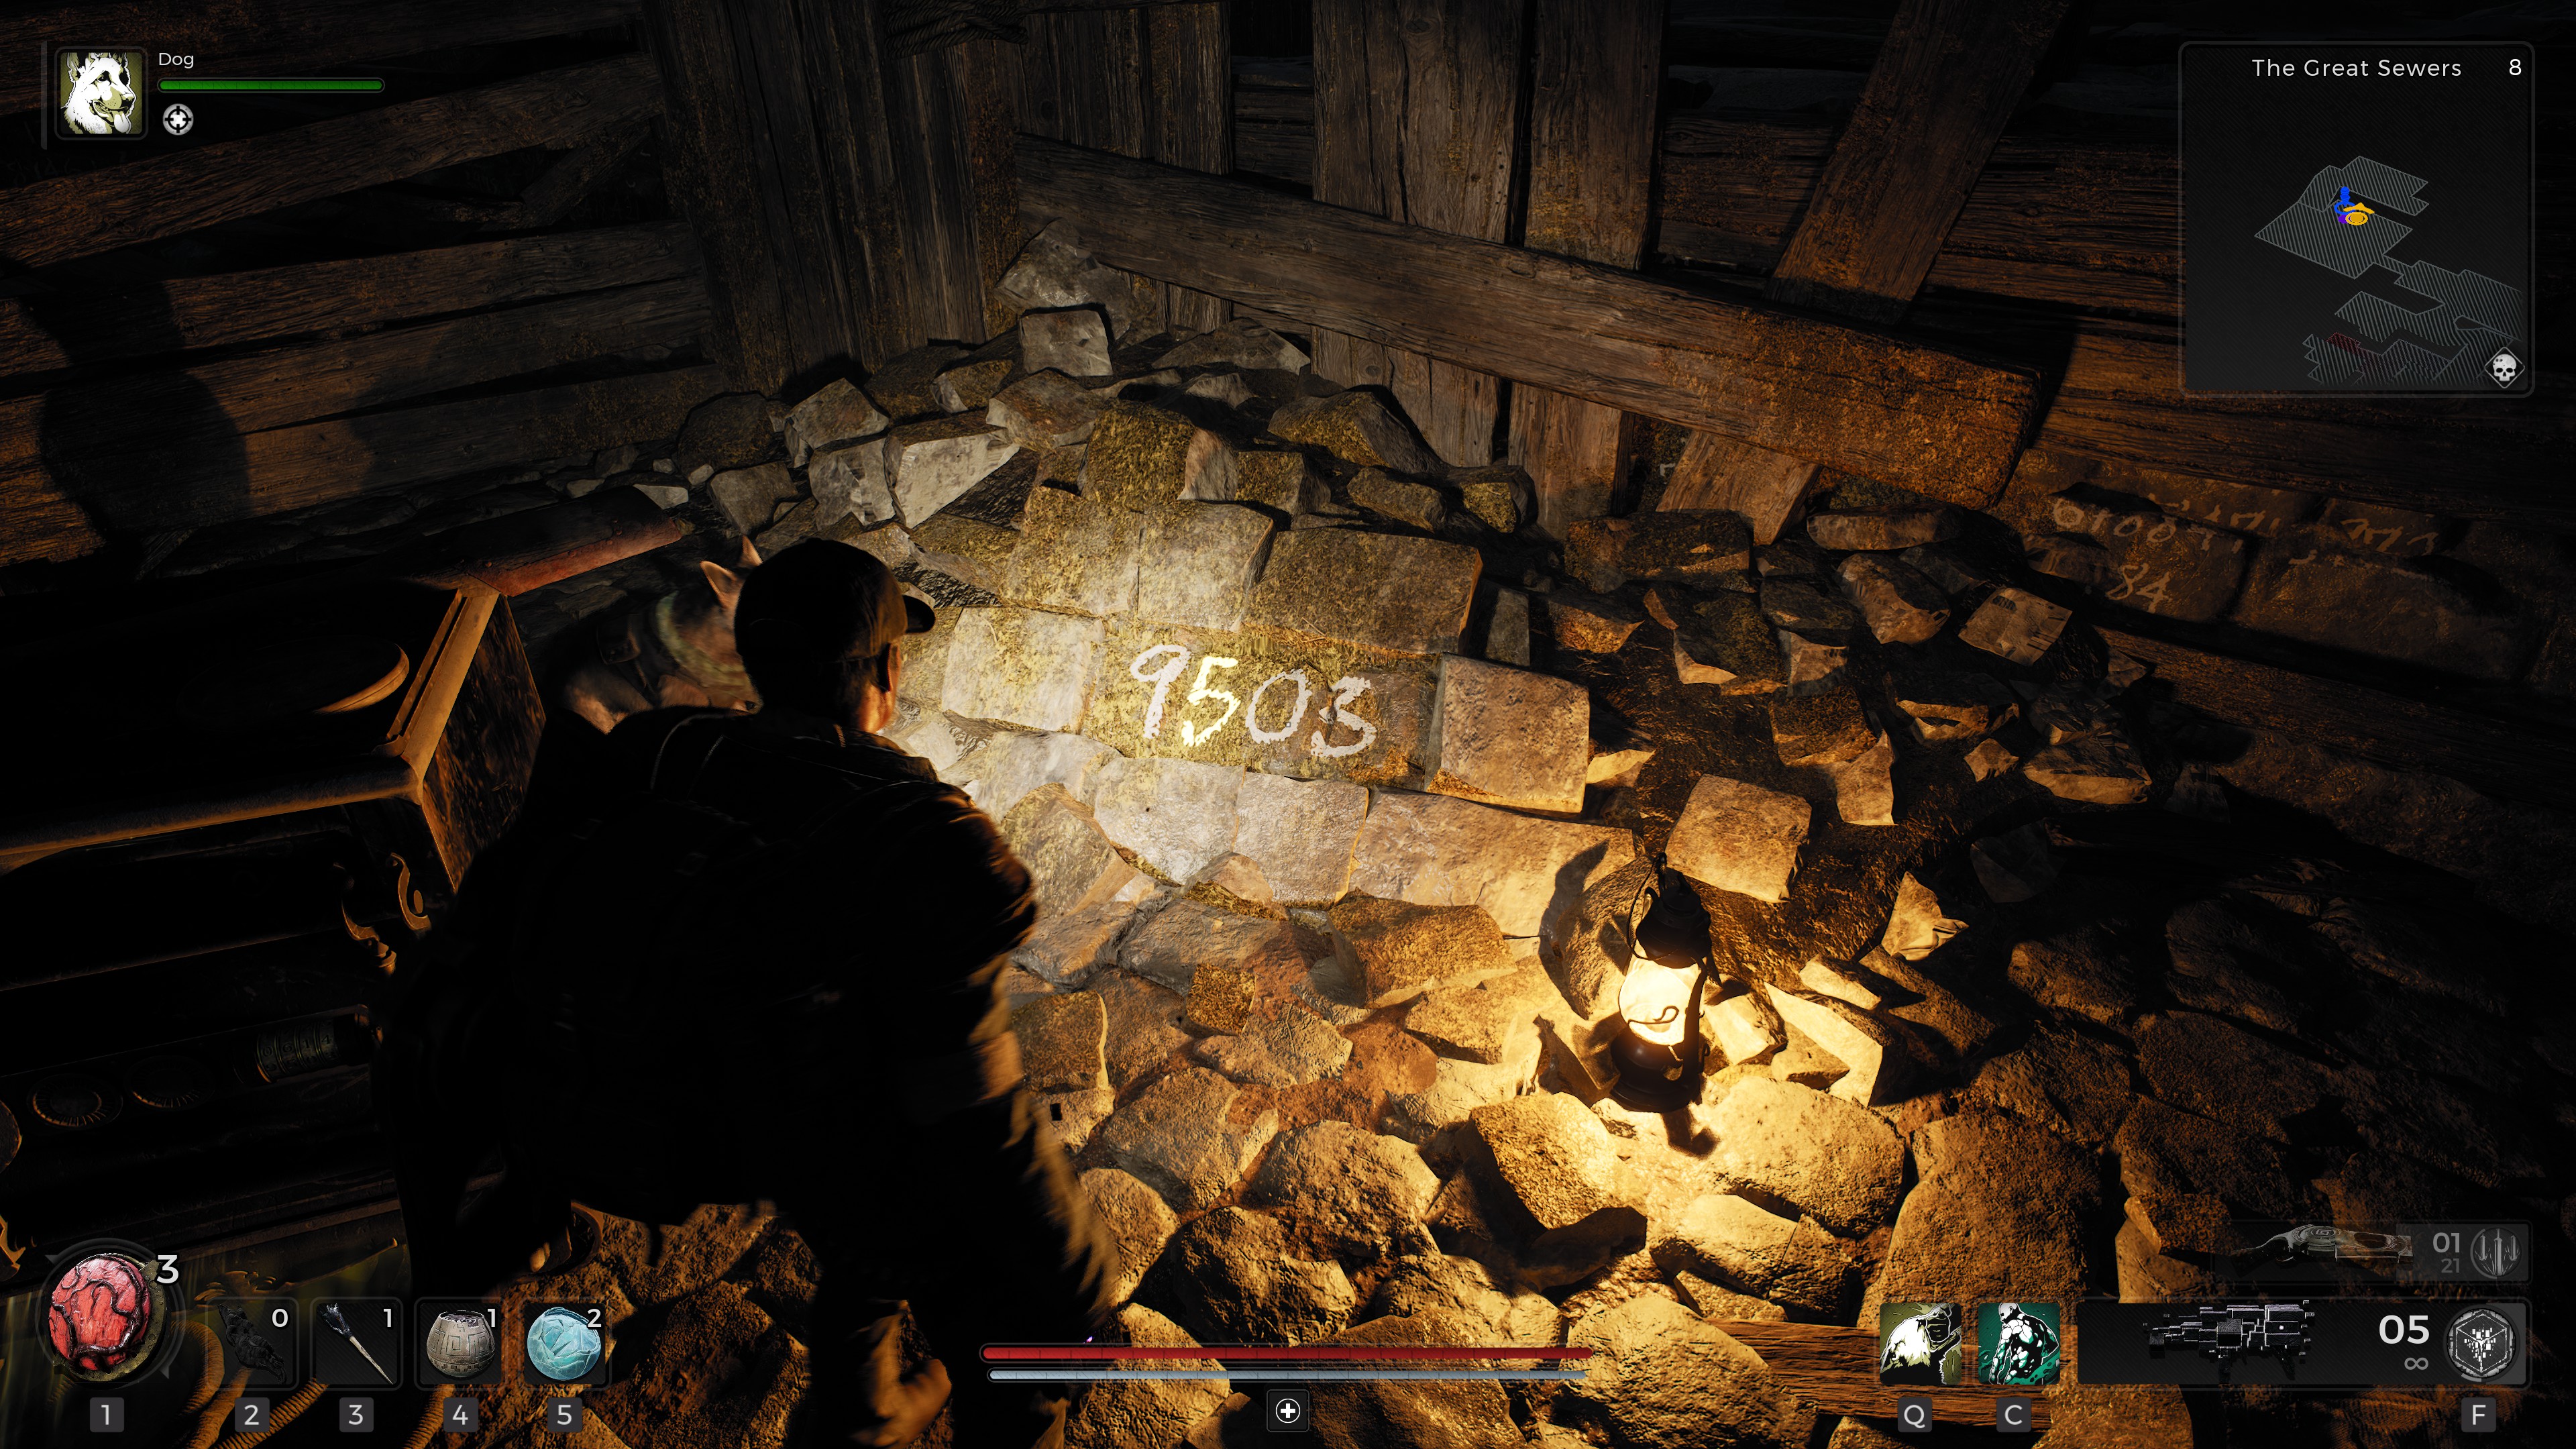
Remnant 2 loves to hide loot all over its level, secreting rings and tomes of knowledge in back-alleys and antechambers. Many of these can be found just by poking your head around every corner, but there are two subtle tricks you should remain vigilant for. Occasionally, you'll come across a wall where the lower half has broken away. This provides an opportunity to use Remnant 2's rarely-deployed crouch, letting you slip under the wall and access whatever goodies are hidden on the other side. As you explore, you'll also encounter passages that are blocked off by detritus. Try rolling or shooting at the blockage, and you may find it reveals a new pathway.
Craft carefully
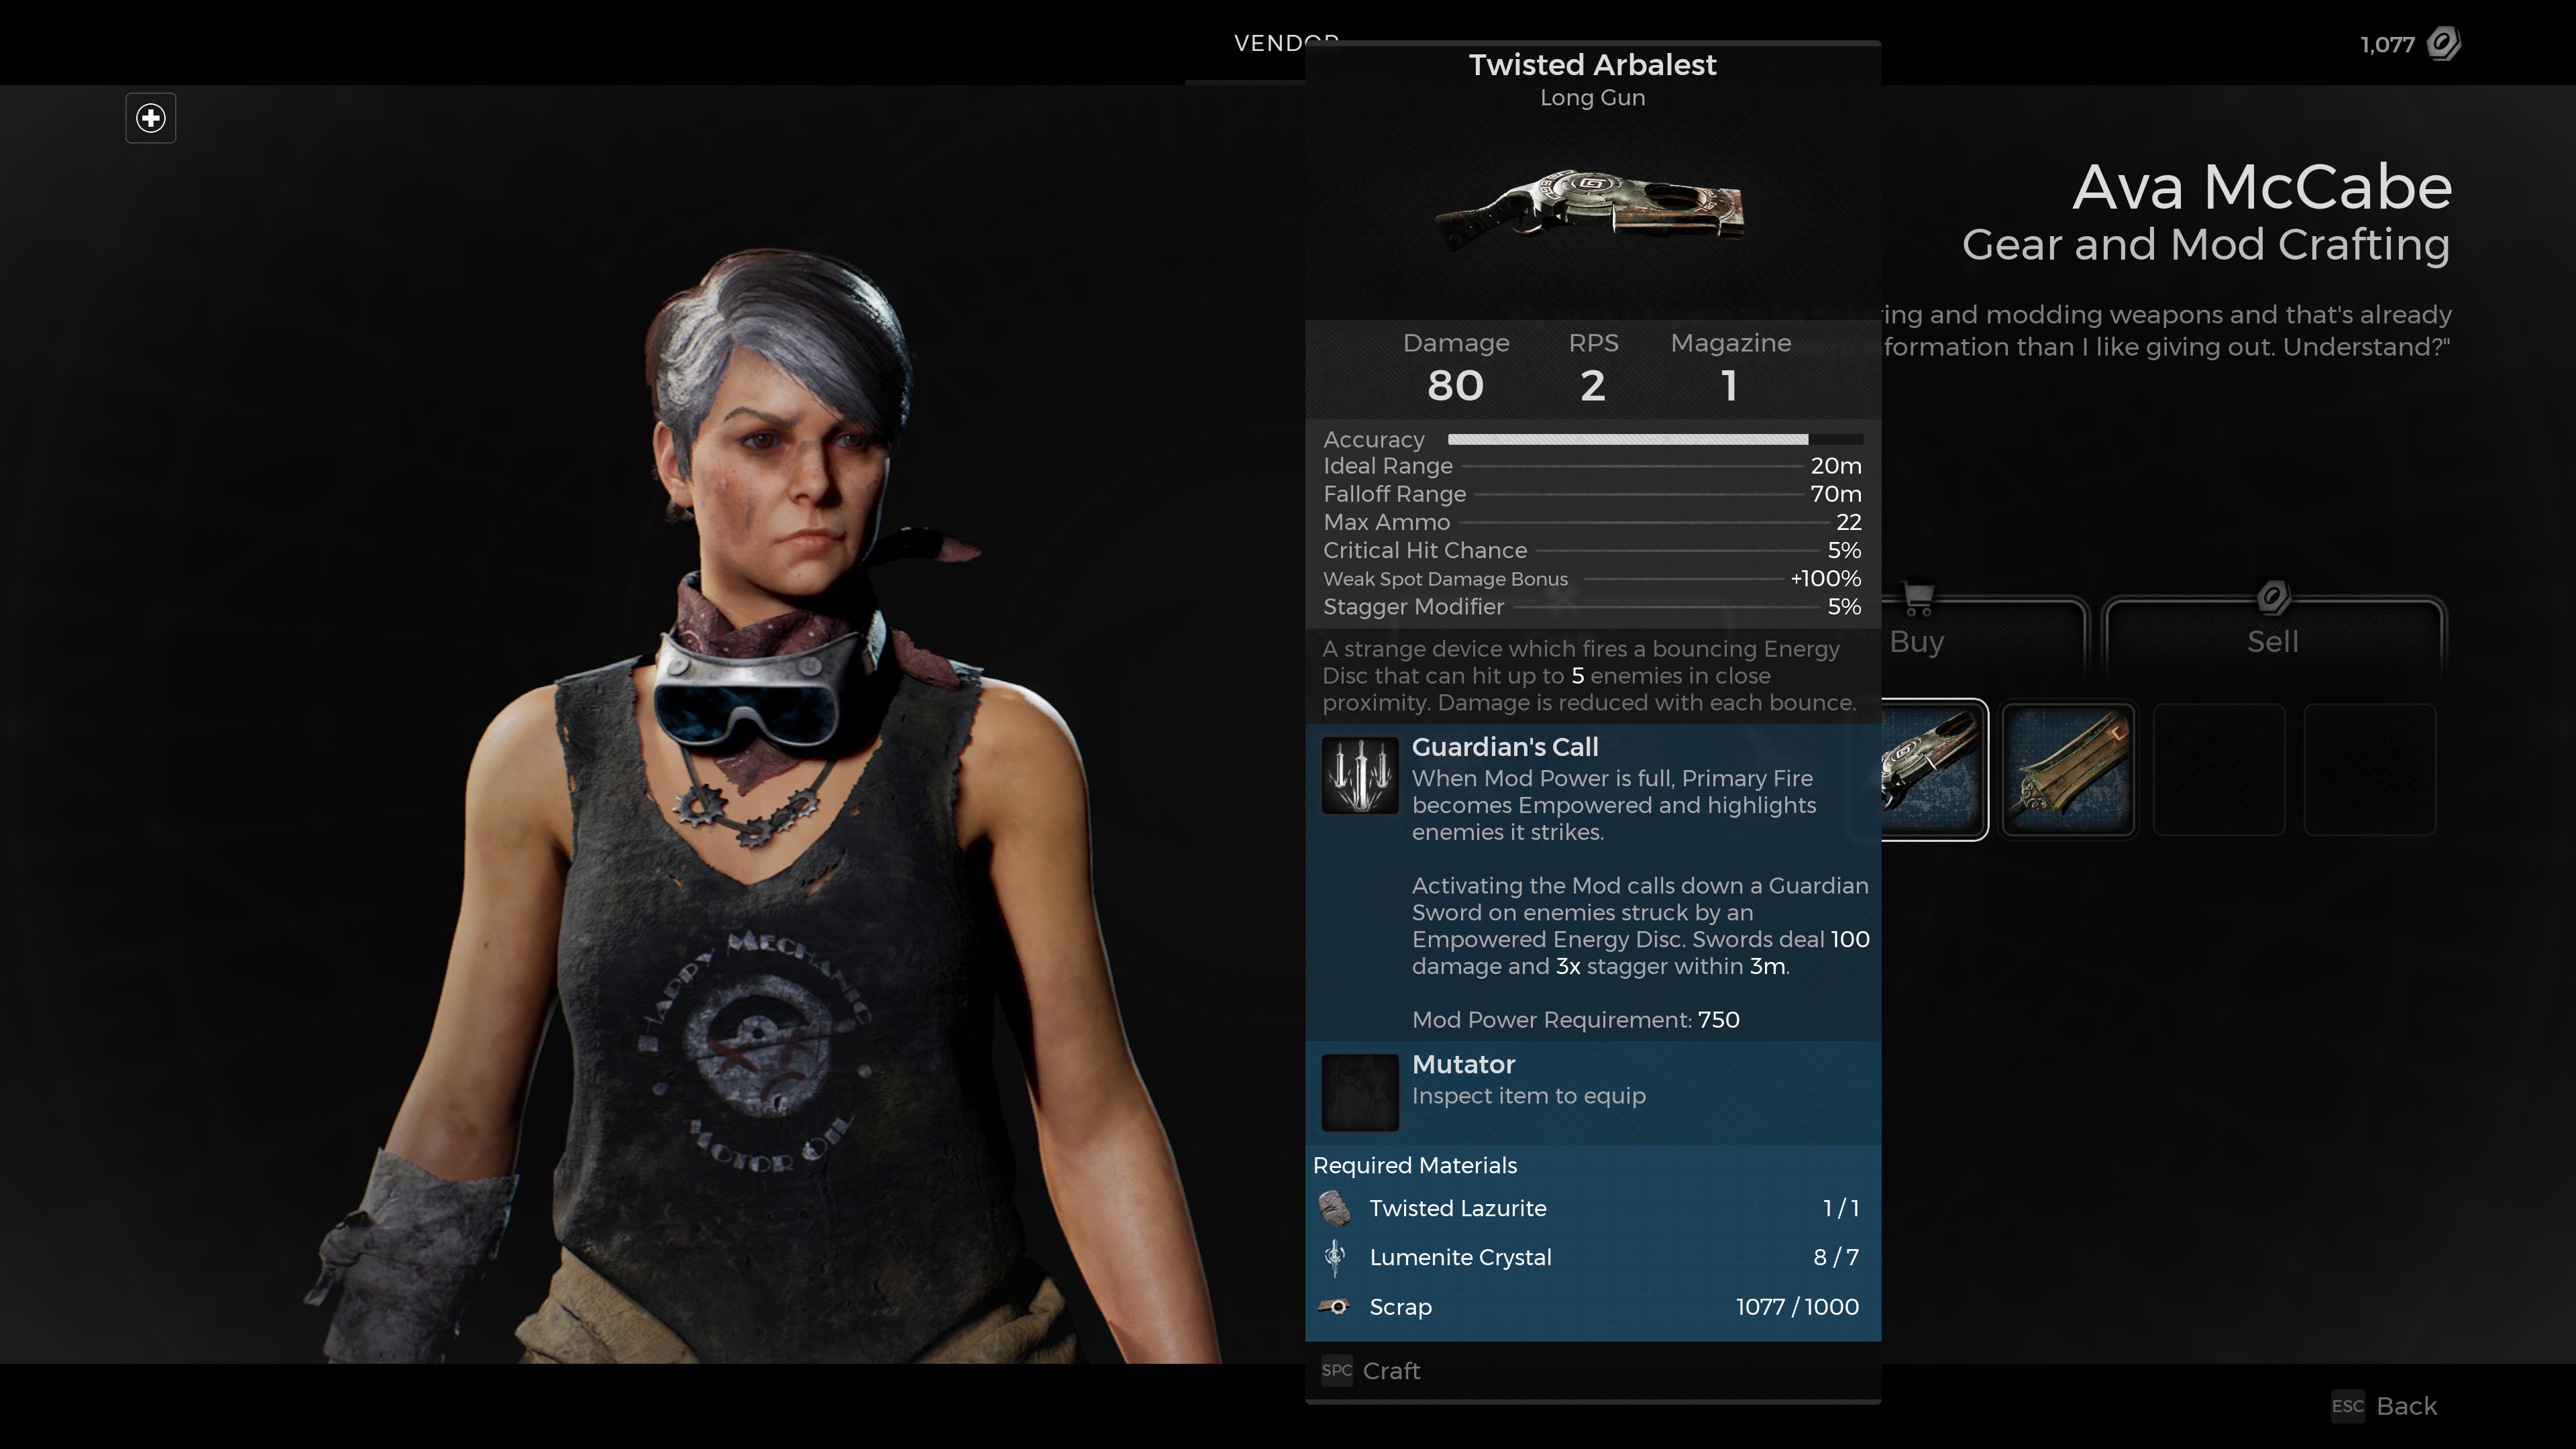
Crafting and upgrading weapons is an important component of Remnant 2. Equally important is deciding how to distribute the resources collected as you explore. All weapons cost scrap to both create and upgrade, while basic weapons also require iron. Boss weapons, meanwhile are both crafted and upgraded using lumenite crystals, dropped by the special enemies you fight in the various realms. Lumenite is also used for crafting weapon mods, which can be attached to regular weapons for special alt-fires.
Consequently, you'll often have more crafting options than available resources, so it's important to be prudent about how you use them. Upgrading your starting weapon should be a priority, as it's the most cost-effective way to improve your character's gear score. A reliable weapon mod should be next, as these don't require upgrading. Boss weapons are the most expensive items to craft and upgrade, so when you do craft one, make sure you enjoy using it before you spend precious lumenite crystals upgrading it.
Join the Resistance
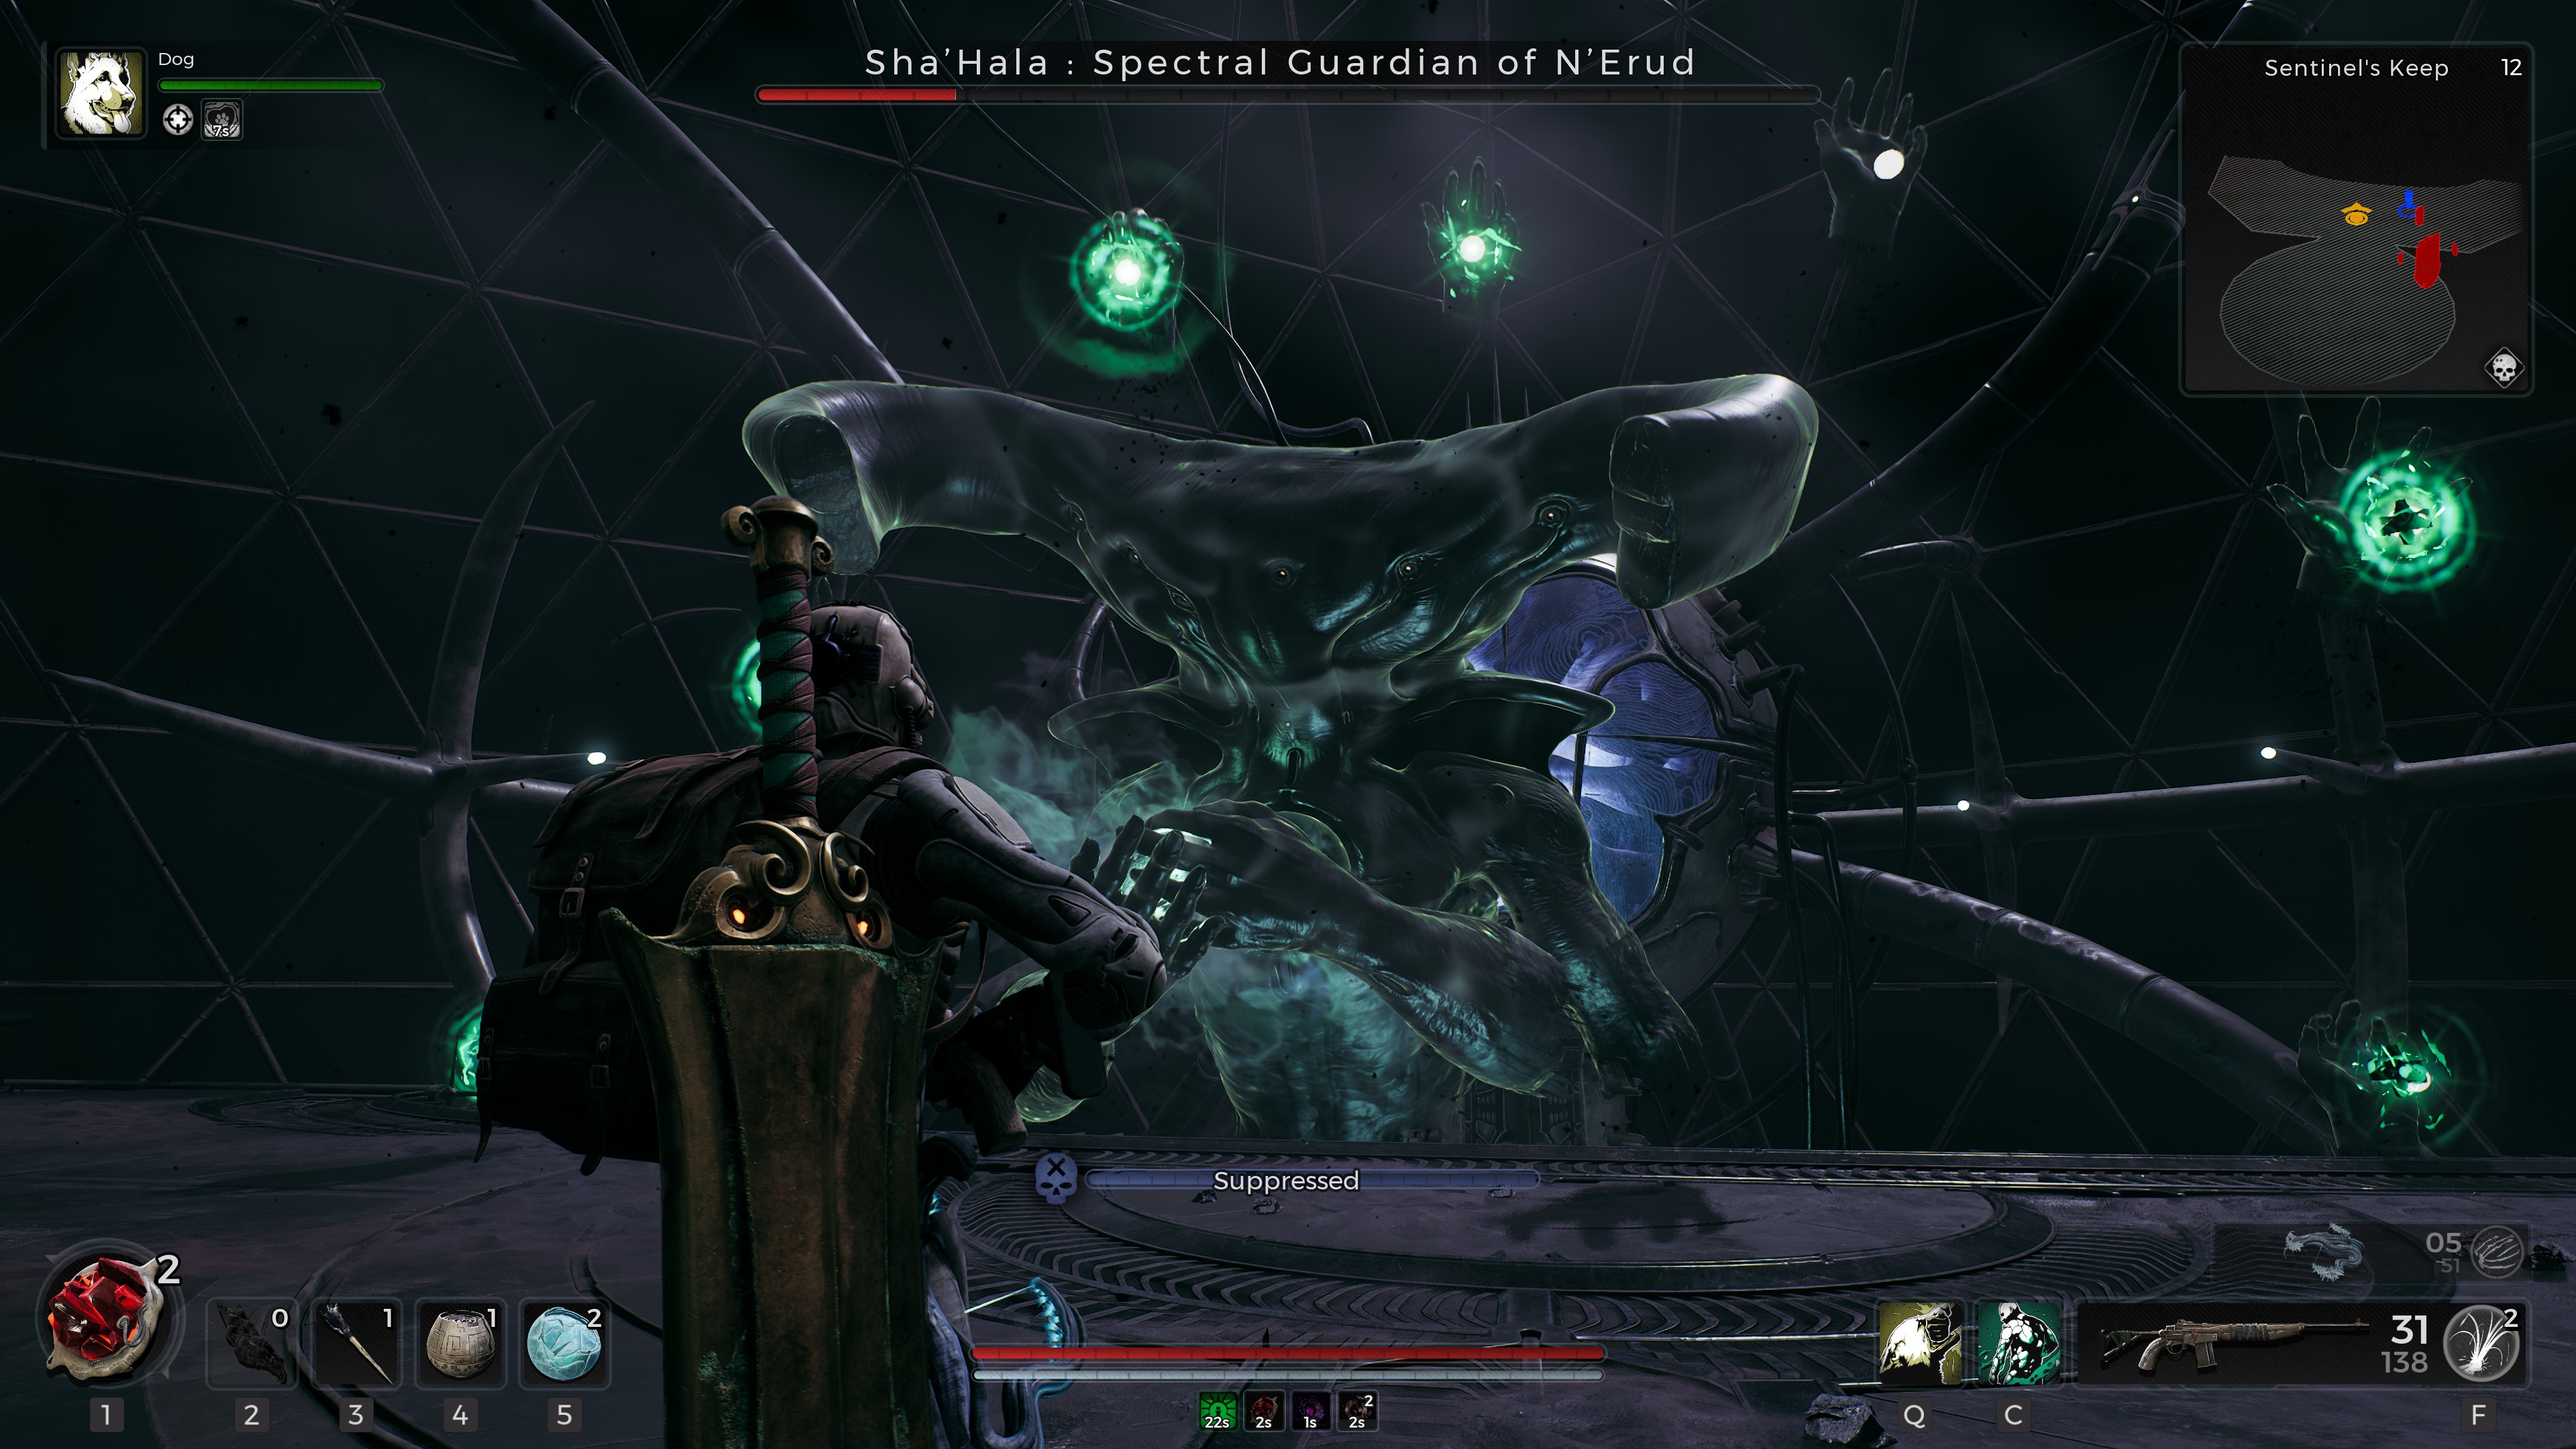
Bullets and blades are not the only threats to your character in Remnant 2. You're also vulnerable to a range of status effects, ranging from static shocks to curses. Some bosses and higher-level enemies play heavily on status effects, so it's important to come suitably equipped when you encounter them. Check your character sheet for your current resistance levels, and see if you have any armour that provides bonus resistance against them. If you've yet to find a new armour set, Dr Norah at Ward 13 sells consumable items that can boost specific resistances. It's worth paying her a visit if you're struggling against a particular boss.
Customise your Relic
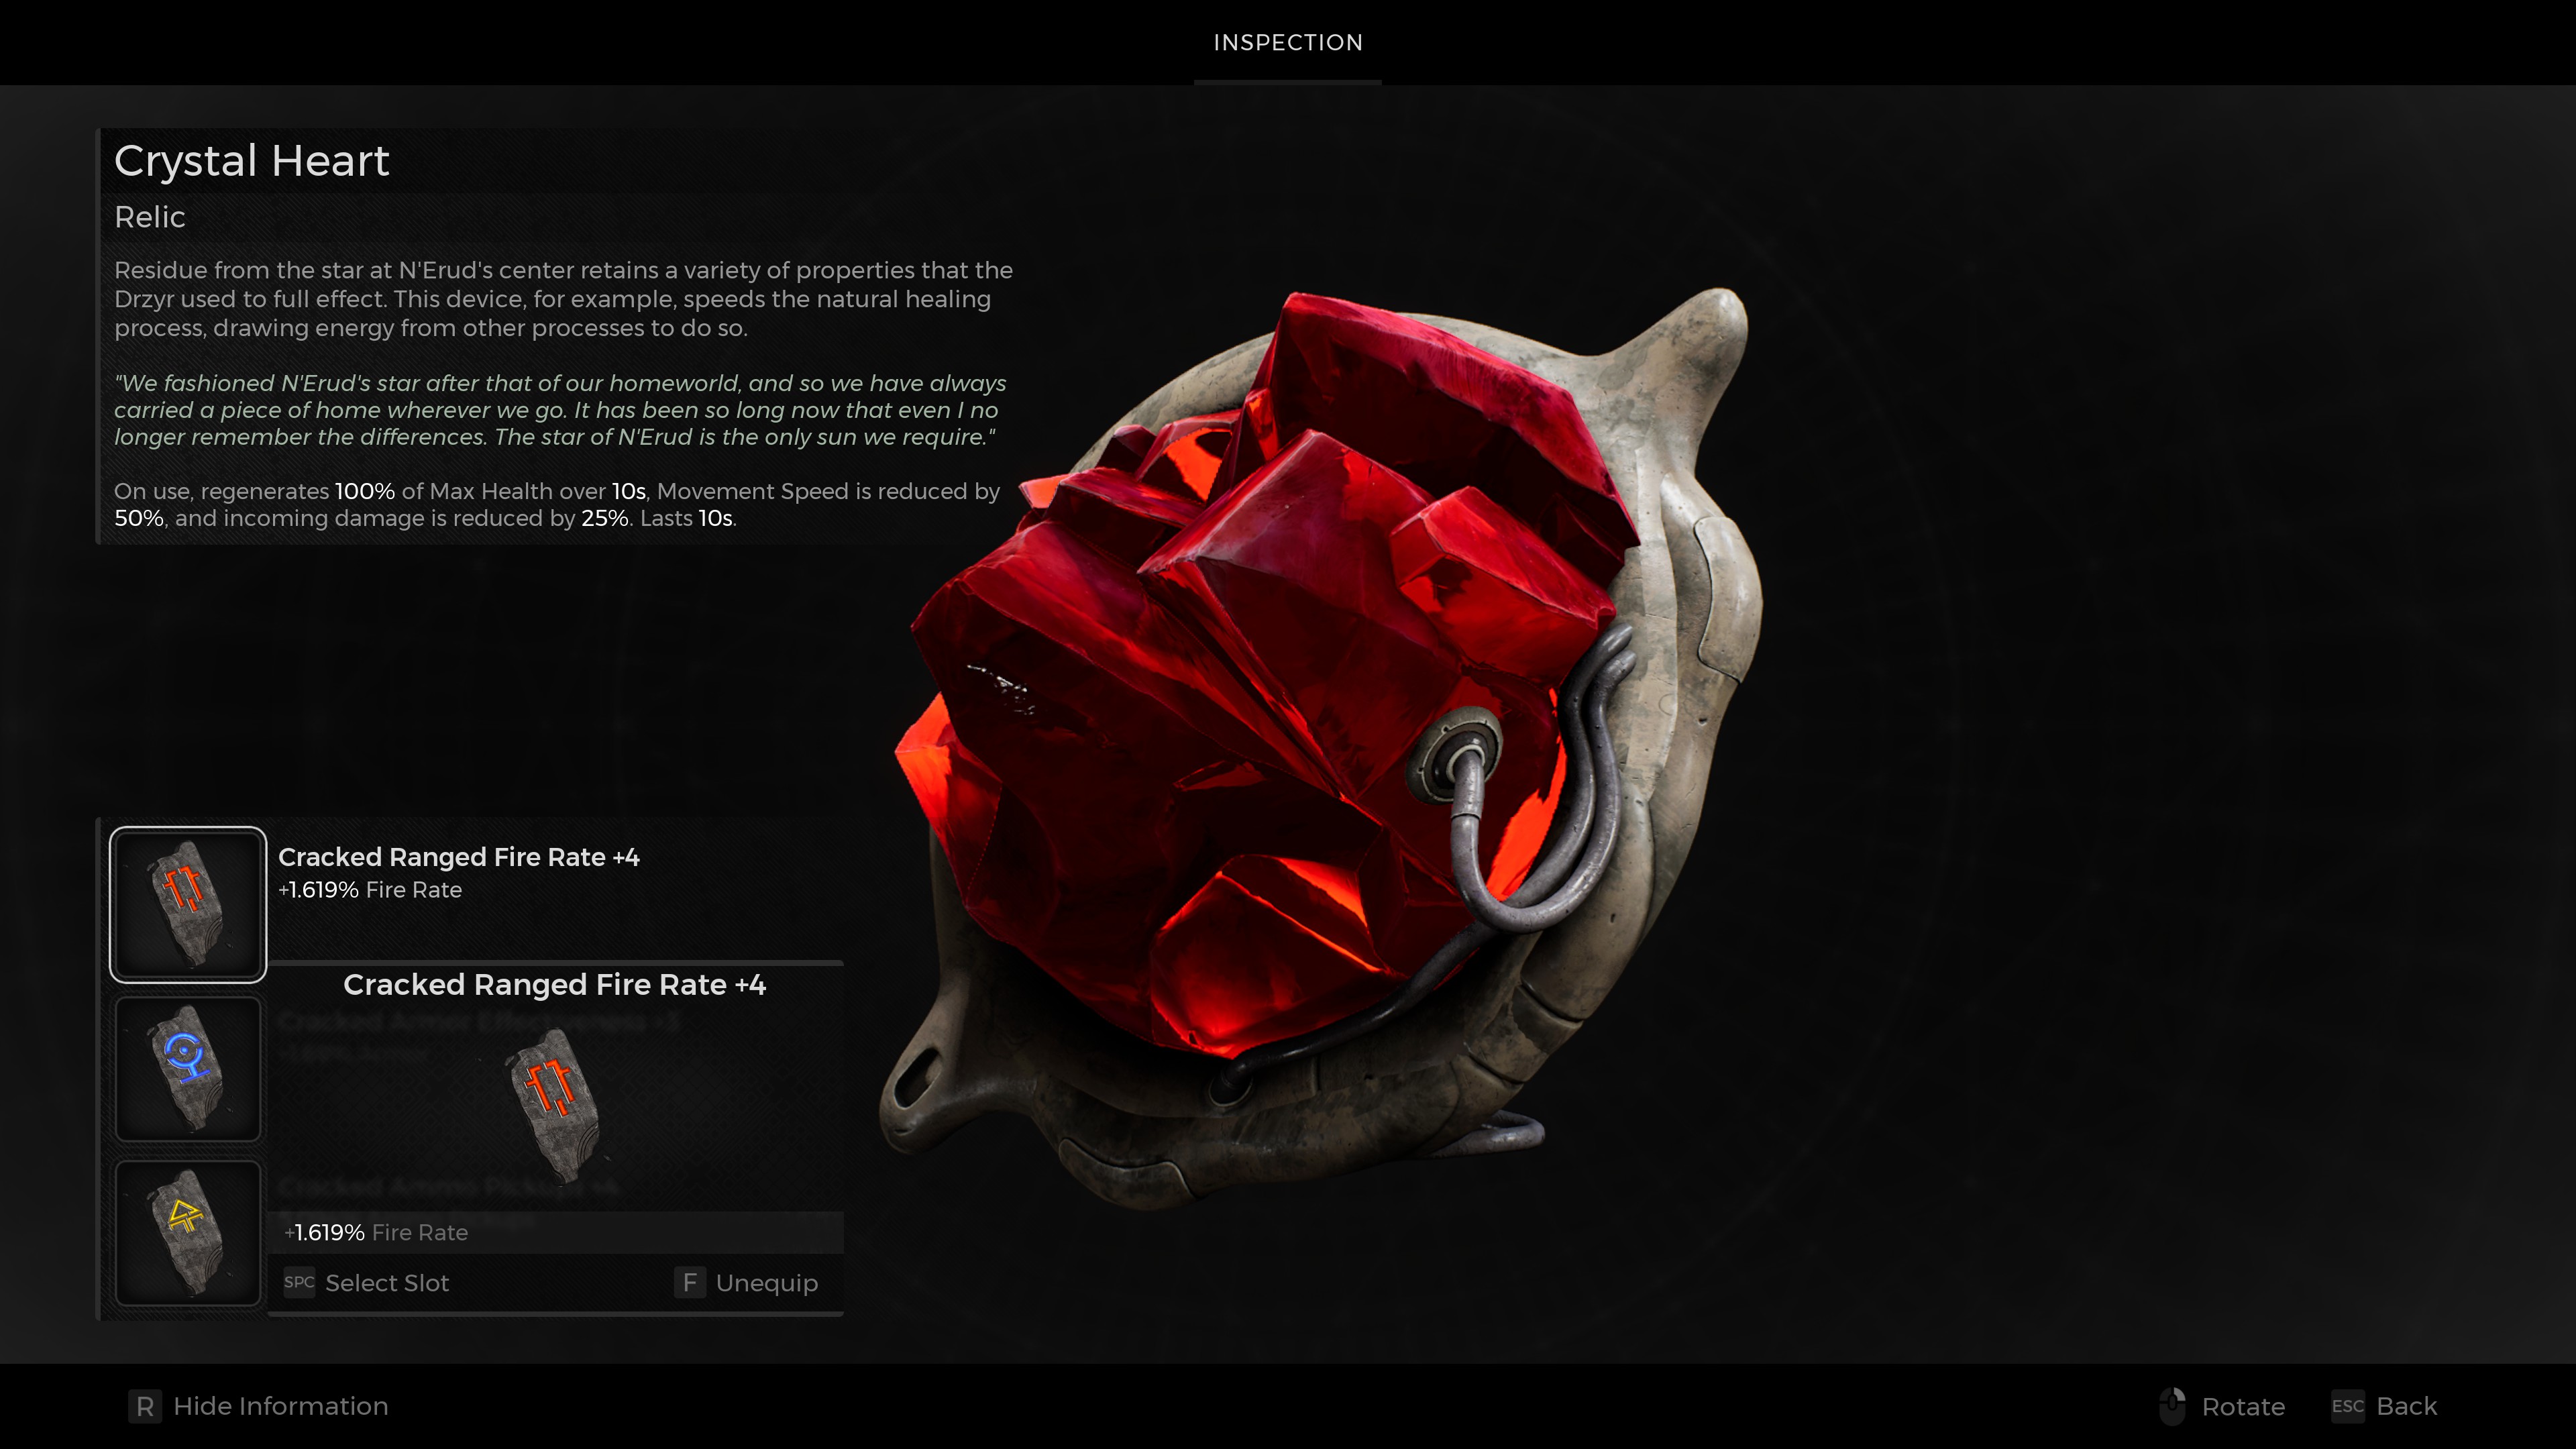
One last quick tip. At the bottom left of your screen is your Relic, a healing item that works similarly to Dark Souls' Estus Flask. Unlike the Estus Flask, your relic can be customised. Clicking the relic on the character sheet will bring up a menu where you can insert three Relic Fragments into your relic. These fragments have a wide range of effects, from boosting certain resistances to giving you a little extra ammo. The bonuses provided are usually small, but when you're fighting a giant alien god, every little helps.


