As Managing Editor of Home Entertainment here at Tom’s Guide, I get to test some of the best audio gear before it comes to the general public. That said, knowing how to test it — and knowing how to set it up for its maximum potential — are two different things.
In order to learn more about the latter, I took some time at the end of last week to take an eight-hour home theater calibration training course that was put on by the Home Acoustics Alliance’s Gerald Lemay — and it was an amazing experience.
Turns out, even when you’re the Managing Editor of Home Entertainment, there’s always more for you to learn. Whether it’s how to find the peaks and nulls in your home theater space, or how to amplify room reflections to create a more complex soundscape, there’s always something new you can learn to sharpen your ears.
While I can’t even begin to reiterate all the lessons I learned last week, I did manage to put together a top-level guide to the 10 best takeaways you can use to enhance your home theater. If you're looking to upgrade your home theater without making any costly investments, these tips are a gold mine.
Tip #1: Here are the main criteria to test your system
Before you can start calibrating your home theater, you need to know the criteria for which home theaters are evaluated. For that, the HAA outlines six key metrics: Clarity, Focus, Envelopment, Response, Dynamics, Consistency. Ideally, you want all six areas to be at an “excellent” level, though there will of course be some discrepancy between one listener and another.
“Golden ears” don’t really exist — all you really need is decent hearing and a lot of practice knowing what to listen for.
For excellent clarity, you want to be able to clearly hear all dialogue in a movie or show, and be able to hear lyrics in a song. For excellent focus, you should be able to locate instruments or vocalists in the soundstage (this is called imaging). For excellent envelopment, you should have a wide soundstage that gives the impression of realism. Response is all about having a smooth frequency response as you transition from low notes to high notes and having a mostly flat sound.
Dynamics refers to your system’s ability to get loud without distorting and, finally, consistency is evaluated by your system’s ability to sound good in more than one location. (And yes, it’s very possible to have more than one “sweet spot”.)
Tip #2: Avoid sitting too close to your speakers if you can help it
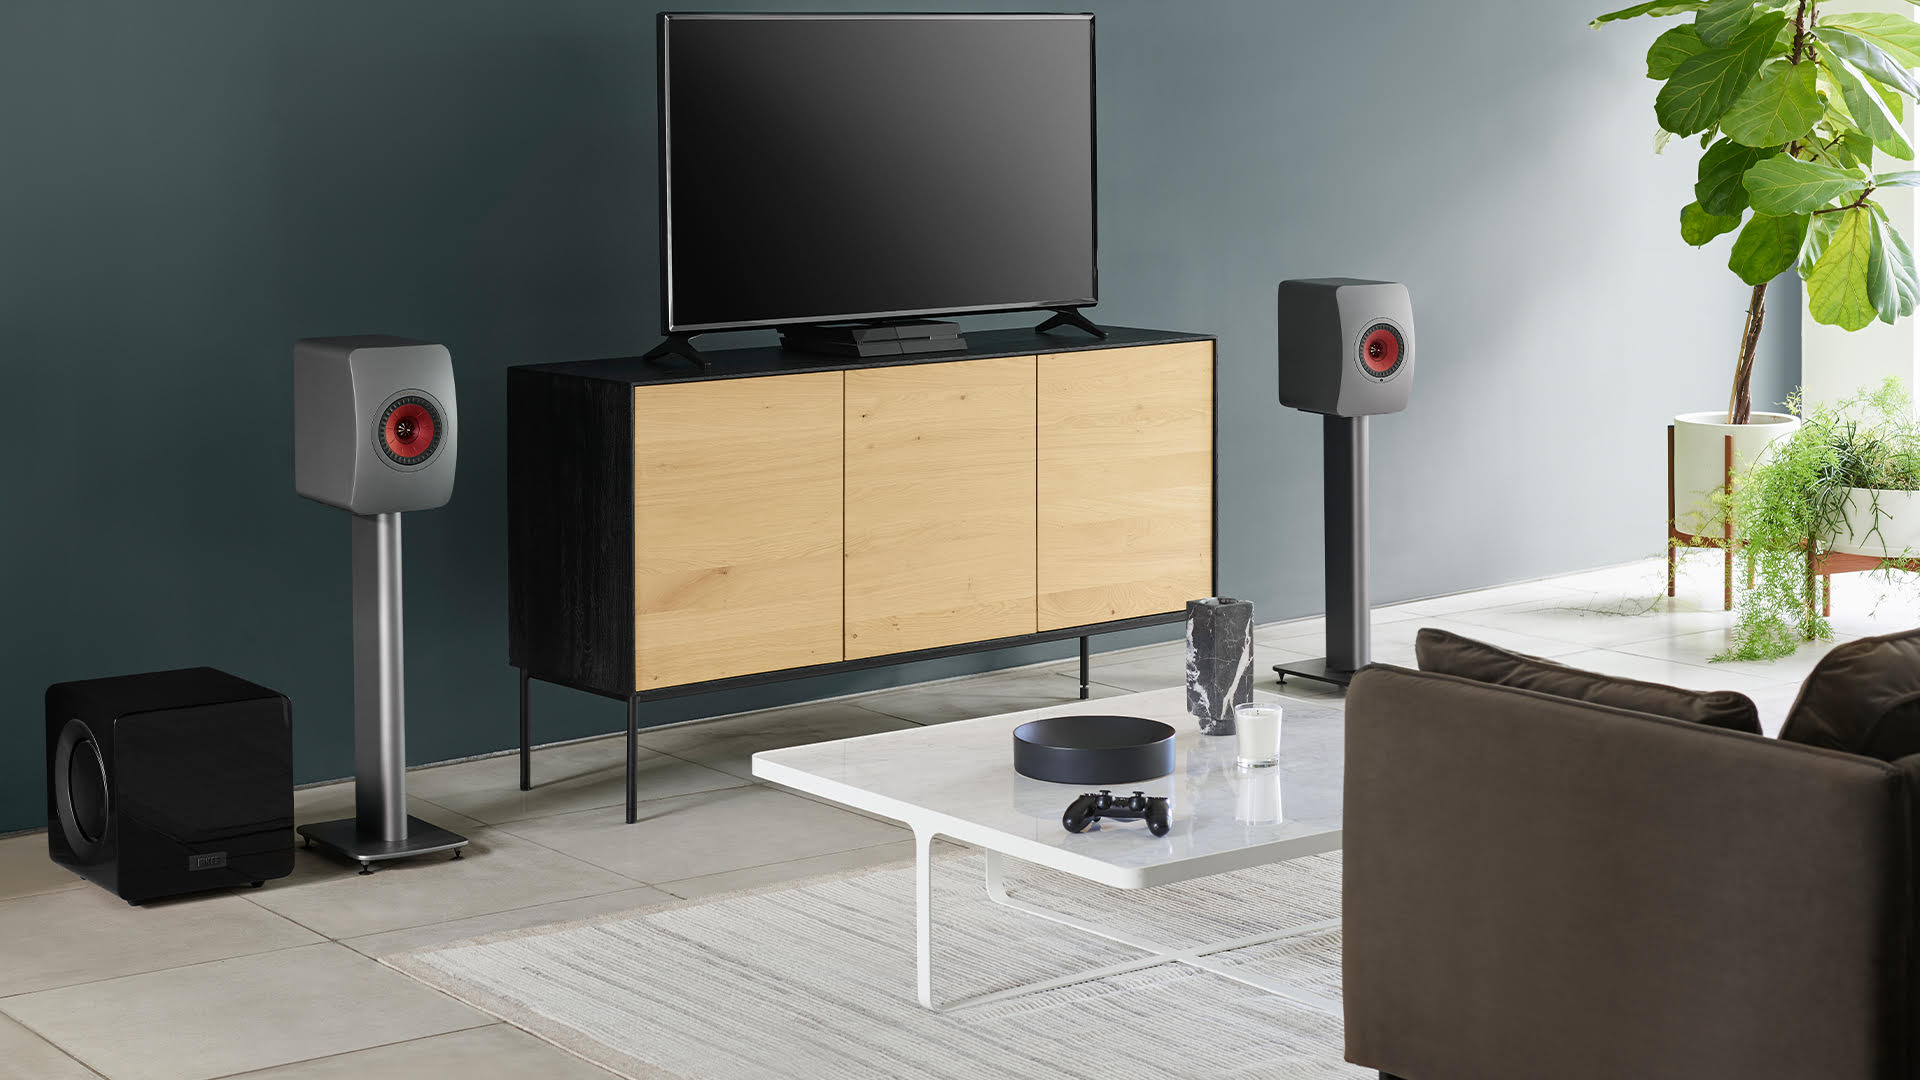
The easiest way to make sure you’re getting the most out of your system is to move further away from your speakers. By sitting too close to a speaker, you’re not going to get a very good tonal balance and will miss key details that play through the other speakers.
So how close is too close? The HAA’s Gerald Lemay says to sit equidistant to each of your speakers, ideally more than 1.5 meters away — though, if that much space isn’t available, sit as far as you can while still remaining equidistant to all speakers.
Tip #3: If you add a center channel, the sweet spot turns into a sweet triangle
Almost every audiophile I've talked to knows about the coveted "sweet spot" but few of them have heard of the sweet triangle — an area in the shape of the triangle behind the sweet spot that sounds just as good as your Reference Seating Position (the technical name installers use instead of "sweet spot").
How many speakers should your system have to pull this off? Unfortunately, the sweet triangle won't work if you're only using two speakers — you need a center channel to make it work. When buying a new system, shoot for three identical speakers for the left, right and center channels and one subwoofer. This is advantageous over a two channel system as it changes the sweet spot from a single point to a triangle that extends to almost the back of the room.
Tip #4: Balance your speakers by using a 105dB mid-band pink noise test tone
Right, so you can save yourself a lot of time by buying three of the same speakers for your left, right and center channels. However, sometimes you pick up a center channel from somewhere else, or add satellite speakers into the mix. If that's the case, you'll need to balance the speakers so that one doesn't overpower the others.
To do this, Lemay recommends using a mid-band pink noise test tone that outputs from the speaker at 105dB and, at the RSP, drops down to 75dB. So how do you know when you've got it all dialed in correctly? I recommend tracking the volume on your phone by downloading an app like Decibel X (on iOS and Android) — it's the app I depend on most when setting up a new speaker system.
Tip #5: Not all reflections are a bad thing
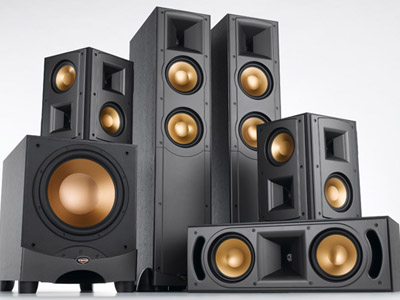
When you think of an audiophile’s listening room, you might imagine one that’s covered in wall panels from top to bottom. That, Lemay says, would be a huge mistake.
Not all reflections are a bad thing (it depends whether or not they’re causing standing waves) and, actually, they’re important to creating a more complex sound environment. The way we learned how to listen when we were still babies depends on reflections. We know how a bird should sound flying overhead. We know how sound echoes in a concert hall. By eliminating all the reflections in your home theater, you're actually creating a simple, less nuanced sound with less envelopment.
Tip #6: You don’t need “golden ears” — but you do need decent hearing to appreciate audio
One fear that I had when I first started testing audio is that I needed preternatural hearing in order to properly evaluate a sound system. Lemay allayed those fears by telling the class that, in his professional opinion, “golden ears” don’t really exist — all you really need is decent hearing and a lot of practice knowing what to listen for.
Do some people have better hearing than others? Oh, absolutely. And that certainly helps when testing audio equipment, but don't feel that you need to be some sort of wine-swirling, cheese-eating savant to appreciate well-tuned sound.
Tip #7: Set up your audio system first, then pick out a TV or projector to match
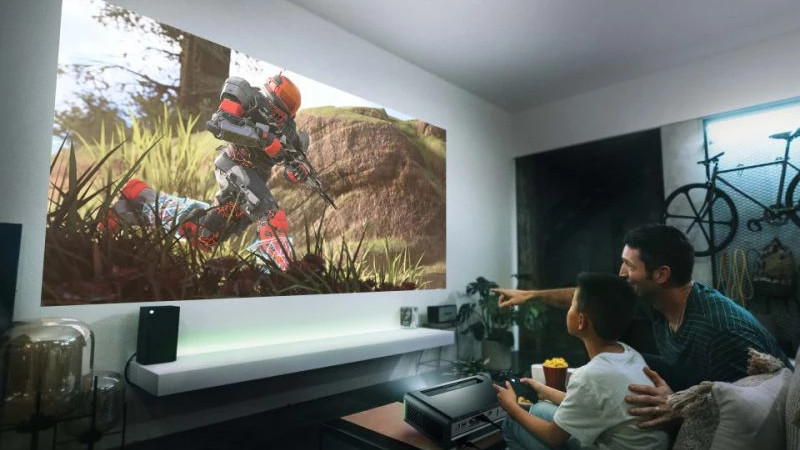
When setting up a sound system in your home, you’re going to have to work around the basic construction of the room and the materials of the walls and furniture.
Dialing things in just right will require a lot of work of testing, moving objects and then re-testing. Once you find that sweet spot — or sweet triangle if you're using a center channel — it’s easier to buy a screen that fits your space rather than trying to force your audio setup to work around whatever screen you already own.
As for what size screen you should buy, there's a lot of debate. Most industry professionals recommend a screen that fills up between 40 and 45 degrees of your field of view when sitting in your RSP. That number is more of a guideline, though. An easy-to-remember rule of thumb is to buy a screen that's equal in distance to how far away you plan on sitting. Plan to sit only four feet away? Buy a 48" TV. Plan on sitting 10 feet away? You should probably consider a projector.
Tip #8: Human sight maxes out at 576 MP in your field of view — i.e. a resolution of 37181 x 15492
One common question I get a lot is “Do I really need a 4K TV? Can I even see the difference?” The answer is a resounding yes! Of course you can.
From pretty much every distance and on most every screen size above 40 inches, you'll see a marked difference between a 1080p TV and a 4K model. As for 8K TVs, you can see a difference compared to 4K TVs, but it will depend on how far away you sit and if the content is native 8K or upscaled 8K.
If someone says that we've somehow reached the peak of what's possible for human vision, though, send them this article.
Tip #9: Two subwoofers are almost always better than one on its own
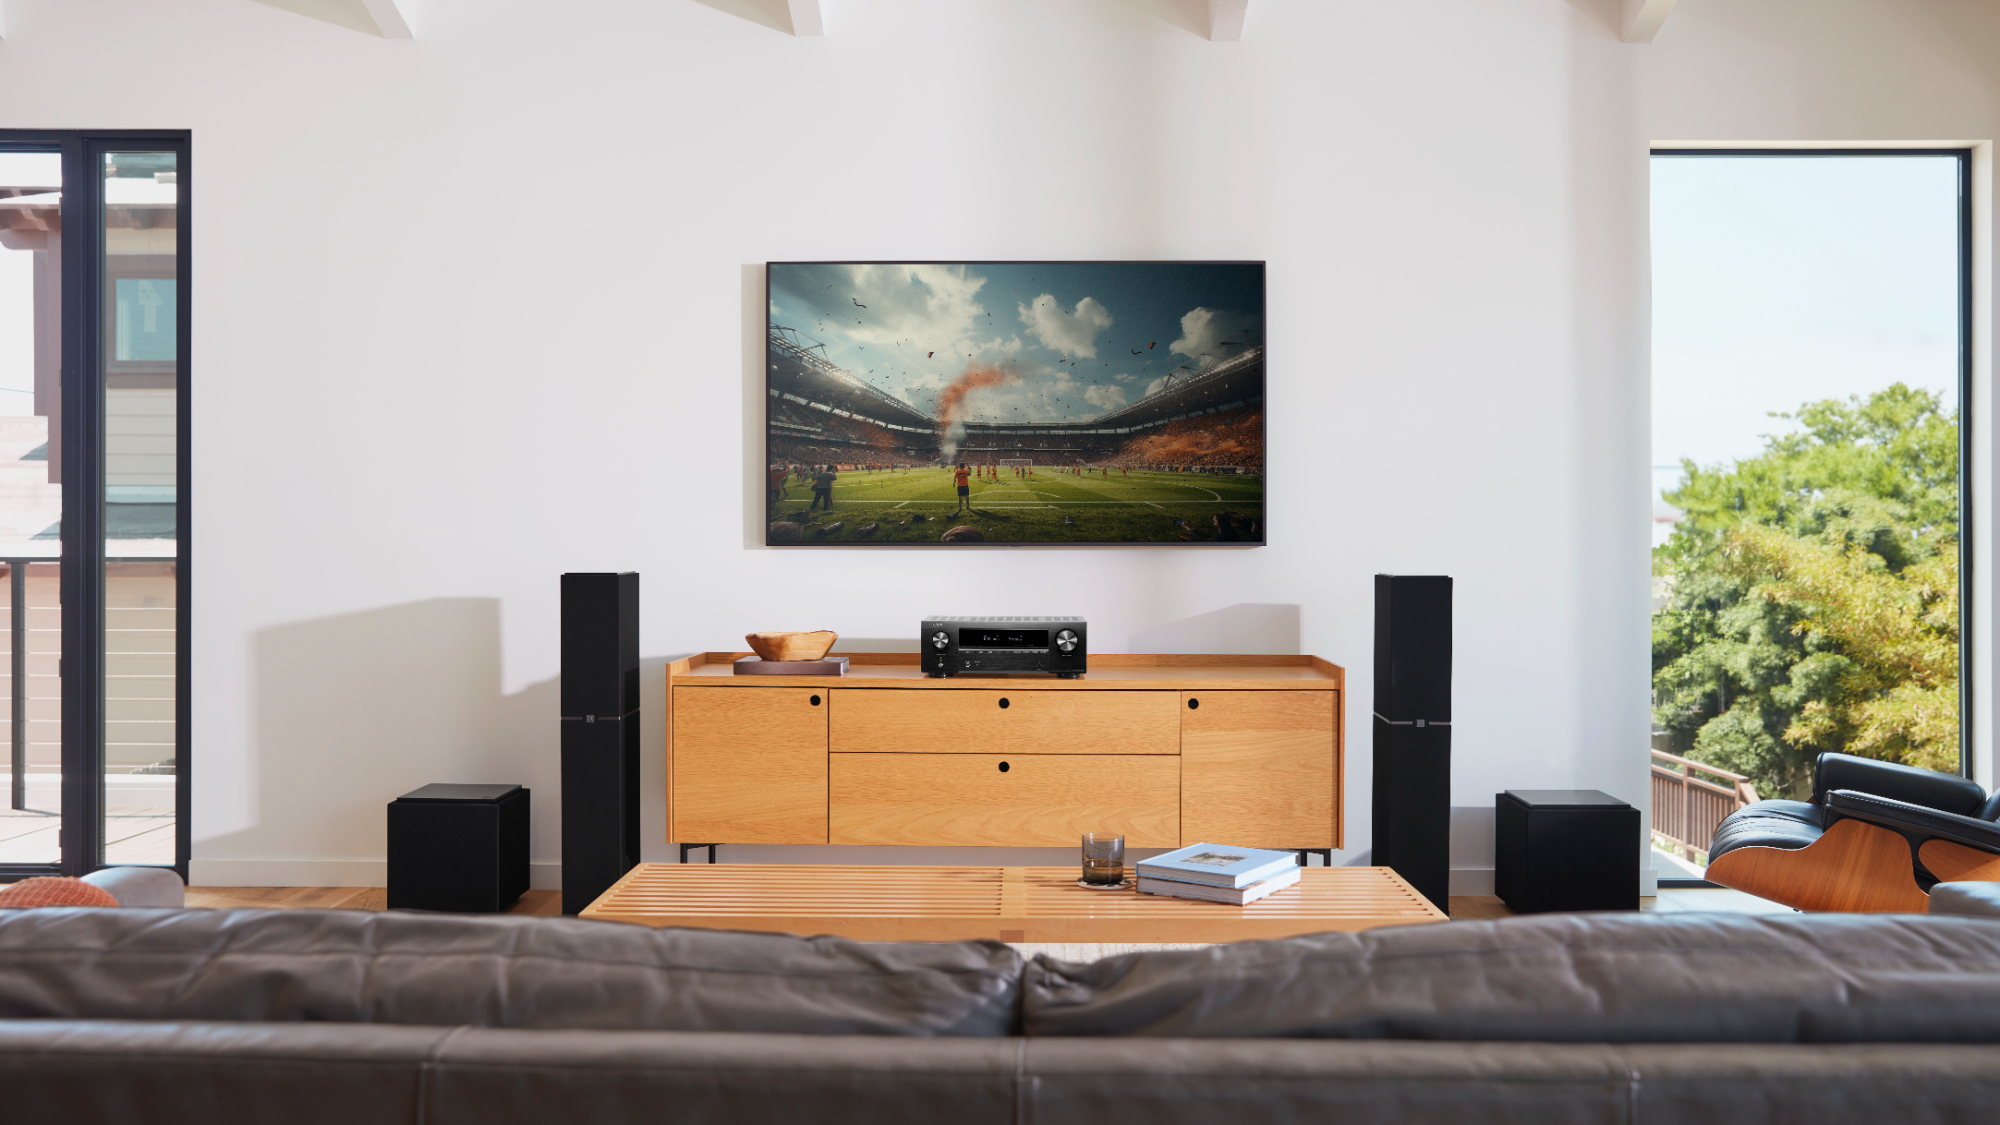
The second half of the class was all about different speaker configurations in a rectangular room, starting with a two-channel setup and going all the way up to a 7.2.4 Dolby Atmos configuration. In pretty much every scenario, having two subwoofers eliminated peaks and nulls.
This is where things get a little tricky. If you've done everything right in your setup so far — all your speakers are equidistant from your RSP and outputting the same volume, then you're going to have issues where you have peaks and nulls.
In a rectangular room, usually these occur in a tic-tac-toe pattern. By placing a subwoofer along one of these lines, you eliminate the peak and null along that line. By having two subwoofers, you can eliminate two lines. To eliminate the last two lines, you'll need to upgrade from a 3.2 system to a 5.2 system or to a Dolby Atmos system with height channels. If your room isn't rectangular or it has some abnormalities, you'll probably need an installer to come over and create a computer model to help accurately predict where the peaks and nulls are occurring.
Tip #10: You might be three feet from better sound
If I learned anything in my time with THX and HAA, it's that having perfect acoustics in a given room is incredibly difficult — and it requires a lot of patience. But taking an OK-sounding system and turning it into a good-sounding system is so much easier than you think. All you need to do is probably shift a couch a few feet forward or backward, or move your speakers closer or further from the wall.
Or, as Lemay put it, "Where things go matter. The difference between typical and amazing may be a much smaller adjustment than you realize."
Interested in taking a class for yourself, the HAA and THX offer training classes at events like CES and CEDIA, starting at around $600 for an online session or $1,499 for a two-day in-person training.


