Wildlife photography can be simultaneously one of the most frustrating, yet rewarding genres the art form has to offer. Having patience is often more important than the kit you have, as you stake out hides and wildlife hotspots waiting for an animal to appear - then hoping the lighting, your camera settings, and focus are just right!
When you only see the end results on sites and apps like Instagram, it can be easy to romanticize wildlife photography and forget about the weeks, months and even years that can go into planning and waiting to culminate in the perfect shot. Wildlife shoots rarely go to plan, and the weather often doesn't play ball.
• To shoot stunning wildlife of your own, check out the best lenses for bird photography
Reader of PhotoPlus: The Canon Magazine, Thomas Lechthaler, is based in Manchester and is currently retraining as a HGV driver. Photographing landscapes is his main passion and he uses it to unwind in his spare time when not working.
While he’s a very capable landscape photographer, he has a love for all things outdoors and was keen to learn more about wildlife photography, which he sometimes struggles with. We paired him up for the day with professional wildlife photographer Paul Fowlie at his wildlife hides in Yorkshire to show him the ropes on an unusually rainy summer’s day! Sometimes that's just how it goes though, here we'll run through Paul's top tips to achieve top wildlife portraits even in a downpour.
1. Manual mode
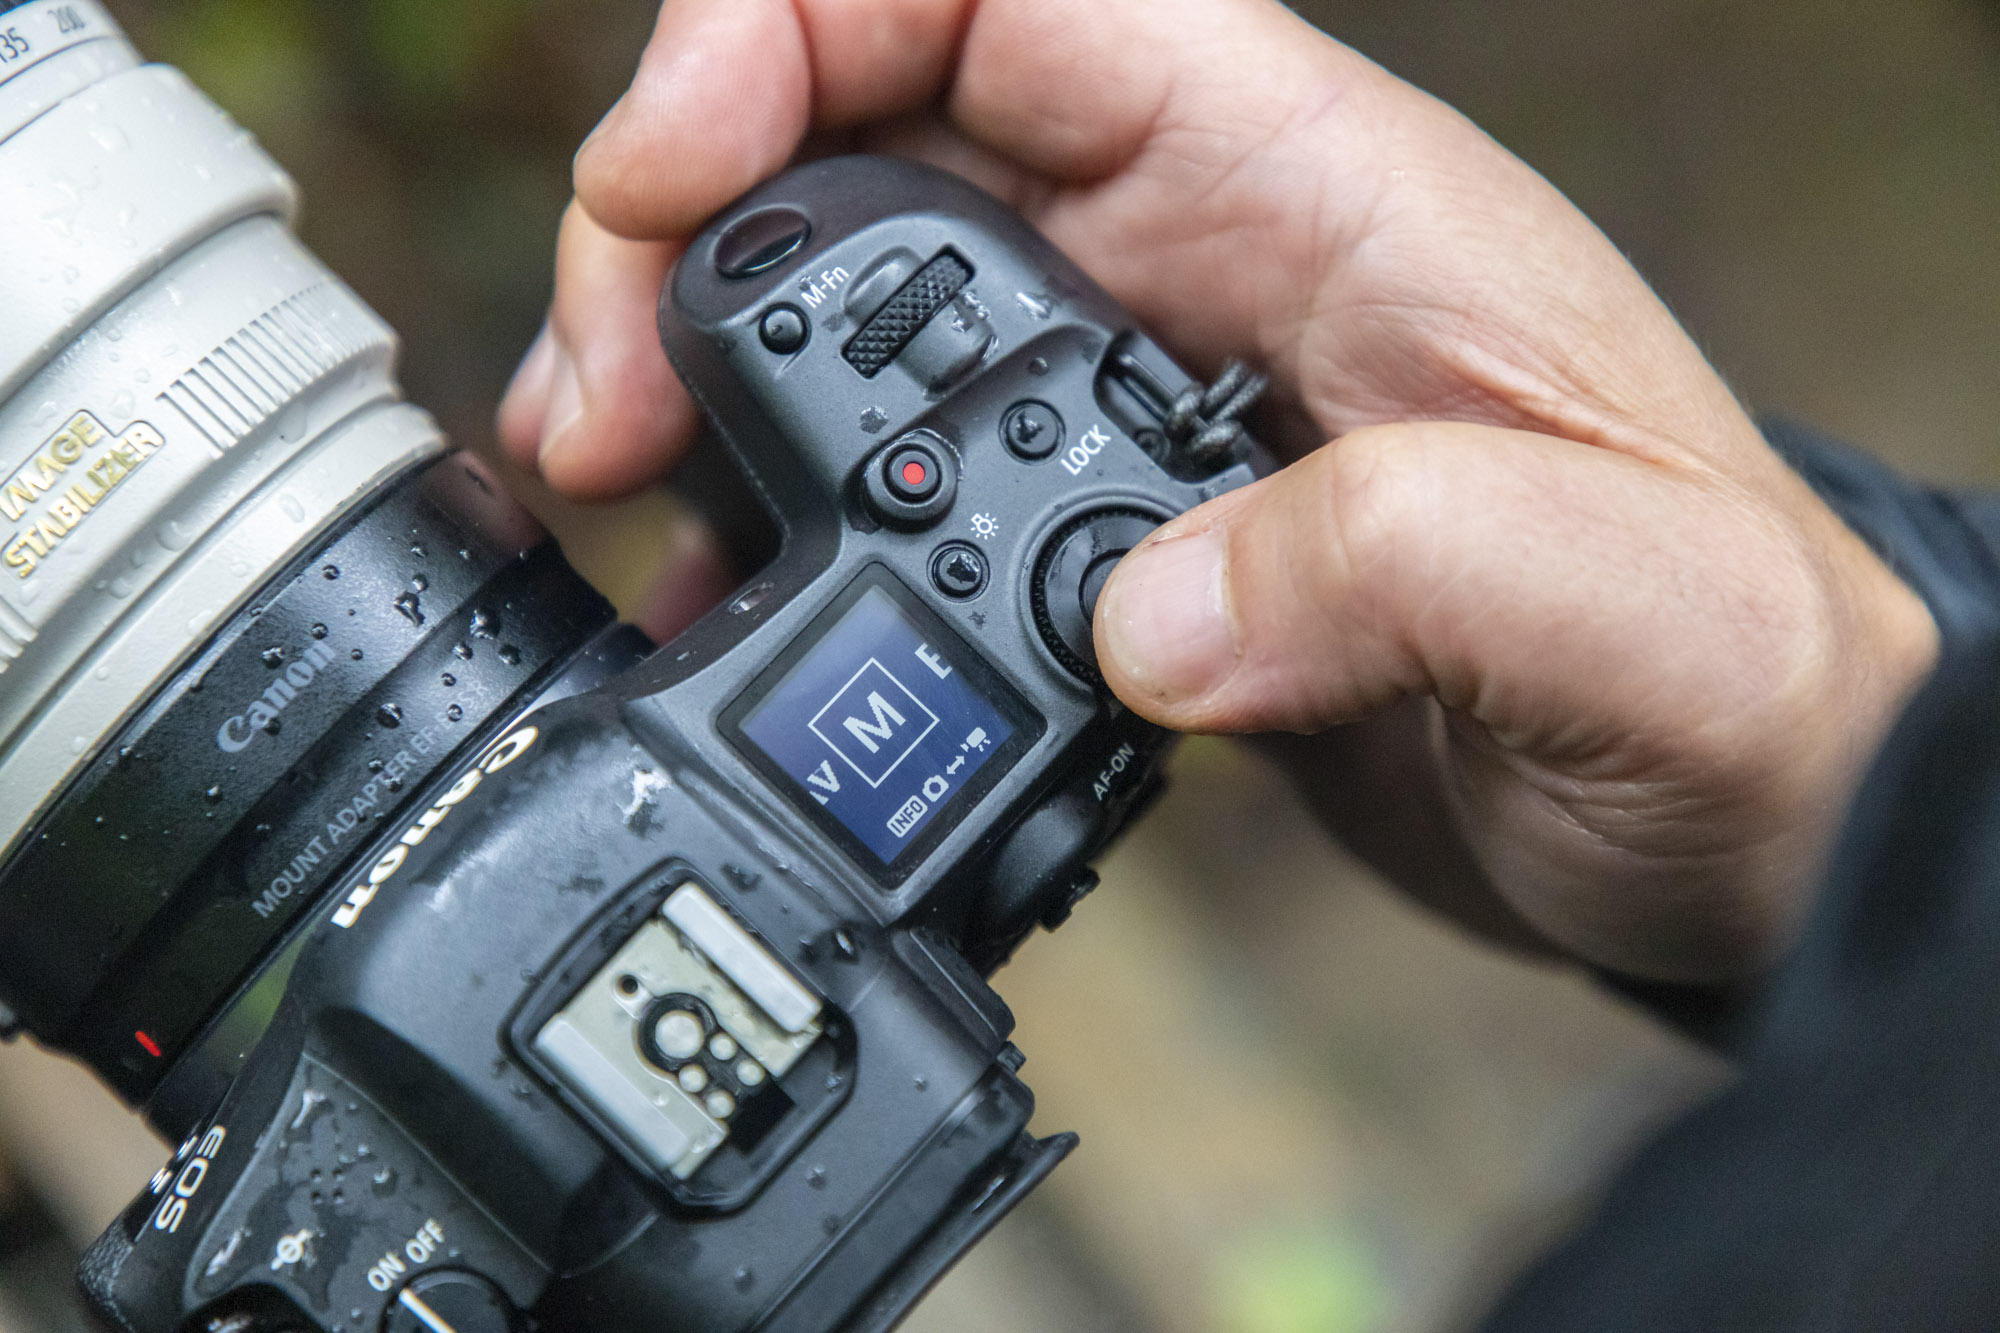
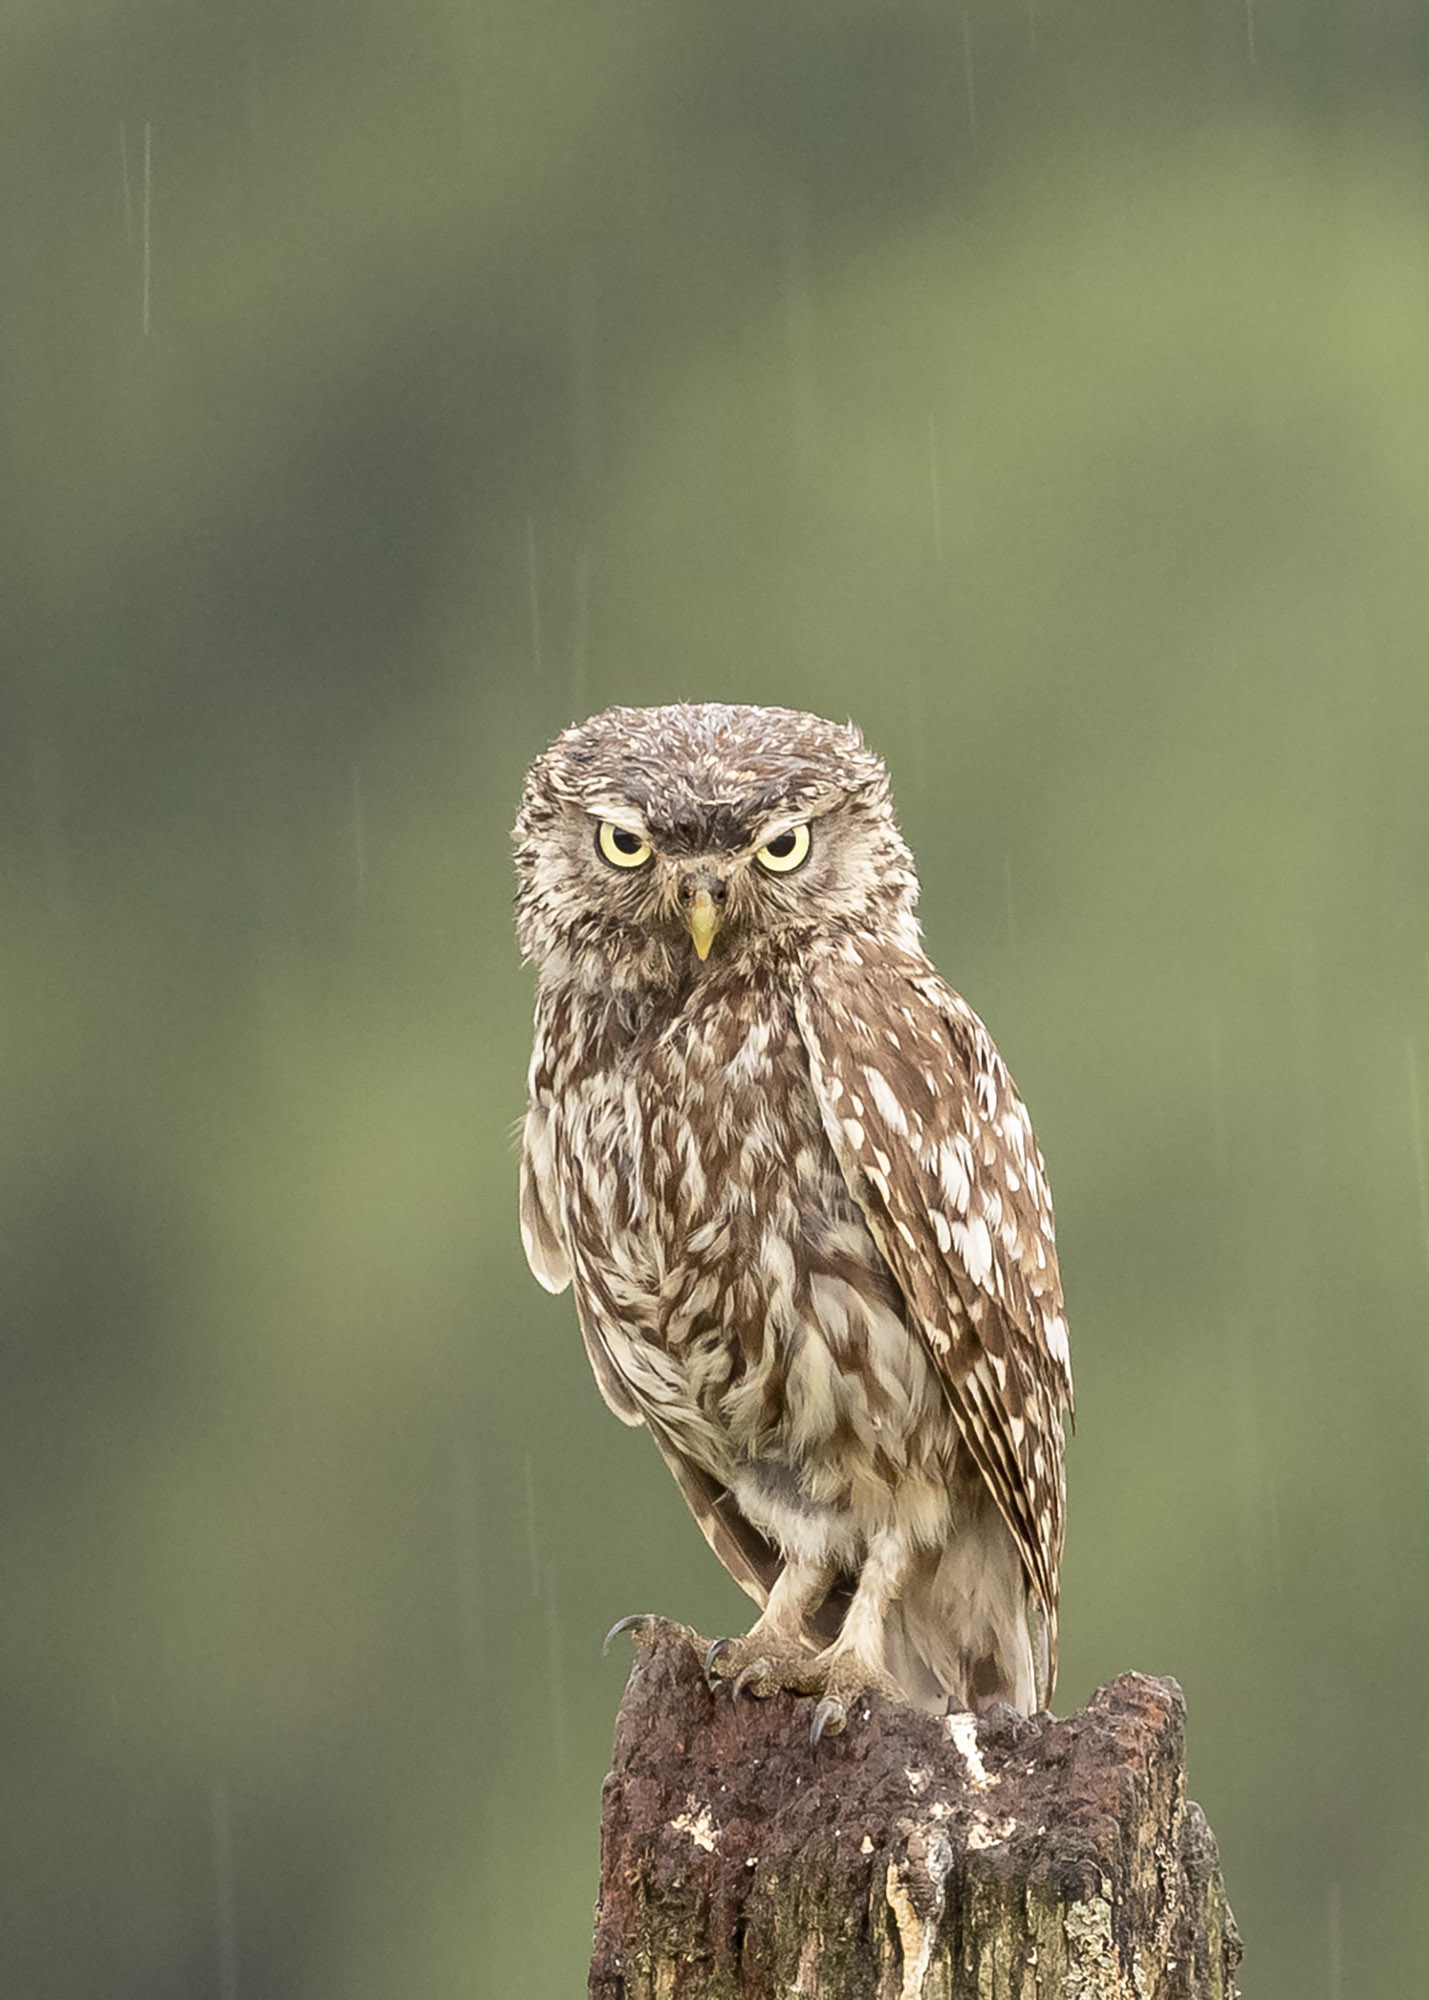
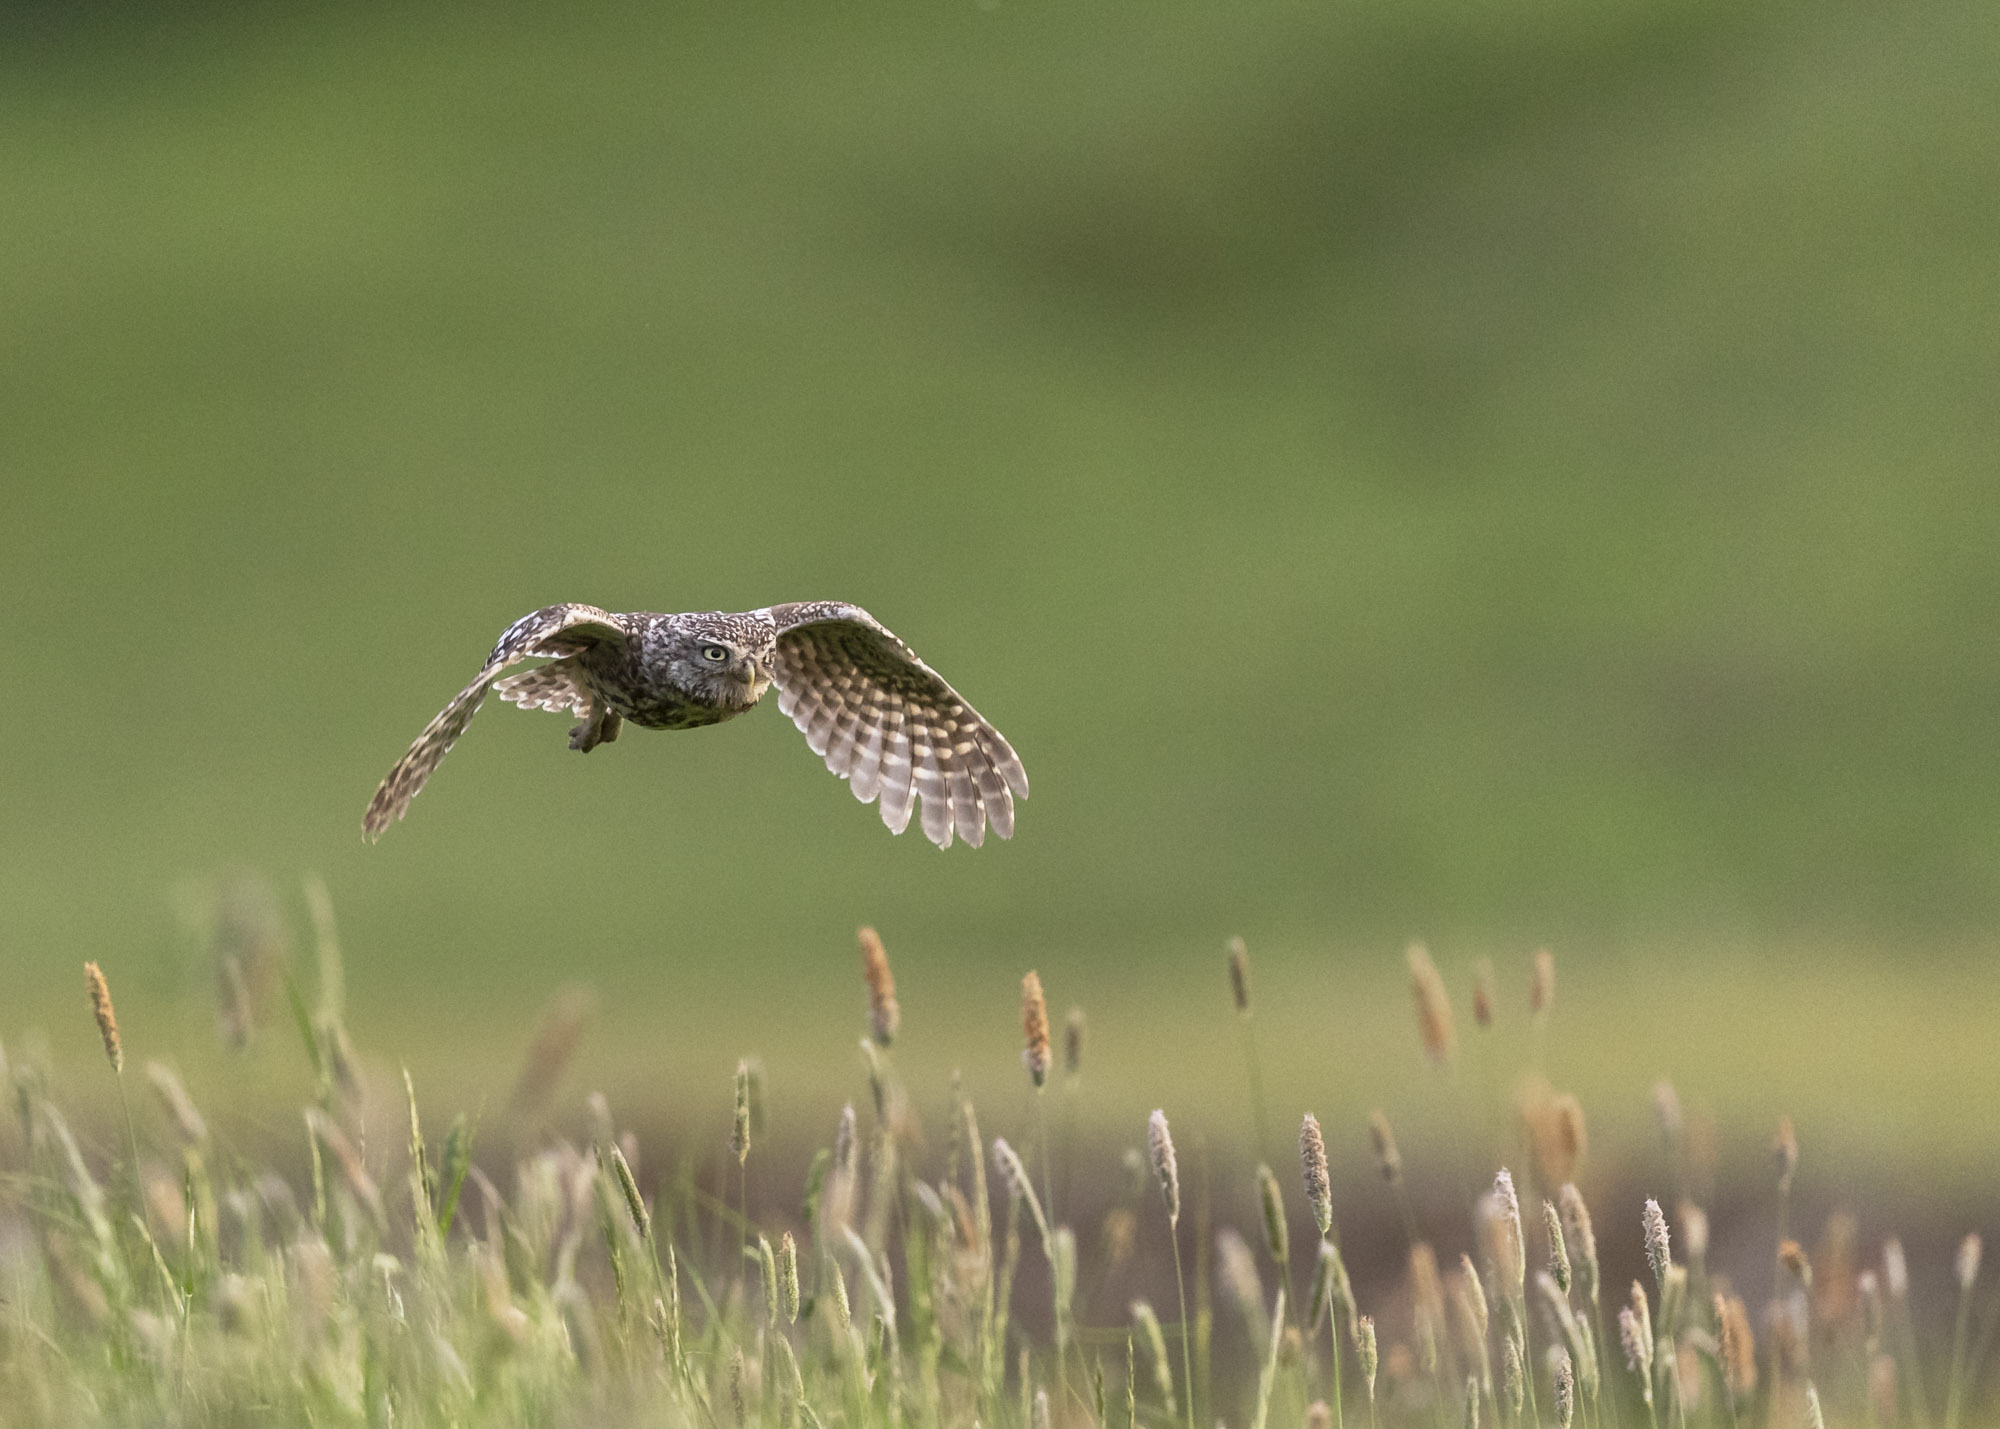
Tom shoots in Manual mode when photographing his landscapes and Paul recommended he stayed in this mode for wildlife shots too. The weather was rainy and overcast so the light levels were fairly constant throughout the day. He suggested starting with an aperture of around f/8 for good sharpness with the owls and boosting the ISO until he had the desired shutter speed. Usually 1/2000 sec would be good for wildlife, but with more stationary subjects around 1/400 sec is usually fast enough.
2. High speed burst
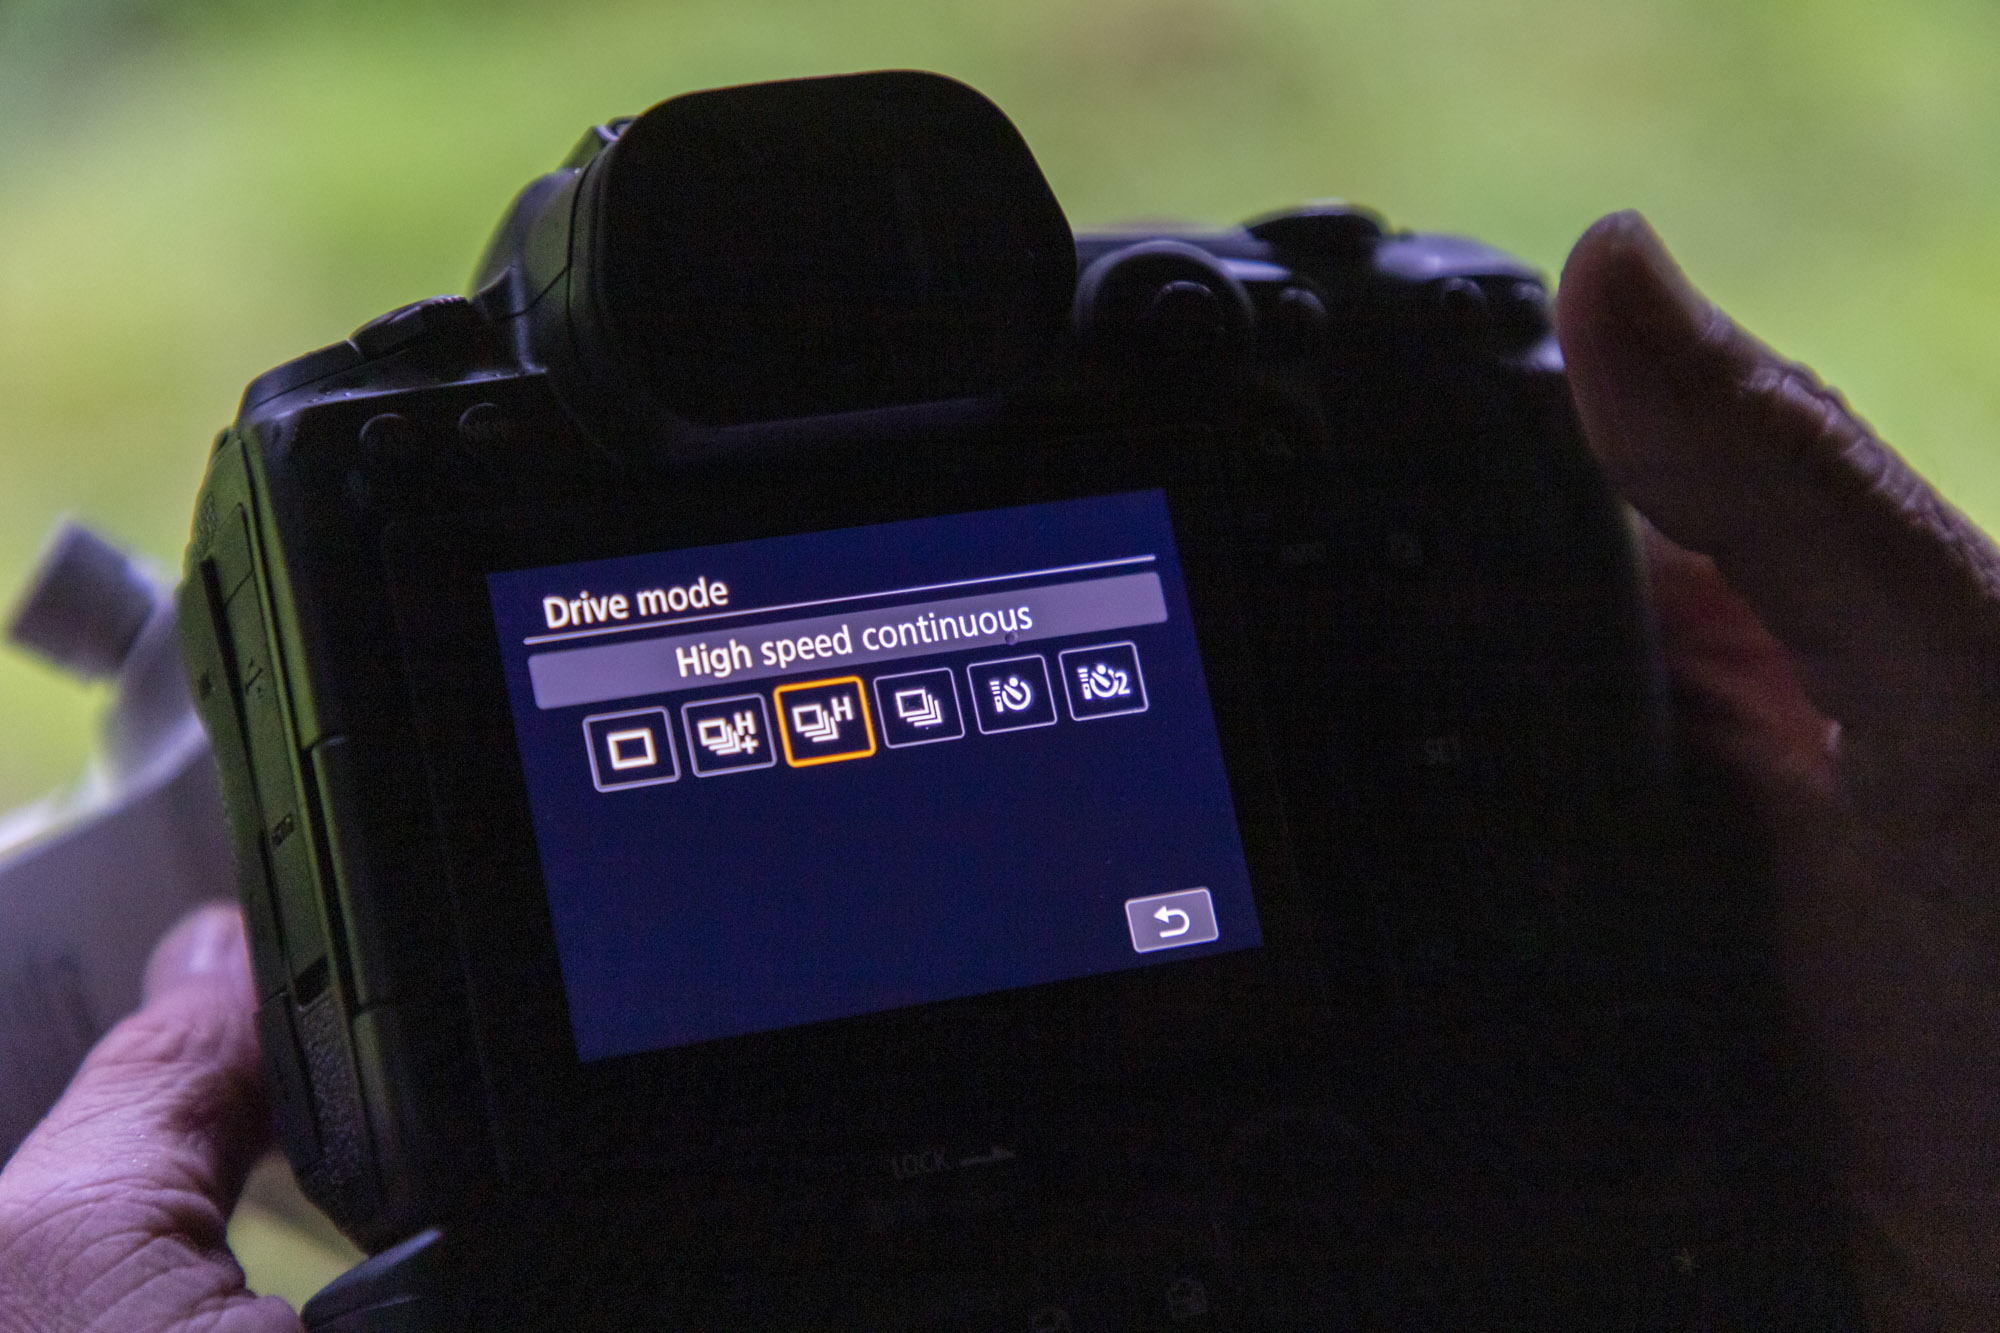
For landscapes you usually have the luxury of taking your time and firing off just a single exposure. Wildlife photography can be a lot more fast-paced and frantic, so a high speed burst, such as the top 20fps continuous modes on both Tom and Paul’s Canon EOS R5 cameras is ideal. A faster burst rate gives you more chance of catching the best moment, and hopefully more than one frame will be sharp and in focus too.
3. It's a sign!
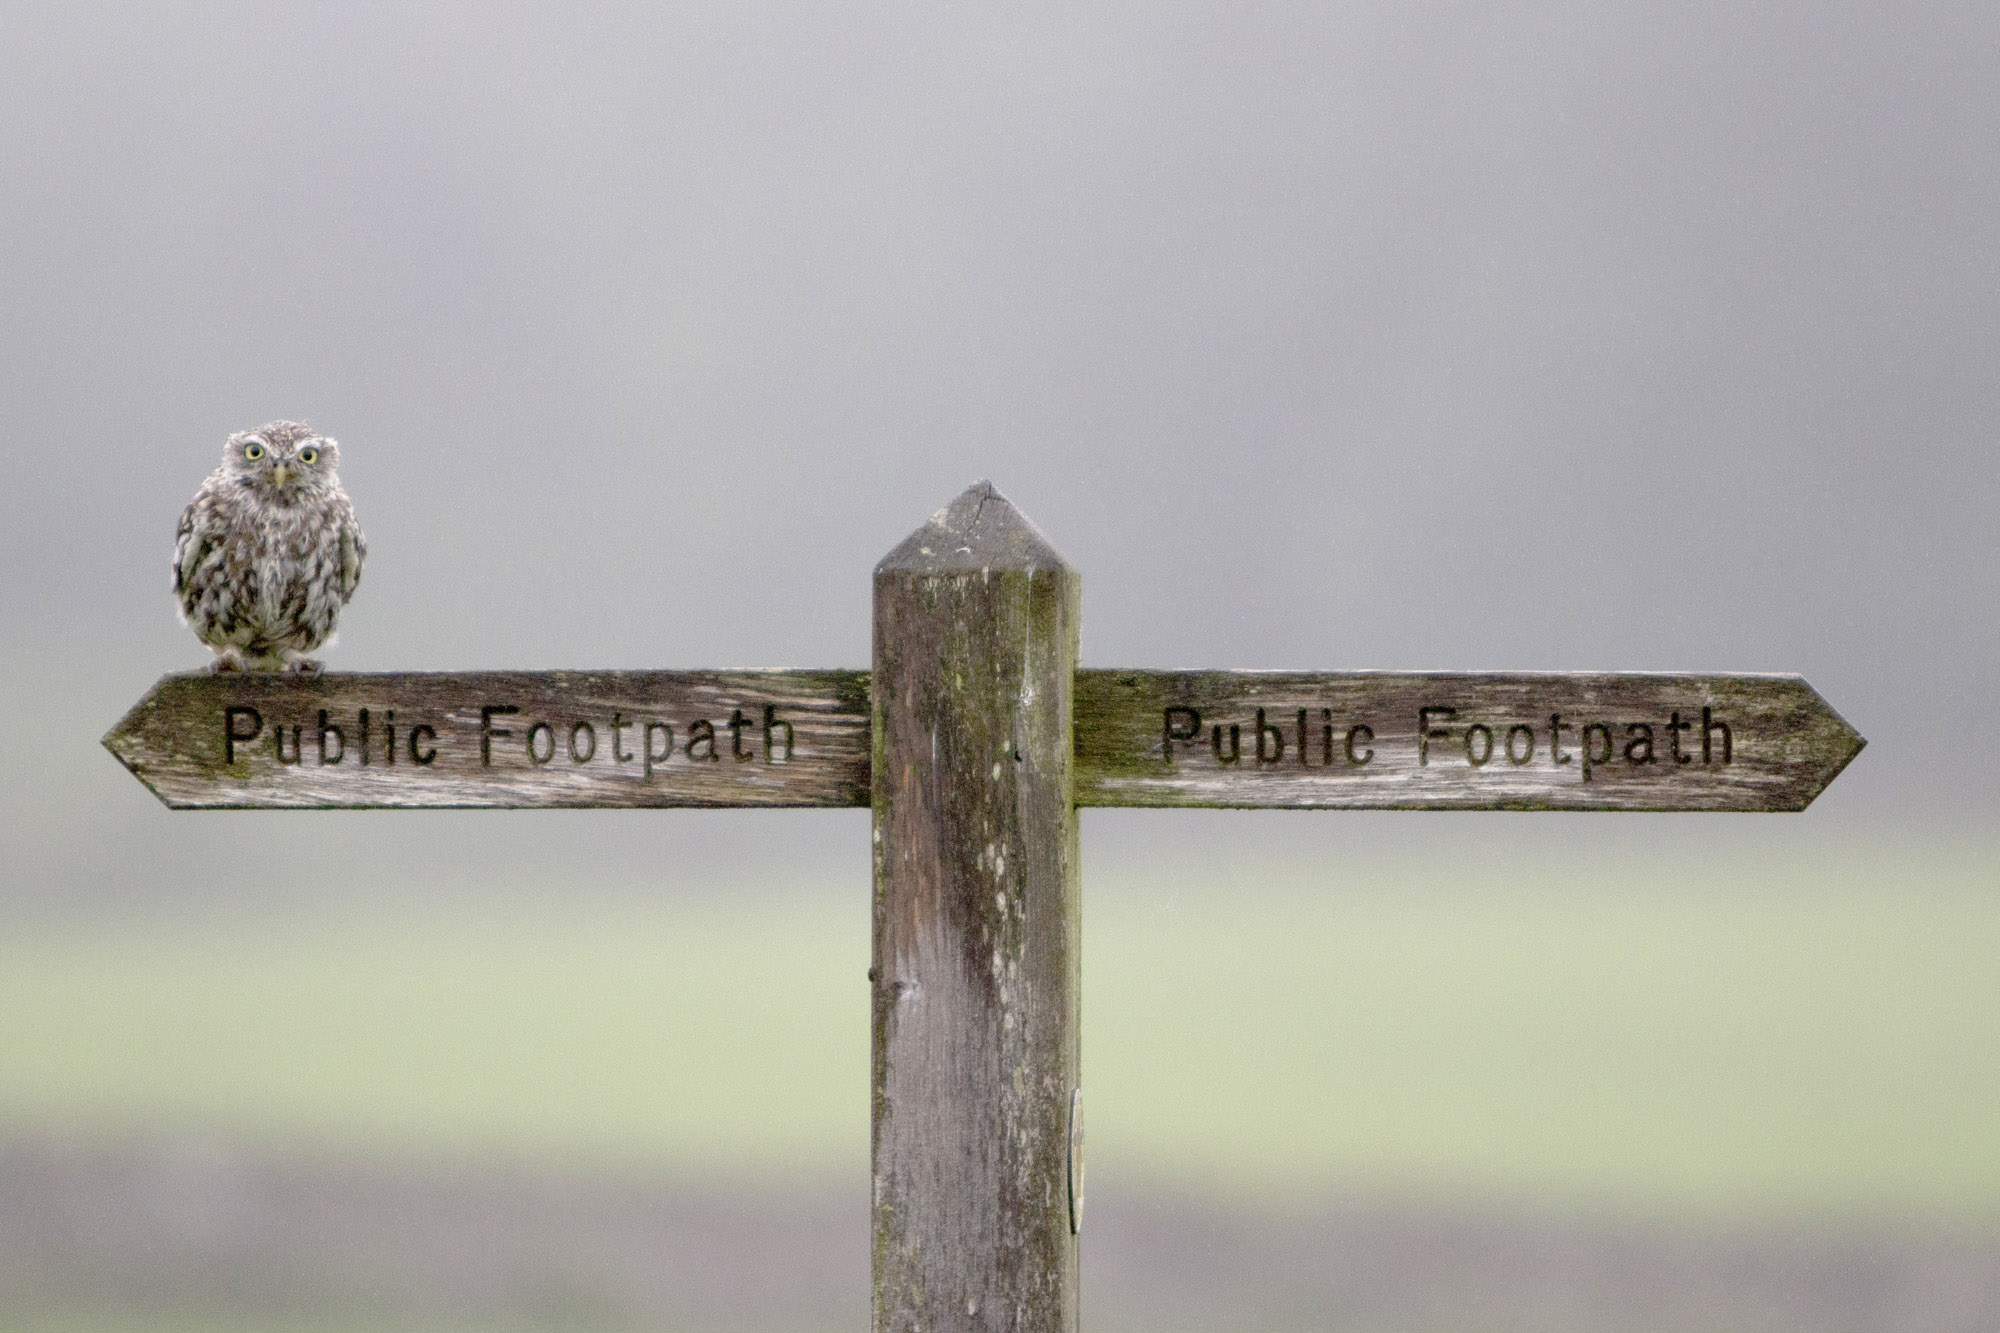
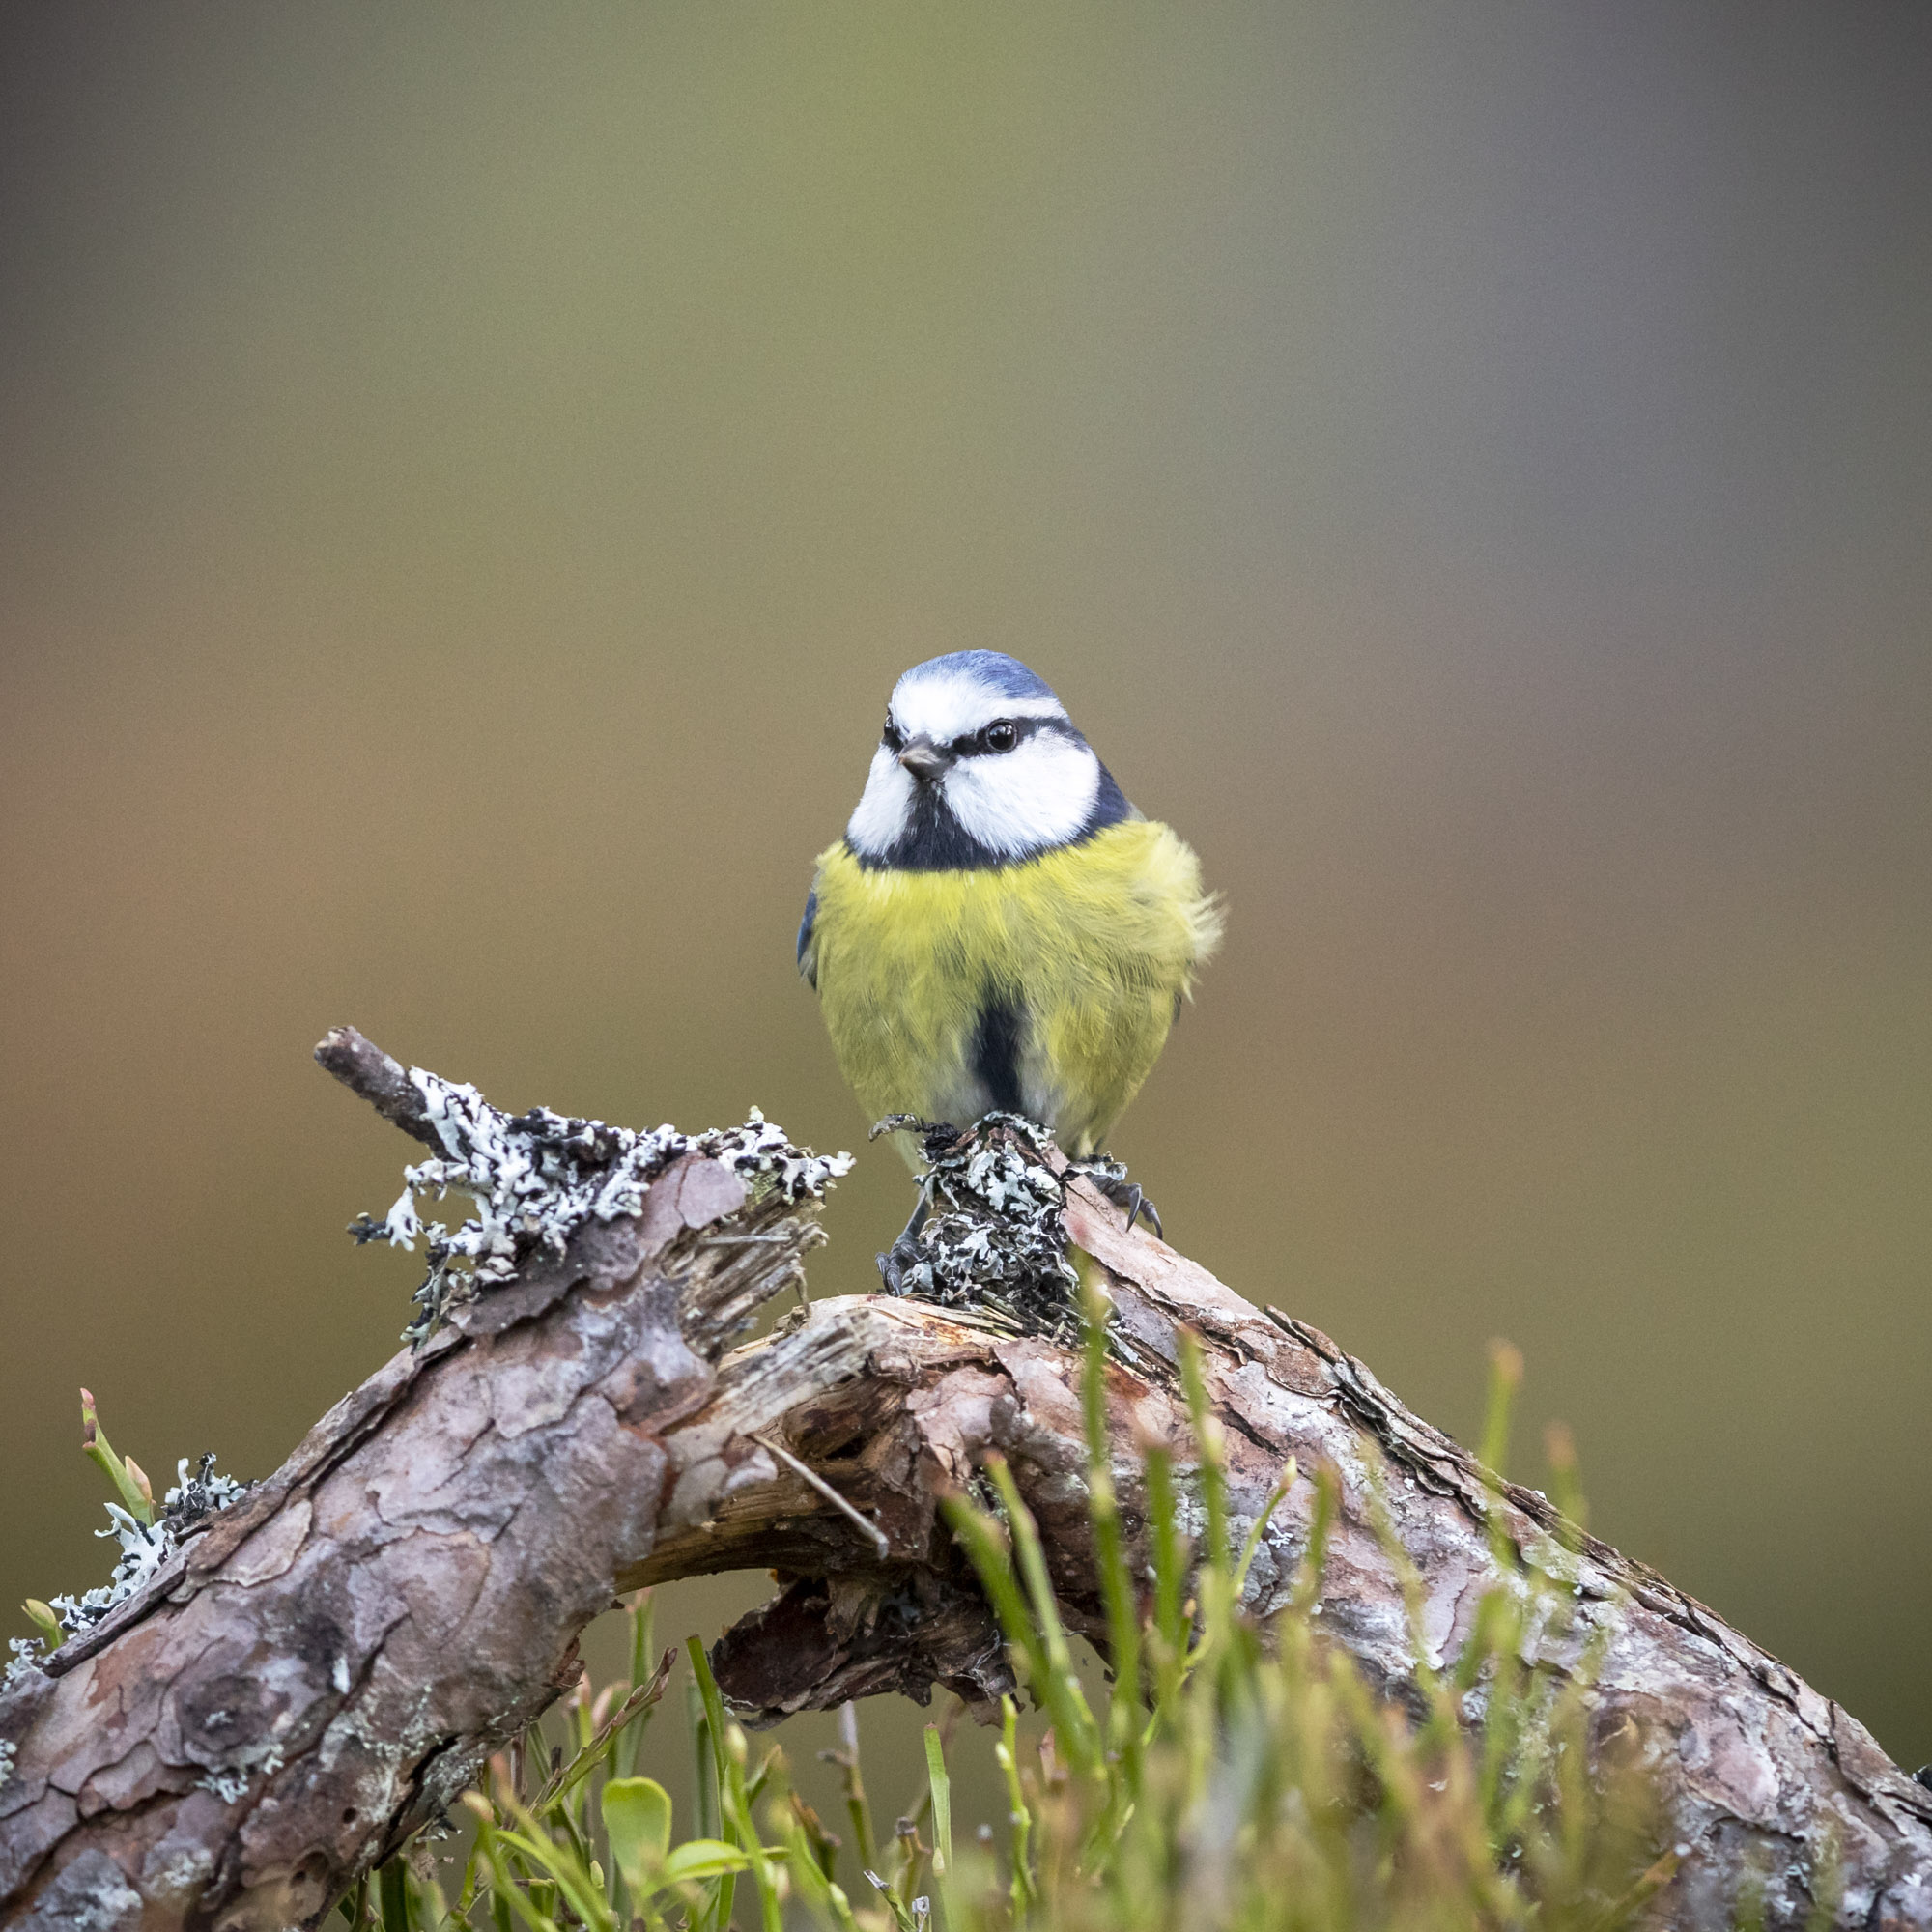
Paul has set up signs, logs and tree stumps in front of his wildlife hides. This is a convenient place for the birds and wild animals to perch on, and also makes for more interesting and photogenic shots. He’s screwed some plastic containers onto the rear side of his perches where he can top up the food so that these don’t appear in the shots. Any small bits of bird feed or droppings can then be easily removed in post production. Why not try placing some photogenic logs in front of your bird feeders at home and give it a go?
4. Pop-up wildlife hide
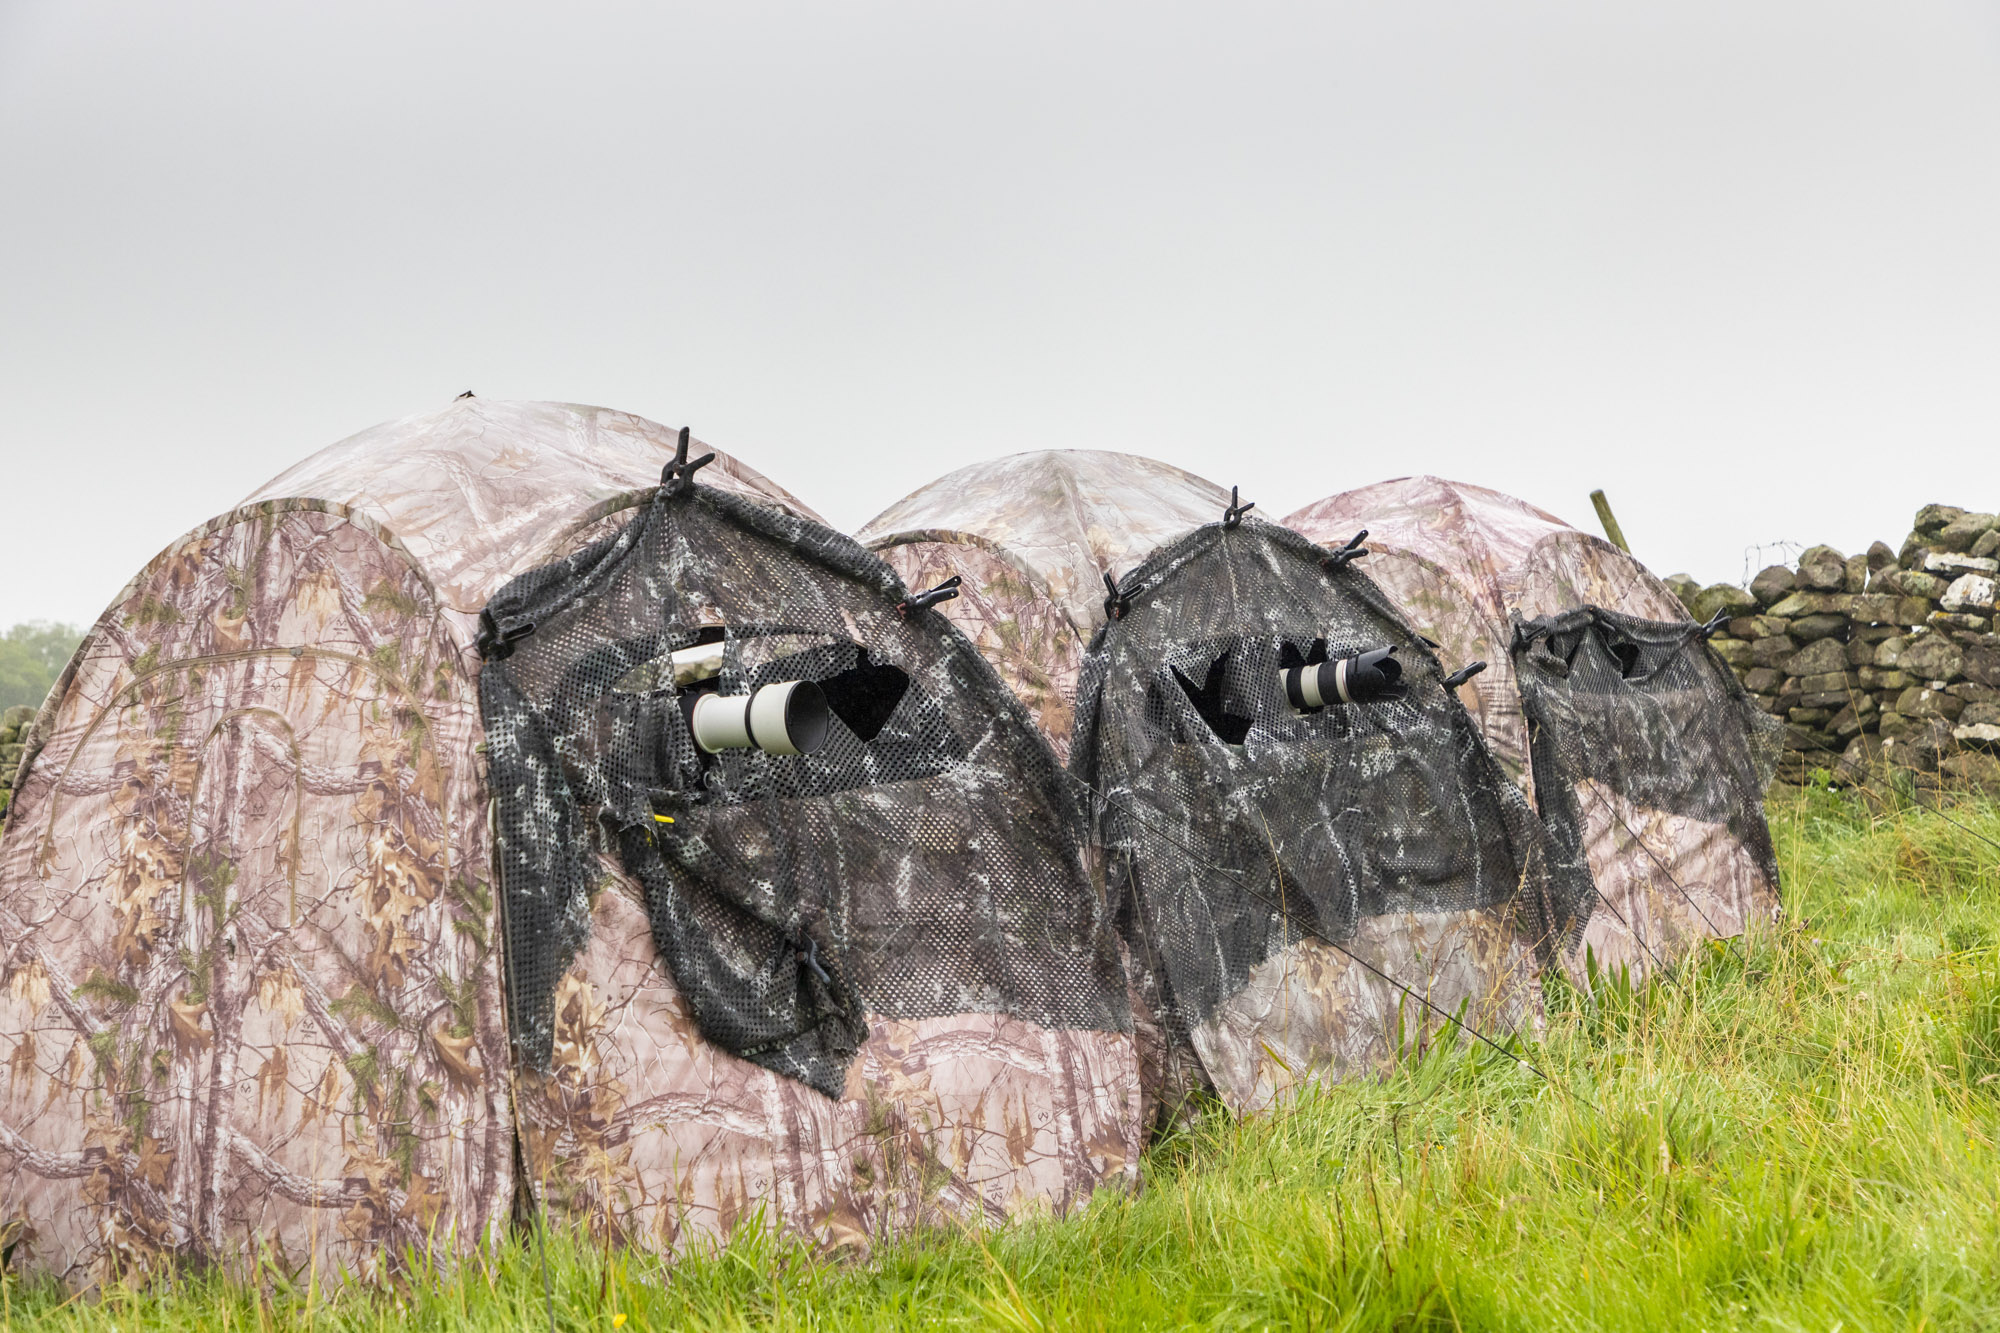
While Paul has dedicated timber bird-watching hides at many of his sites he also uses these one man pop-up style hides from Nitehawk. They come in various colours and camouflage options and conveniently fold away into a backpack for easy transportation. These were handy when photographing the little owls in the rain as they allowed us to stay out of the drizzle and remain hidden so we wouldn’t spook our skittish subjects. See our guide to the best portable hides for wildlife photography

5. Autofocus cases
Pro Canon cameras like the EOS R5 allow you to fine-tune the autofocus so it’s more or less responsive. You need to go into your AF Menu and change the AF Cases in the third menu. The camera can be more or less sensitive when tracking, or ignore items in the foreground – for example when tracking an animal. Paul uses Case 3 for wildlife with tracking sensitivity and accel/decel tracking at +1.
6. Animal Eye subject detection
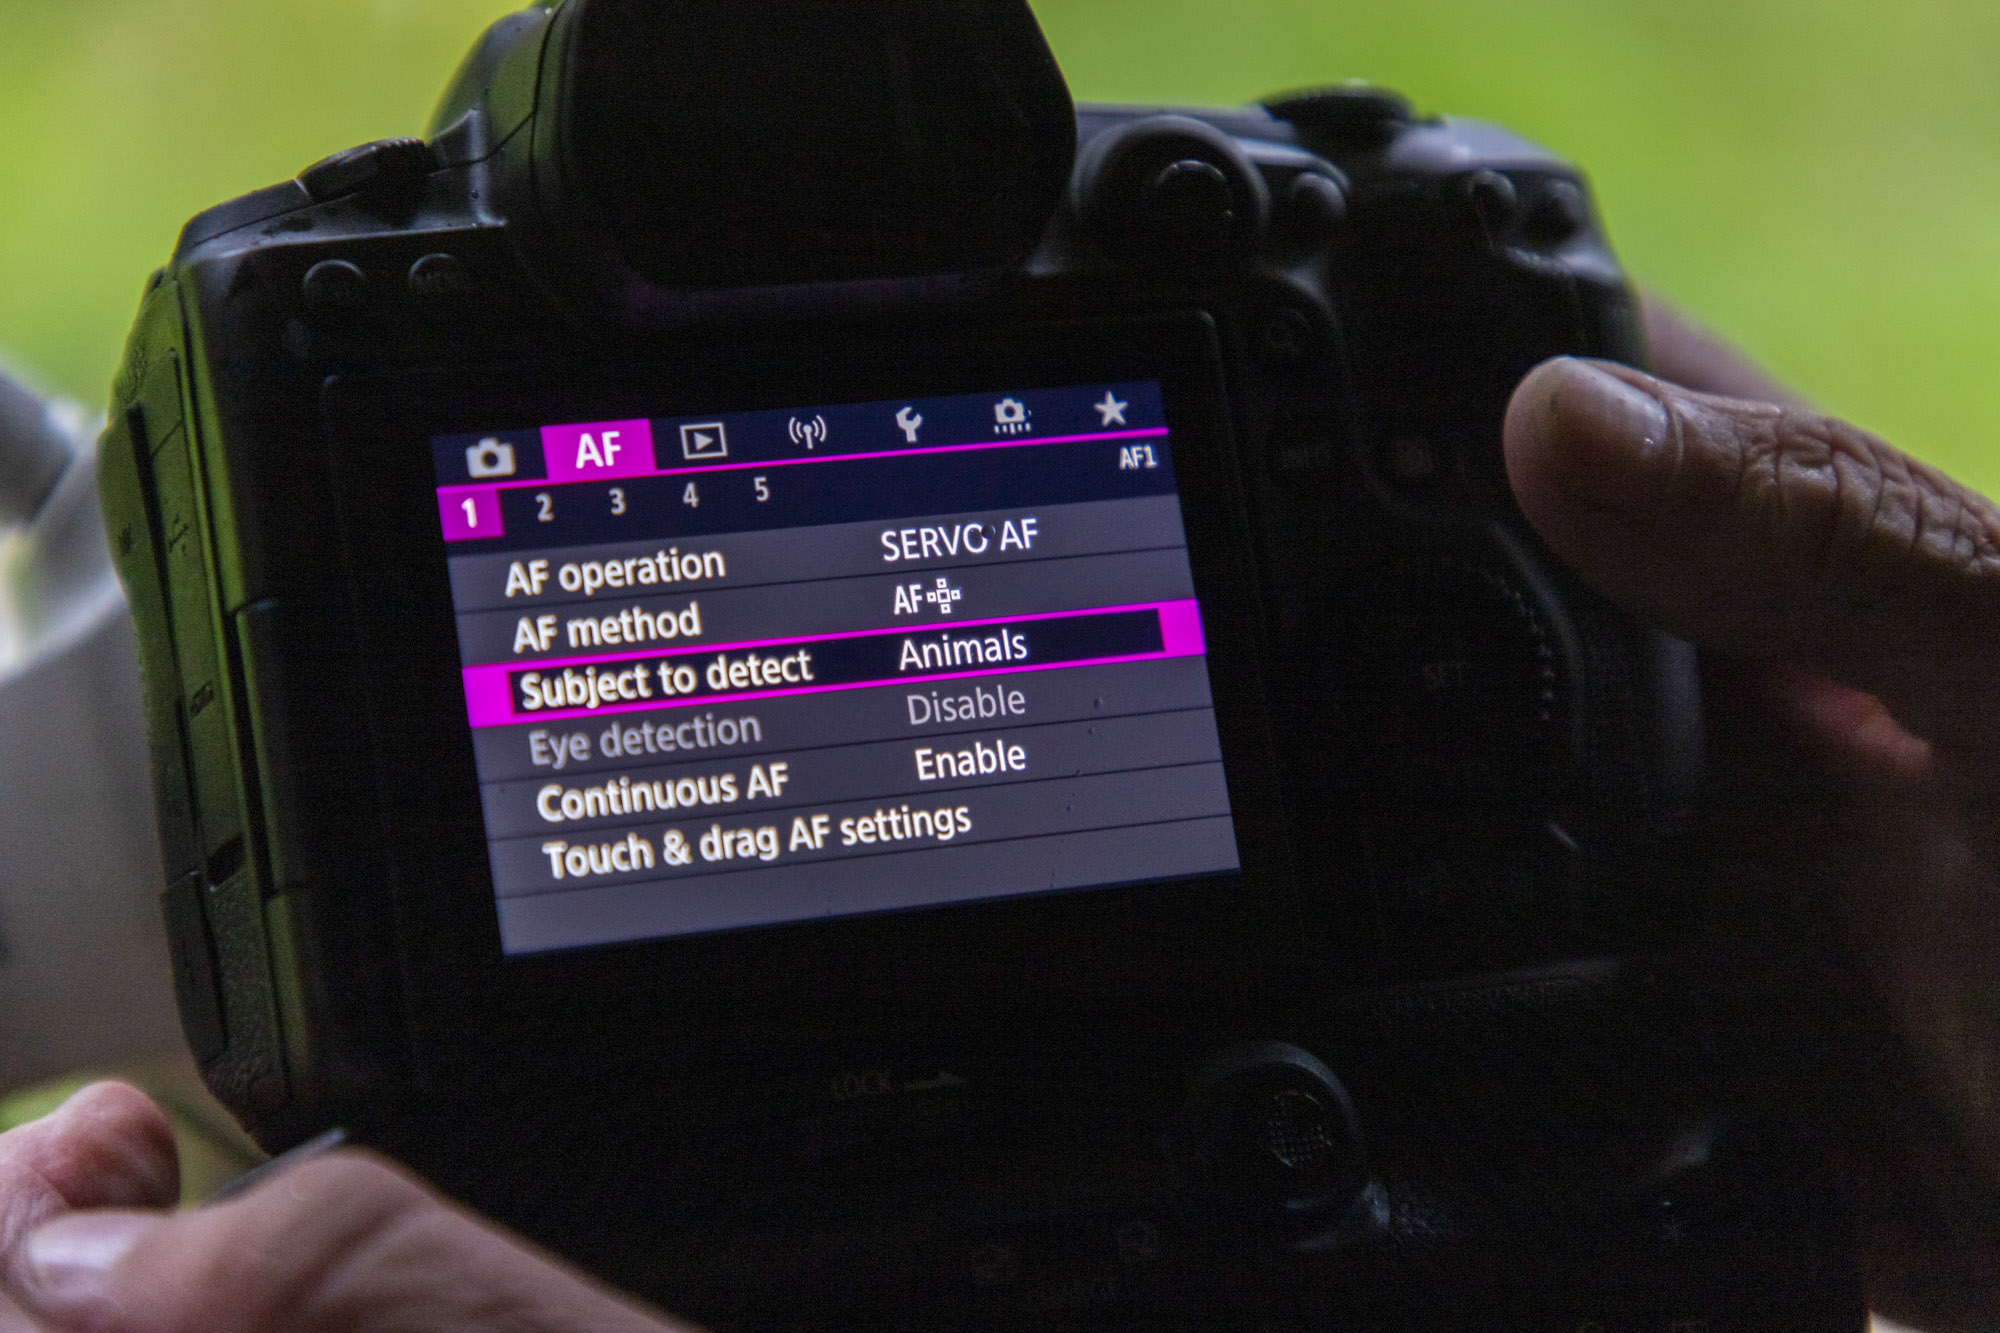
Up until recently Paul had been shooting on a Canon EOS-1D X Mark III DSLR, but made the move to mirrorless with the Canon EOS R5. One of the greatest advantages of the new system he’s found is the animal eye subject detection mode, which makes it much easier to lock onto an animal’s eye and keep it in focus even as you track your animal or it moves within the frame. If your Canon EOS has this feature you’ll find it within the AF Menu under ‘Subject to detect’.
7. Battery grip
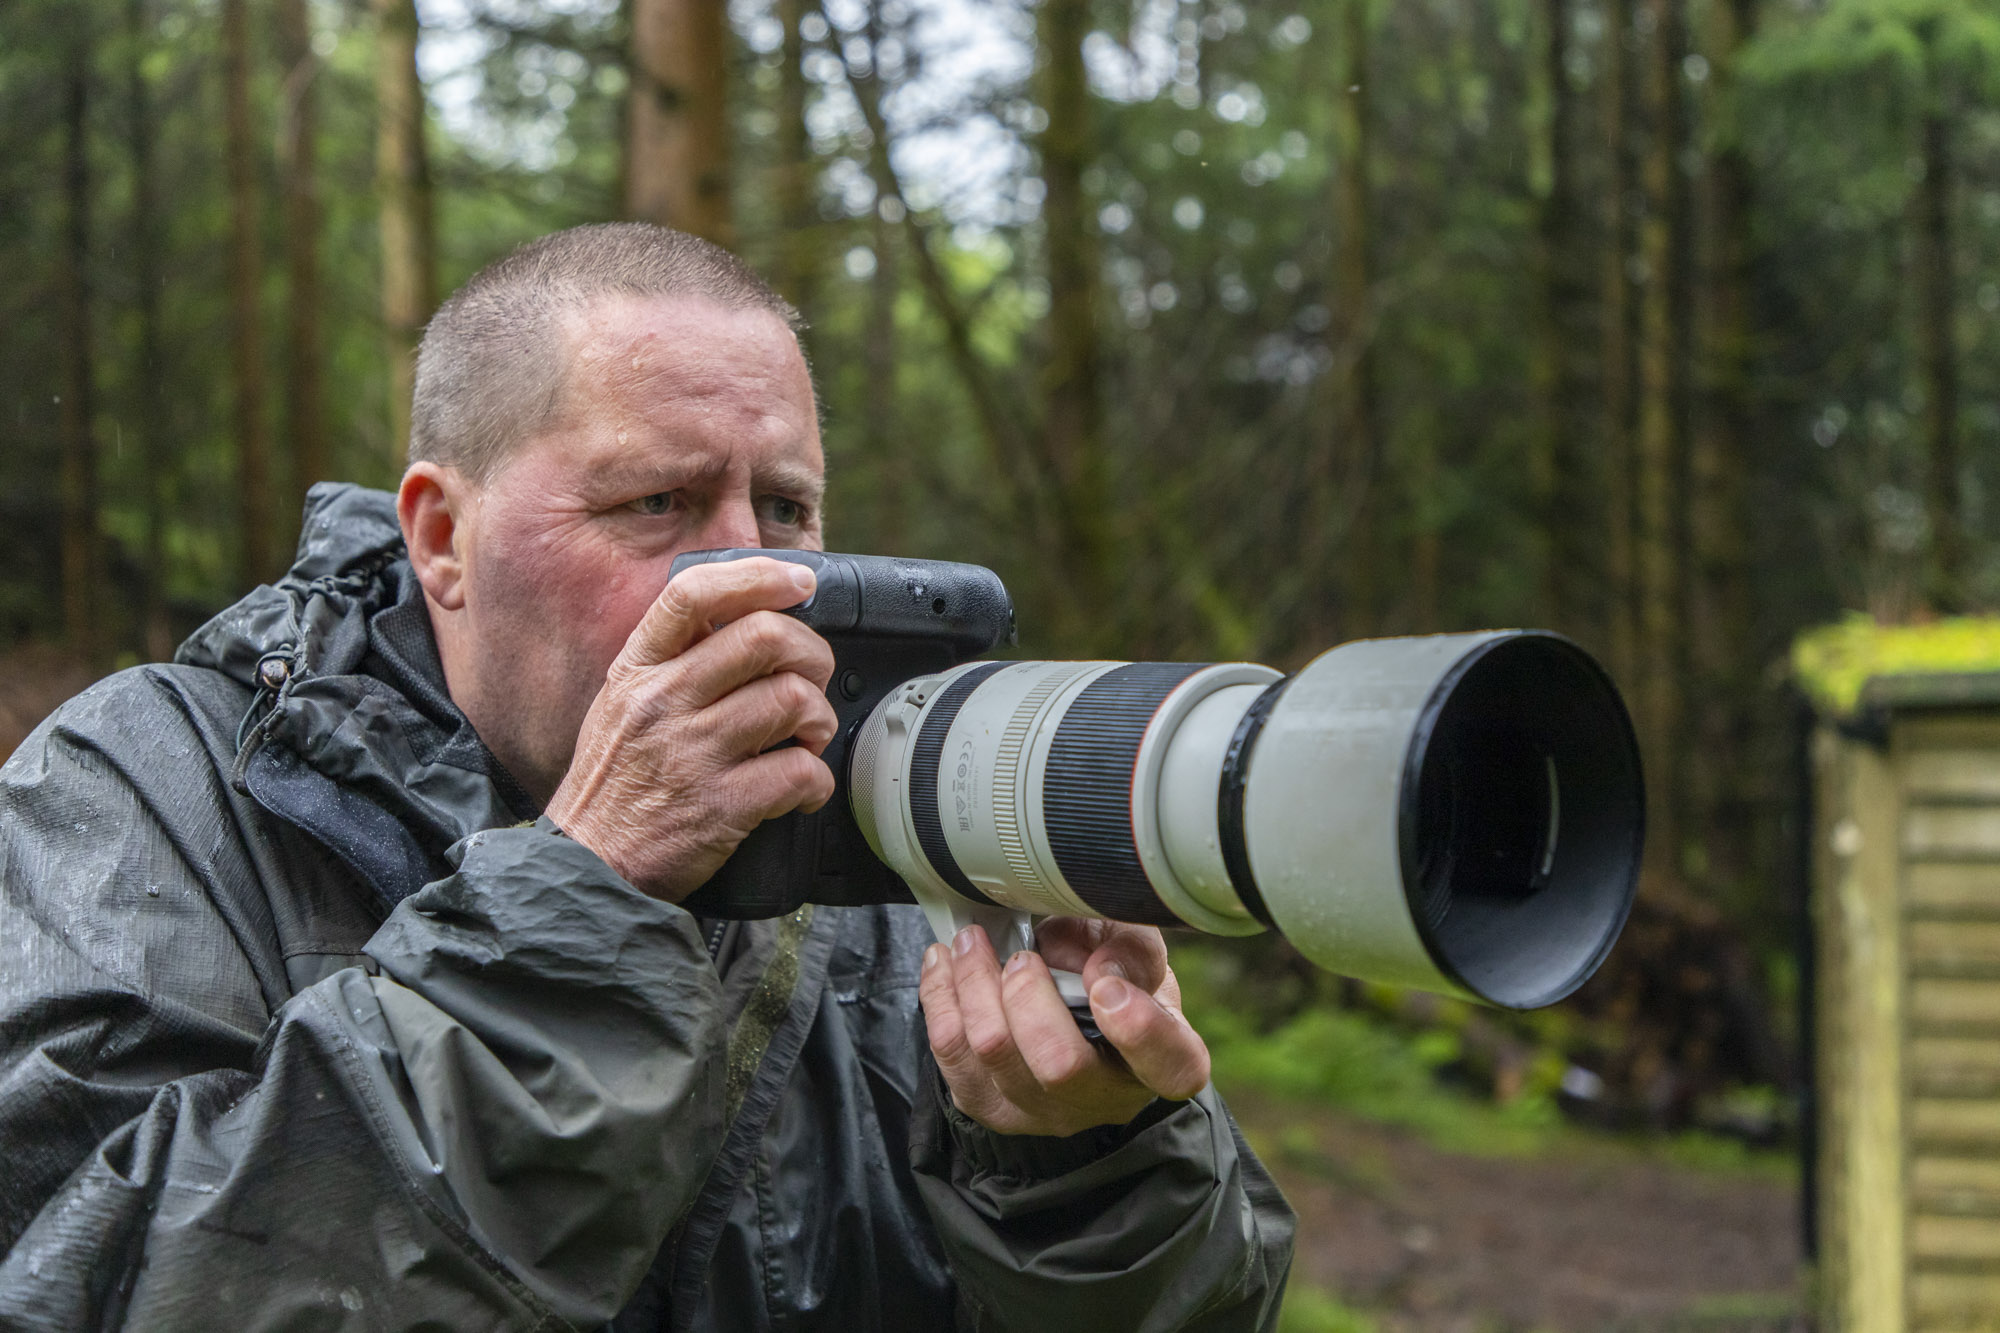
Paul has paired his Canon EOS R5 with the BG-R10 battery grip which makes it feel a bit more like his old EOS-1D X Mark III, which had a built-in grip. Using a grip makes it easier and more natural to shoot with the camera in the portrait orientation as it has an extra shutter button and command dials on the grip. It also means he can use two of Canon’s LP-E6NH batteries to power his EOS R5, so he can go for longer periods without needing to change batteries, making him less likely to miss that magical moment.
8. Short telephoto zoom lens
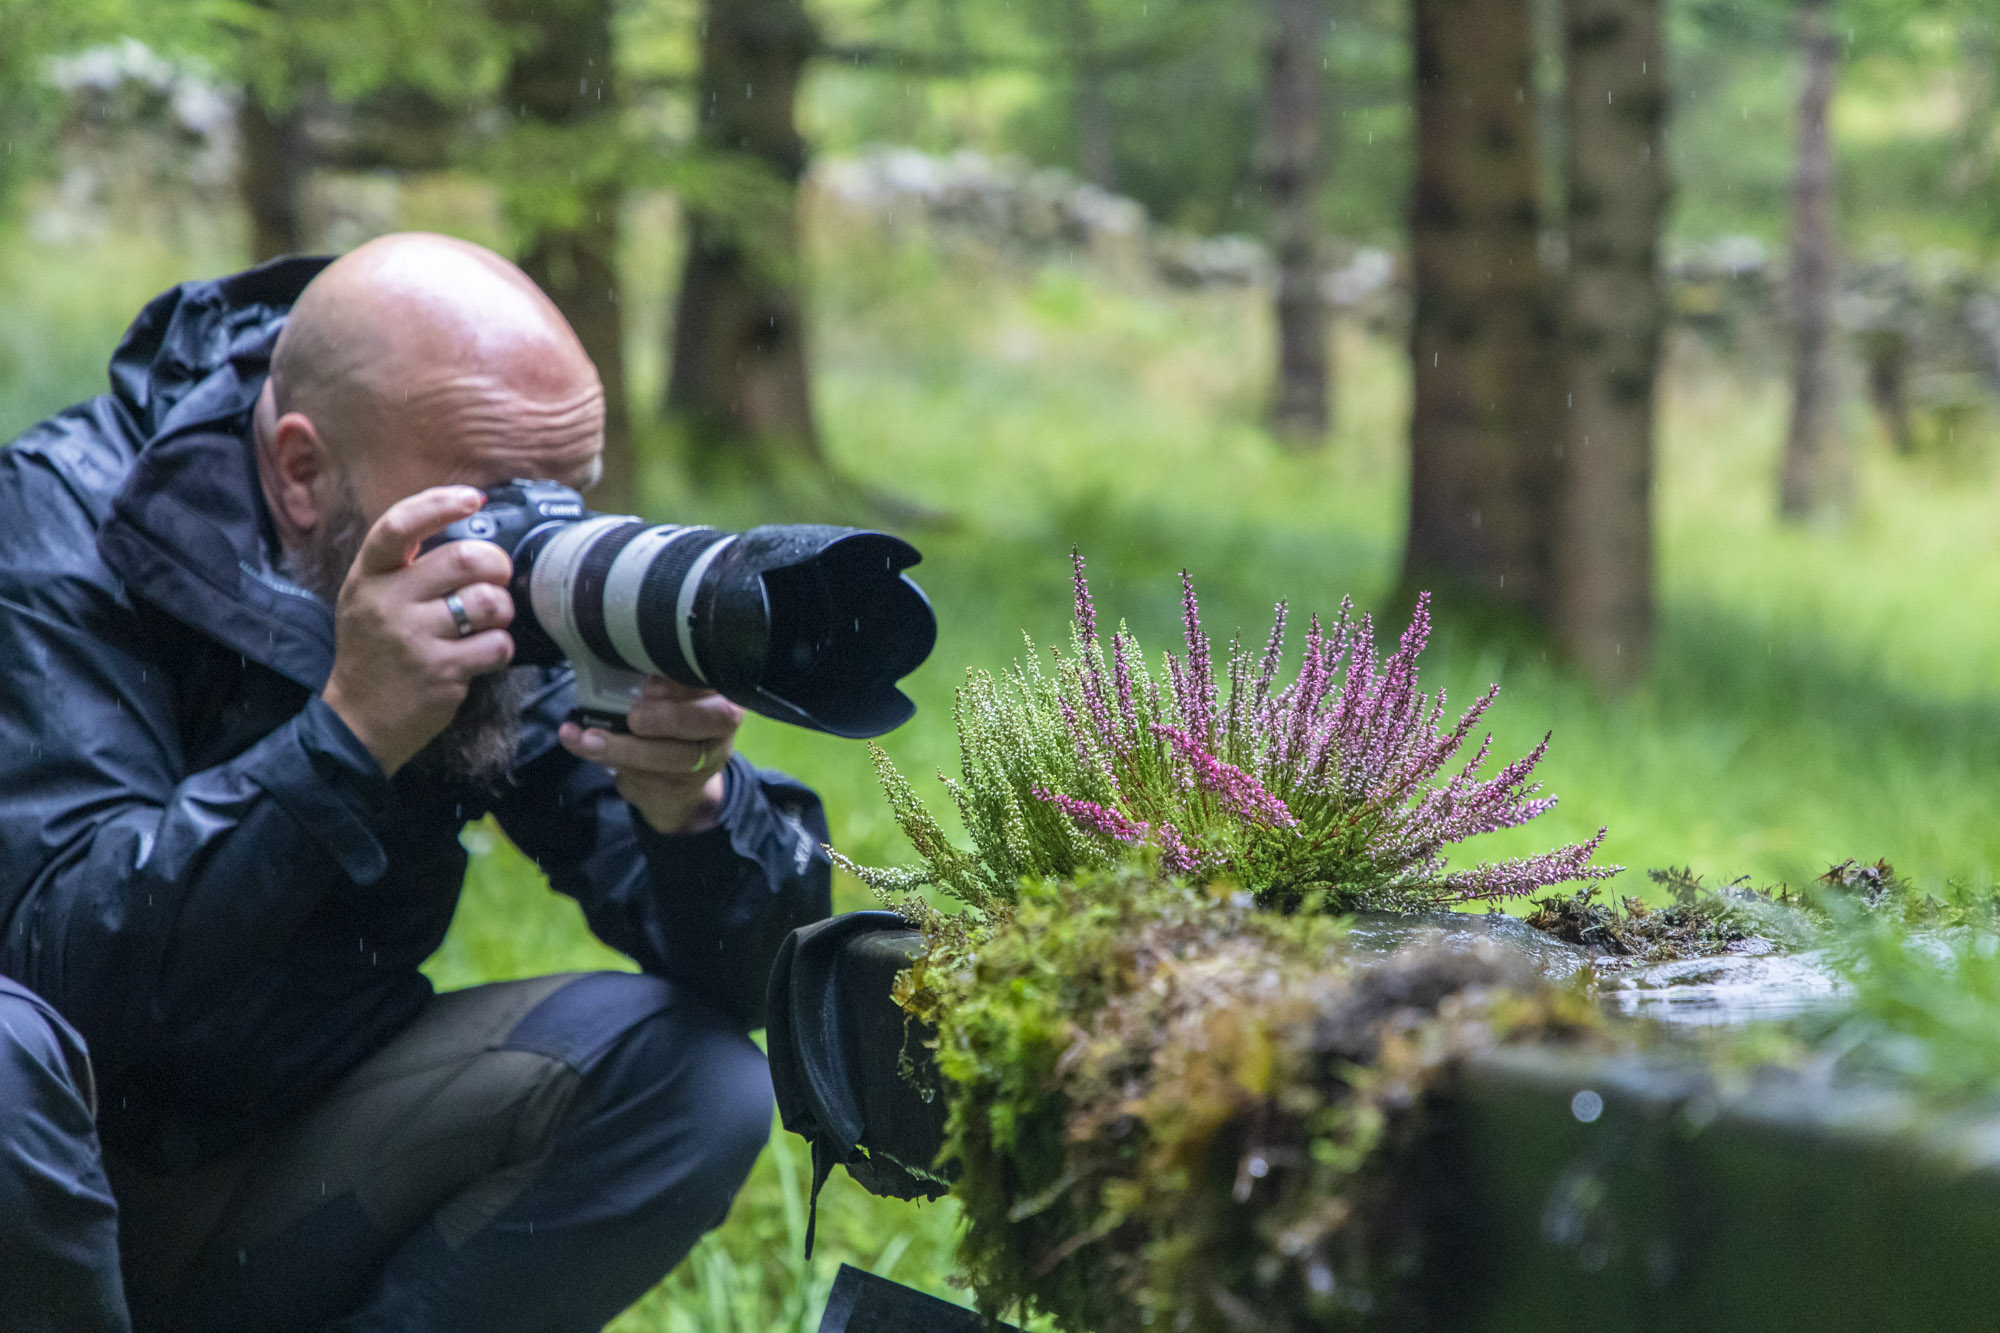
Paul and Tom use short telephoto lenses such as a Canon EF 70-200mm f/2.8L IS II USM, Tom uses his with his EOS R5 via the EF-EOS R mount adapter. A 70-200mm zoom range is ideal for larger animals so you can get closer – used for the red squirrels at the reflection pool hide.
When used with a Canon EOS body with an APS-C sensor they’ll appear even more ‘zoomed in’ due to the 1.6x crop factor. The wide and constant f/2.8 aperture in the zoom range is great for blurring the background (and foreground) of animal portraits and helps draw attention to your subject with this shallow depth of field.
9. Wait for the right moment
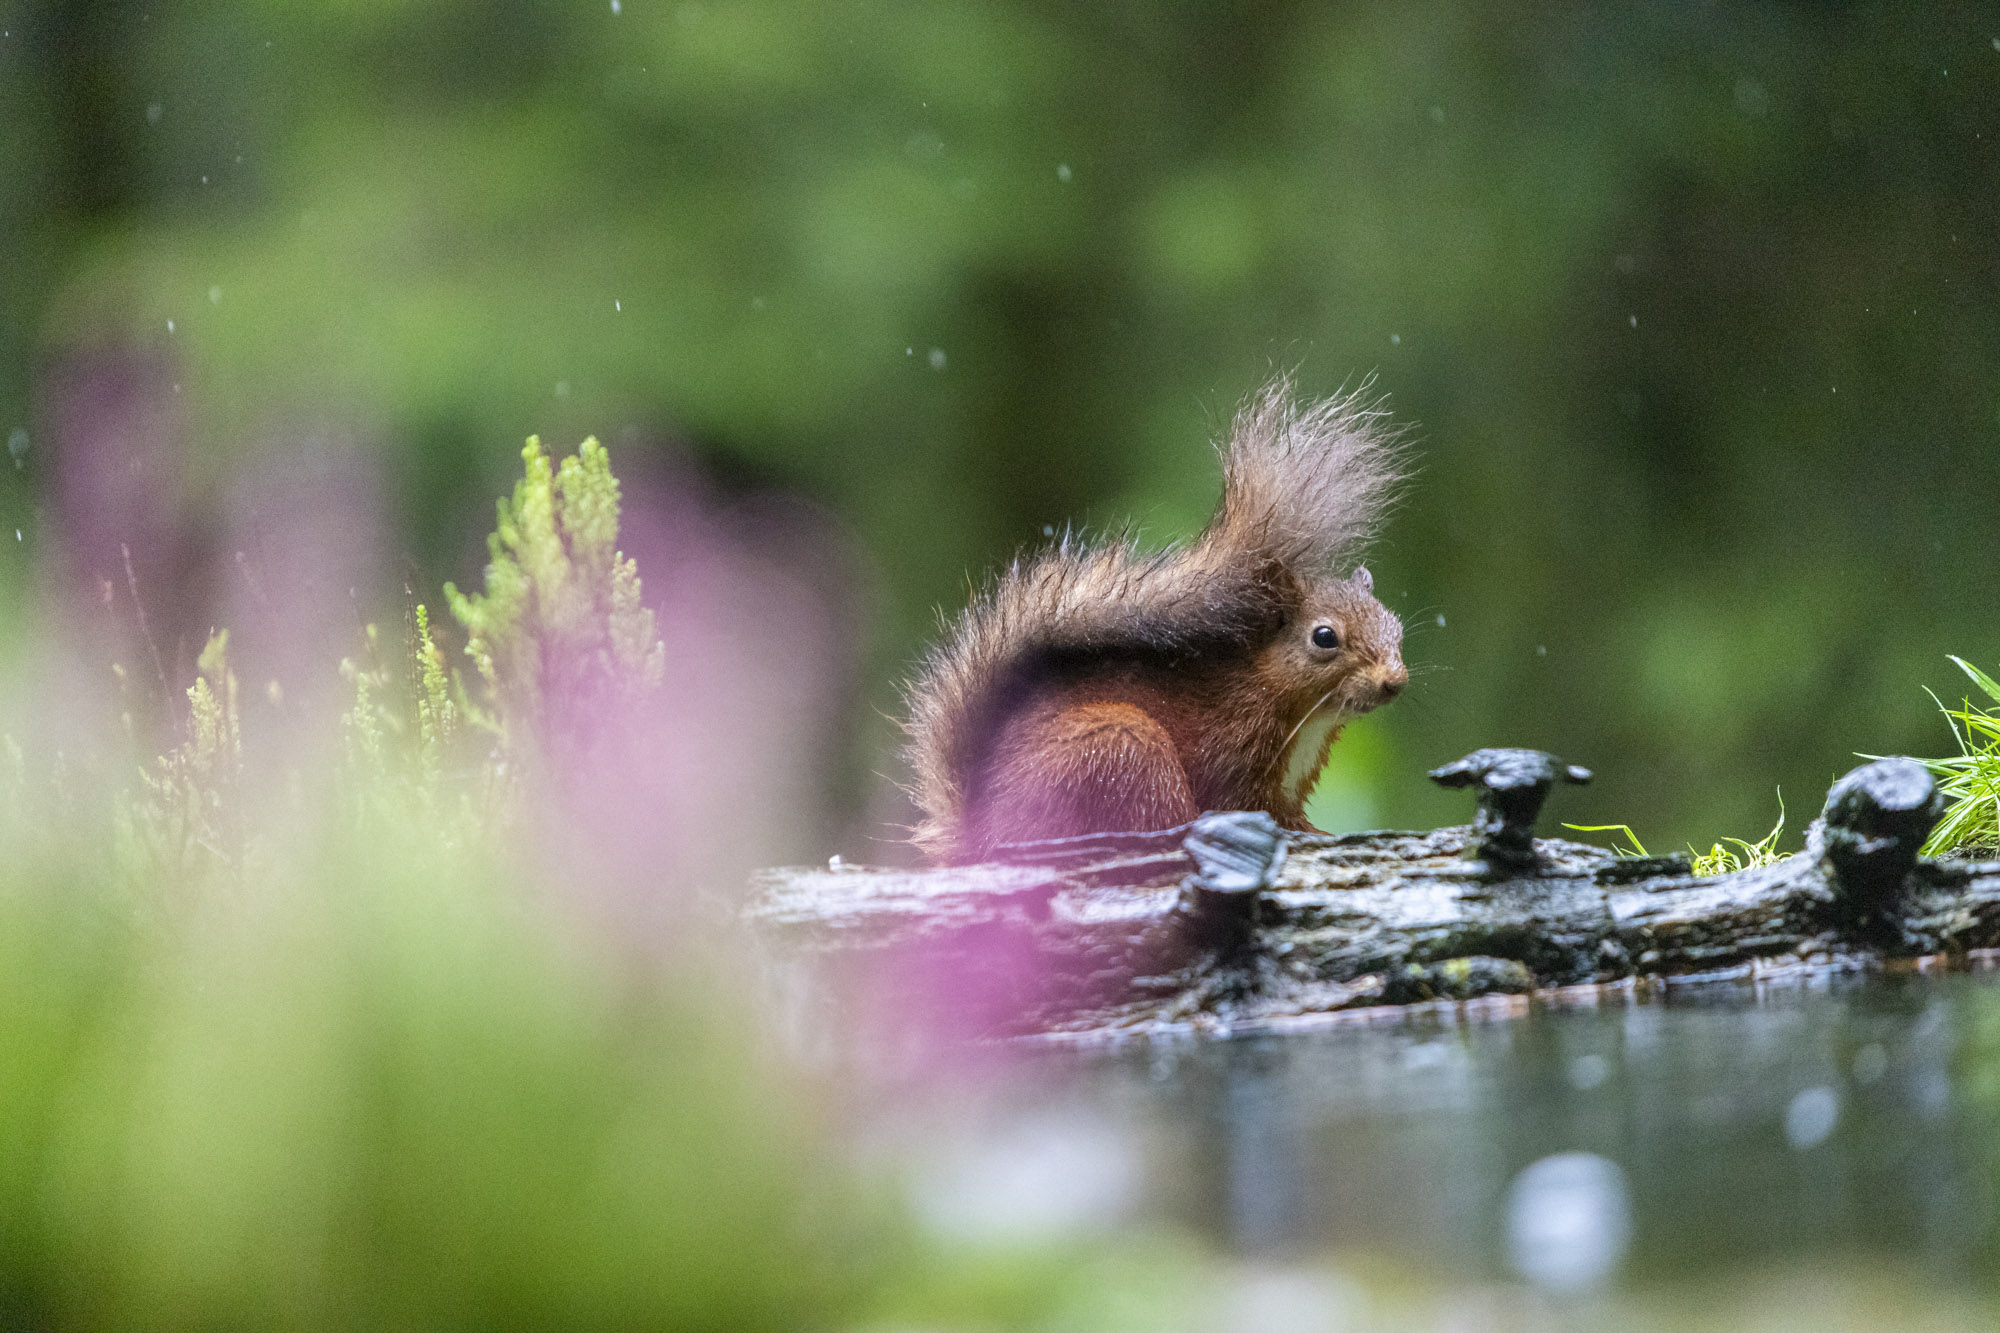
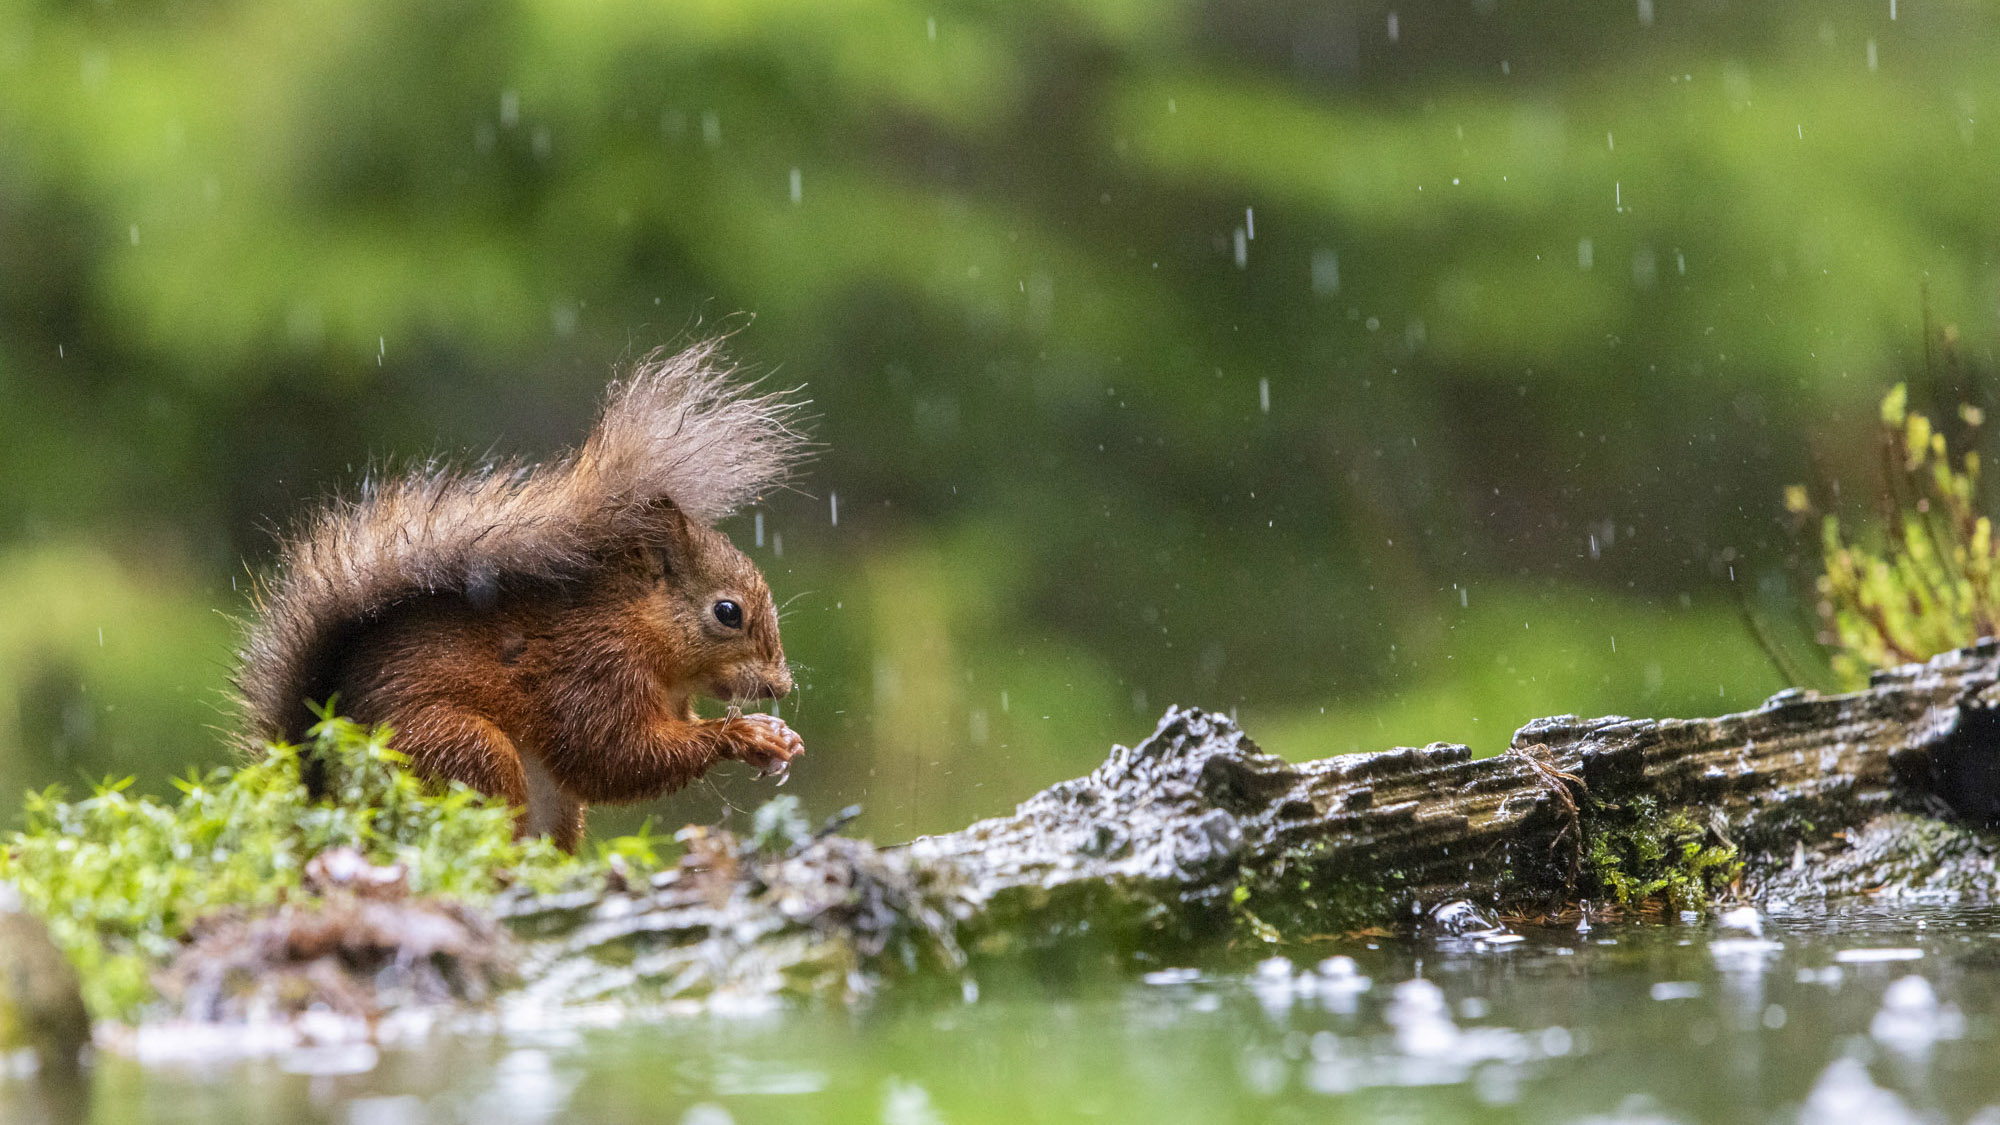
Patience is key to taking top wildlife shots, so it often pays to frame up and wait for your subject to move into an interesting pose, or turn to face the right direction. For this shot of the red squirrel, Tom framed up shooting through the heather but the squirrel was facing away to begin with and was looking out of the frame. He kept still and waited for the squirrel to turn so that it was making eye contact with the camera which makes a much stronger composition.
10. Keep your lenses dry
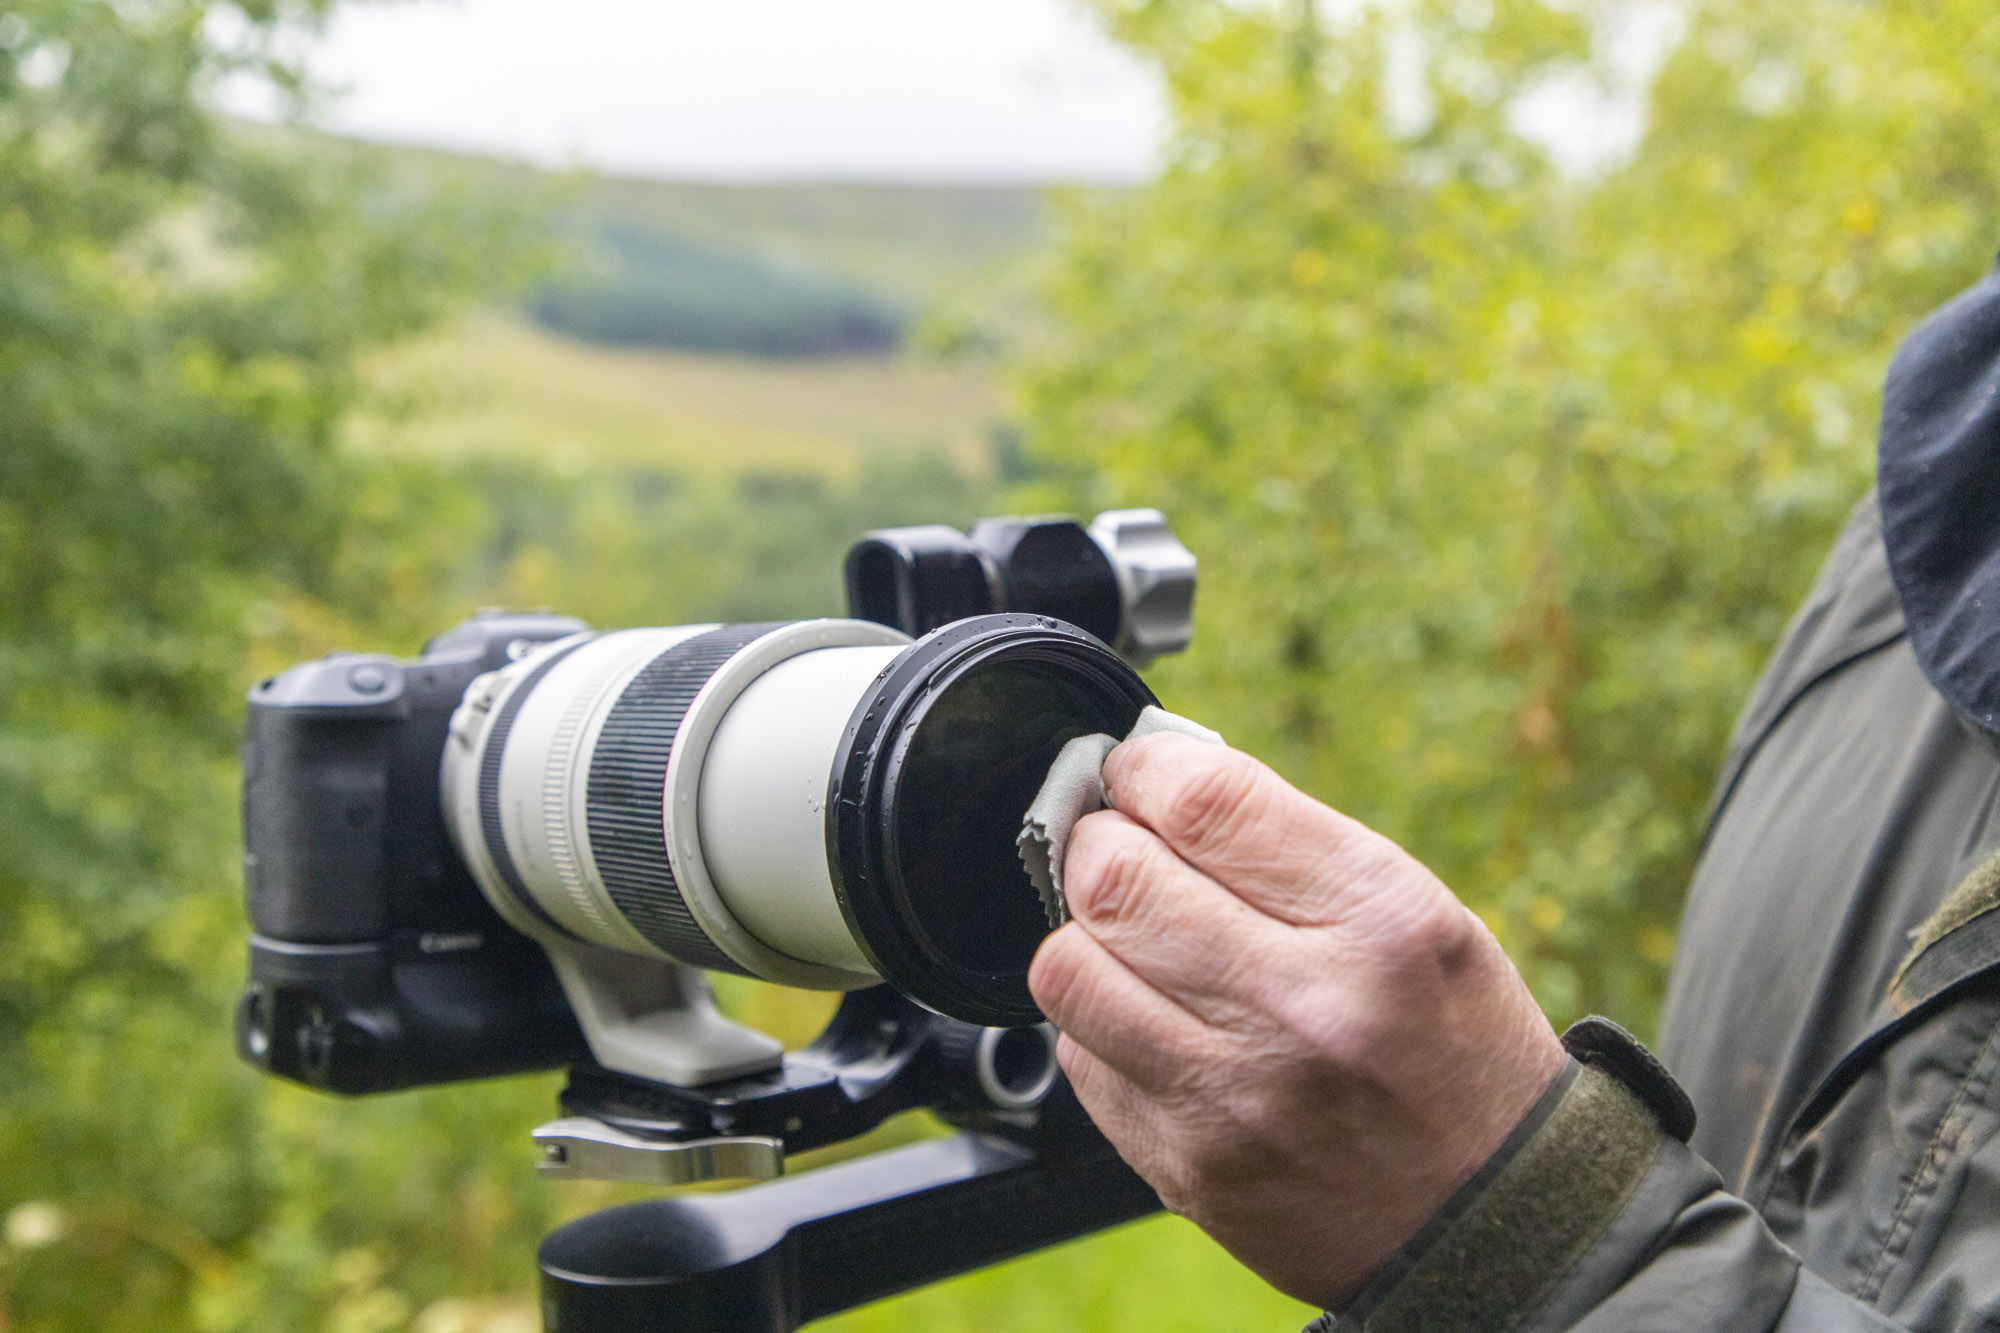
While professional Canon cameras and lenses should be weather-resistant and sealed to a degree, it’s certainly worth taking some extra precautions when shooting in a heavy downpour. A rain shield for your lens is a great idea to keep water off, and a lens hood will also help keep rain from landing on the front element of your lens. You may need to wipe your lens with a microfibre cloth regularly to clear any water drops which will cause soft spots, and be sure to pat your lenses thoroughly with a towel once you’re back home so that they can dry out properly indoors.
See our guide to the best rain shields for cameras
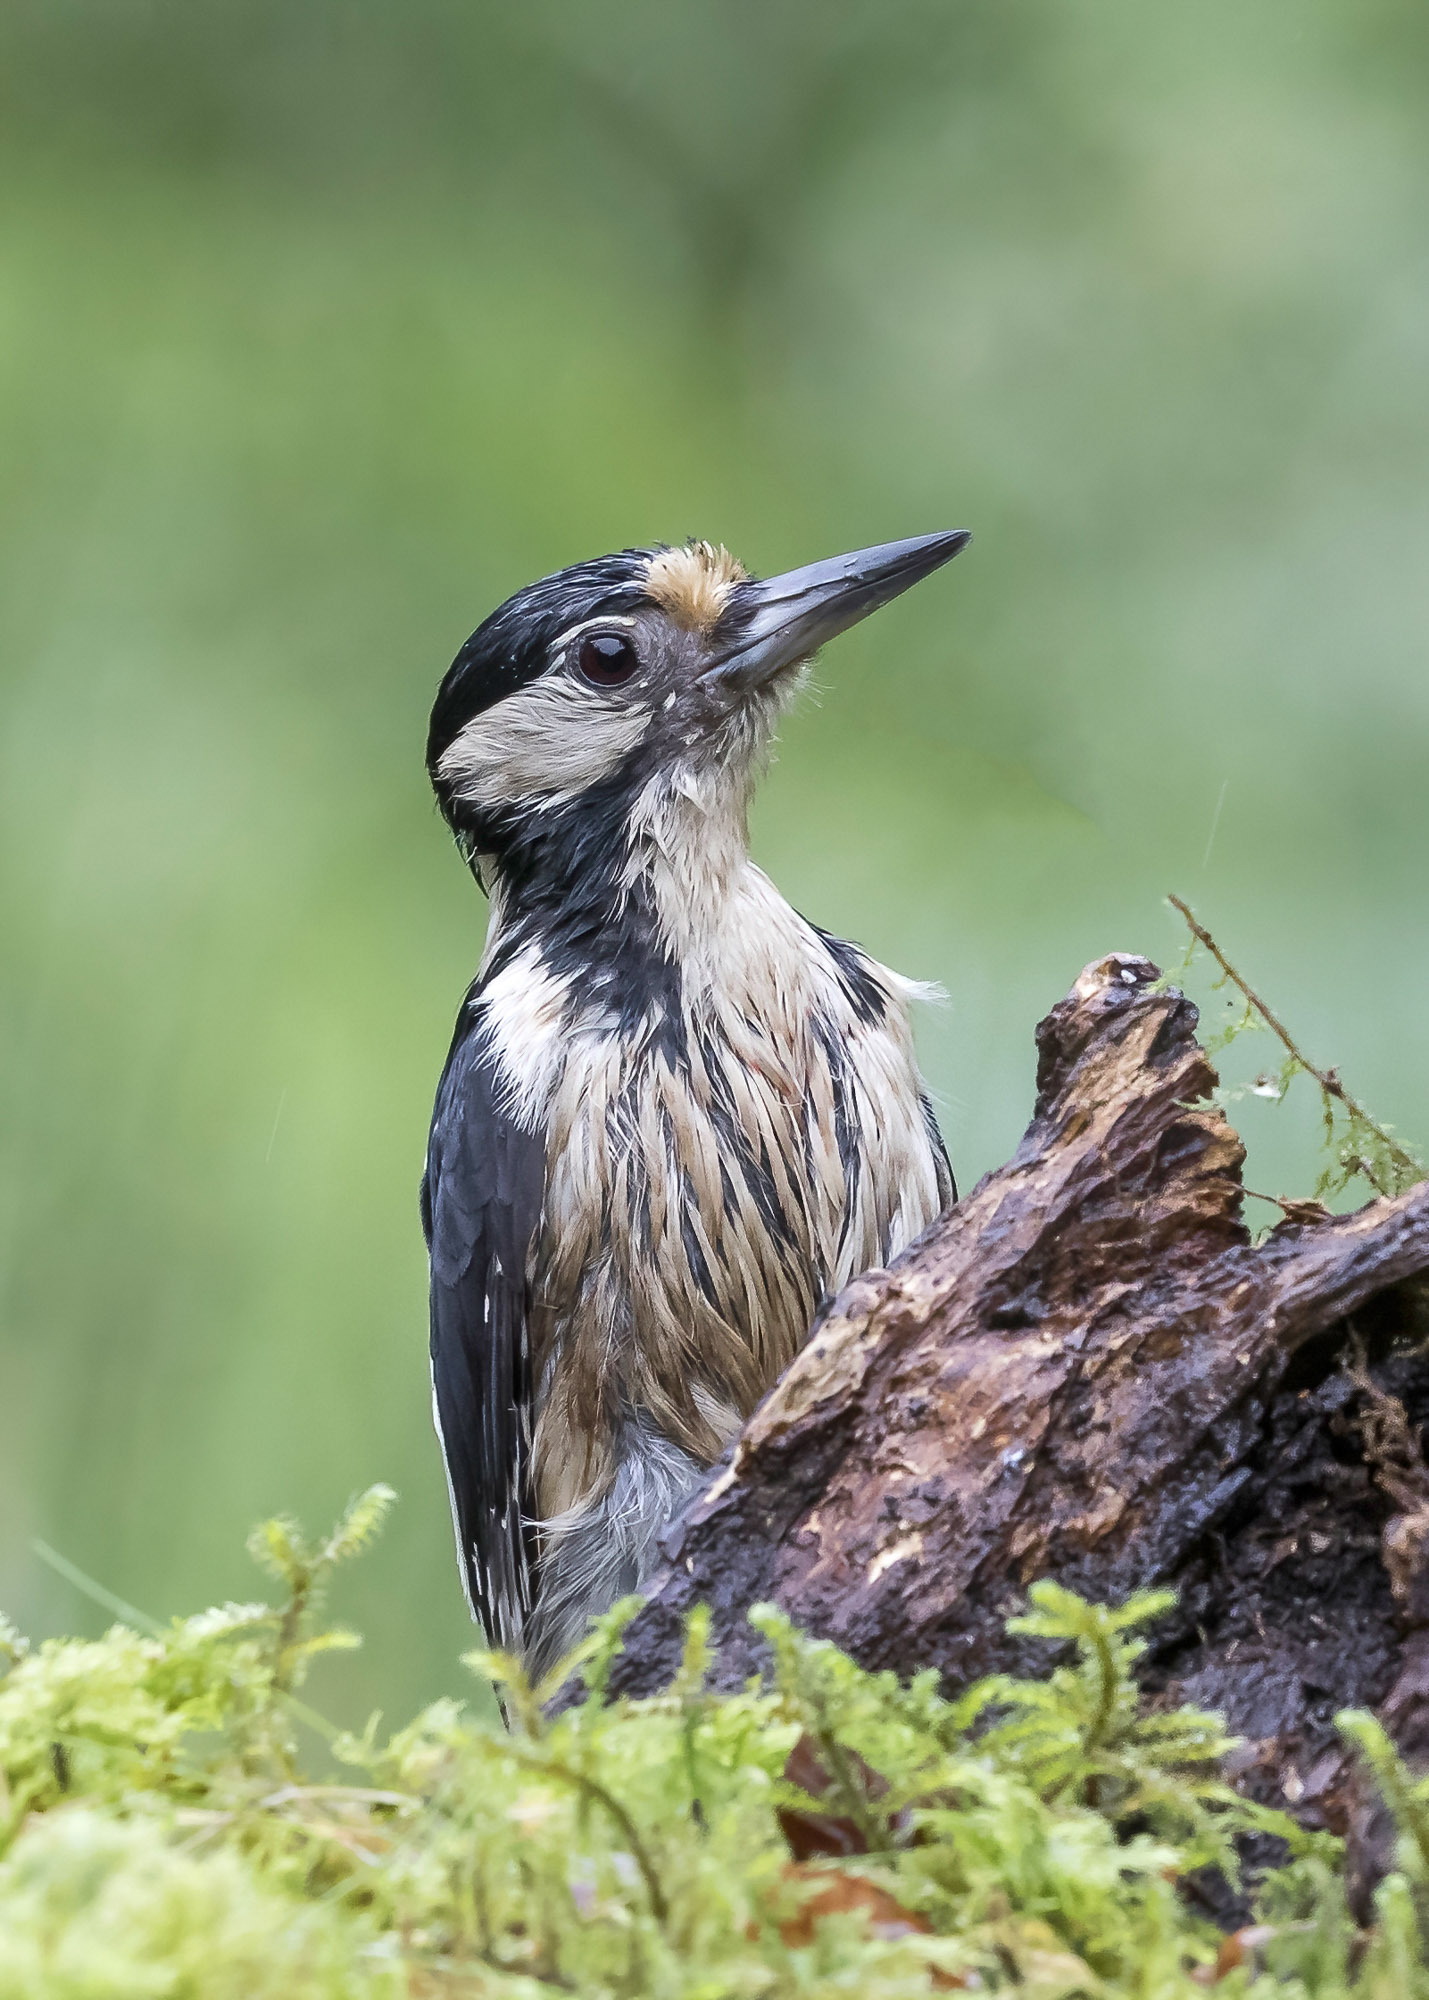
If you're really into wildlife photography, you'll want to check out the best lenses for wildlife. Paul uses a Canon EOS R3.

