Portraiture is a rich and rewarding way to work on your people skills as well as take some lovely creative headshots at the same time. It can however be a daunting genre to get into: there's tonnes of kit aimed at portrait photographers and then you have the differences between shooting with natural light or flash.
A home studio can provide crisp, clean and professional looking portraits and give you full control over the lighting. Fortunately, putting together a home studio can be done on a tight budget with many brands such as Neewer and even Amazon Basics range offering items like softboxes and lightstands without breaking the bank.
• To shoot stunning portraits of your own, check out the best cameras for portrait photography
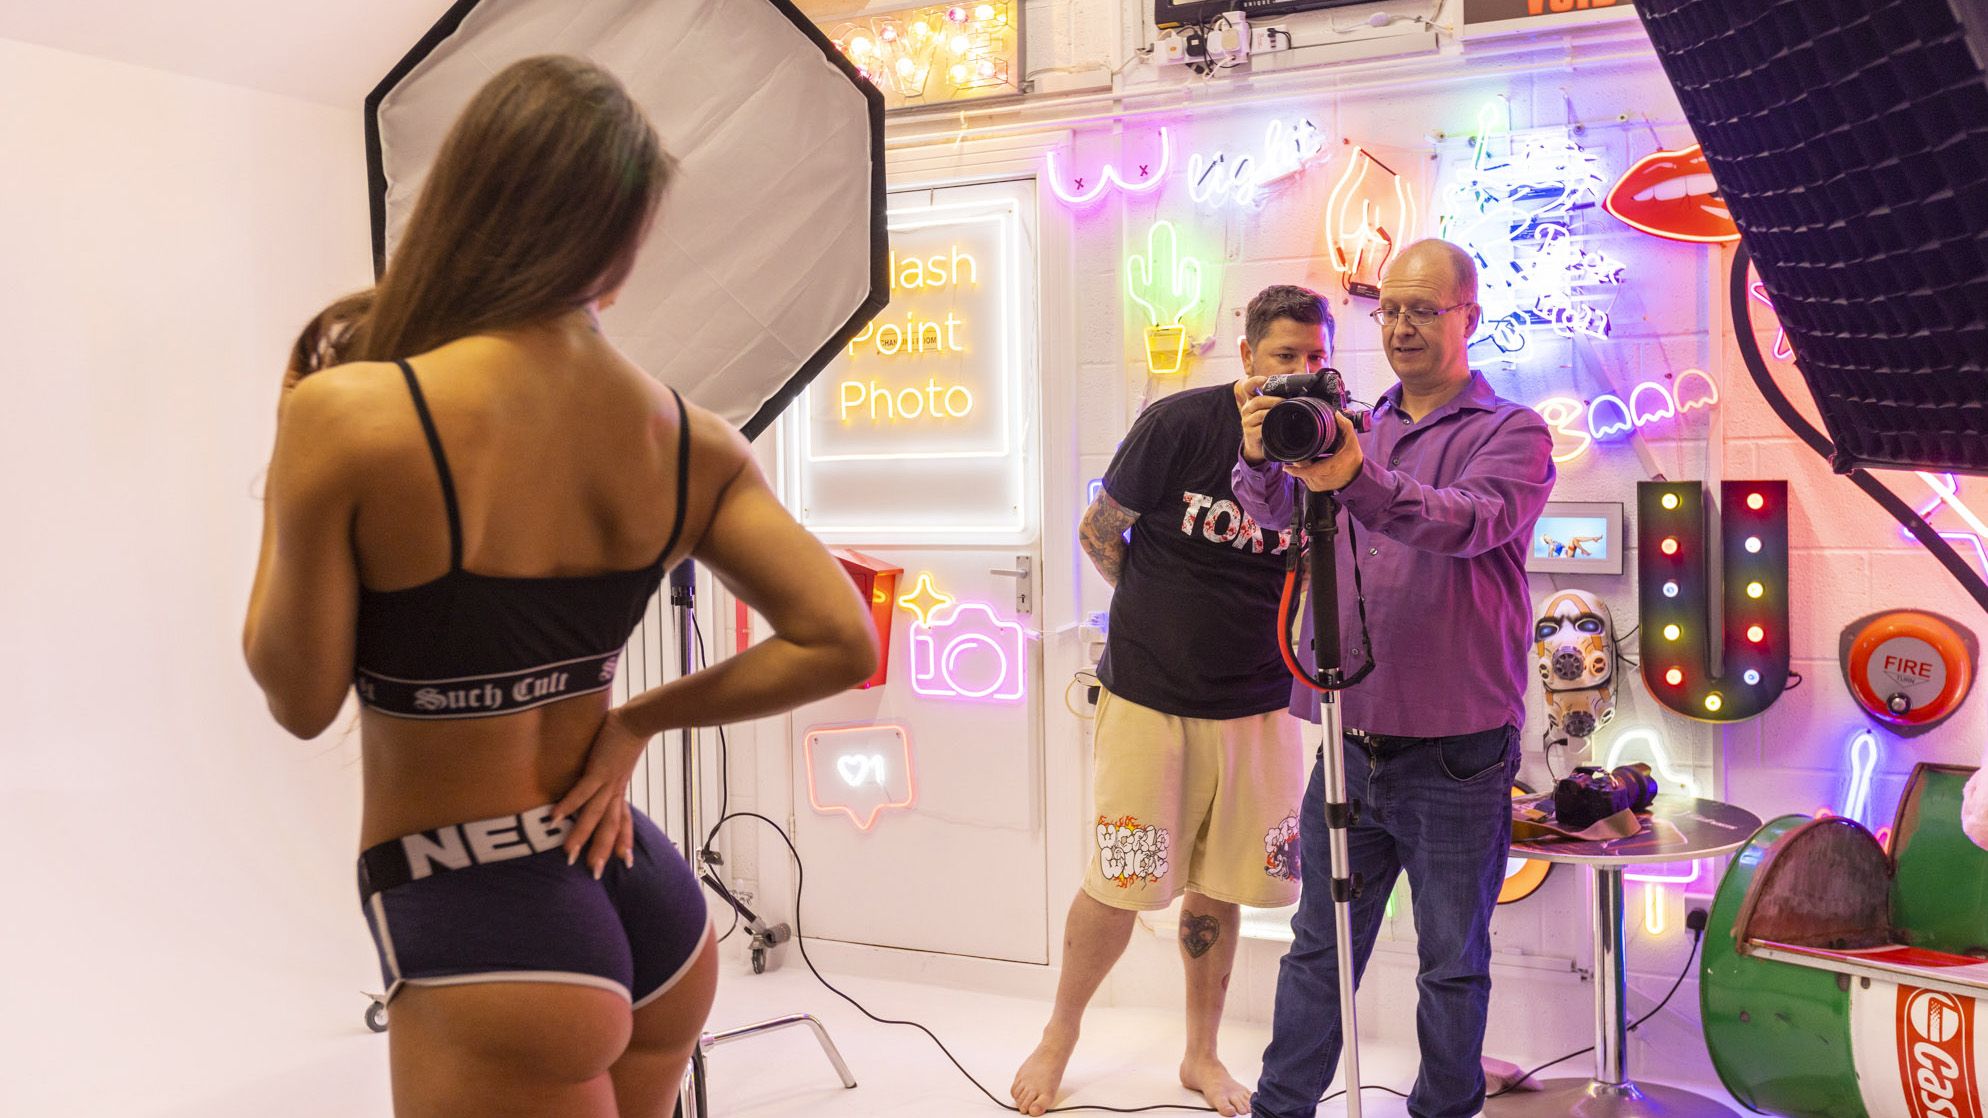
Reader of PhotoPlus: The Canon Magazine, Jonathan Pearson is a self-employed pest controller from Chester who loves to take portraits. He’s been using a camera since he was 17, first practising on his friends when he was still in school. Nowadays, he devotes his spare time to arranging photoshoots with models, and loves to experiment with indoor and outdoor setups.
In addition to his latest Canon EOS R5 he also shoots on several film cameras too as he sometimes prefers the look. See his lovely work on Purpleport. We met up with him at Russ's indoor Splash Point Studio in Rhyl, Wales, complete with an infinity curve, neon wall and a swimming pool to help PhotoPlus Apprentice Jonathan raise his portraiture to the next level. Here's how they got on with models Natalia and Emma, and the top 10 tips Russ gave on the day.
1. Manual mode
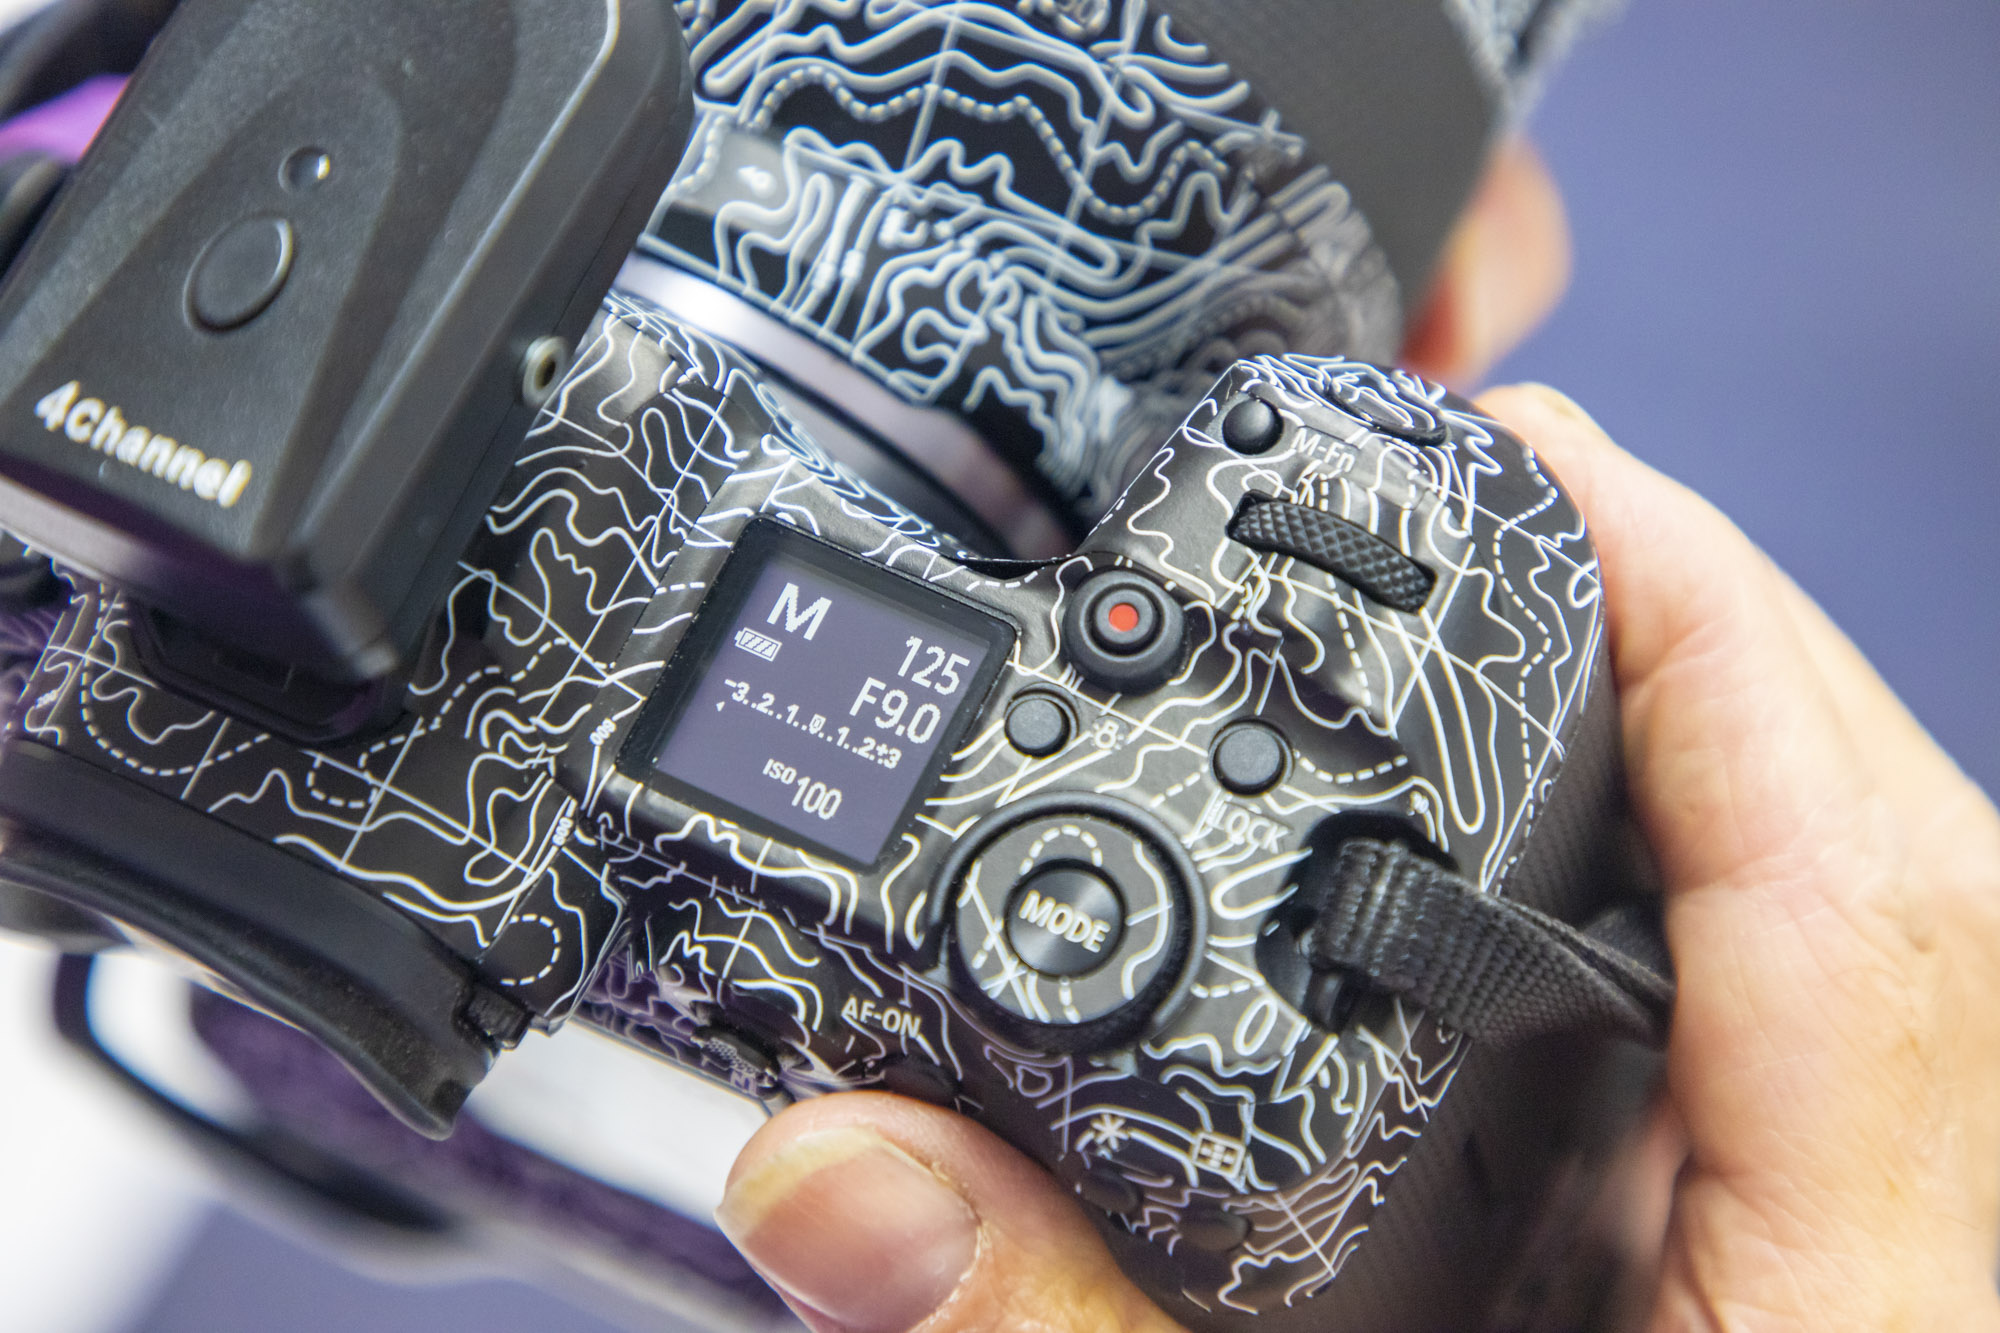
To begin, Russ asked Jonathan to start with his Canon EOS R5 set to its Manual mode to take full control of the exposure. He suggested starting with ISO100 for best image quality as the lights can be made more or less powerful instead of changing the ISO.
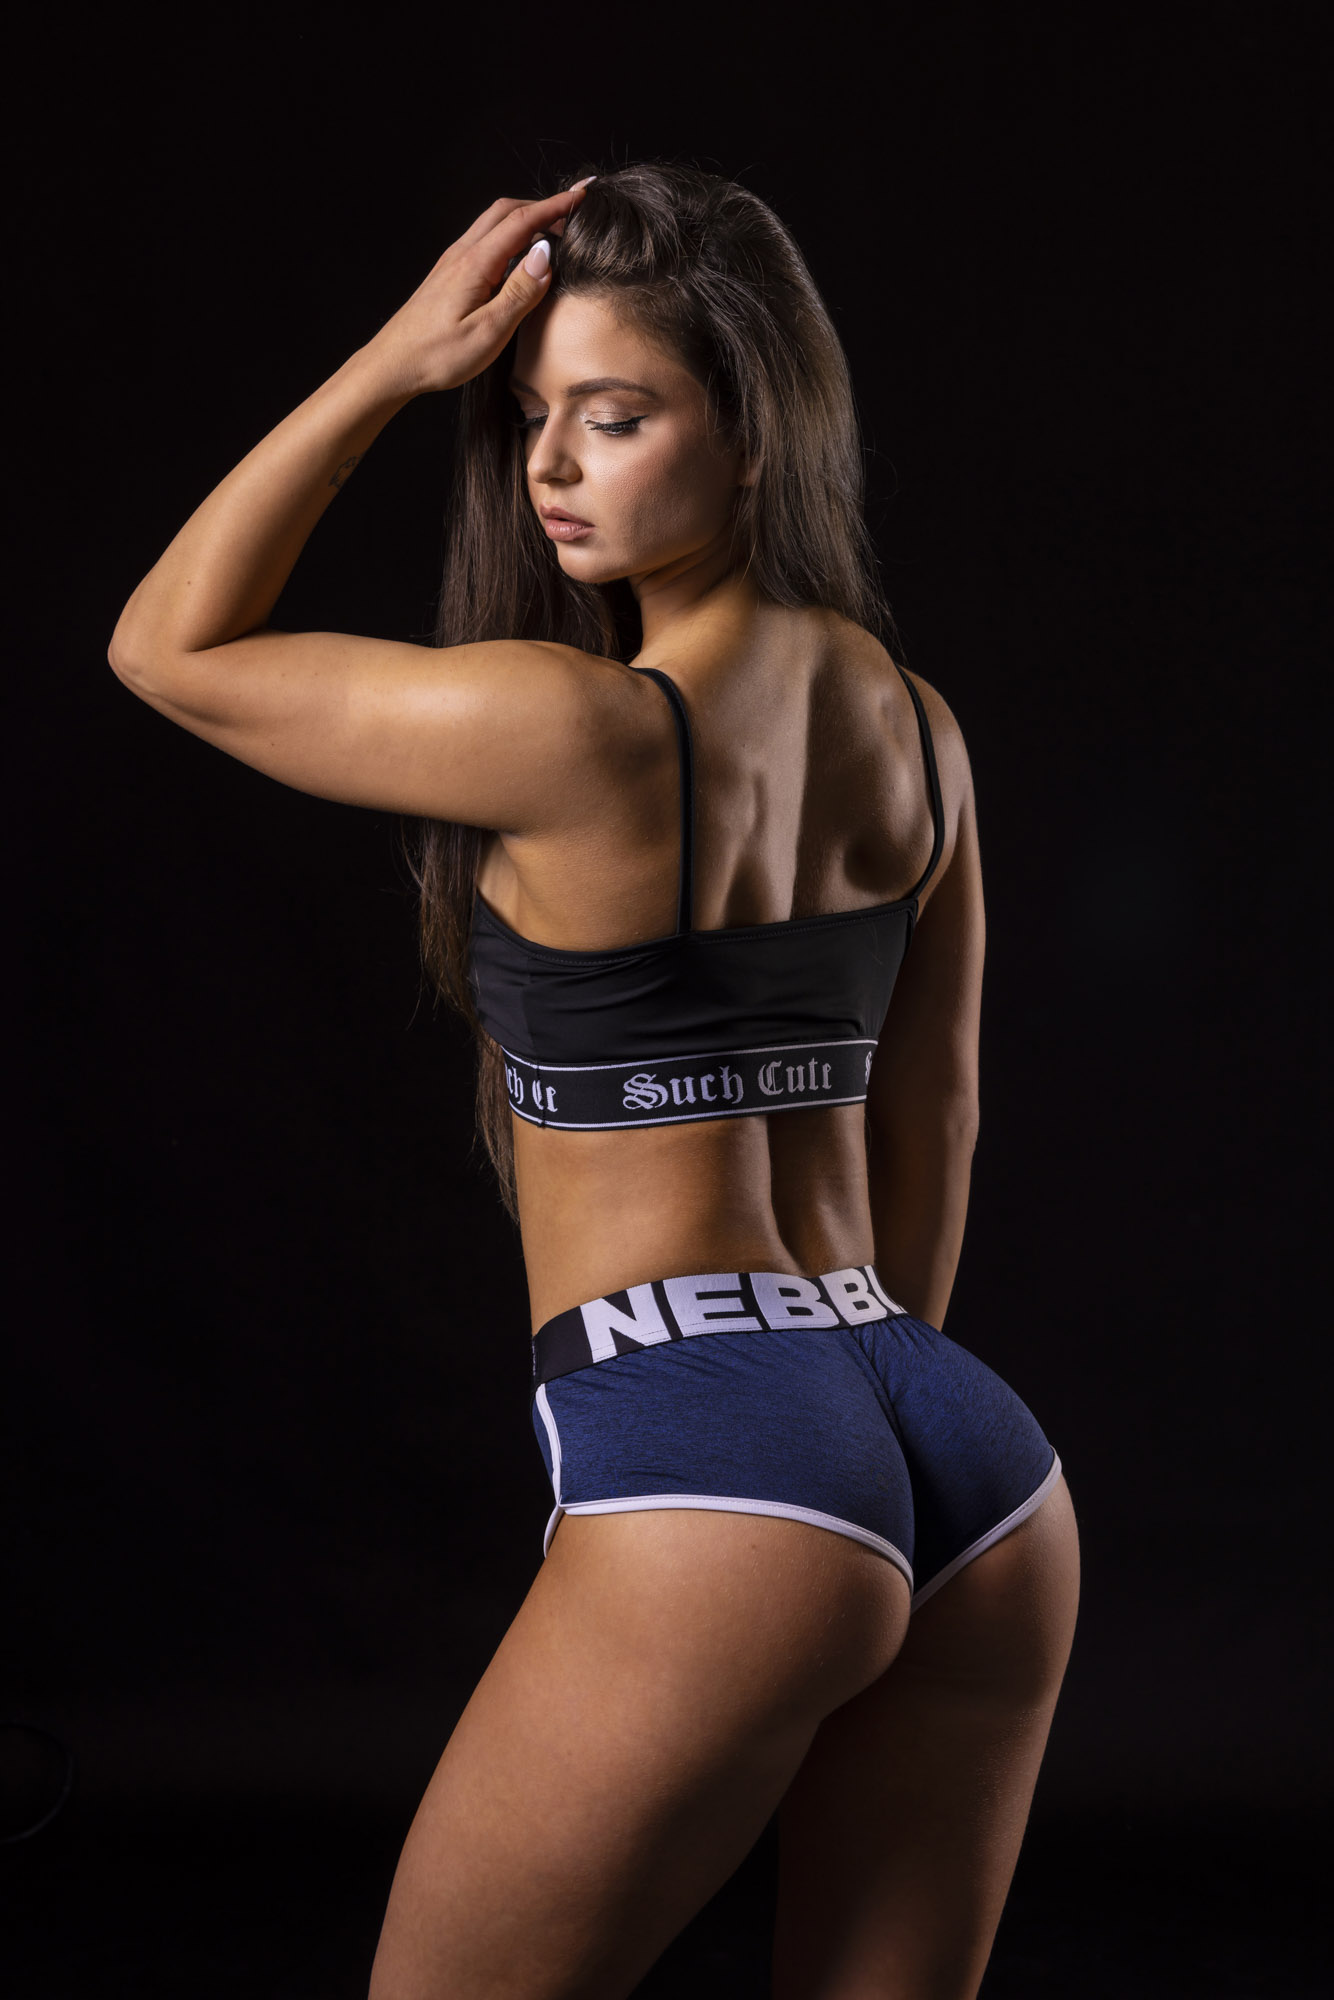
The aperture was set to f/9 to provide a large depth of field to ensure all of model Natalia’s body was in sharp focus. Shutter speed was set to 1/125 sec, which was below the maximum sync speed so that it wouldn’t cause any issues with flash sync.
2. Manual white balance
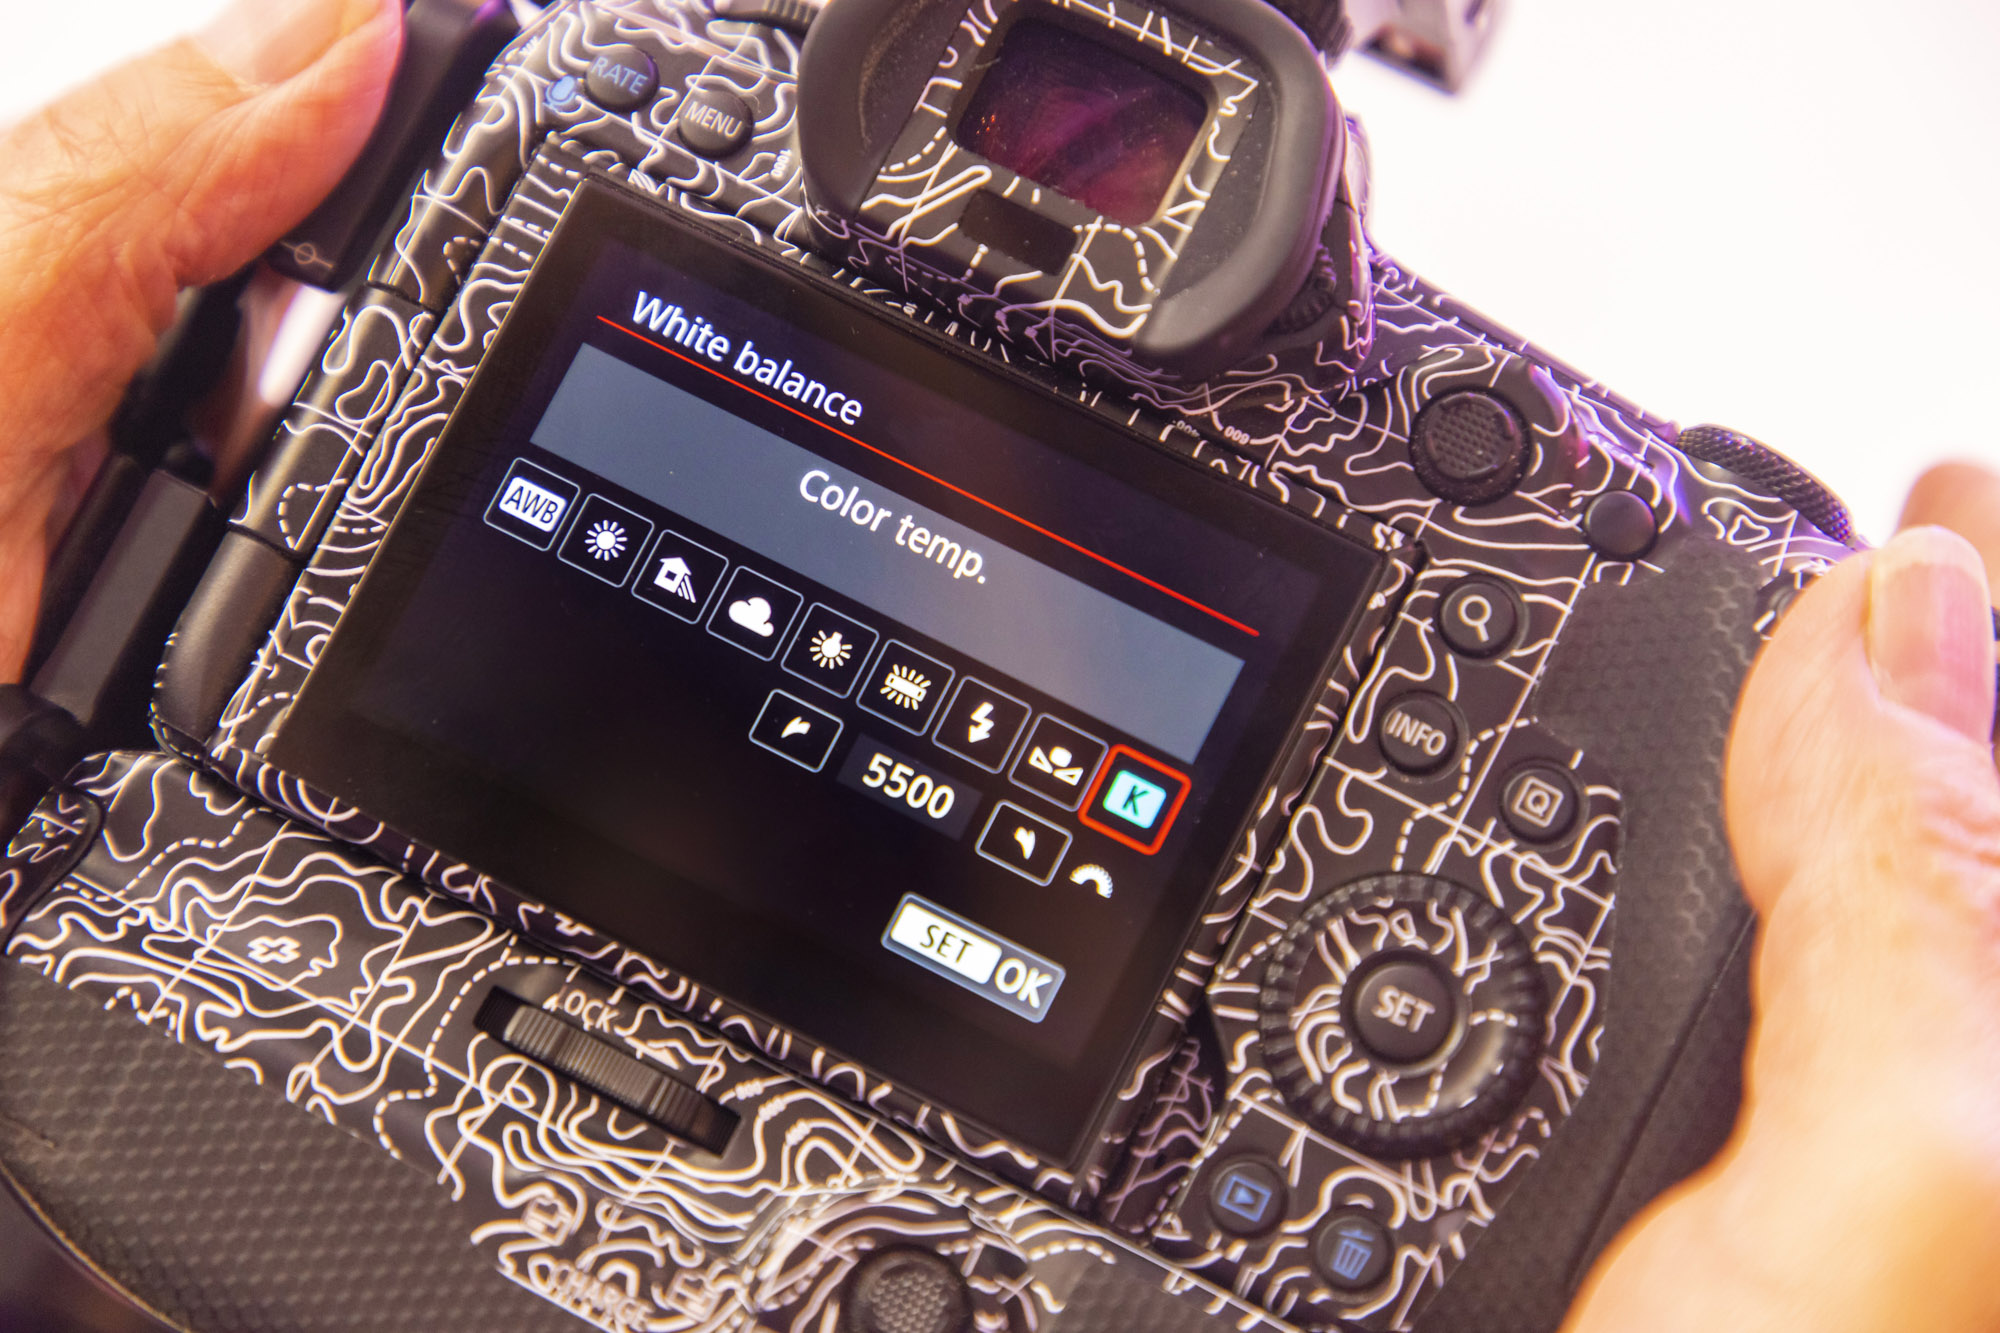
Russ sets a manual white balance setting on his Canon EOS R5 to make sure the colours look perfect. Shooting in RAW also gives you the ability to change the temperature and tint of images back in Photoshop too.
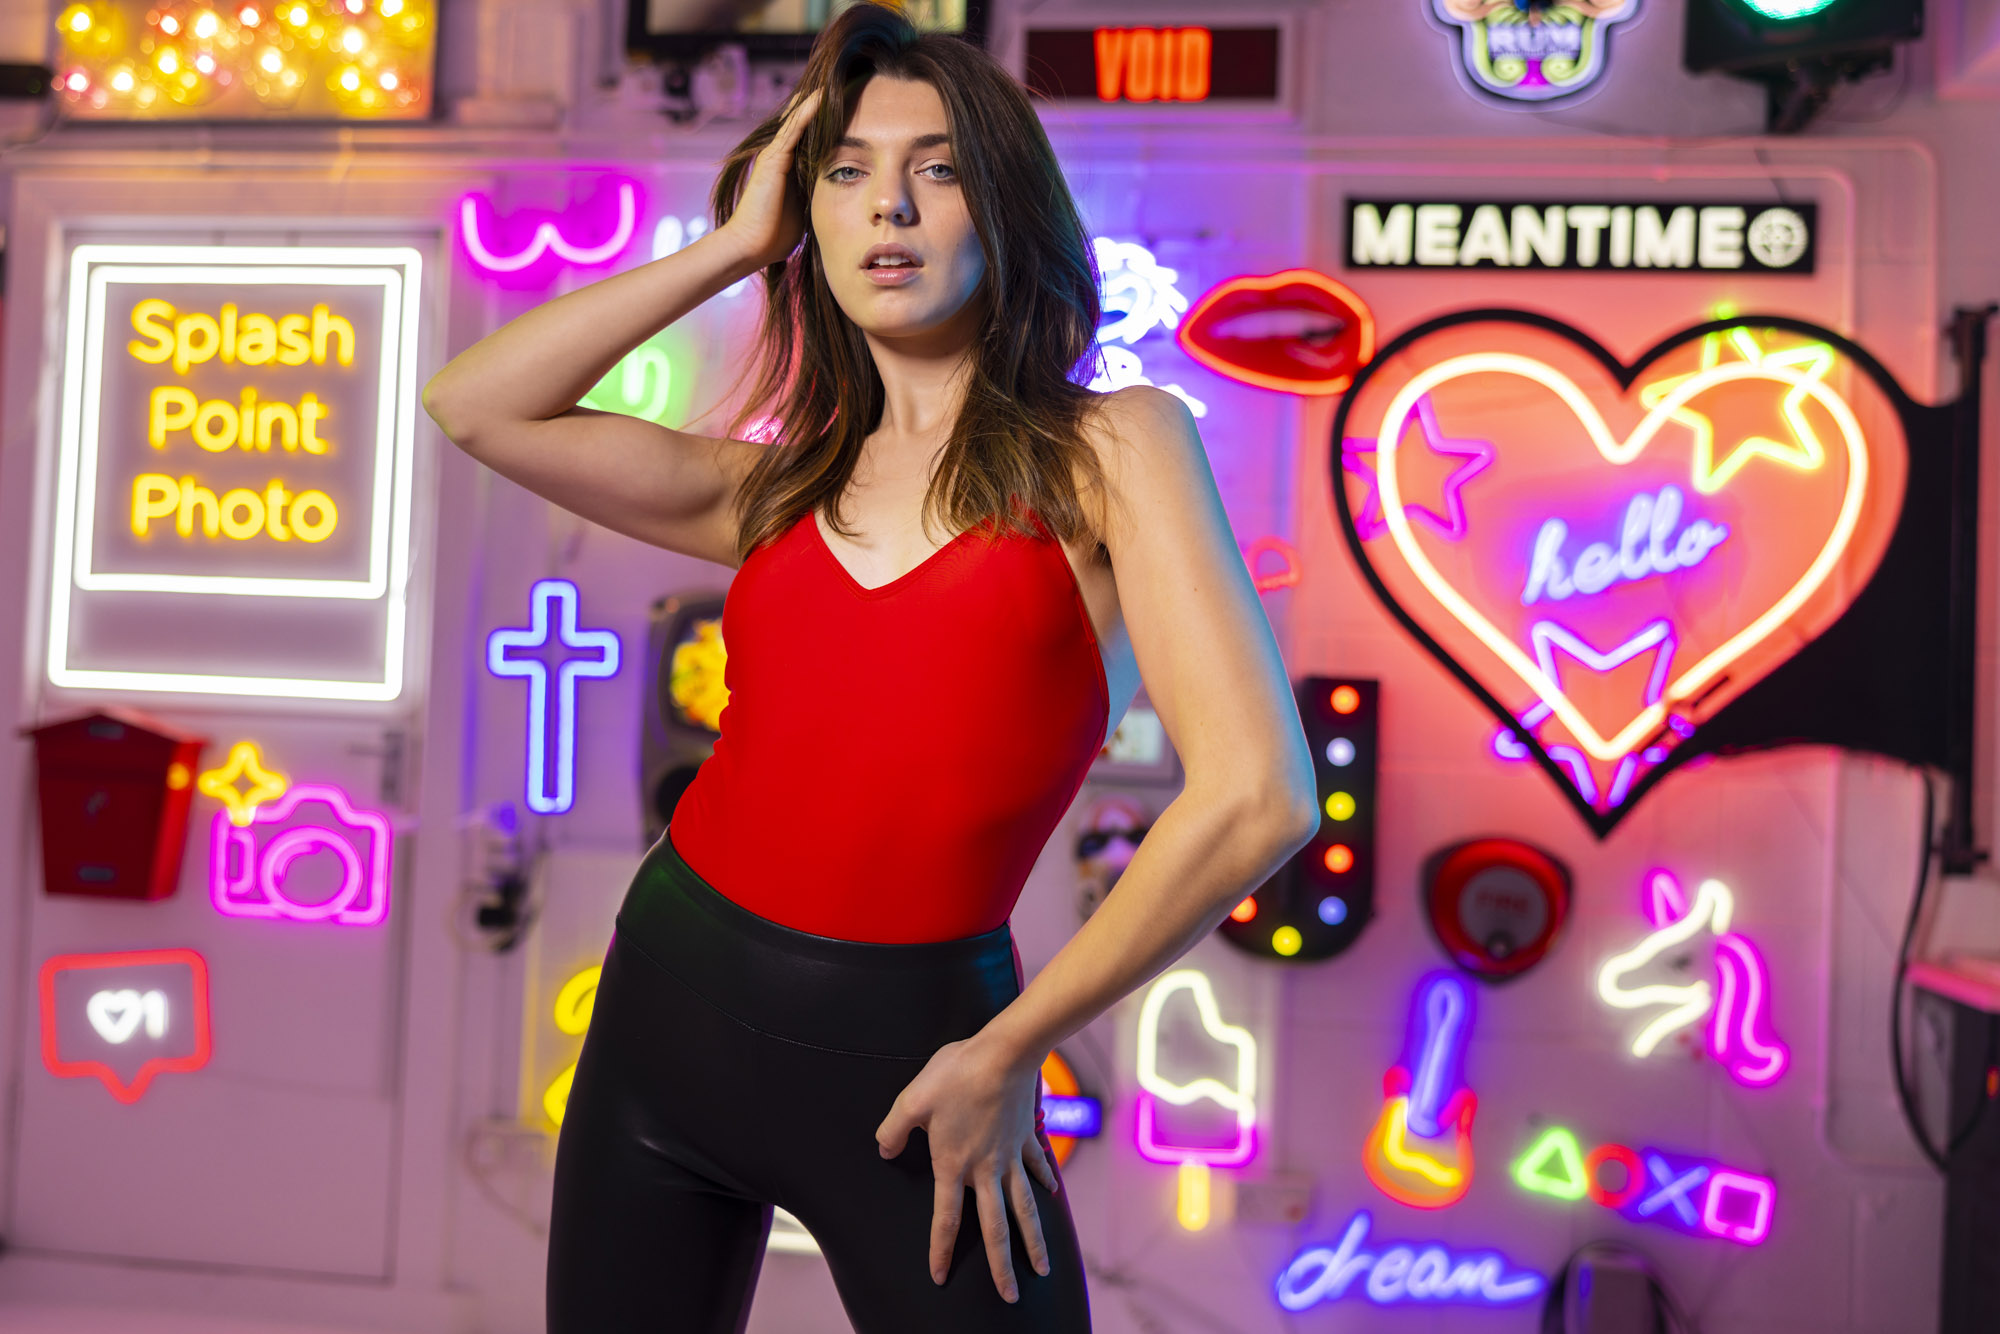
As Russ and Jonathan were switching between flash, constant LEDs and neon lighting the auto white balance may not always get it 100% correct, so Russ suggested Jonathan set a manual white balance of 5500K for the first setup using flash and check it throughout the day as the lighting changed.
3. Flash and triggers
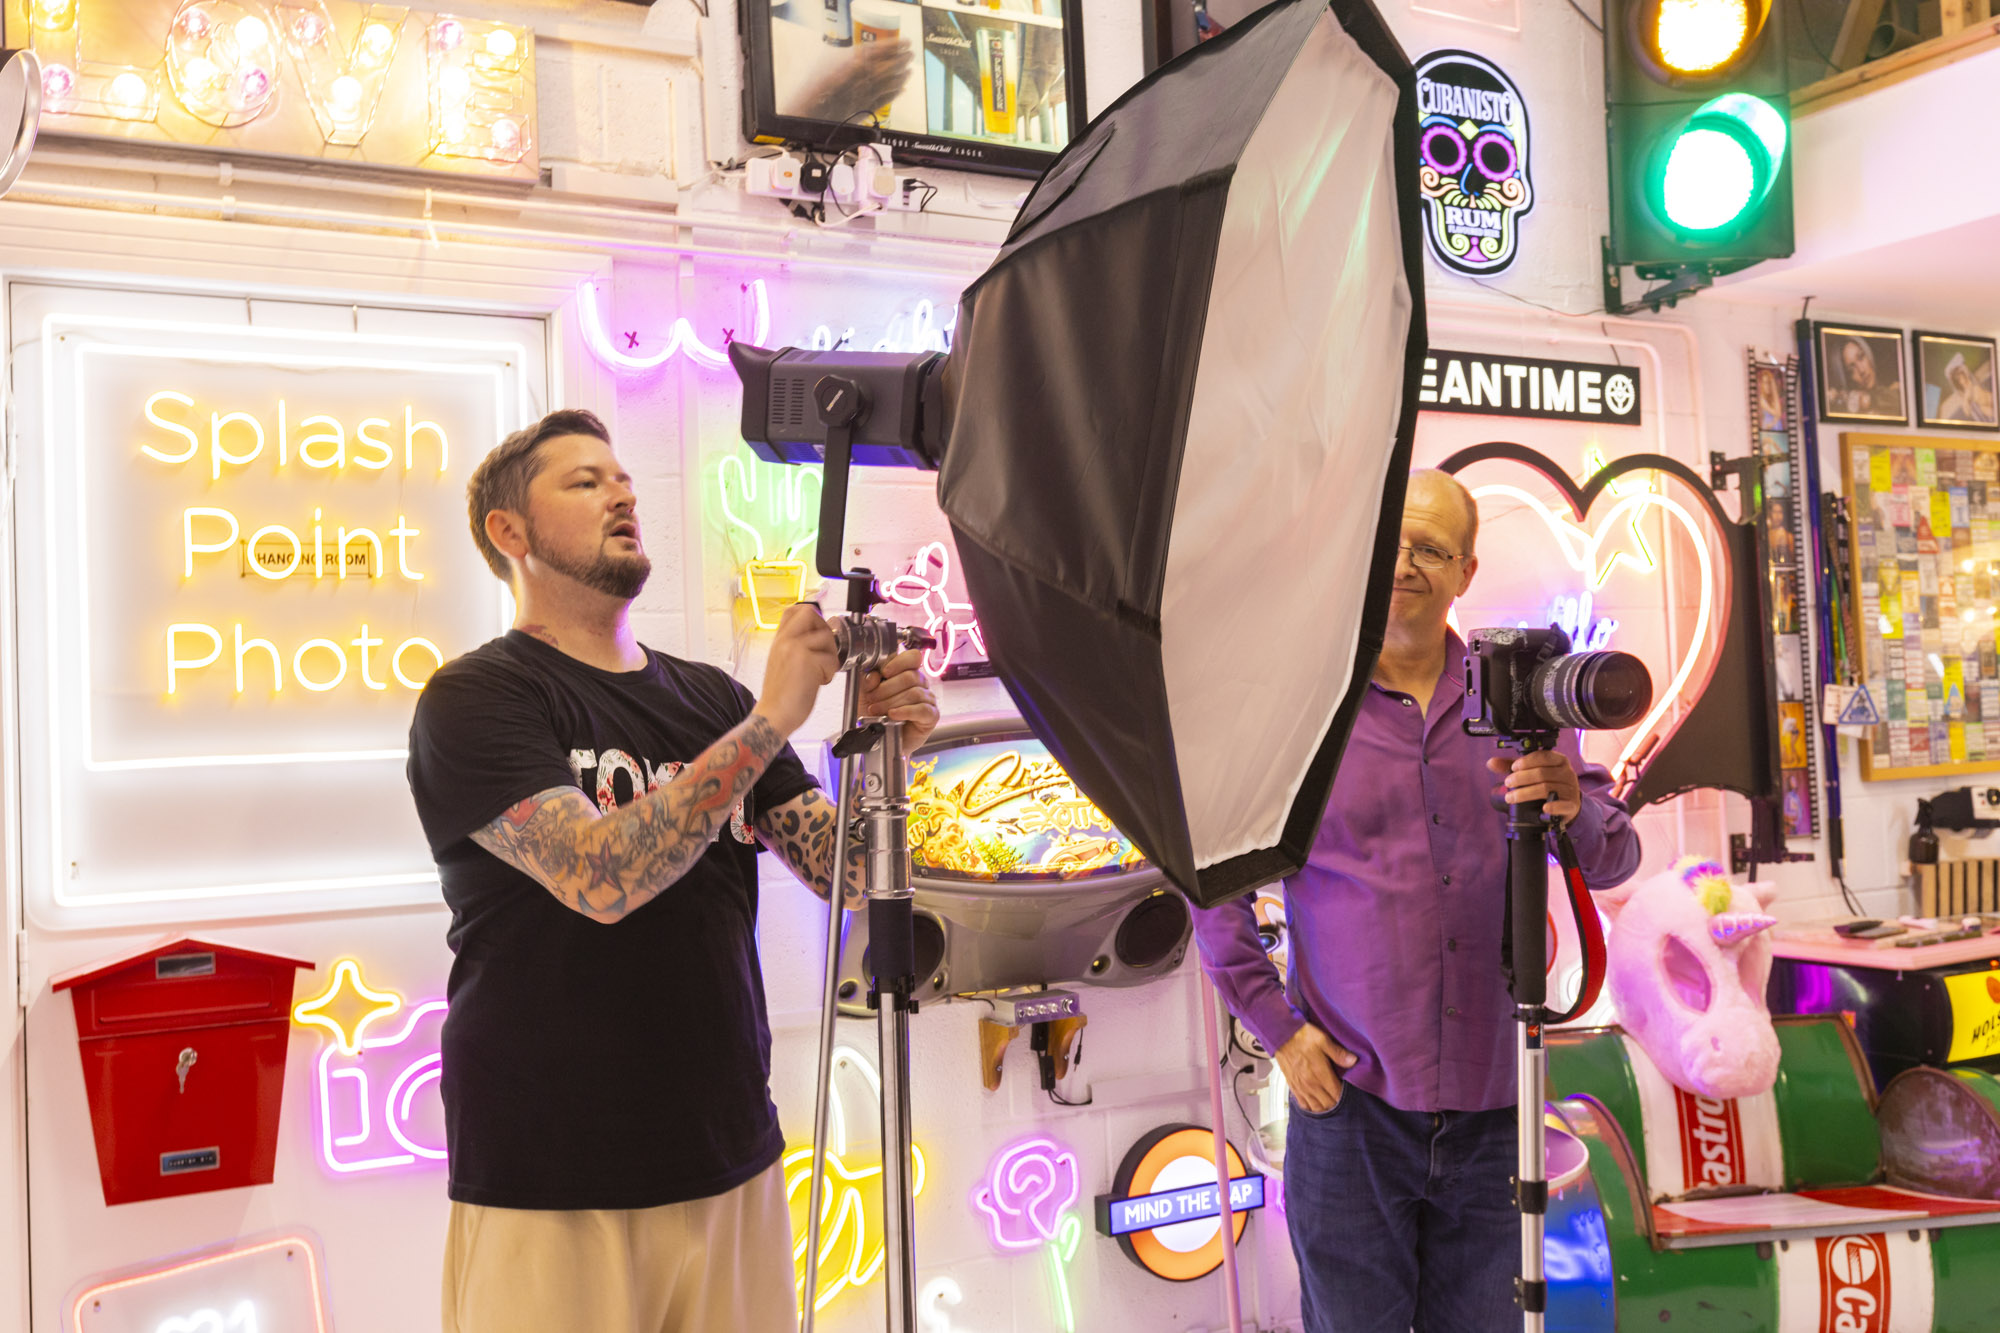
Russ has four mains-powered Bowens flash heads with individual controls on to tone down or increase the flash power. He uses a flash trigger on the hotshoe of his Canon EOS R5 with a corresponding receiver plugged into his main flash head. Other flashes are set to receiver mode so that the primary flash triggers them at the same time so they all fire in sync. Russ uses inexpensive NiceFoto 4Channel triggers.
4. Exposure simulation
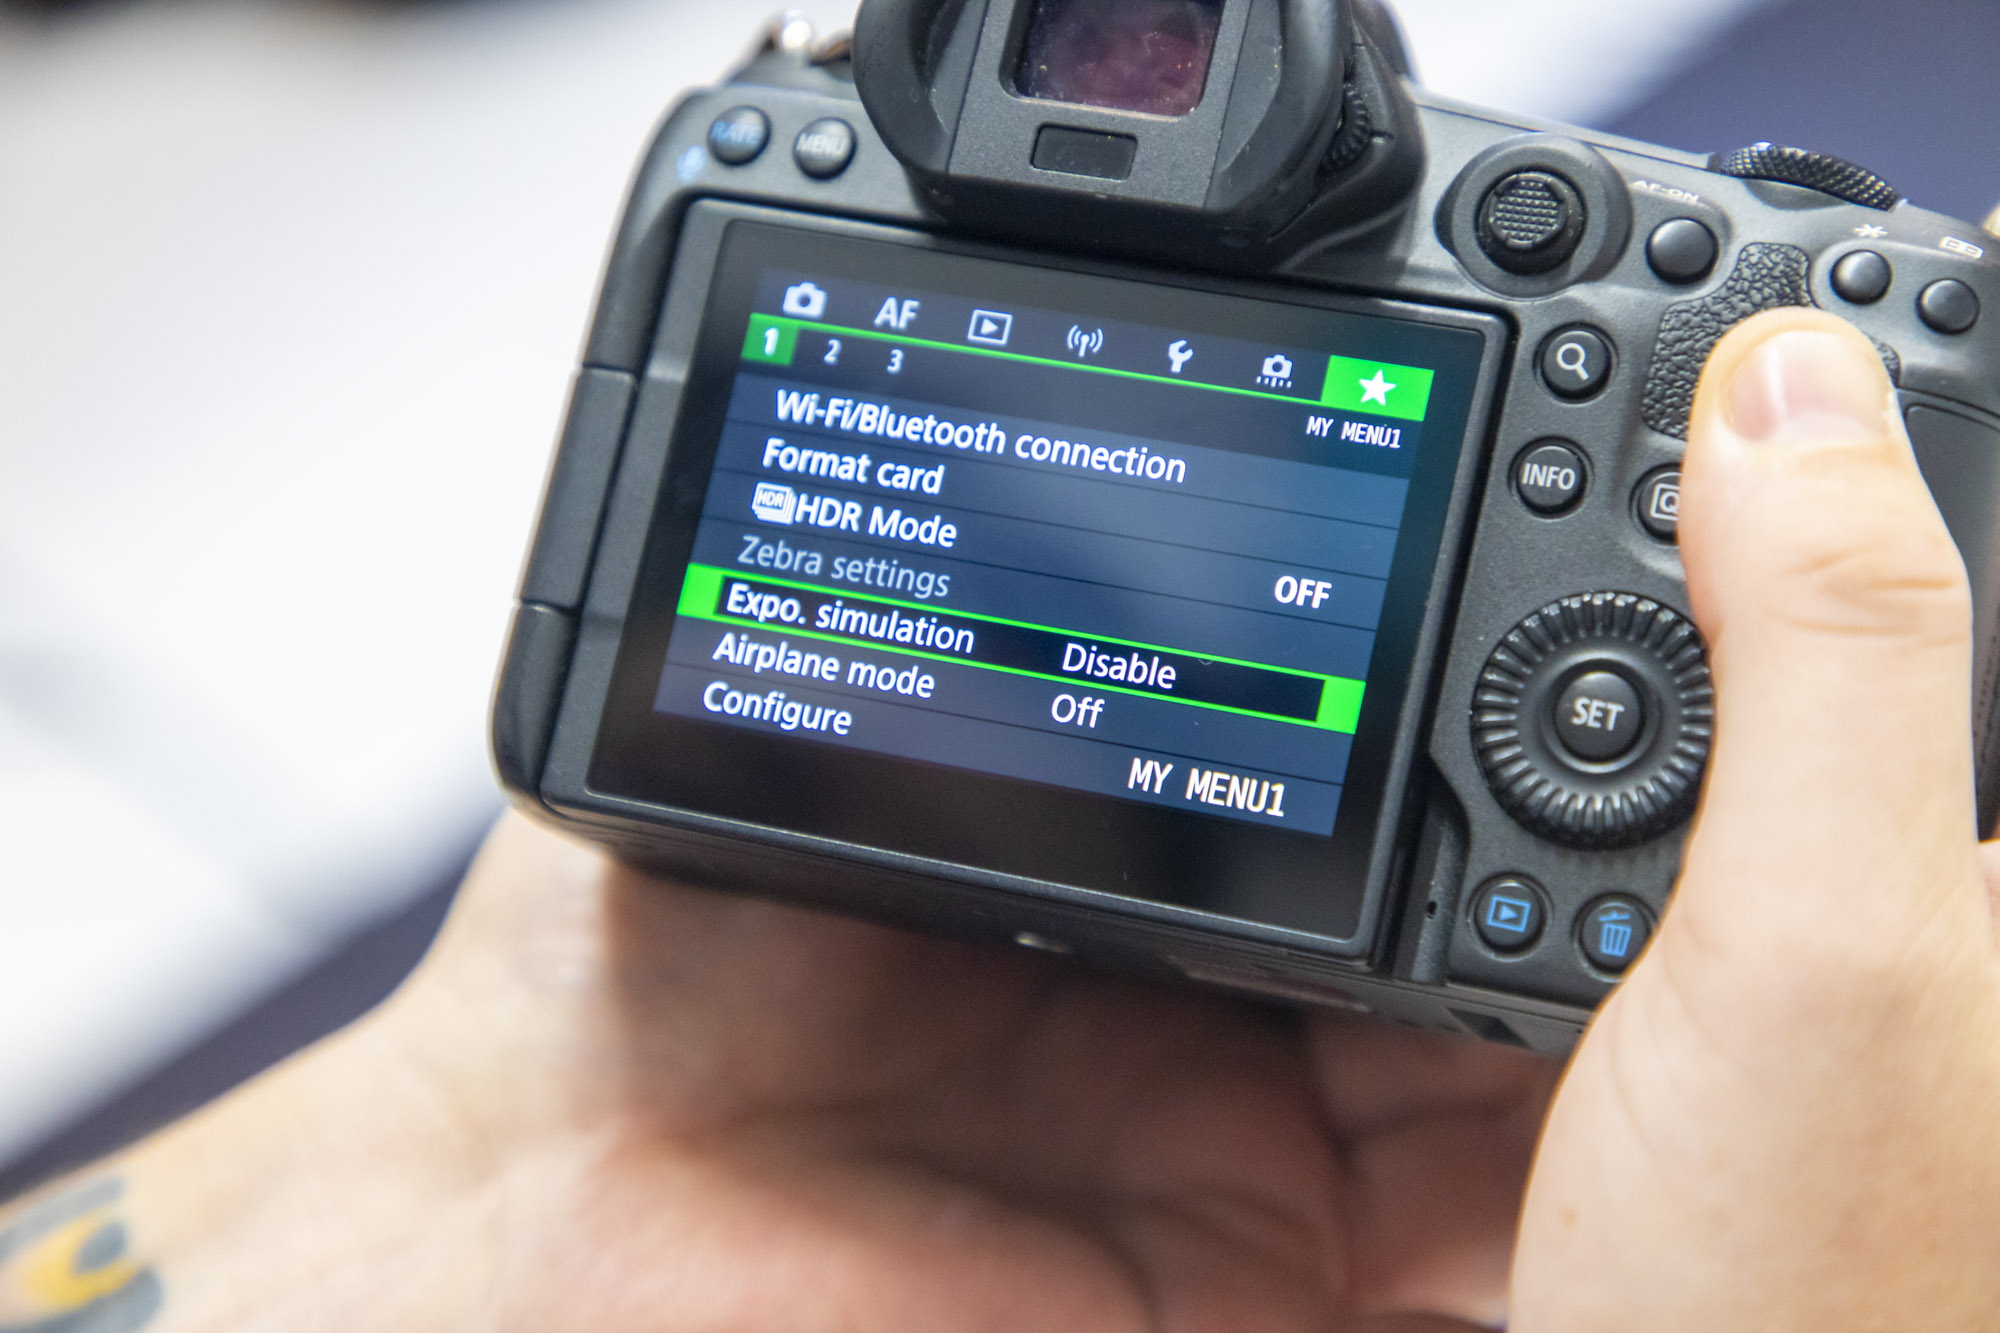
One of Russ’s top tips is to switch off exposure simulation on mirrorless Canon EOS cameras when working with flash. This setting combines the set shutter speed, aperture and ISO to give you an accurate preview of your final image in Live View on the LCD or through the electronic viewfinder. However, Russ chooses his settings to make sure natural light doesn’t interfere with his flashes – with Exposure Simulation enabled, that would mean the viewfinder and LCD screen would be totally black, so it’s off.
5. Full-frame Canon EOS body
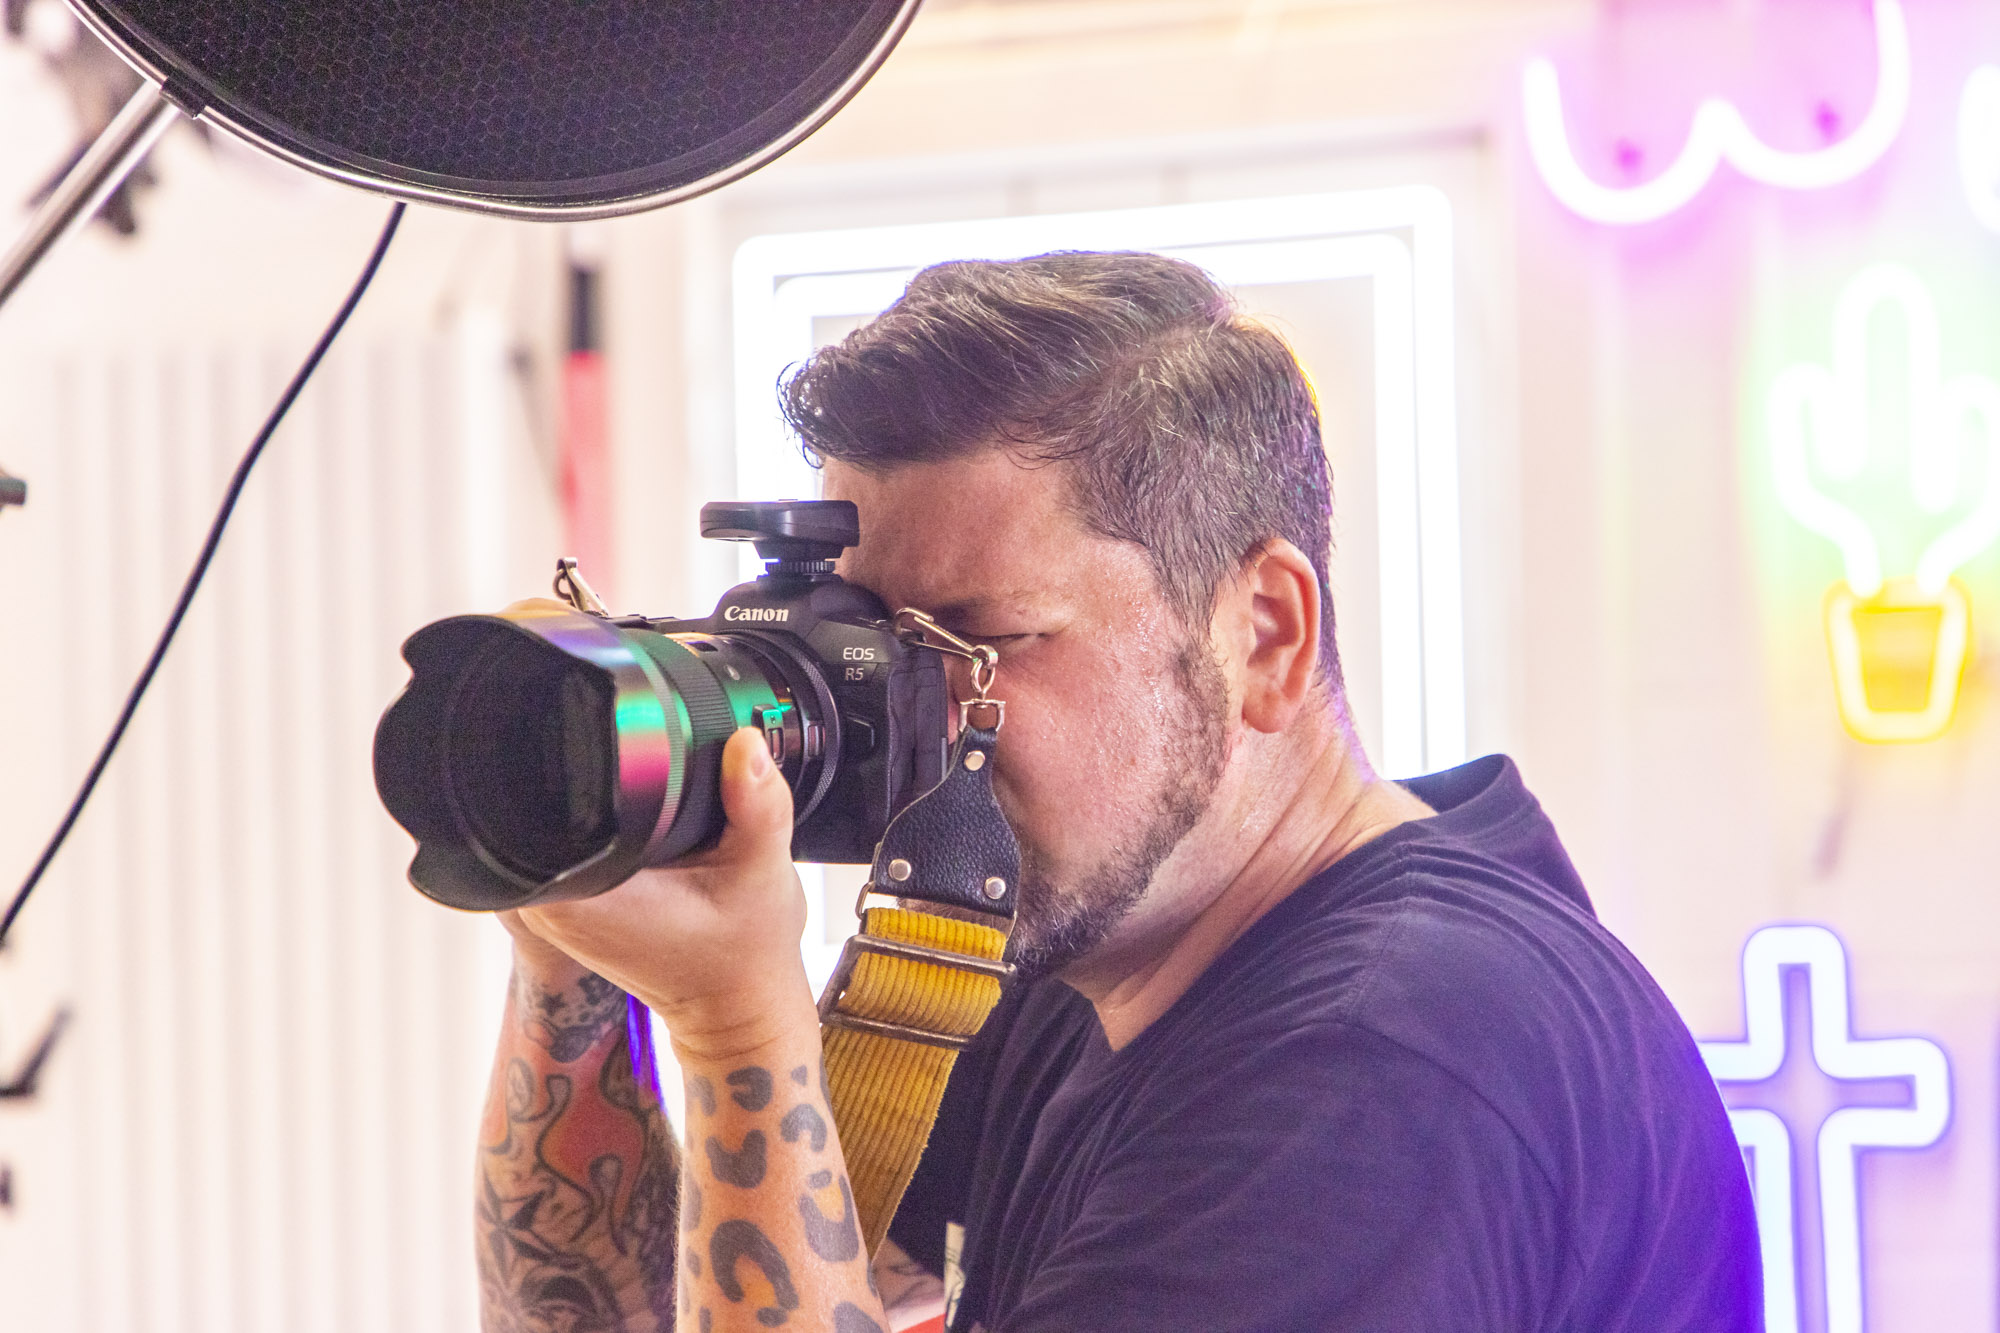
Russ upgraded from a Canon EOS 5D Mark III to an EOS R5 and has seen a notable change in how his new equipment has revolutionised his portraiture.
He loves using the Eye Detection autofocus which gives him one less thing to worry about. The EOS R5 is a full-frame mirrorless Canon with In-Body Image Stabilization and a huge 45MP resolution. He also pairs it with a Canon EF-EOS R adapter so that he can use his favorite, reliable Canon EF lenses.
6. Top of the crops
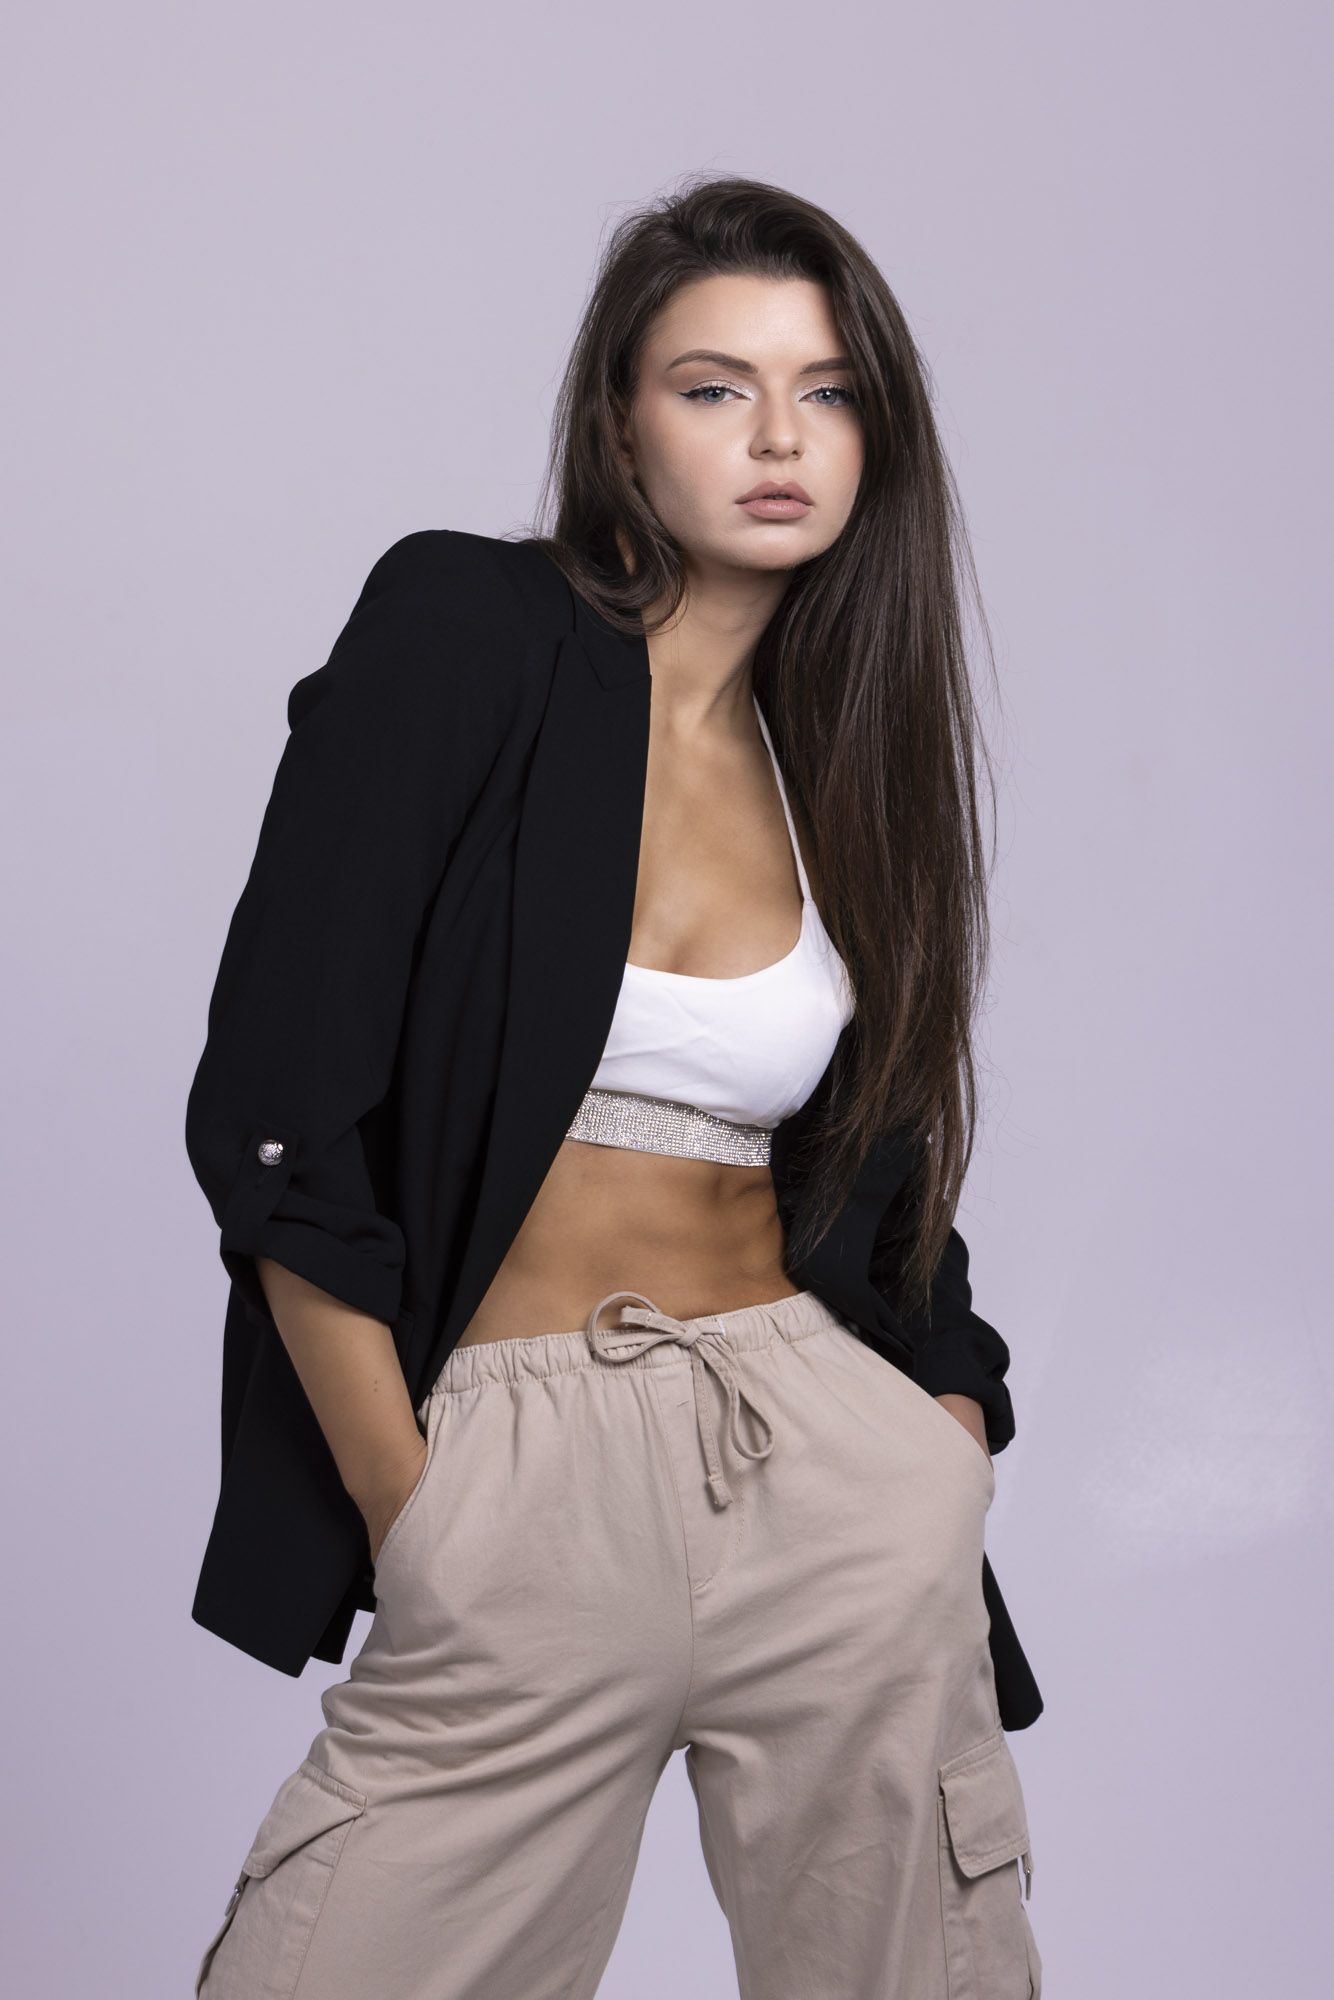
Russ went for a more three-quarters portrait look by shooting with his telephoto Canon EF 70-200mm f/2.8L IS III USM. When zooming in the trick is to crop your shots just above any joints, like the knees or elbows, as including them can look a little distracting. You also need to make sure you’re not cropping off hands and fingers awkwardly in your compositions too. Luckily, the Canon EOS R5 gives Russ 45MP to play with, so he can shoot a little wider and crop in at the editing stage if required.
7. Double trouble
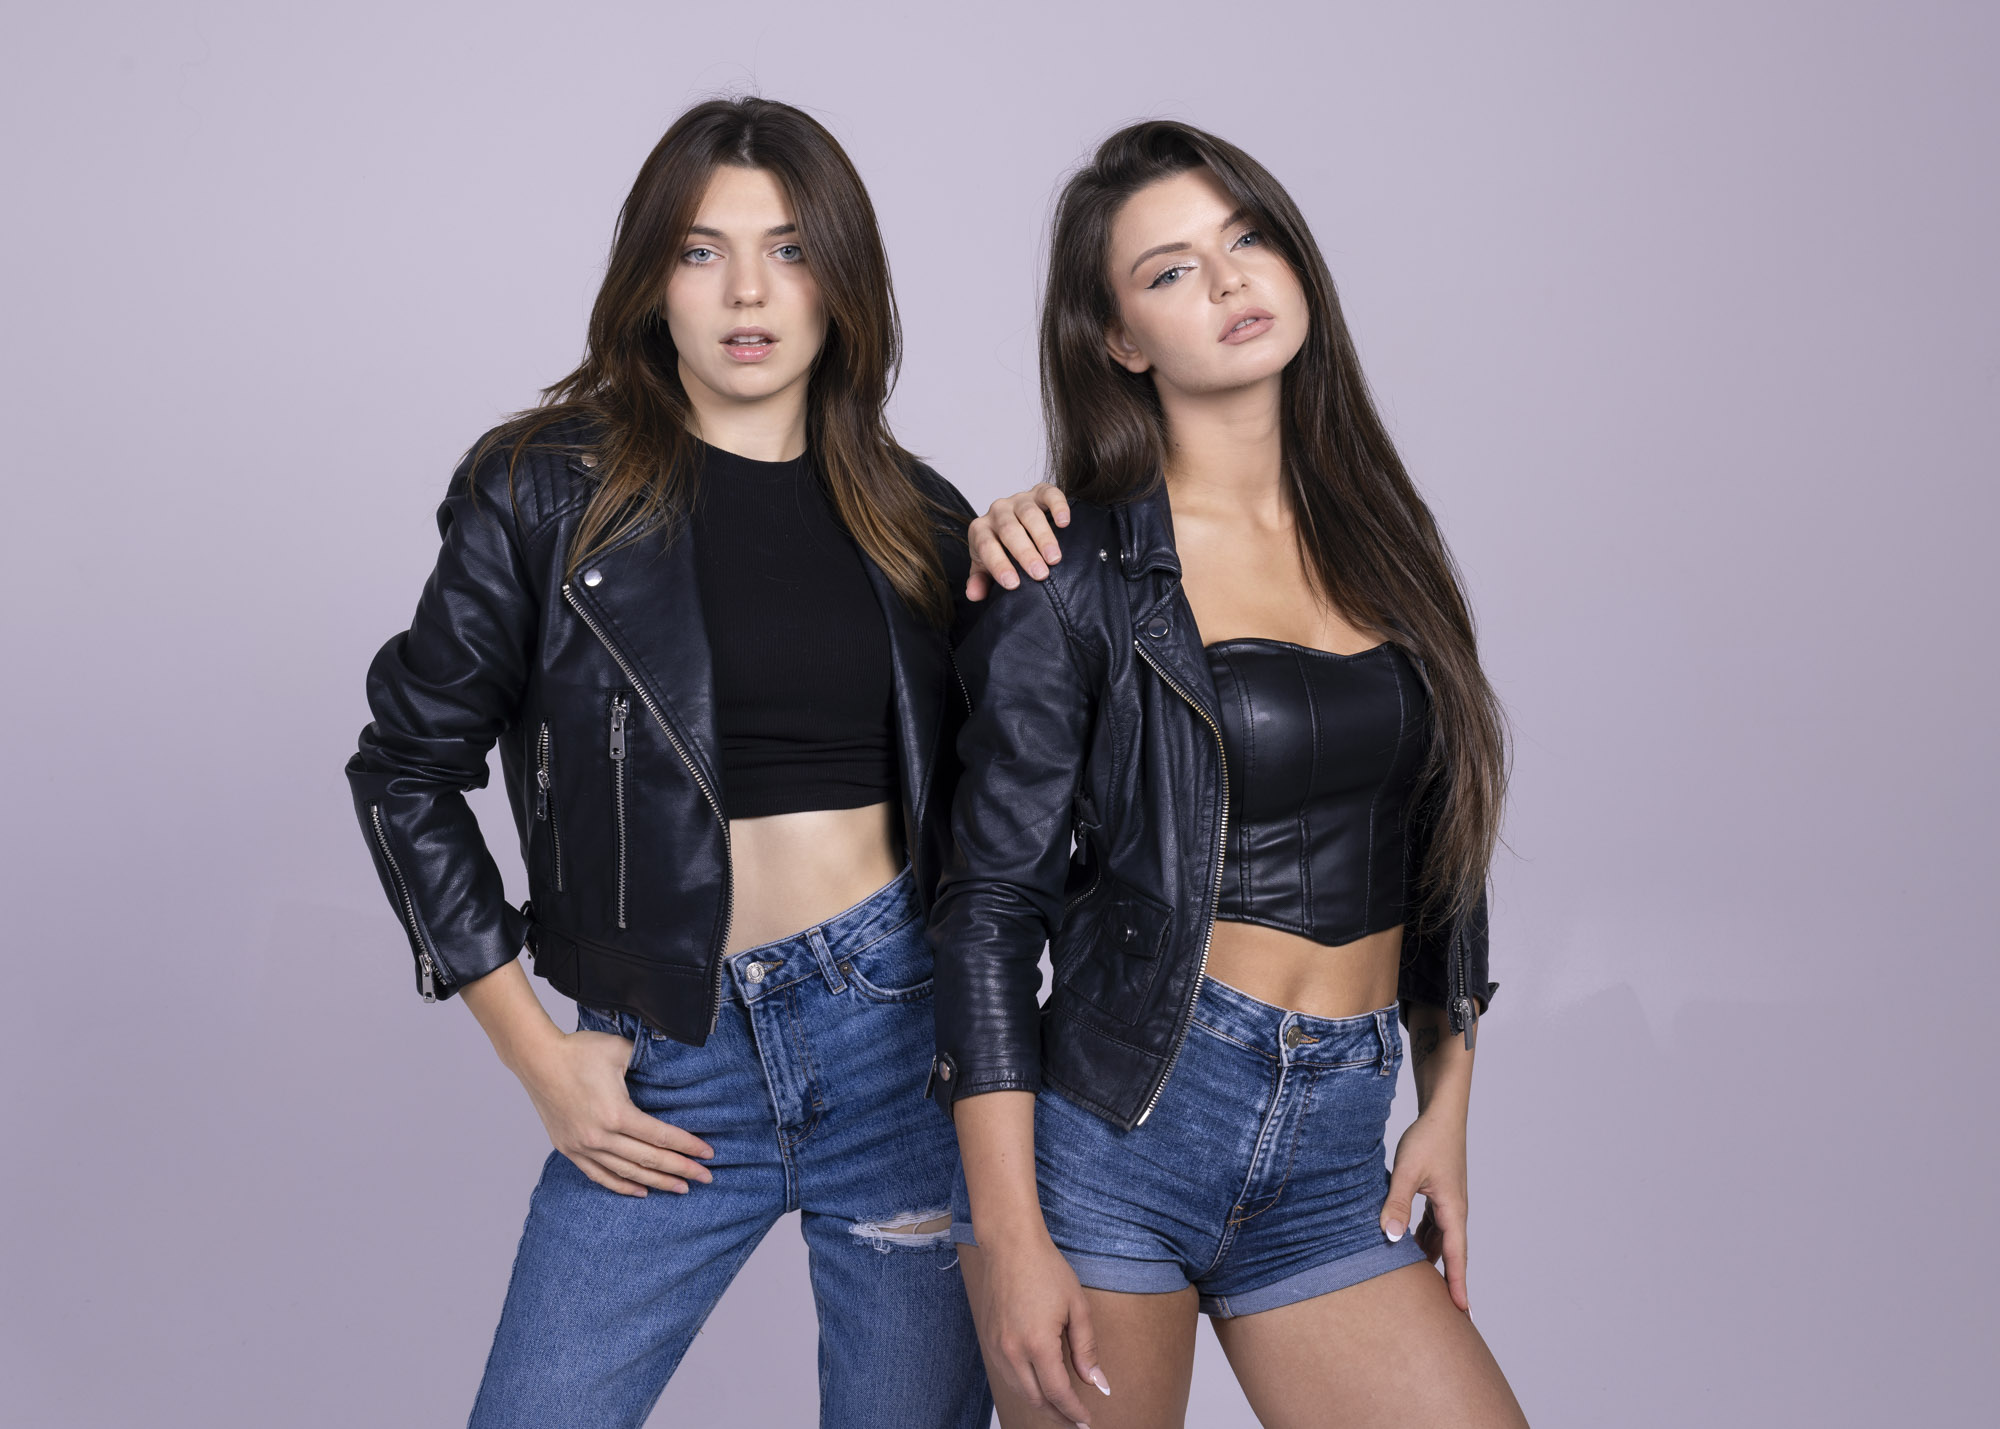
Russ had arranged for there to be a short overlap between models Natalia and Emma, where Jonathan could practise group shots. In no time at all, they were creating some fun and natural poses – you’d have thought they’d known each other for years! Ahead of the shoot Russ had shared his mood board with them to ensure they had outfits to work well together in shots.
8. ND filters
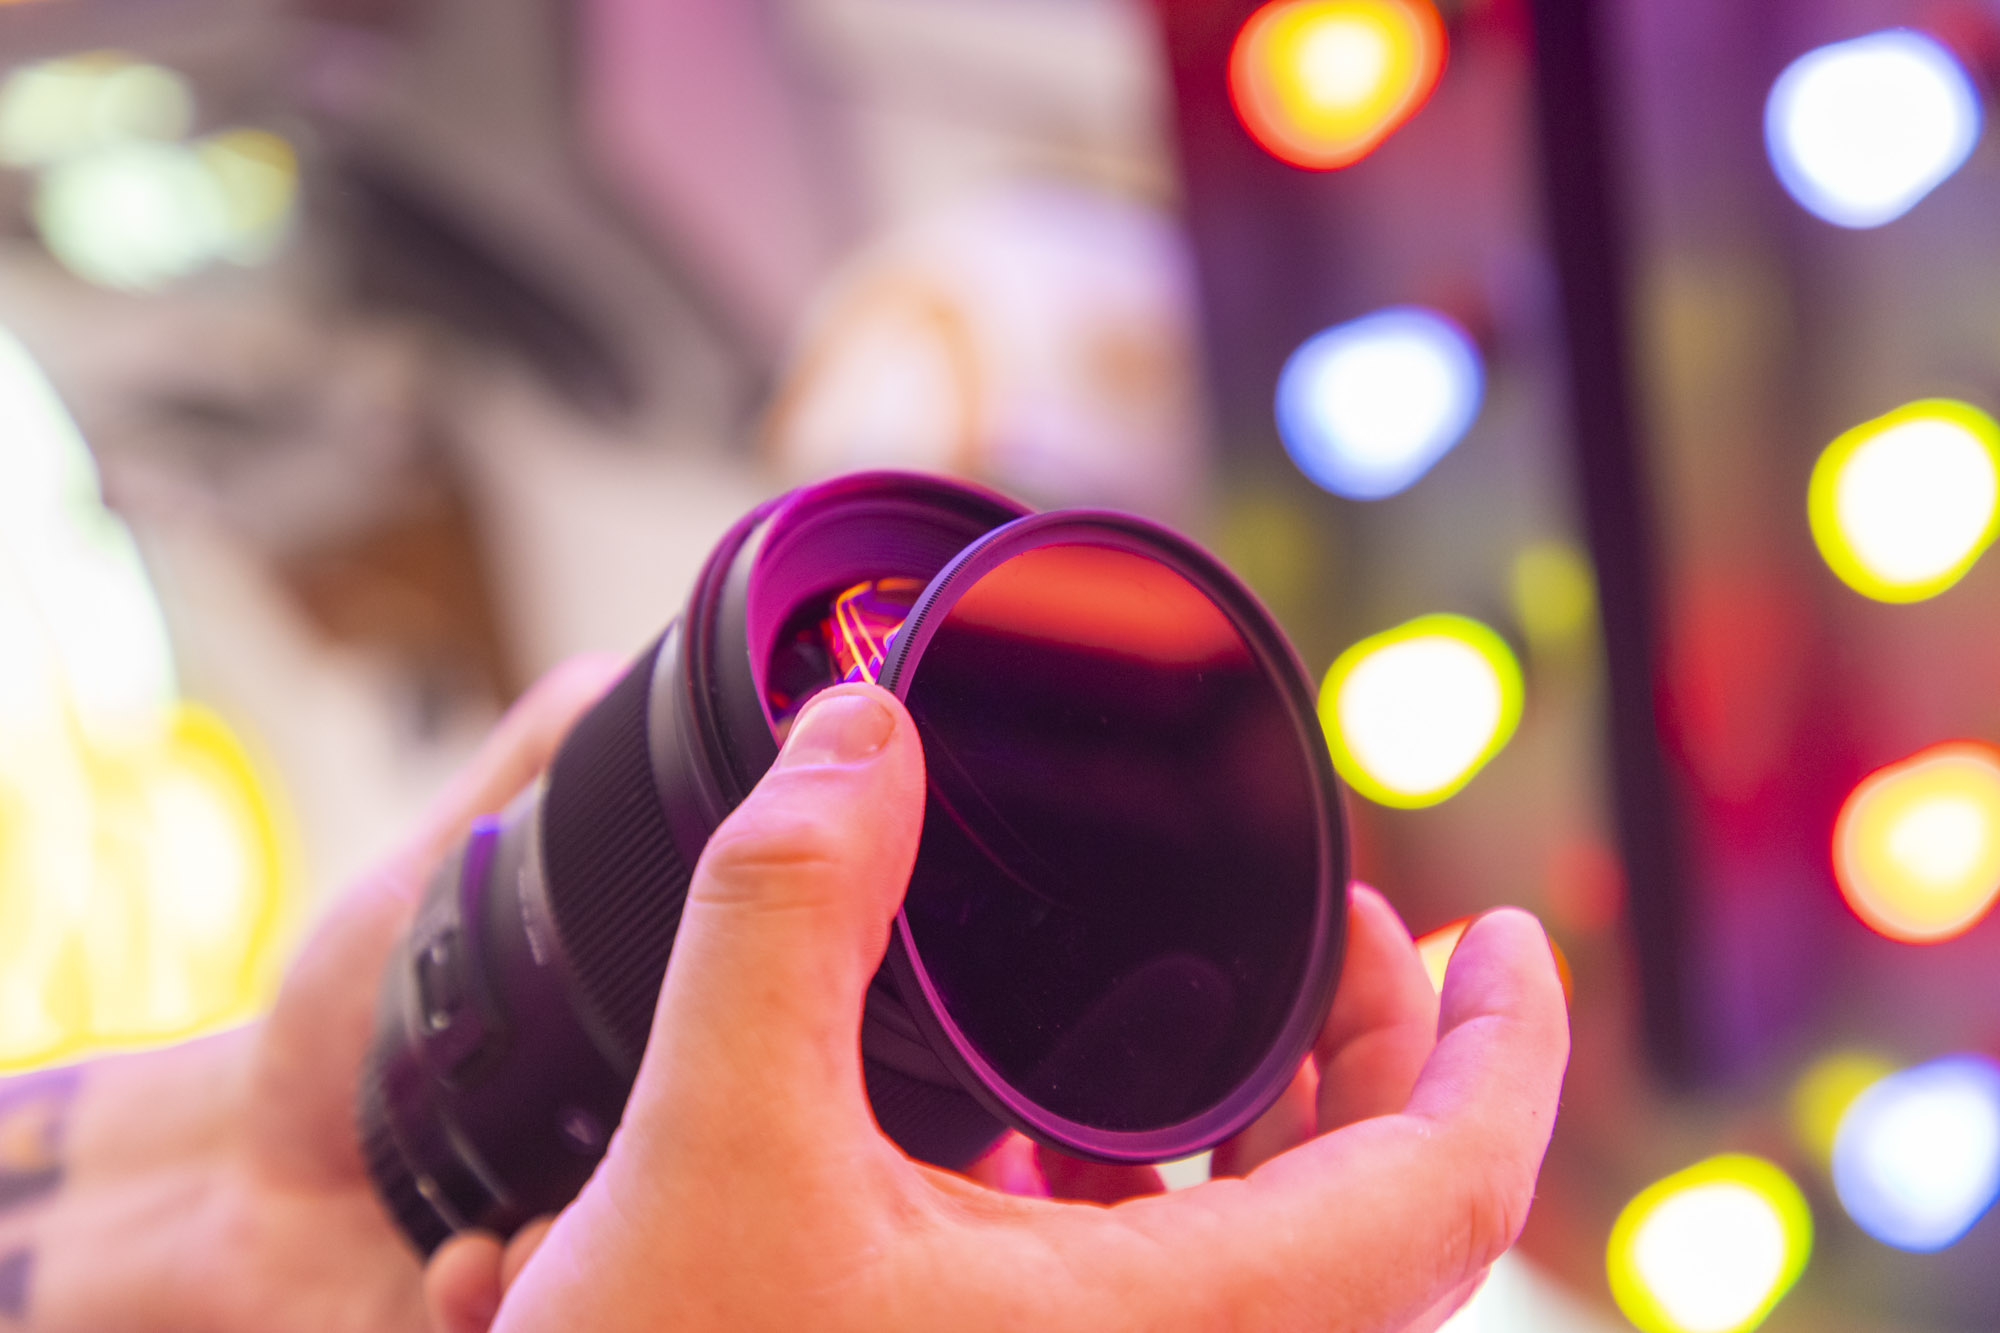
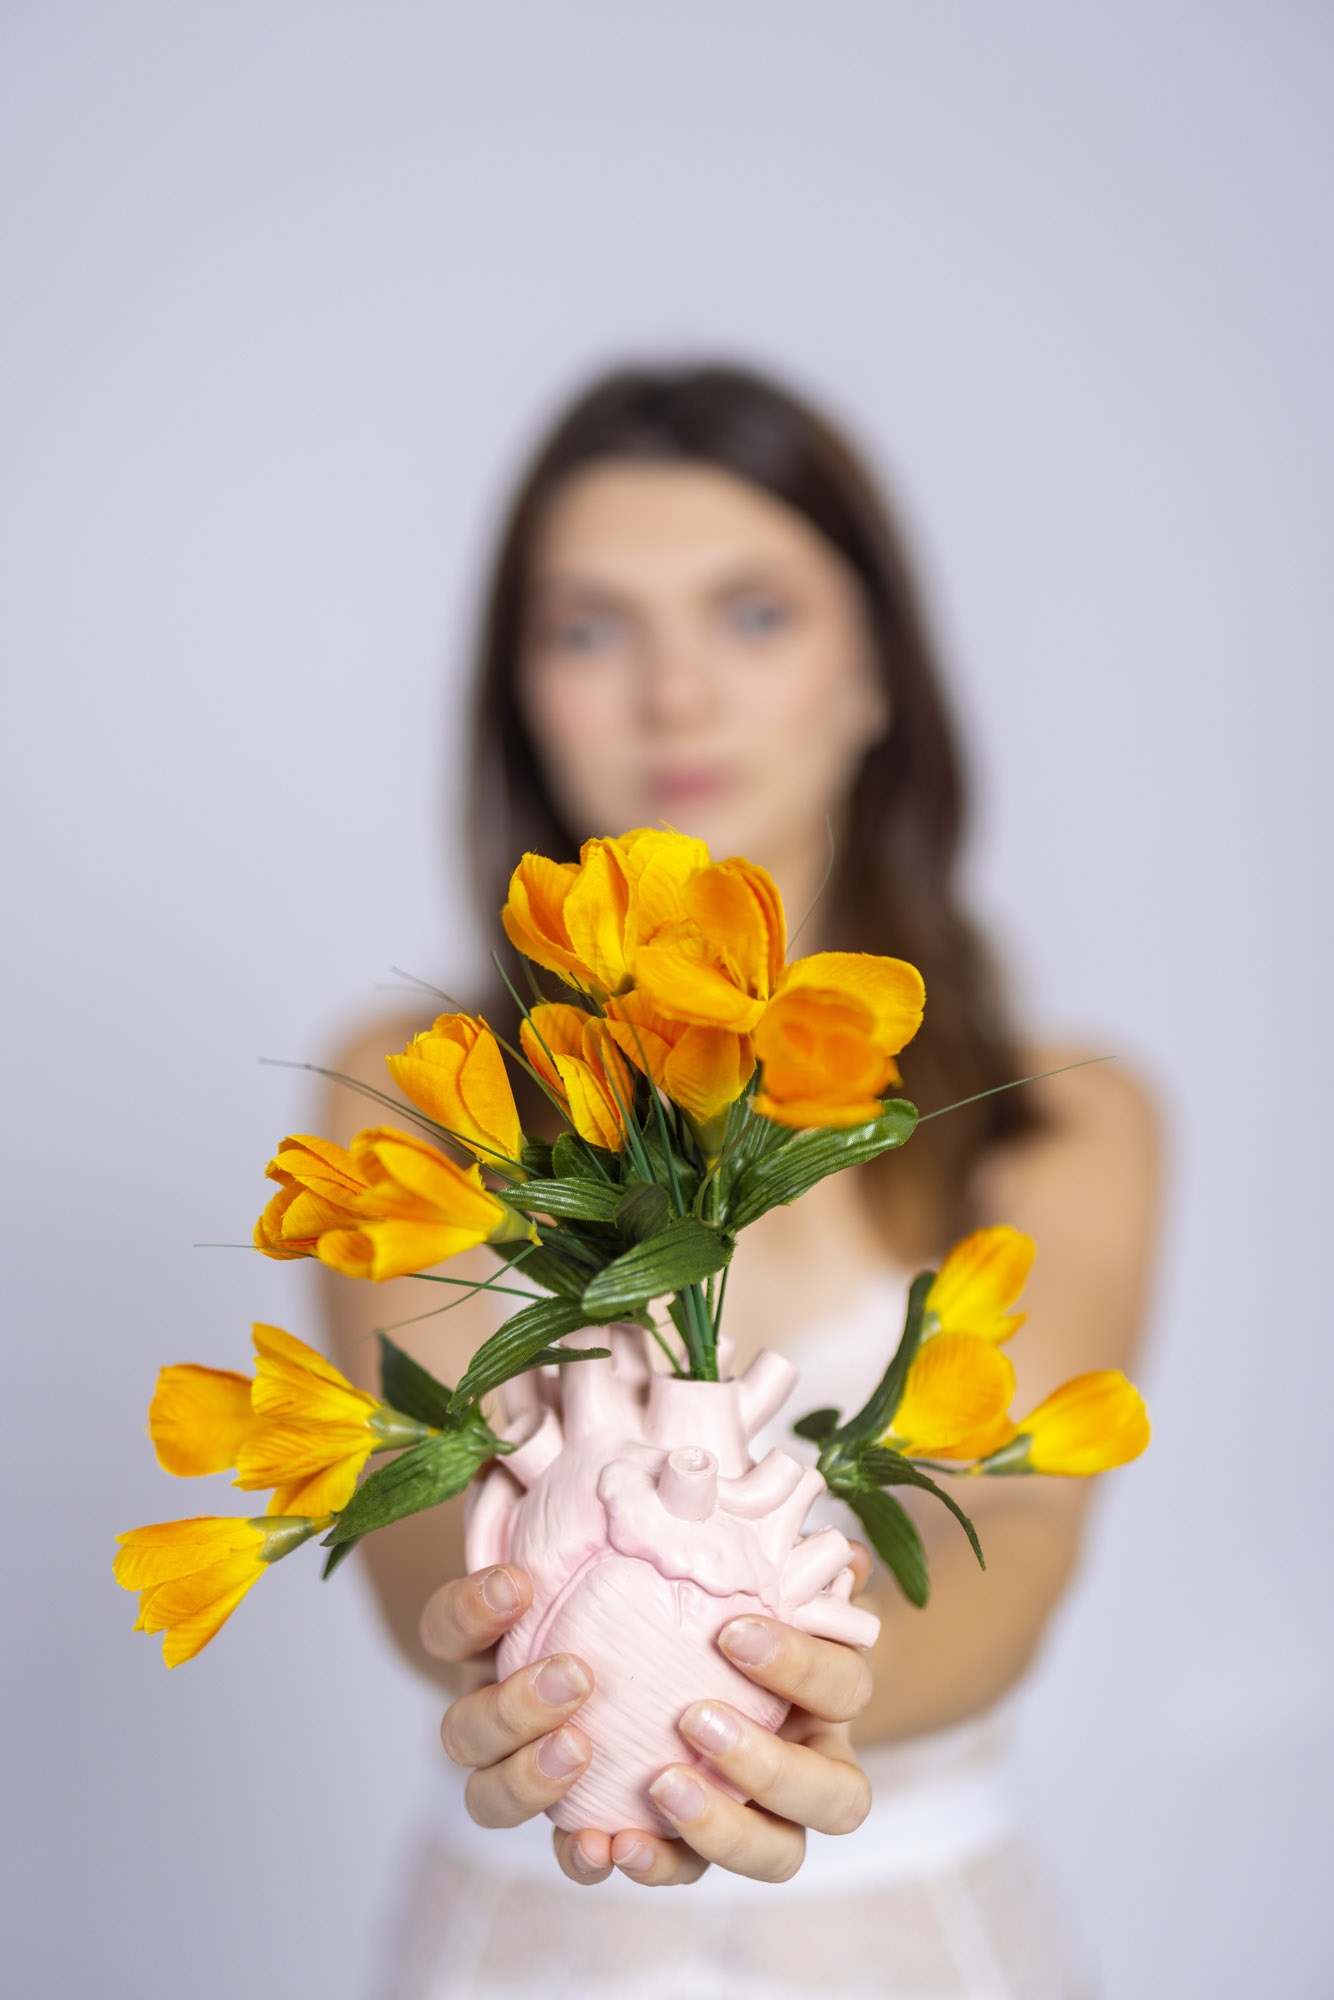
When shooting outdoors with natural light, or even indoors with constant LED lighting, Russ often likes to shoot with a wide open aperture for super shallow depth of field. This isn’t usually possible when working with flash though, as the flash power is often too powerful even at the lowest setting. This stifles creativity as it forces you into shooting with a narrower aperture. Russ gets around this problem by adding a strong 7-stop neutral density (ND) filter so he can shoot at wider aperture values like f/1.4 or f/2.8.
9. 50mm prime
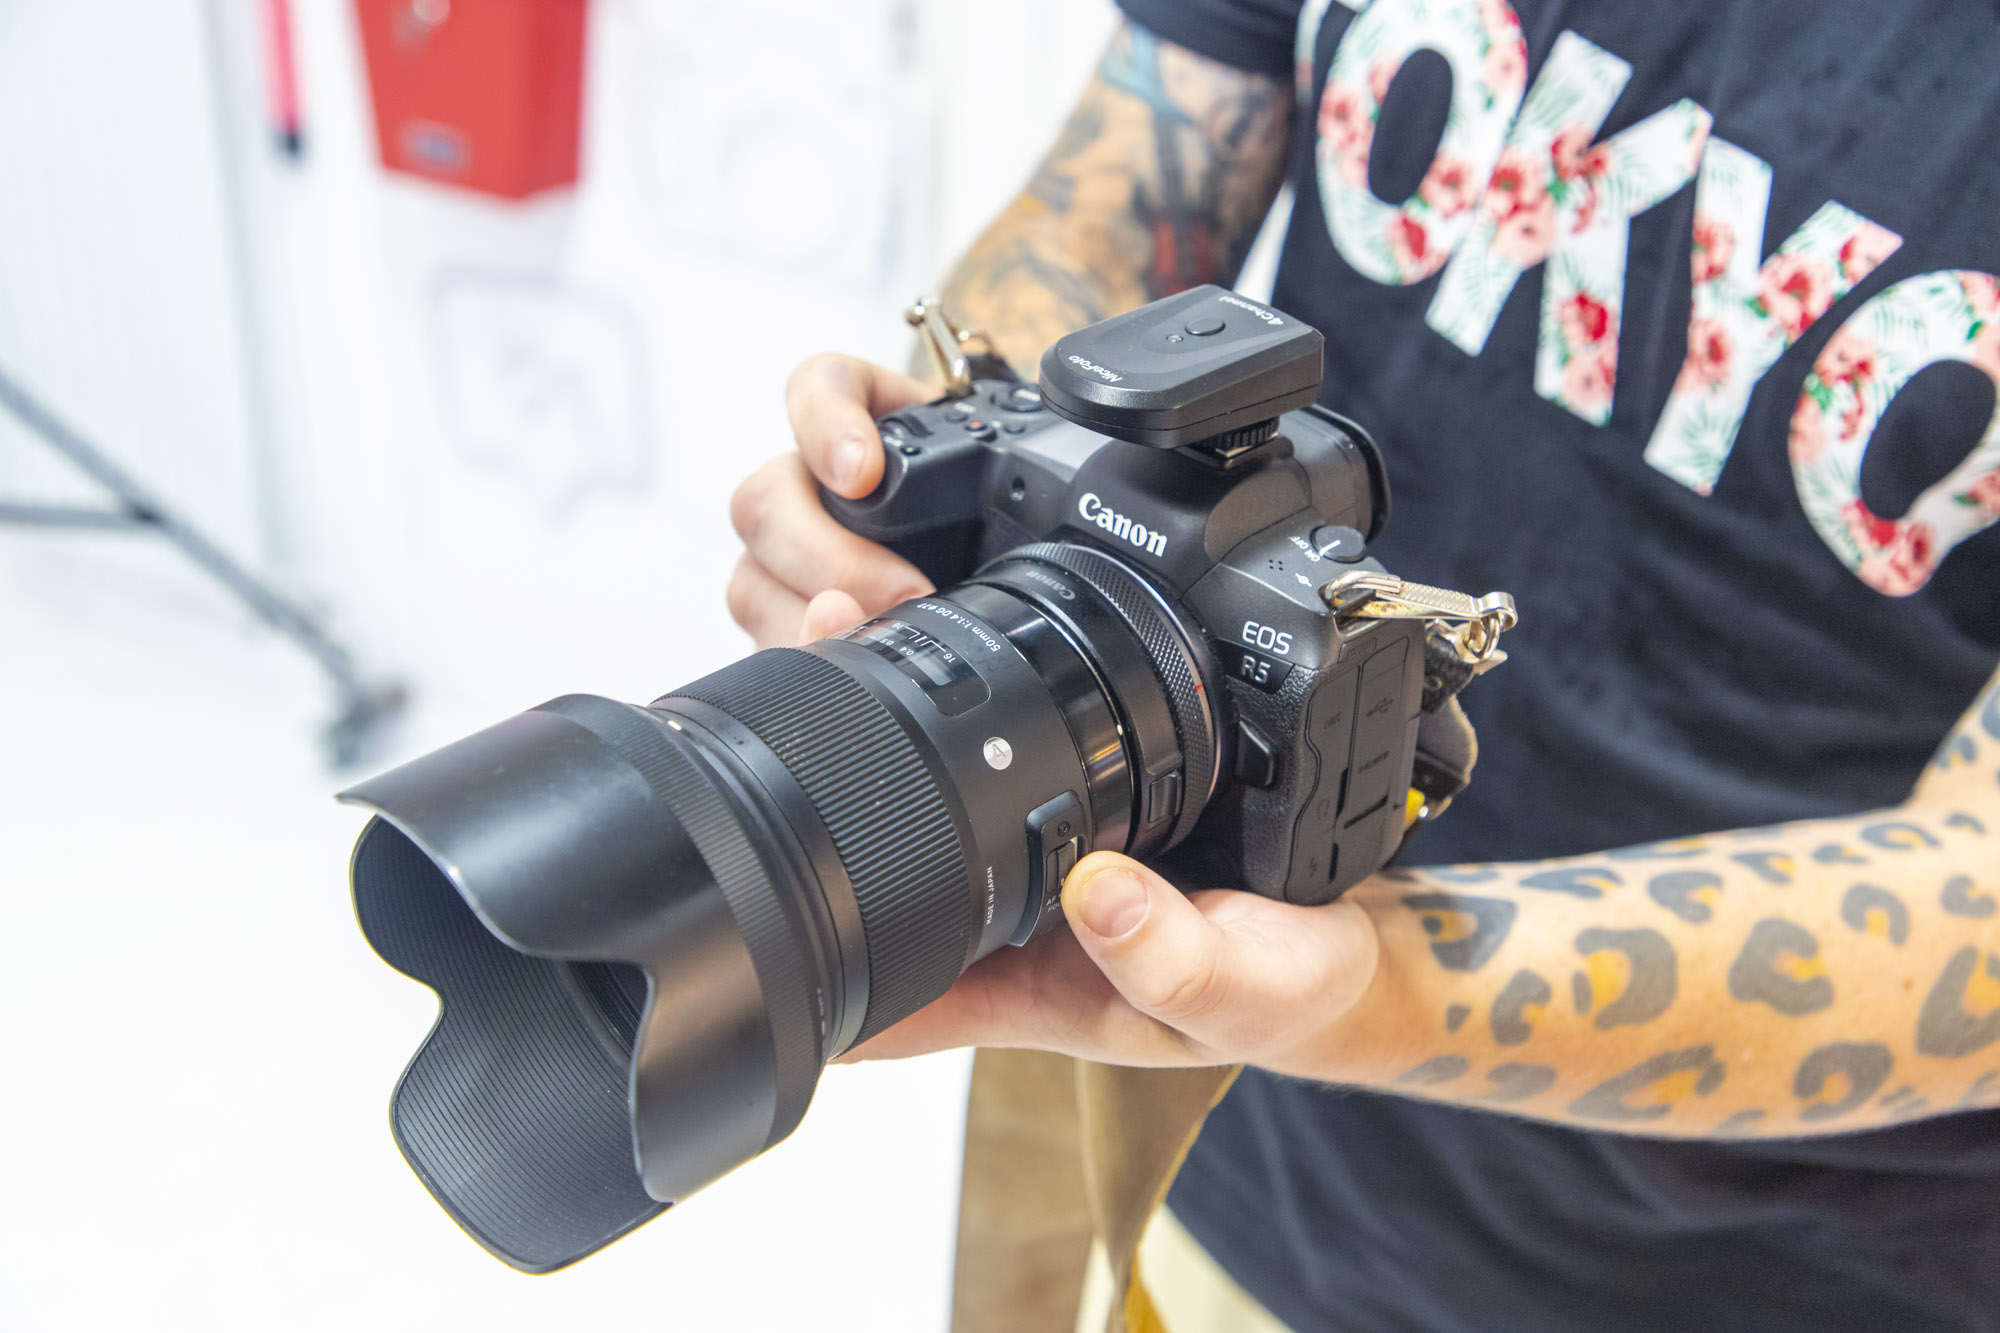
One of Russ’s latest purchases is the Sigma 50mm f/1.4 DG HSM Art. It’s a prime lens which means it has a fixed focal length, in this case 50mm, and it has the same field of view as the human eye so images look very natural. It’s a super sharp optic even at wide apertures like f/1.4, which creates a very shallow depth of field and blurry backgrounds. If he finds his 50mm doesn’t provide enough reach he also has a Canon EF 70-200mm f/2.8L IS USM which allows him to zoom in more and has a wide maximum aperture of f/2.8.
10. Wide-angle lens
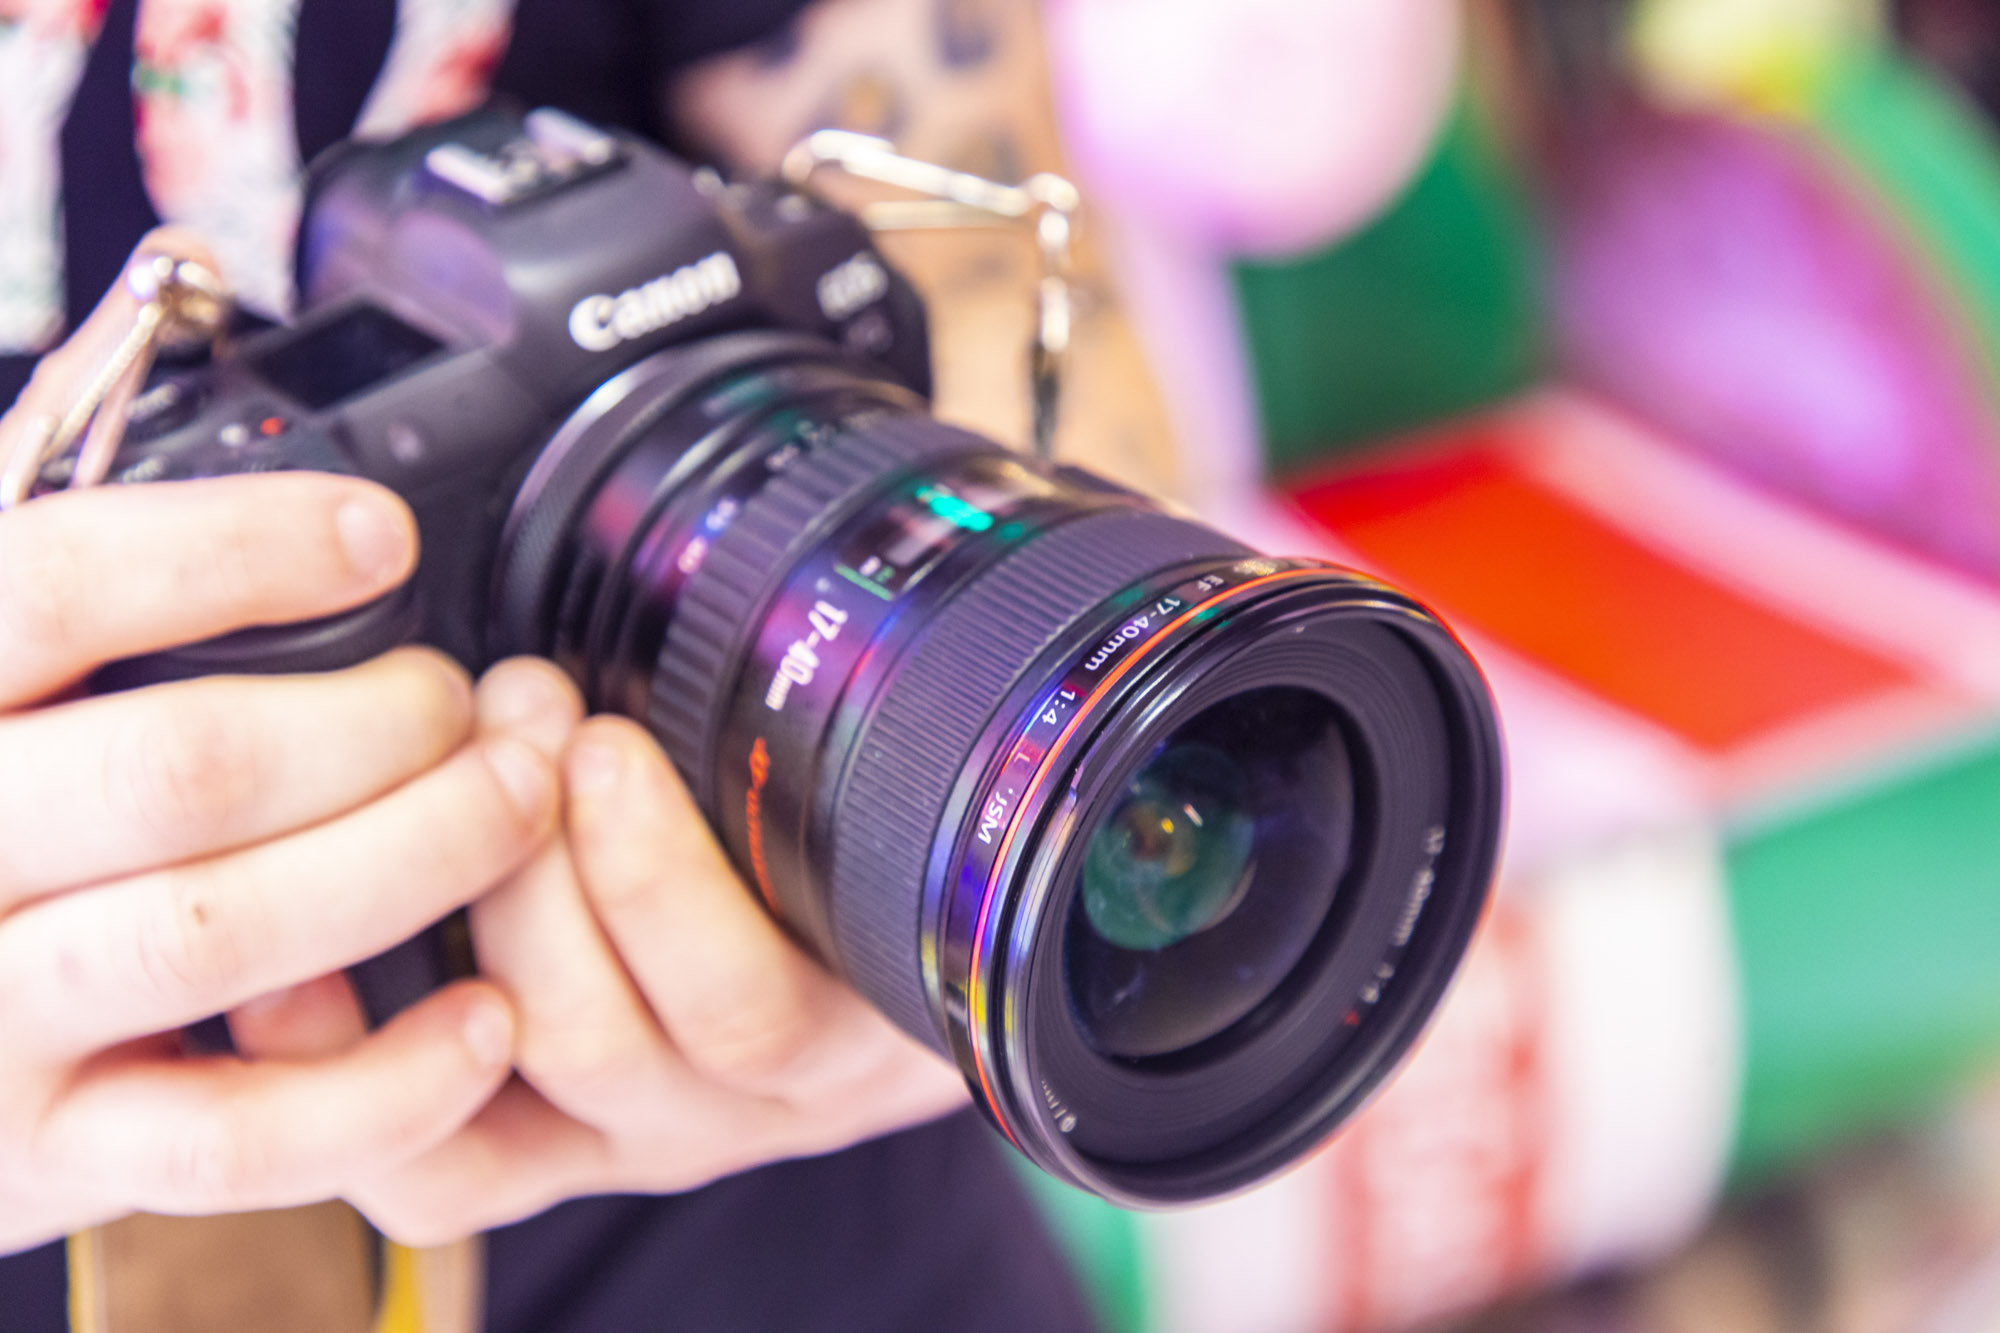
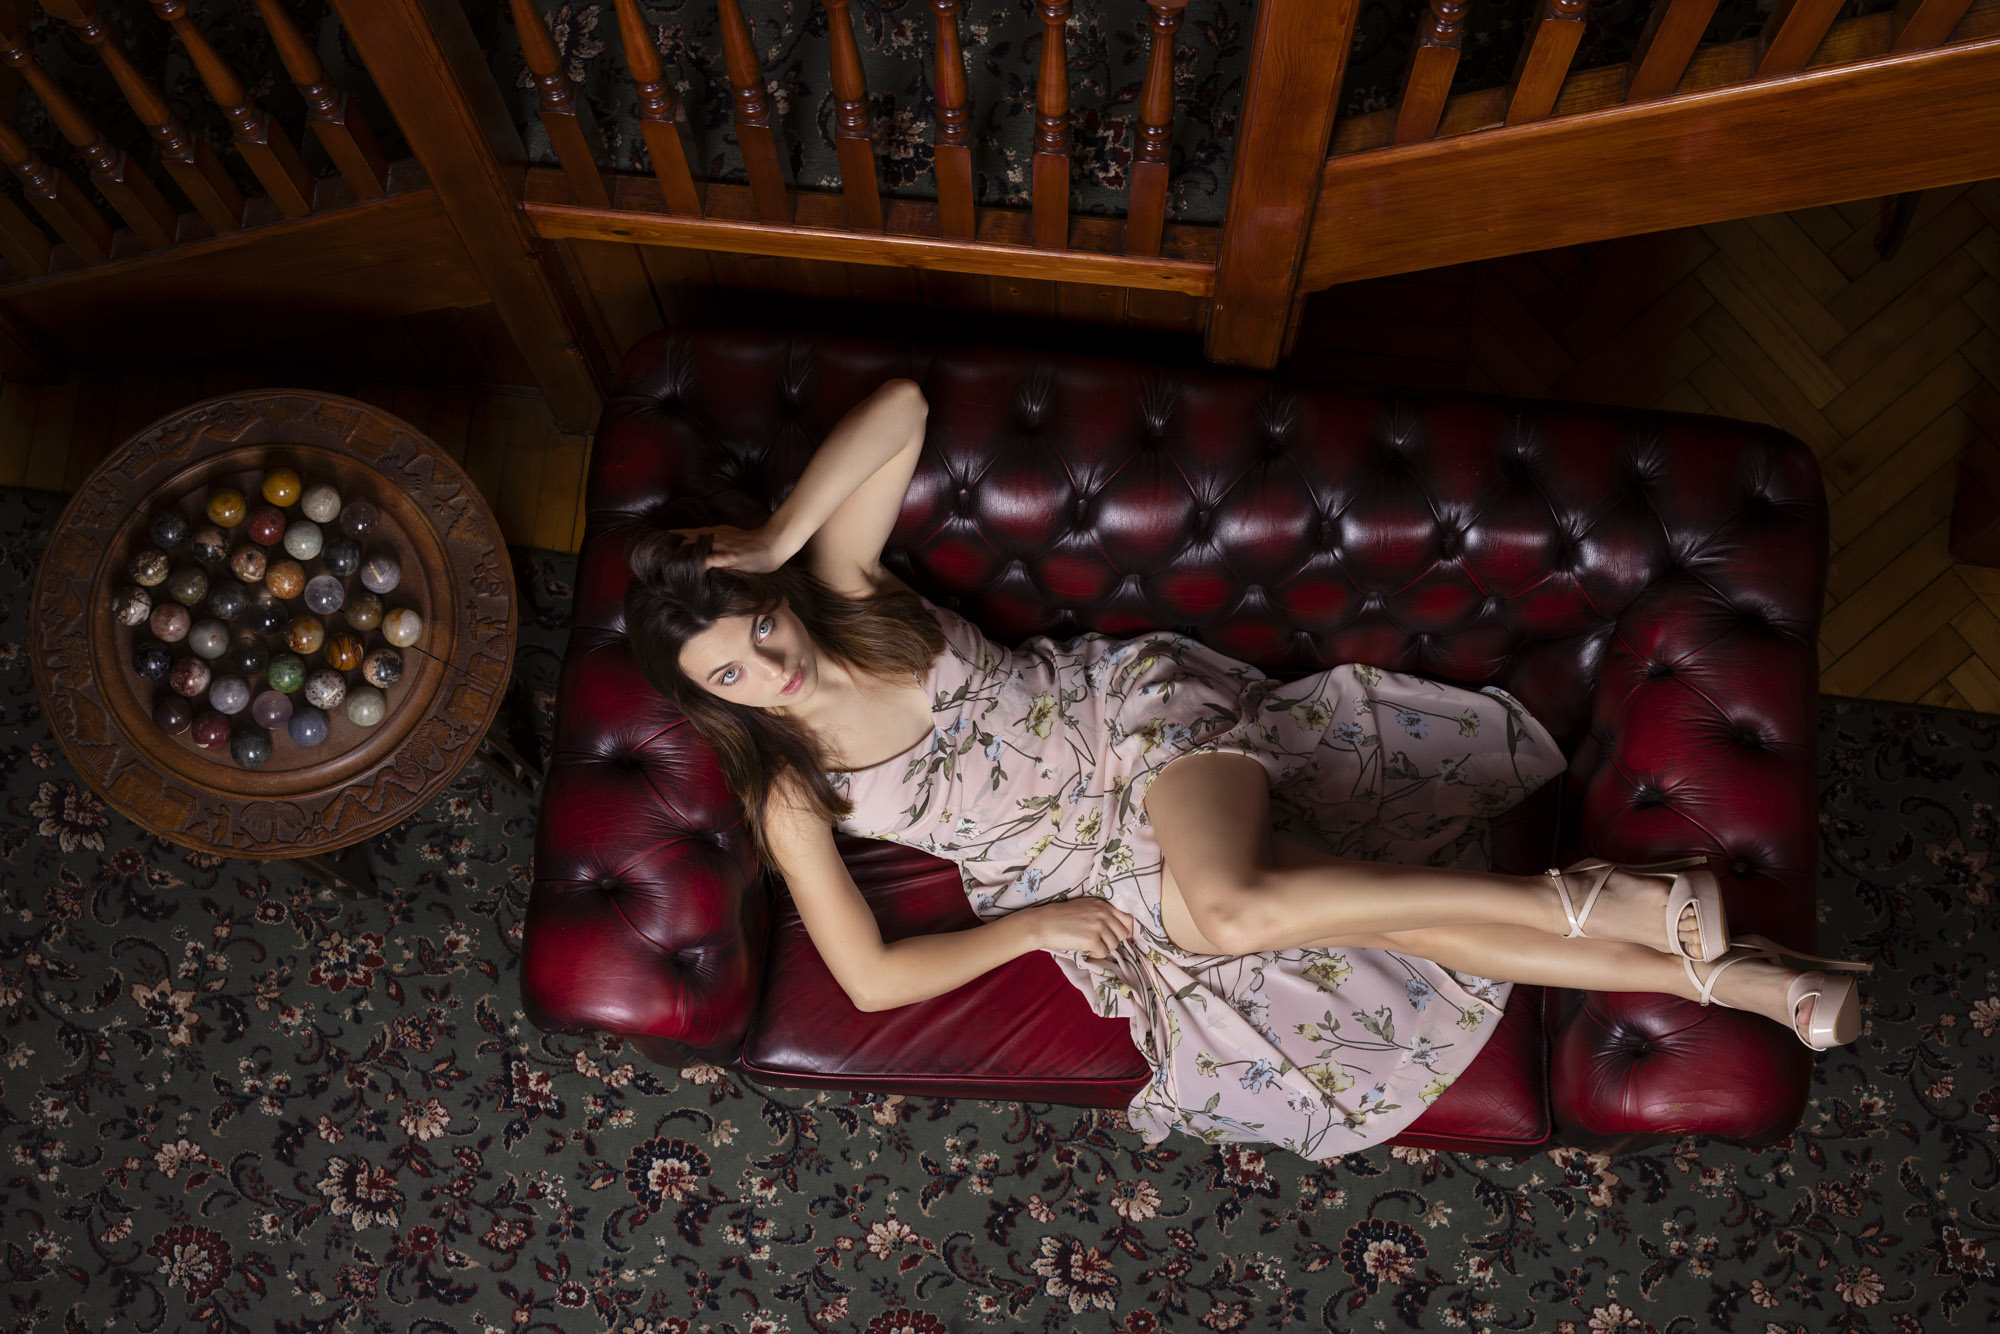
You may think a wide-angle lens is a strange choice for portraiture but Russ always keeps one in his bag. He says, “I use a Canon EF 17-40mm f/4L USM lens and usually get up on a step ladder to shoot from a high angle which works well with the wider framing.”
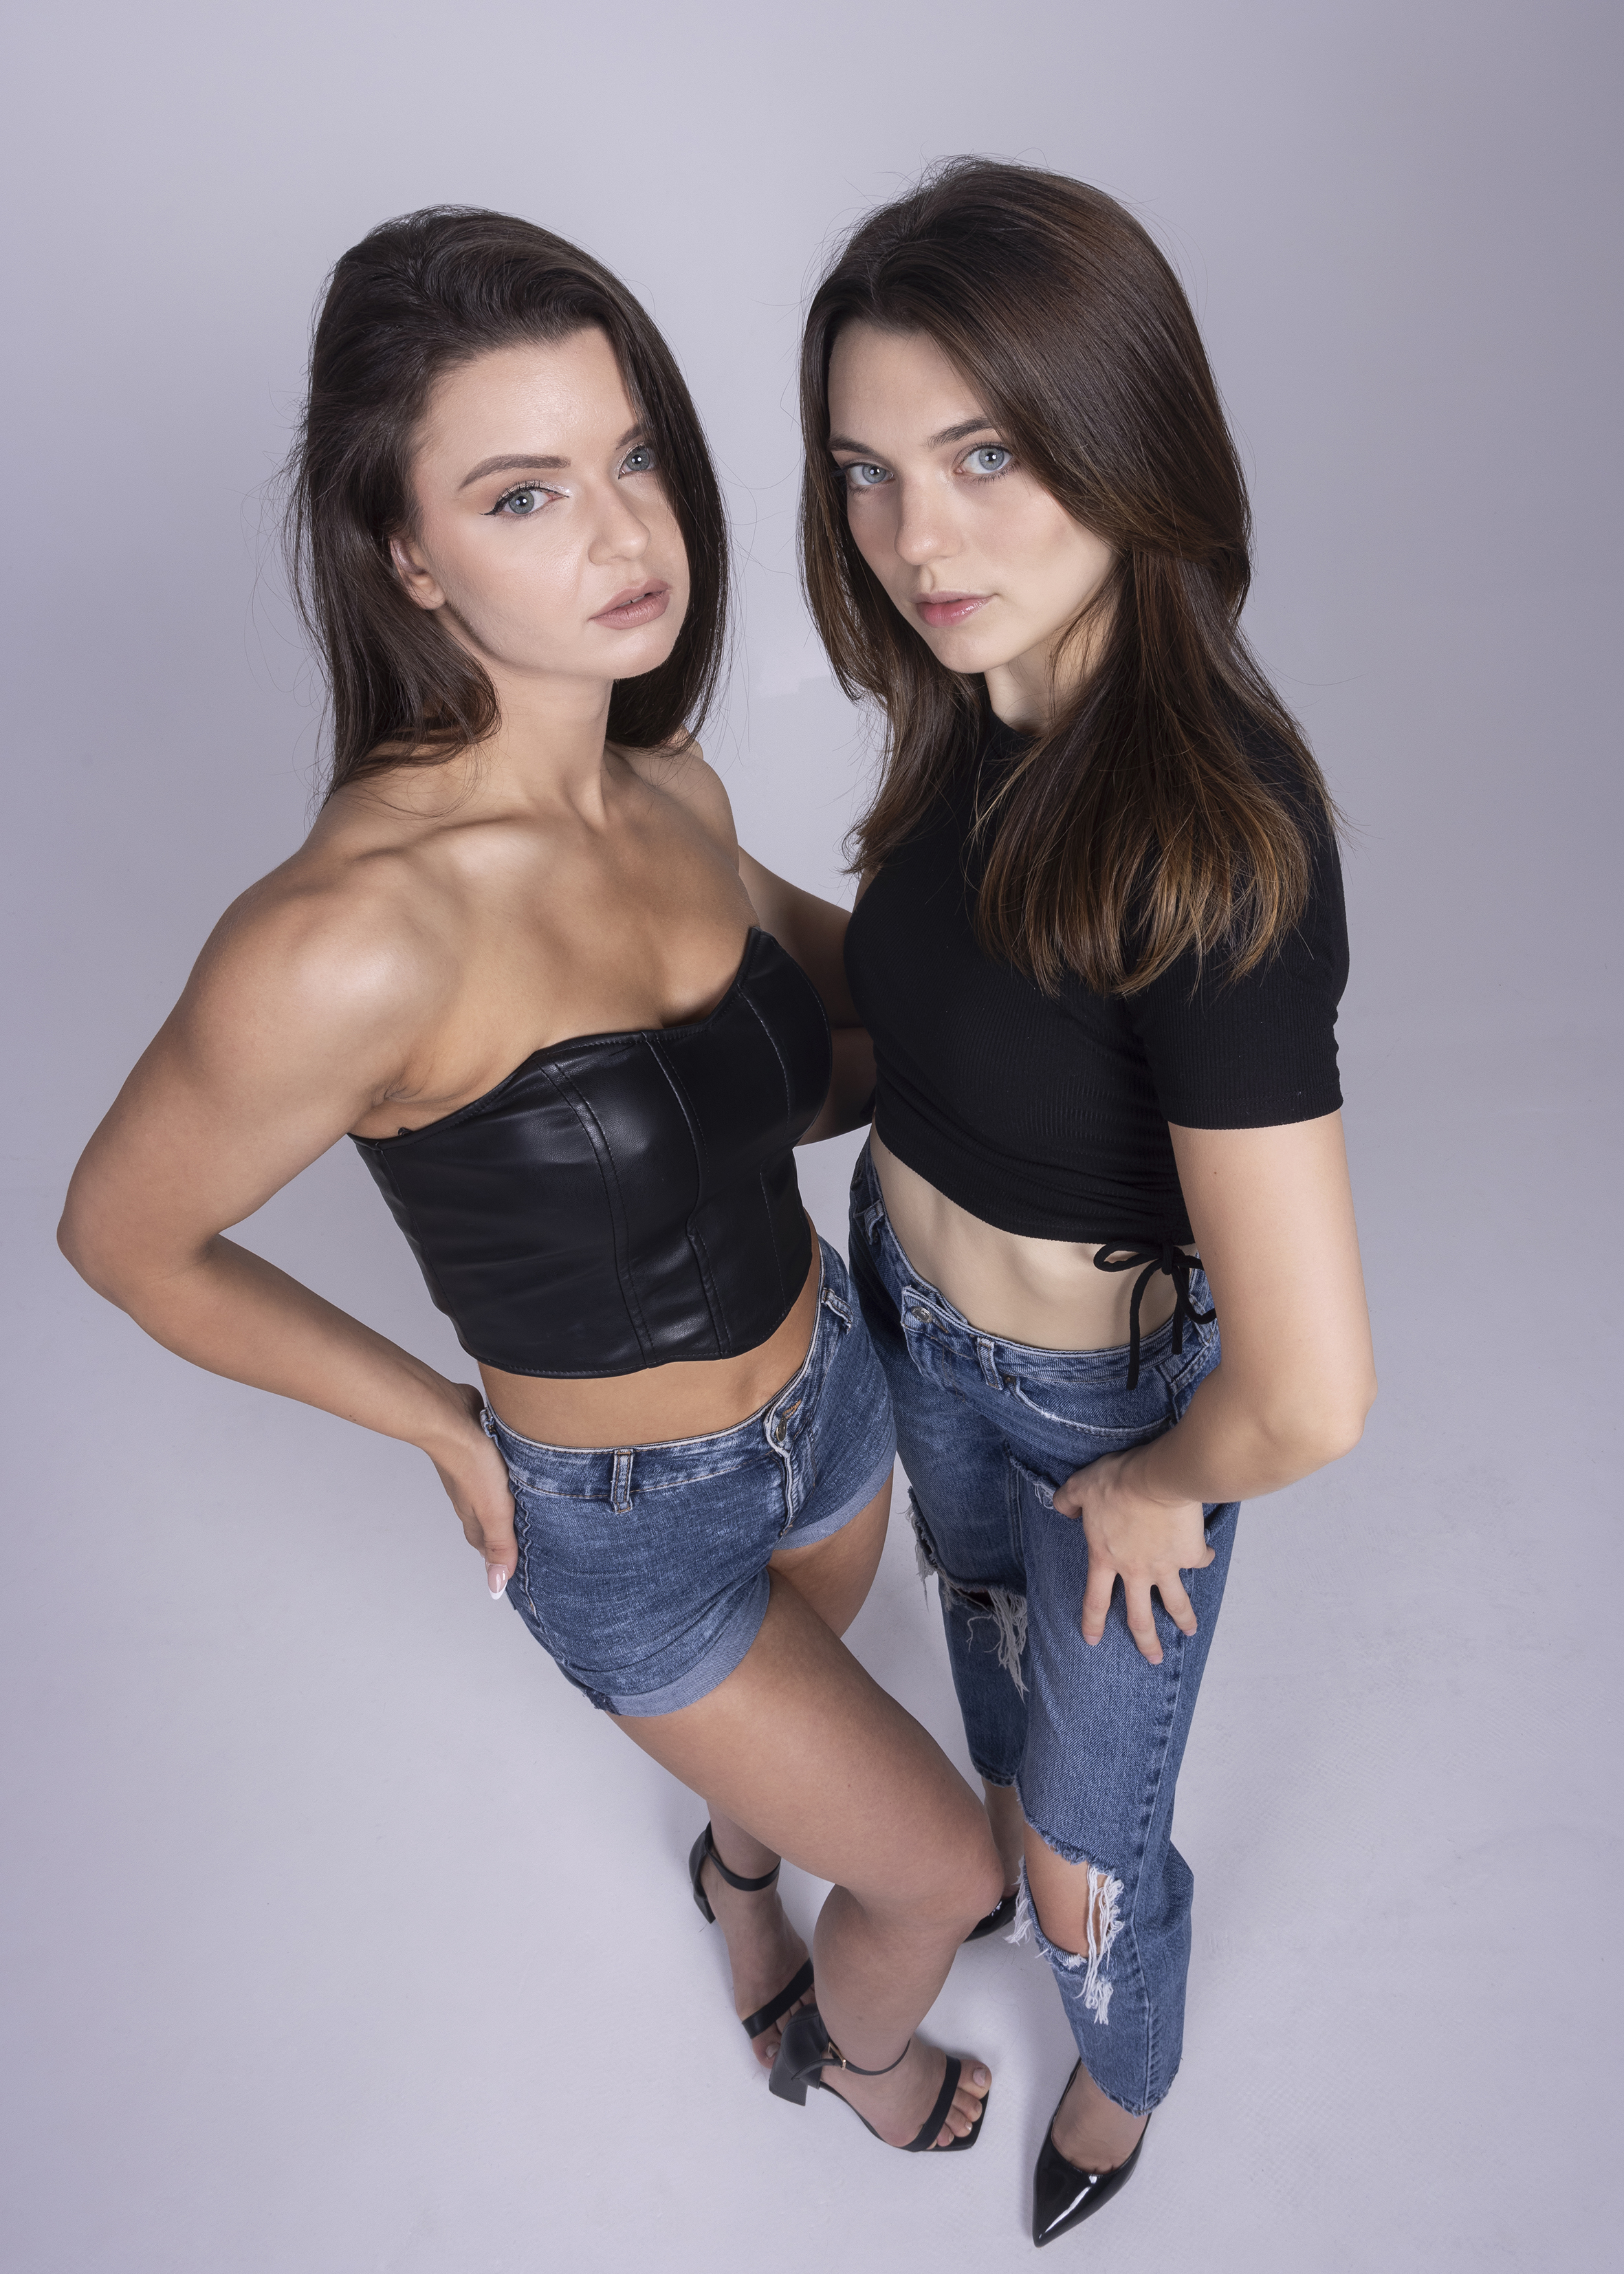
If you're really into portrait photography, you'll want to check out the best lenses for portraits. Russ uses a Canon EOS R5. To see his stunning portfolio check out his Instagram, or to book a workshop visit his website.

